Fruit crisp topping should be chunky, buttery, and bronzed at the edges, with enough texture to stay crisp over bubbling fruit instead of melting into a sandy layer. The best versions balance oats, flour, sugar, and cold butter so you get clumps that bake up into little crunchy nuggets, not a fine streusel that disappears once the filling starts to steam.
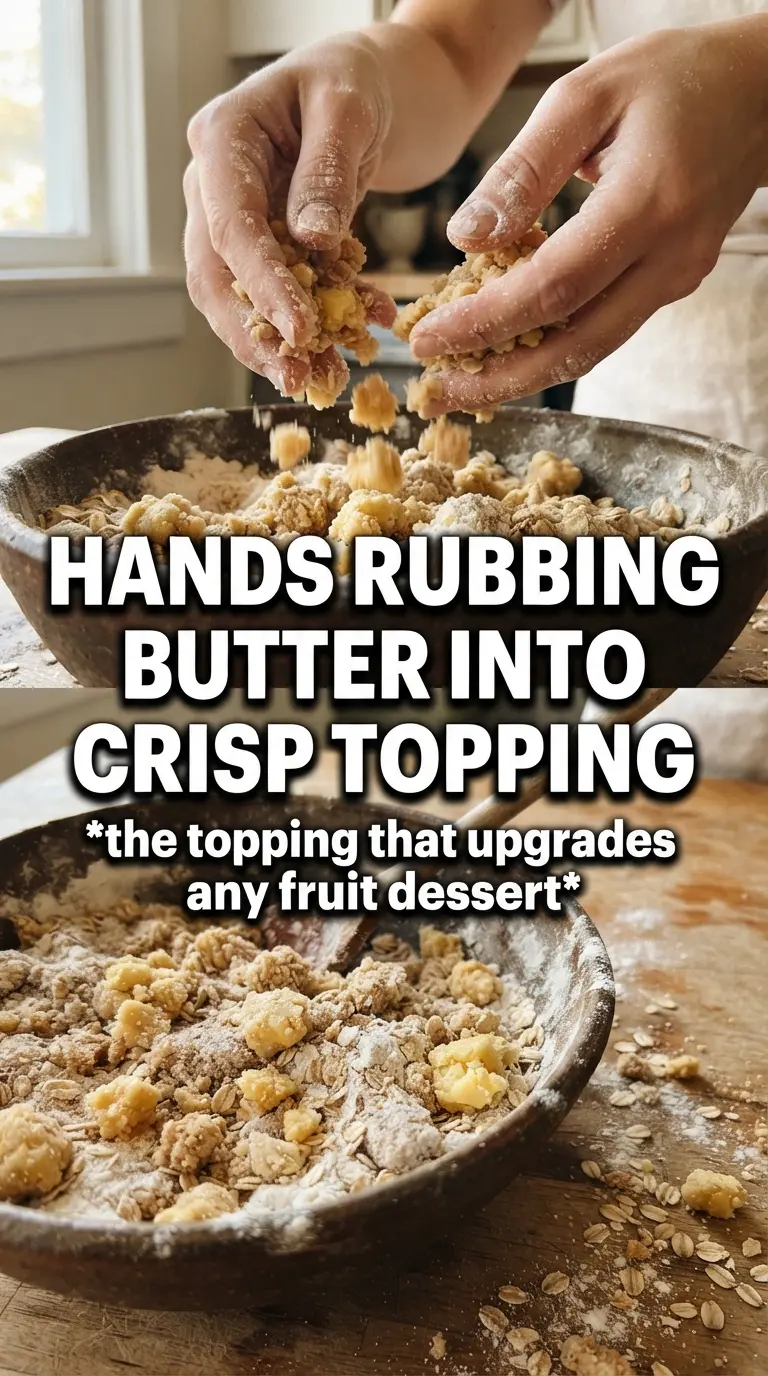
The trick is keeping the butter cold and stopping the mixing before everything turns uniform. A few pea-sized pieces of butter left in the bowl are a good sign, because those pockets melt in the oven and create the craggy texture everyone wants. Brown sugar brings a deeper caramel note, while a little granulated sugar helps the topping bake into sharper, more crackly bits.
Below, I’ve included the exact texture cues to look for, the ingredient swaps that actually work, and the storage notes that make it easy to keep this on hand for a fast dessert.
The topping baked up in big craggy pieces, and it stayed crisp even after the fruit settled. I loved that the butter stayed in little bits instead of turning pasty.
Save this fruit crisp topping for bubbling berry crisps, peach cobblers, and any dessert that needs big buttery crumbles.
The Butter Has to Stay in Pieces for This Topping to Crisp Up
The mistake that ruins fruit crisp topping is overmixing until it looks like damp sand. That texture bakes into a flat layer, and once the fruit starts bubbling underneath, it turns dense instead of crumbly. What you want is a mix of coated dry ingredients and irregular butter pieces that can melt, clump, and set into craggy clusters.
Cold butter is nonnegotiable here. If it softens before the oven, it blends too smoothly into the flour and oats, which means less structure and fewer crunchy pockets. The topping should look uneven and a little messy before baking; that’s what gives you the deep golden finish later.
- Rolled oats — These give the topping its chew and definition. Quick oats can work in a pinch, but the texture will be finer and less rustic.
- All-purpose flour — This holds the mixture together just enough to create clumps. Whole wheat flour works, but it makes the topping heavier and more absorbent.
- Brown sugar — This adds moisture and a caramel note that helps the topping bake into crisp nubbins. Light or dark brown sugar both work; dark brown sugar gives a deeper molasses flavor.
- Cold unsalted butter — This is what creates the crisp, chunky texture. Salted butter is fine if that’s what you have, but skip the extra salt or the topping can taste sharp.
What Each Ingredient Is Actually Doing in the Bowl
- Chopped nuts — Walnuts or pecans add extra crunch and a toasted, buttery note. Keep the pieces fairly small so they distribute evenly and don’t make the topping fall apart.
- Shredded coconut — Coconut adds crisp edges and a little chew once baked. Unsweetened works best because sweetened coconut can push the topping toward cloying.
- Cinnamon and nutmeg — These don’t just flavor the topping; they make the fruit taste sweeter and more complete once baked. Nutmeg is easy to overdo, so keep it at the stated amount.
- Granulated sugar — This helps the topping bake up with a drier, more crackly finish than brown sugar alone. It’s a small addition, but it sharpens the texture.
How to Build the Crumbles So They Bake Into Clusters, Not Dust
Mix the Dry Base First
Combine the oats, flour, brown sugar, granulated sugar, cinnamon, nutmeg, and salt before the butter goes in. That keeps the spices evenly distributed and prevents streaks of floury pockets in the finished topping. If you’re adding nuts or coconut, stir them in now so they get coated too.
Cut in the Butter Until the Mixture Looks Uneven
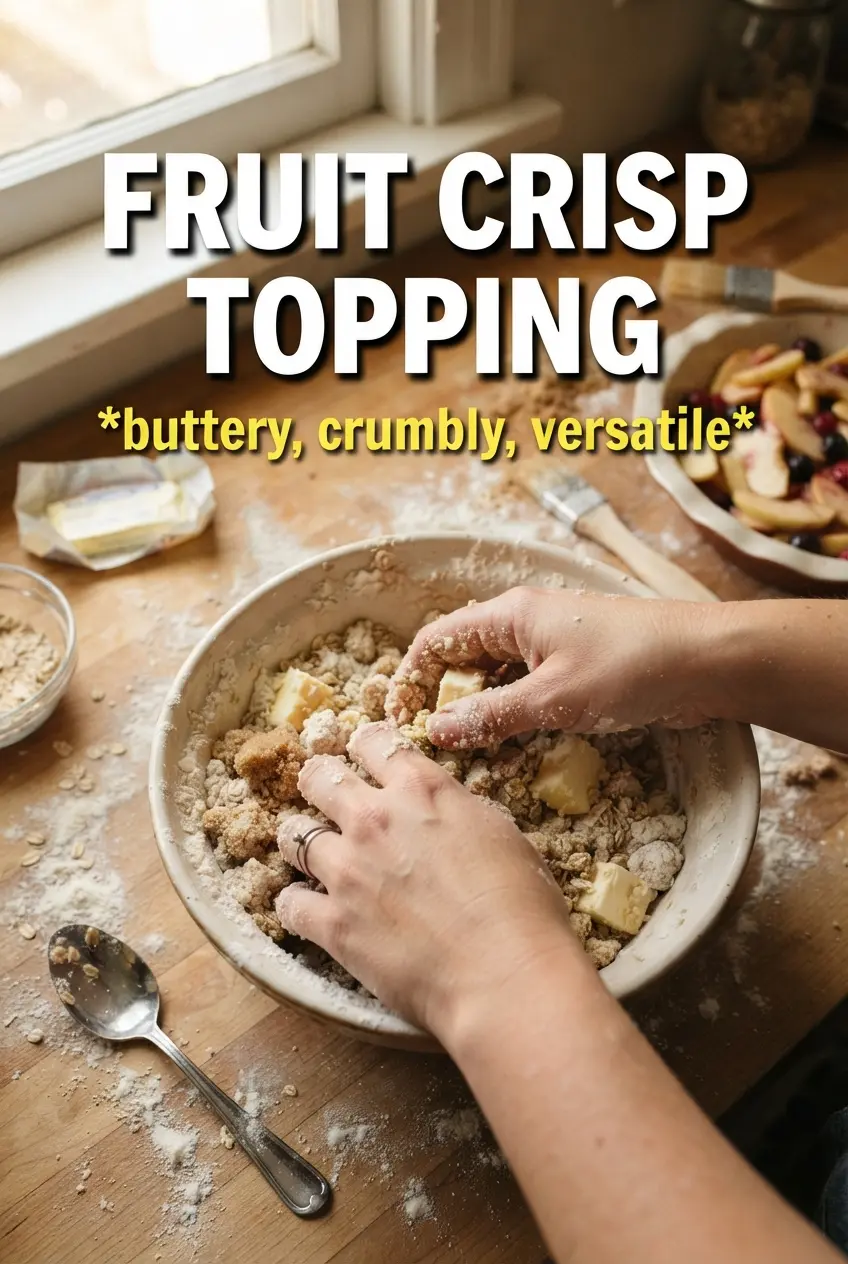
Add the cold cubed butter and work it in with your fingertips, two forks, or a pastry cutter. Stop when the mixture has clumps the size of small grapes and some pea-sized butter pieces still show. If it turns pasty or uniform, it will bake up too dense, so keep your hands moving lightly and don’t warm the butter with prolonged mixing.
Use It Right Away or Chill It Before Baking
Scatter the topping over prepared fruit filling in an even layer, but don’t pack it down. A loose pile gives the fruit steam space and helps the topping crisp instead of sinking. If you’re making it ahead, refrigerate it so the butter stays firm; if it sits at room temperature too long, you lose the texture that makes it work.
Make It Nuttier and More Toasted
Add the chopped nuts listed in the ingredients and use the topping as written. Pecans soften into the crumble and walnuts bring a slightly sharper bite, so this swap adds crunch without changing the structure of the topping.
Go Dairy-Free Without Losing the Crumble
Use a firm dairy-free baking stick instead of butter. Choose one that stays solid when cold, not a soft tub spread, or the mixture will turn greasy and won’t hold those craggy clusters as well.
Make It Gluten-Free
Swap the all-purpose flour for a 1:1 gluten-free baking blend. Rolled oats are naturally gluten-free, but use certified gluten-free oats if cross-contact matters. The texture stays close to the original, though the clumps may be a little more delicate.
Storage and Reheating
- Refrigerator: Store the uncooked topping in an airtight container for up to 5 days. It may firm up a little, which actually helps it hold shape over fruit.
- Freezer: Freeze for up to 3 months in a sealed bag or container. Thaw it in the fridge or use it straight from frozen, breaking up any large clumps before baking.
- Reheating: Bake the assembled crisp at 375°F until the fruit is bubbling and the topping is deeply golden. If the topping starts to darken before the fruit is hot, tent it loosely with foil so it finishes without burning.
Questions I Get Asked About This Recipe
Fruit Crisp Topping
Ingredients
Equipment
Method
- Combine rolled oats, all-purpose flour, brown sugar, granulated sugar, cinnamon, nutmeg, and salt in a large bowl until evenly mixed, with no dry patches remaining.
- Add chopped nuts and shredded coconut if using, then toss to distribute the add-ins evenly throughout the dry mixture.
- Add cold cubed unsalted butter, then work it in with your fingertips, two forks, or a pastry cutter until large chunky clumps form; leaving some pea-sized butter pieces is ideal.
- Preheat the oven to 375°F and scatter the topping evenly over your prepared fruit filling so it covers the surface in a thick layer.
- Bake at 375°F for 35-45 minutes until deeply golden, with visible brown crumb edges and a crisp-looking top.
- If not using right away, refrigerate the topping in an airtight container up to 5 days, or freeze up to 3 months for later use.