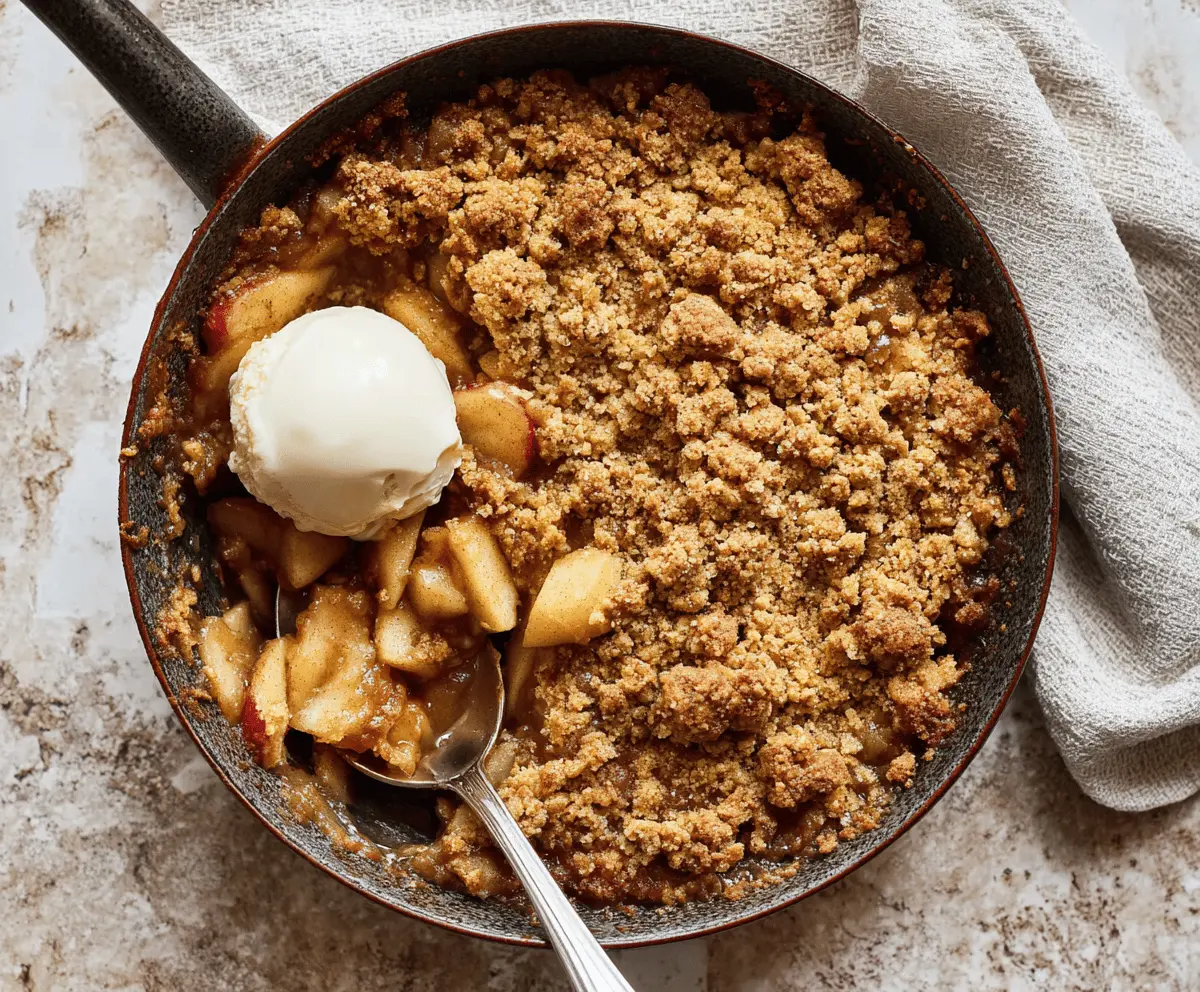
This warm and tasty gluten-free apple crisp is perfect for fall! Made with sweet, juicy apples and a crunchy oat topping, it’s a treat everyone can enjoy.
There’s something magical about the smell of apples baking in the oven! I love serving it warm with a scoop of ice cream on top—yum! 🍏🍦
Key Ingredients & Substitutions
Apples: Granny Smith or Honeycrisp apples are perfect for their balance of sweetness and tartness. If you want a different flavor, try Fuji or Braeburn apples instead!
Lemon Juice: Lemon juice brightens apple flavors and prevents browning. You could use lime juice in a pinch or even apple cider vinegar for a unique twist.
Sugars: A mix of granulated and brown sugar gives the filling depth. If you want to reduce sugar, try using coconut sugar or a sugar substitute like erythritol.
Gluten-Free Oats: Ensure your oats are certified gluten-free to avoid cross-contamination. Quick oats can also work but will yield a different texture.
Almond Flour: Almond flour adds richness. If you don’t have it, try using a gluten-free all-purpose flour blend for a similar outcome, though it might alter the taste slightly.
How Do I Get the Perfect Crisp Topping?
The topping is a critical part of the apple crisp! To achieve that crispy texture, proper mixing and baking are key.
- Mix oats, flour, nuts, and sugar until combined nicely—don’t over-mix!
- Add melted butter and stir just enough to create coarse crumbs. This helps keep it crunchy.
- Spread the topping evenly but don’t pack it down too hard to allow air circulation while baking.
After baking, let it cool a bit to firm up the filling. This will make serving easier and prevent it from being too runny. Enjoy!
Gluten-Free Apple Crisp
Ingredients You’ll Need:
For the Filling:
- 6 cups peeled, cored, and sliced apples (about 6 medium apples; Granny Smith or Honeycrisp work well)
- 2 tablespoons lemon juice
- 1/2 cup granulated sugar
- 1/2 cup light brown sugar, packed
- 1 teaspoon ground cinnamon
- 1/4 teaspoon ground nutmeg
- 1 teaspoon pure vanilla extract
- 1 tablespoon cornstarch (or arrowroot powder) for thickening
For the Topping:
- 1 1/2 cups gluten-free rolled oats
- 1 cup almond flour (or gluten-free all-purpose flour)
- 1/2 cup chopped pecans or walnuts (optional)
- 1/2 cup unsalted butter, melted
- Pinch of salt
For Serving:
- Vanilla ice cream or whipped cream (optional)
How Much Time Will You Need?
This recipe takes about 15 minutes to prep and 40–45 minutes to bake, making a total of around 1 hour for a delicious dessert that’s perfect for family gatherings or cozy nights at home!
Step-by-Step Instructions:
1. Preheat the Oven:
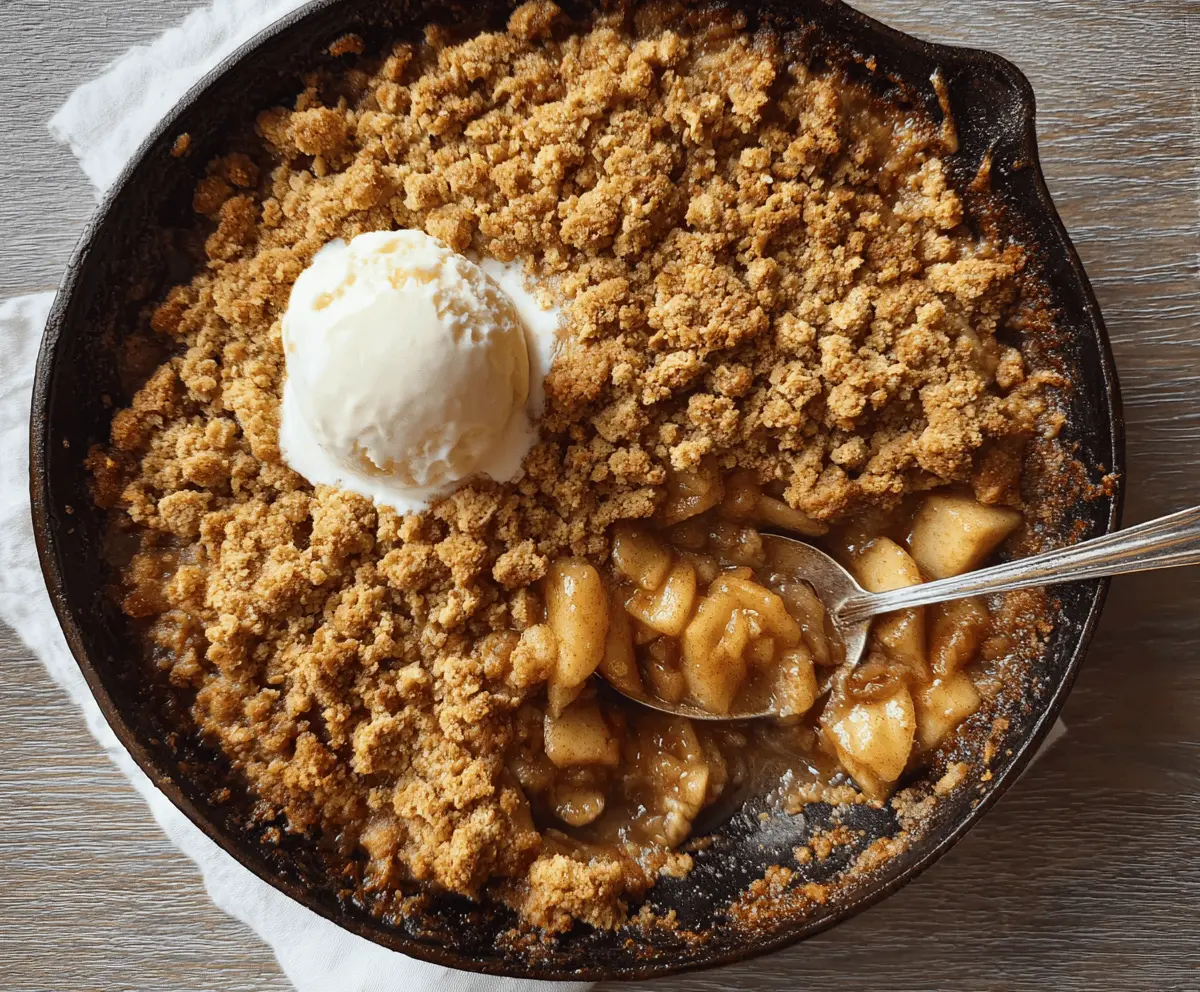
Begin by preheating your oven to 350°F (175°C). Lightly grease a 9-inch cast iron skillet or any baking dish you have on hand; this will help prevent sticking.
2. Prepare the Apples:
In a large bowl, toss your sliced apples with lemon juice. This step is important as it not only prevents the apples from browning but also adds a nice zing to the flavor!
3. Make the Filling:
Next, add the granulated sugar, 1/4 cup of brown sugar, cinnamon, nutmeg, vanilla extract, and cornstarch to the apples. Stir everything together until the apples are well coated with the sweet, aromatic mixture.
4. Transfer to Skillet:
Carefully pour the apple mixture into your prepared skillet, spreading it out evenly so that every bite has a little apple goodness!
5. Mix the Topping:
In a separate bowl, combine the gluten-free oats, almond flour, chopped nuts (if you’re using them), the remaining 1/4 cup of brown sugar, and a pinch of salt. This mix will give you that crunchy topping we all love!
6. Add the Butter:
Now, pour the melted butter over your oat mixture and stir with a fork until it resembles coarse crumbs. This is what makes the topping deliciously crispy!
7. Assemble and Bake:
Sprinkle the topping evenly over the apples in the skillet. Place the skillet in the oven and bake for 40–45 minutes, or until the topping is golden brown and the apple filling is bubbly. The aroma will be heavenly!
8. Cool and Serve:
Once it’s done, remove the skillet from the oven and let it cool for a few minutes before serving. This helps everything set up nicely.
9. Enjoy!
Serve your warm gluten-free apple crisp alone or with a scoop of vanilla ice cream or a dollop of whipped cream for an extra treat. Enjoy every bite of this comforting dessert!
Can I Use Different Types of Apples?
Absolutely! While Granny Smith and Honeycrisp are great choices for their balance of sweetness and tartness, you can also experiment with Fuji, Braeburn, or Jonagold apples for unique flavors.
How Can I Make This Recipe Dairy-Free?
You can easily make the apple crisp dairy-free by substituting the unsalted butter with coconut oil or a dairy-free butter alternative. The dish will still have that delightful crisp topping!
What Should I Do with Leftover Apple Crisp?
Store any leftovers in an airtight container in the fridge for up to 3 days. To reheat, simply warm it in the oven or microwave until heated through. A scoop of ice cream can freshen it up nicely if you like!
Can I Prepare This Ahead of Time?
Yes! You can prepare the apple filling and topping separately. Assemble the crisp and refrigerate it before baking, then bake it fresh when you’re ready to serve. Just remember to add a few extra minutes to the baking time if it’s cold from the fridge!