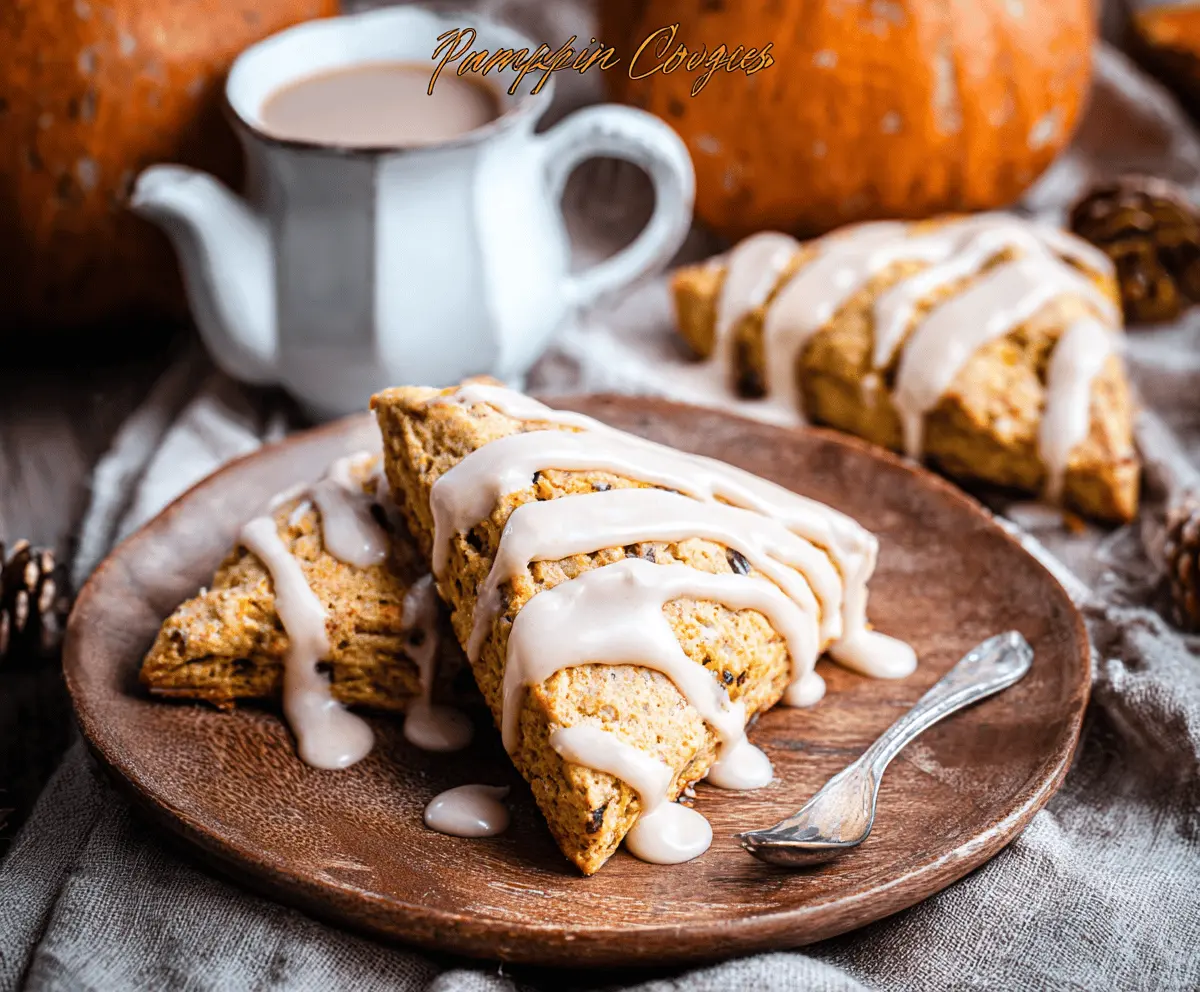
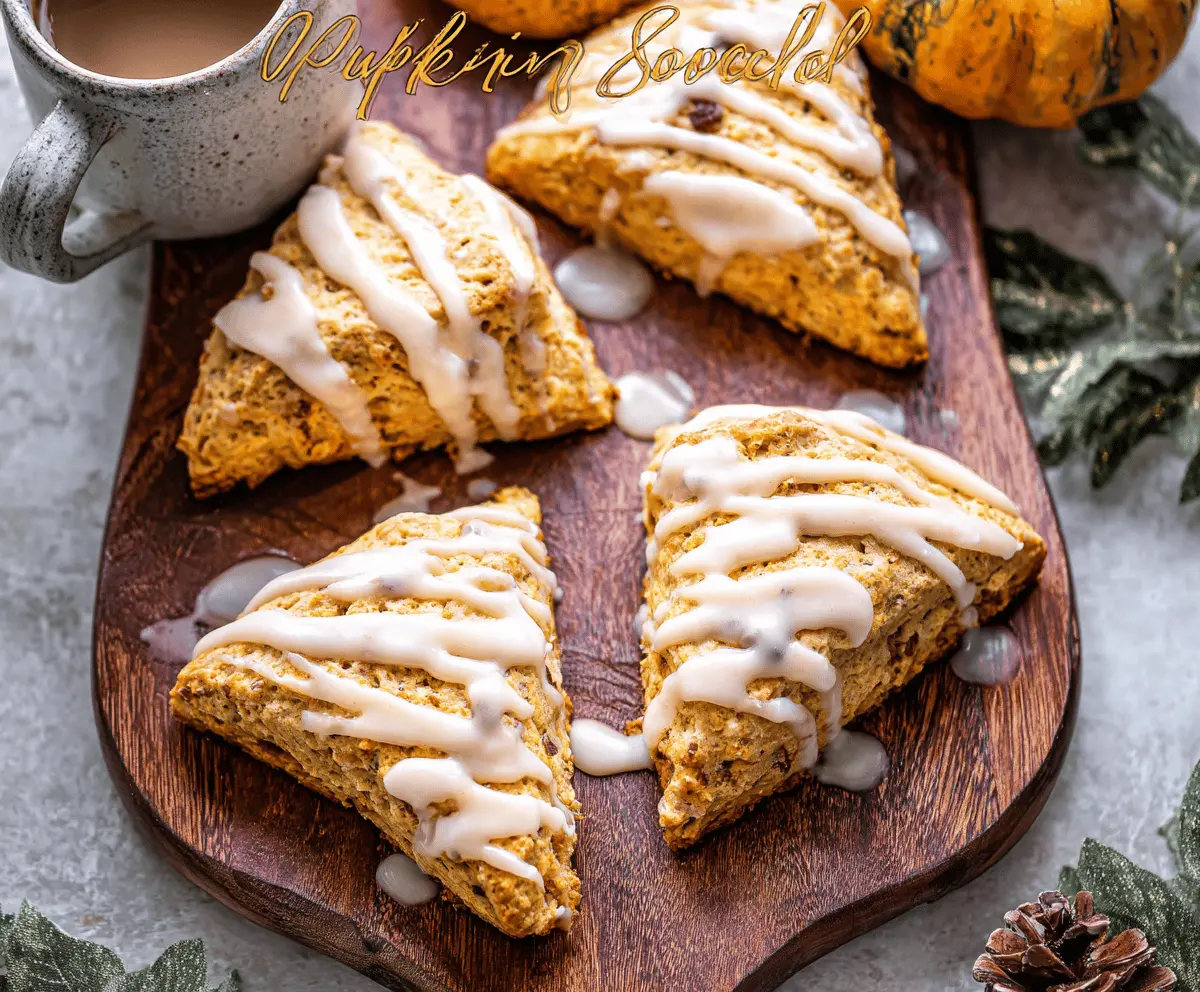
These pumpkin scones are fluffy, warm, and filled with the cozy flavors of fall! Topped with sweet maple icing, they’re perfect for a treat any time of the day.
Who can resist the yummy smell of pumpkin baking? I love serving these fresh out of the oven with a cup of tea. A little sprinkle of cinnamon on top makes them even better!
Key Ingredients & Substitutions
All-purpose flour: This is the base of the scones. If you’re looking for a gluten-free option, you can substitute with a 1:1 gluten-free flour blend. Just keep in mind that the texture might vary slightly!
Pumpkin puree: Make sure to use canned pumpkin puree, not pumpkin pie filling. If you want to switch it up, you can use mashed sweet potato or butternut squash as a great alternative.
Butter: Unsalted butter is my go-to, but if you need a dairy-free version, coconut oil or vegan butter works well. Just ensure it’s cold, much like the butter.
Nuts: I enjoy adding pecans or walnuts for a nice crunch, but if nuts aren’t your thing, you can simply leave them out or replace them with chocolate chips for a different flavor!
How Do You Get Perfectly Fluffy Scones?
The key to fluffy scones is handling the dough gently and not overmixing. Here’s how to do it right:
- When mixing the butter into the flour, aim for a coarse crumb texture. This means some butter pieces should still be visible.
- Once you add the wet ingredients, stir just until combined. Overmixing will lead to dense scones.
- Chill the dough briefly if it’s too warm; this helps with flaky layers.
- Cutting the dough into wedges without pressing too hard will keep the air inside, giving you that lovely, fluffy texture.
Follow these tips and enjoy deliciously light pumpkin scones every time! They’re a wonderful treat for any gathering, or just for yourself as a special breakfast.
How to Make Pumpkin Scones with Maple Icing
Ingredients You’ll Need:
For The Pumpkin Scones:
- 2 cups all-purpose flour
- 1/3 cup granulated sugar
- 1 tablespoon baking powder
- 1/2 teaspoon salt
- 1 teaspoon ground cinnamon
- 1/2 teaspoon ground nutmeg
- 1/4 teaspoon ground ginger
- 1/4 teaspoon ground cloves (optional)
- 6 tablespoons cold unsalted butter, cut into small cubes
- 1/2 cup canned pumpkin puree (not pumpkin pie filling)
- 1 large egg
- 1 teaspoon vanilla extract
- 1/4 cup heavy cream, plus extra for brushing
- 1/2 cup chopped pecans or walnuts (optional)
For The Maple Icing:
- 1 cup powdered sugar
- 2-3 tablespoons pure maple syrup
- 1-2 teaspoons milk or cream (to adjust consistency)
- 1/2 teaspoon vanilla extract (optional)
How Much Time Will You Need?
This delicious recipe takes about 15 minutes for prep and 15-20 minutes for baking, so you’ll have warm, fresh scones ready in just about 30-35 minutes. Plus, you can let the icing set while your scones cool, making it a breeze!
Step-by-Step Instructions:
1. Preheat Your Oven:
Start by preheating your oven to 400°F (200°C). While that’s heating up, line a baking sheet with parchment paper to keep the scones from sticking.
2. Mix the Dry Ingredients:
In a large bowl, whisk together the flour, sugar, baking powder, salt, cinnamon, nutmeg, ginger, and cloves. This step ensures that all your spices and rising agents are evenly distributed.
3. Cut in the Butter:
Add the cold butter cubes into the dry mixture. Using a pastry cutter or your fingertips, mix the butter until it resembles coarse crumbs. You want some small pea-sized pieces of butter to stay intact for flaky scones!
4. Combine Wet Ingredients:
In a separate bowl, whisk together the pumpkin puree, egg, vanilla extract, and heavy cream until everything is well mixed.
5. Combine Wet and Dry Mixtures:
Pour the pumpkin mixture into the flour mixture. Stir gently with a spoon until just combined—don’t overmix! If you want, fold in the chopped nuts at this point.
6. Shape the Dough:
Turn your dough out onto a lightly floured surface. Pat or roll the dough into an 8-inch circle about 1-inch thick. With a sharp knife, cut the circle into 8 equal wedges, just like you’re cutting a pizza!
7. Prepare to Bake:
Place the wedges on your prepared baking sheet. For a nice golden top, brush the tops lightly with some extra heavy cream.
8. Bake Your Scones:
Bake in your preheated oven for 15-20 minutes. They should be golden brown and a toothpick inserted into the center will come out clean. Keep an eye on them; you want them fluffy and lightly browned!
9. Cool Down:
Once they’re baked, remove them from the oven and let them cool on a wire rack. This will help them stay fluffy!
10. Make the Maple Icing:
While your scones cool, it’s time to whip up the icing. In a small bowl, mix together the powdered sugar and maple syrup. Add a splash of milk or cream until you reach a drizzling consistency. If you like, you can stir in a little vanilla extract too!
11. Drizzle the Icing:
Once the scones are cool, drizzle the maple icing over the top. Let the icing set for a few minutes before serving.
Enjoy your warm pumpkin scones drizzled with sweet maple icing—perfect with a cup of tea or coffee!
Can I Use Canned Pumpkin Pie Filling Instead of Pumpkin Puree?
No, it’s best to use canned pumpkin puree, not pumpkin pie filling, as the filling contains added sugars and spices that could alter the flavor and texture of the scones.
Can I Make These Scones Ahead of Time?
Absolutely! You can prepare the scone dough, cut it into wedges, and store them in the fridge for up to 2 days before baking. Just bake them fresh when you’re ready to enjoy!
How Do I Store Leftover Scones?
Store any leftover scones in an airtight container at room temperature for up to 2 days. If you want them to last longer, you can freeze them for up to 3 months. Just make sure to thaw at room temperature before enjoying.
Can I Substitute the Heavy Cream in the Icing?
Yes, you can substitute the heavy cream with milk or a non-dairy milk alternative. However, keep in mind that the consistency of the icing may vary slightly; you may need to adjust the amount to reach your desired drizzling consistency.