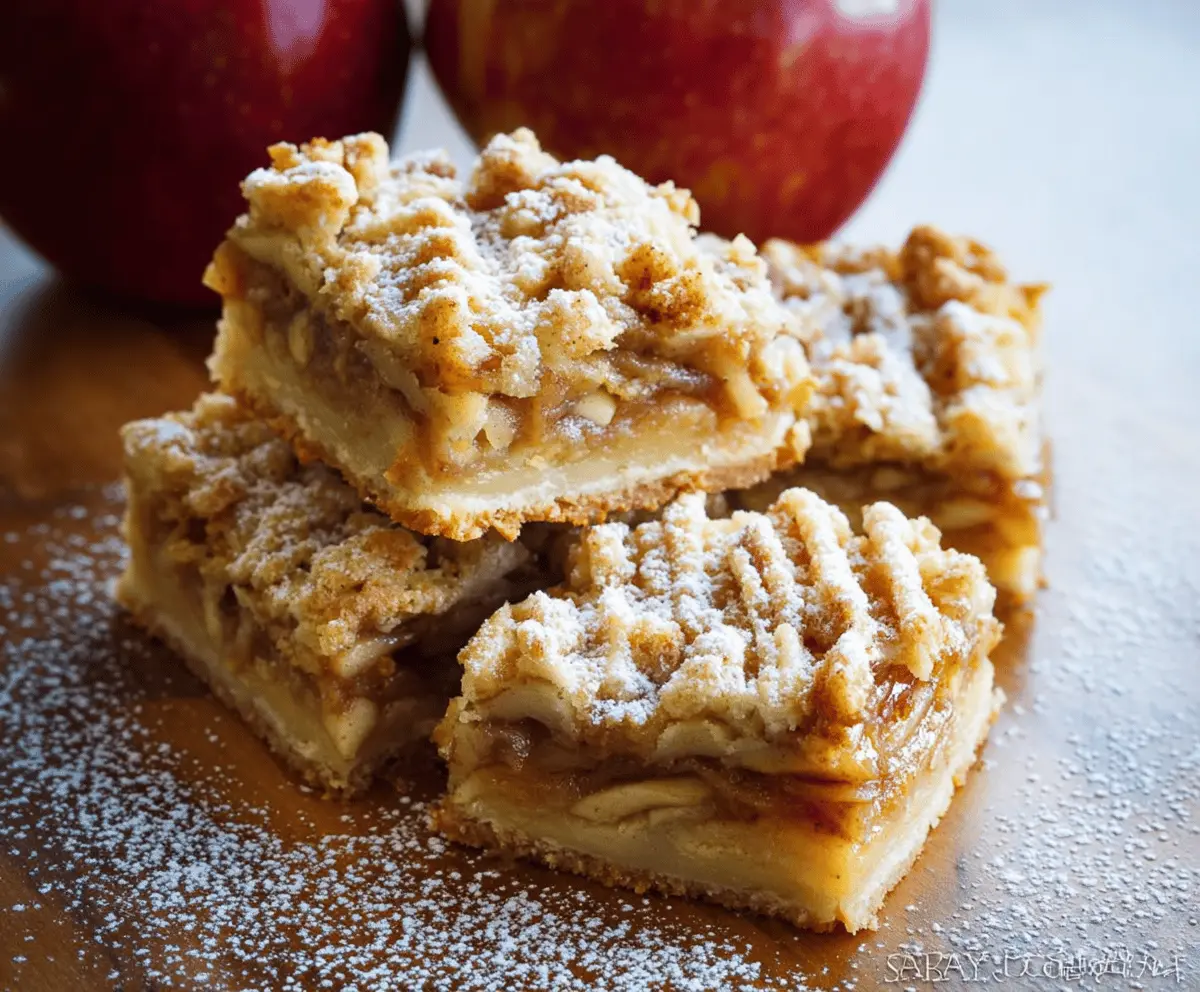
These apple pie bars are like a cozy hug in dessert form! With tender apples, sweet cinnamon, and a buttery crust, they’re so inviting. You’ll want to grab a slice—or two!
Making these is a breeze! I love how I can serve them warm with ice cream on top. Trust me, it’s the ultimate treat for any day. Who doesn’t love apple pie, right? 🍏🥧
Key Ingredients & Substitutions
All-Purpose Flour: The base of your crust. If you’re gluten-free, you can substitute with a gluten-free flour blend. I’ve found that blends work well to create a similar texture.
Apples: Granny Smith and Fuji are my favorites for their perfect balance of sweetness and tartness. If you’re looking for alternatives, Honeycrisp or Cortland apples also work great. Just avoid mushy varieties!
Butter: Using unsalted butter gives you control over the saltiness in your bars. If you’re out of butter, coconut oil or margarine can substitute, but take note that flavor may differ slightly.
Brown Sugar: It adds a deeper sweetness. If you’re in a pinch, you can replace it with regular sugar mixed with a bit of molasses or honey for a similar flavor.
What’s the Best Way to Prepare the Apples for My Pie Bars?
Preparing the apples is a straightforward but key step! You want to ensure they’re nicely coated in the right ingredients for the perfect flavor combo.
- First, peel and slice the apples thinly. This helps them cook evenly.
- Then, toss the slices in lemon juice, which prevents browning and adds a nice zing!
- Mix in brown sugar, flour, cinnamon, and nutmeg. The flour helps absorb juices during baking, so your filling isn’t too runny.
- Make sure everything is well combined before spreading it on the crust.
Trust me, nice slices and proper seasoning make all the difference in your apple pie bars!
How to Make Delicious Apple Pie Bars
Ingredients You’ll Need:
For the Crust:
- 2 cups all-purpose flour
- 1/2 cup granulated sugar
- 1/4 teaspoon salt
- 1 cup (2 sticks) unsalted butter, cold and cut into cubes
For the Apple Filling:
- 3 cups peeled and thinly sliced apples (like Granny Smith or Fuji)
- 2/3 cup brown sugar, packed
- 1 teaspoon ground cinnamon
- 1/4 teaspoon ground nutmeg
- 1 tablespoon lemon juice
- 1 tablespoon all-purpose flour (for filling)
For Dusting:
- Powdered sugar, for dusting
How Much Time Will You Need?
This recipe takes around 15 minutes for prep and about 45-50 minutes to bake. After baking, it’s best to let the bars cool for a bit before cutting into them—so overall, you’re looking at about 1.5 hours from start to enjoying your delicious treat!
Step-by-Step Instructions:
1. Preheat Your Oven:
Start by preheating your oven to 350°F (175°C). While it’s heating, get your 9×13-inch baking pan ready by greasing and flouring it. This will help your bars come out easily.
2. Make the Crust:
In a large bowl, mix together the 2 cups of flour, granulated sugar, and salt. Next, add in the cold butter cubes. Using a pastry cutter or your fingers, blend it until the mixture looks like coarse crumbs. This will create the base of your crust.
3. Press the Crust into the Pan:
Take about two-thirds of your crumb mixture and press it firmly across the bottom of the prepared pan. This is your base layer that will hold all the deliciousness together!
4. Prepare the Apple Filling:
In another bowl, add the sliced apples. Toss them with lemon juice, brown sugar, 1 tablespoon of flour, cinnamon, and nutmeg. Make sure the apples are evenly coated in the mixture—this adds wonderful flavor!
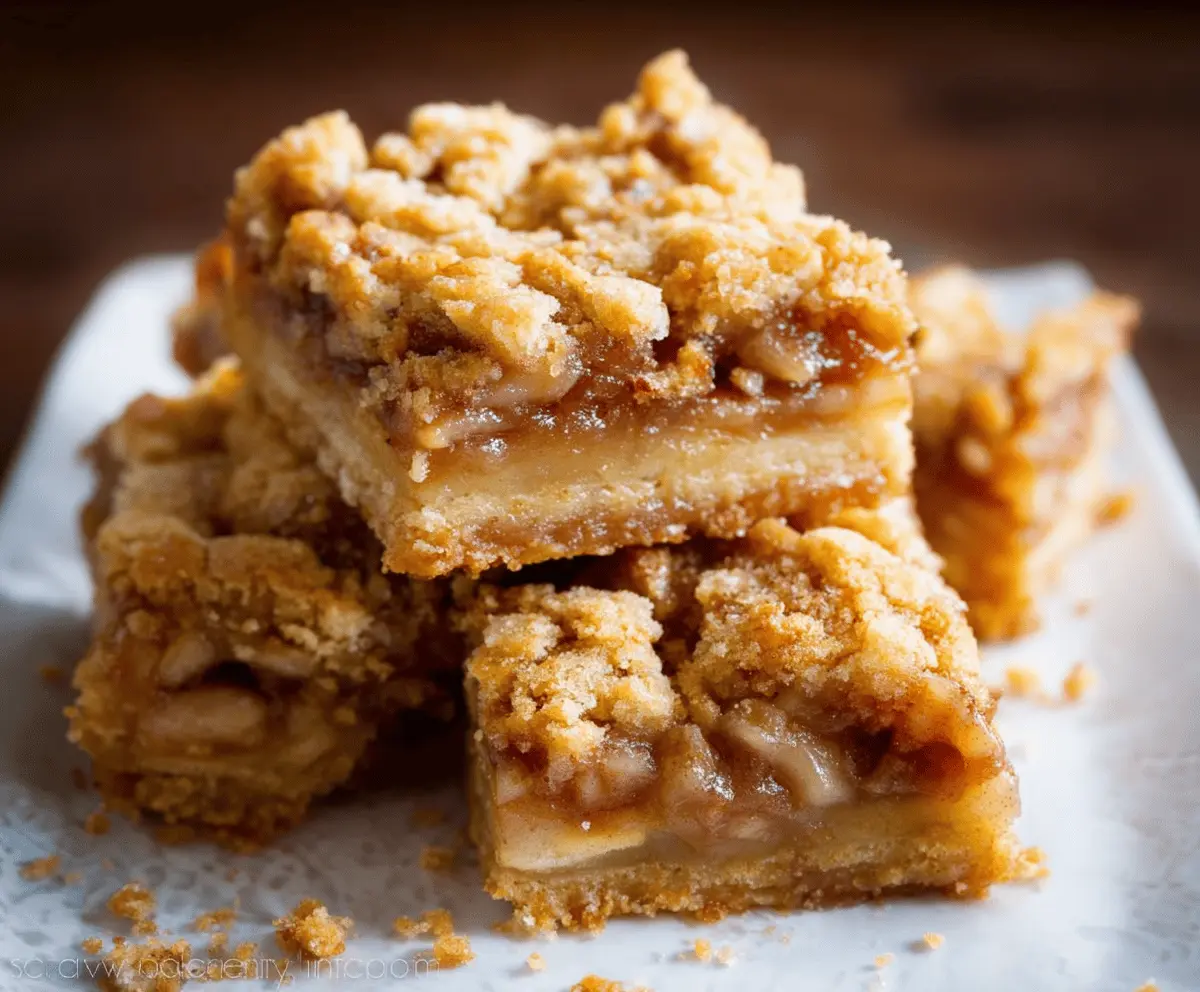
5. Assemble Your Bars:
Spread the apple mixture evenly over the crust layer in the pan. Then, crumble the remaining crust mixture on top of the apples, gently pressing down to form a nice layer.
6. Bake and Cool:
Pop your pan in the oven and bake for 45-50 minutes. You’ll know it’s ready when the top is golden brown, and the filling is bubbling. Once done, take it out and let it cool completely on a wire rack.
7. Serve and Enjoy:
When cool, cut the pie bars into squares. Before serving, dust them generously with powdered sugar. Now, grab a slice and enjoy your delicious handheld treat!
These apple pie bars are perfect for any occasion and are sure to be a hit. Happy baking! 🍏🥧
Can I Use Different Types of Apples?
Absolutely! While Granny Smith and Fuji are great choices for a balance of sweetness and tartness, you can also use Honeycrisp, Cortland, or any firm apple variety. Just avoid using overly soft apples to ensure the filling holds its shape!
Can I Make This Recipe Gluten-Free?
Definitely! Swap the all-purpose flour for a gluten-free all-purpose blend, and ensure that your other ingredients, like the baking powder (if using any), are also gluten-free. This will help you achieve a similar texture and taste!
What If I Want to Add More Spices?
If you love spices, feel free to add more! Consider incorporating ginger, allspice, or even a pinch of cloves. Just start with small amounts; you can always adjust according to your taste preferences!
How Can I Store Leftover Apple Pie Bars?
Store any leftovers in an airtight container at room temperature for up to 3 days. If you want them to last longer, you can refrigerate them for up to a week. Reheat in the microwave or enjoy them cold—both ways are delicious!