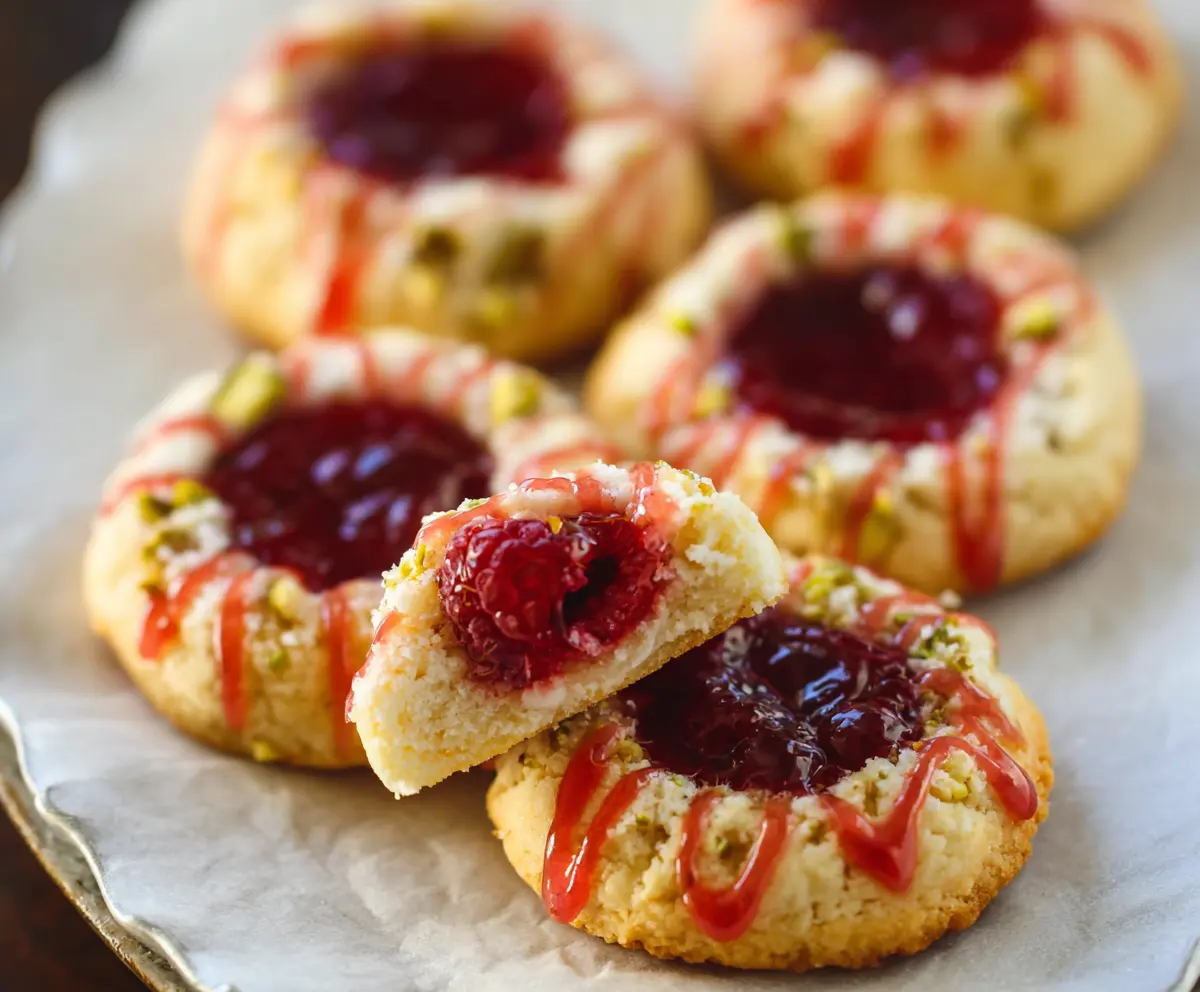
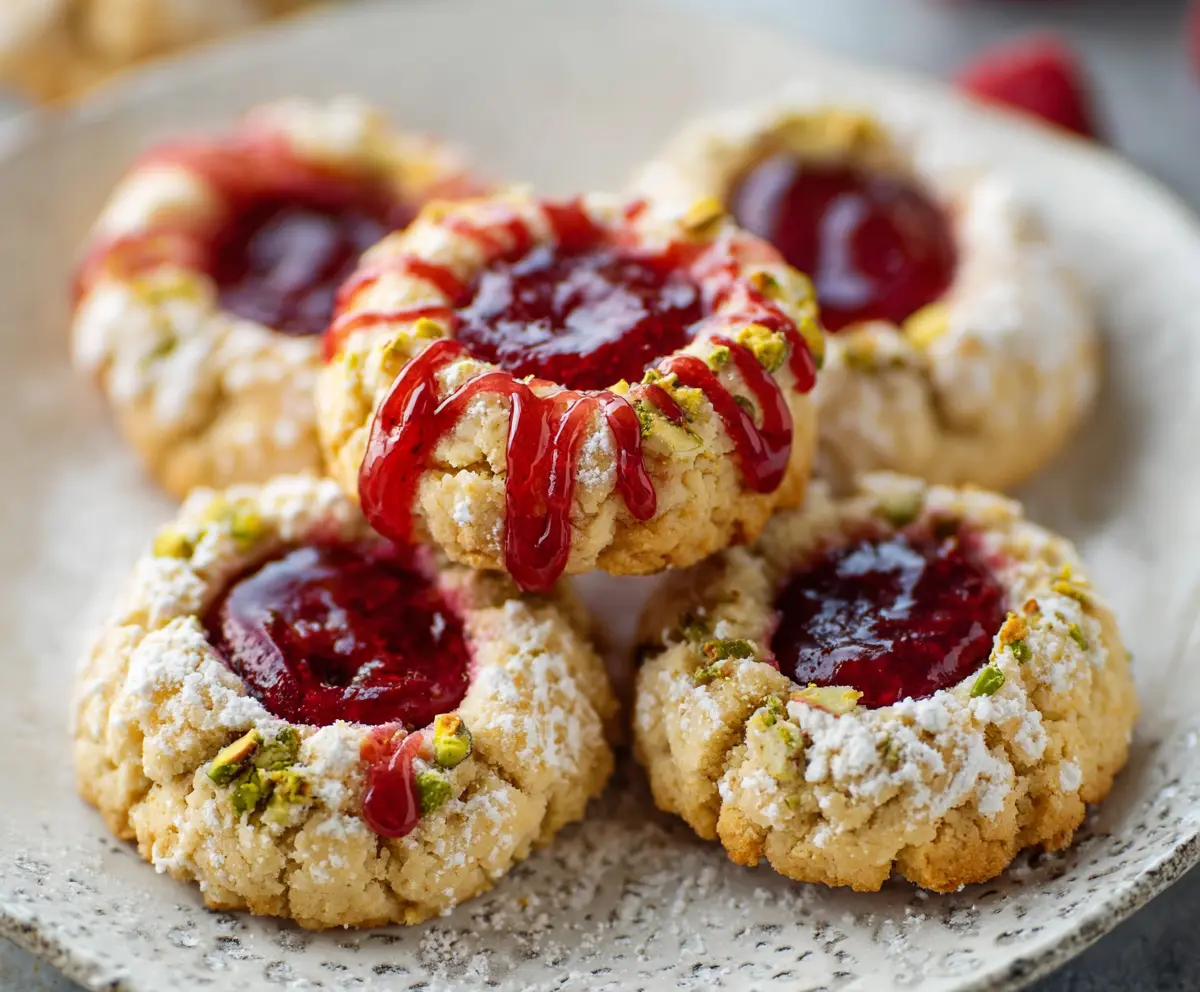
These Italian Raspberry Thumbprint Cookies are chewy and delicious. The sweet raspberry jam in the center makes each bite a little piece of heaven!
Making these cookies is such a joy! I love how they look and taste, plus they make my kitchen smell amazing. Perfect for sharing or just for me! 🍪
Key Ingredients & Substitutions
Butter: Use unsalted butter for the best flavor. If you’re dairy-free, try using a plant-based butter. It works well too and keeps the cookies moist.
Sugar: Granulated sugar gives these cookies the right texture. Brown sugar can be used for added moisture and a hint of caramel flavor, but it will change the color a bit.
Raspberry Jam: Seedless jam enhances the smooth texture. You can substitute it with other berry jams like strawberry or apricot if you prefer something different.
Pistachios: Chopped pistachios add a nice crunch and color. If you have nut allergies, leave them out or swap for finely chopped peppermint candies or coconut flakes.
How Do I Create a Perfect Thumbprint?
Making the thumbprint indentation correctly is key to a beautifully filled cookie! Here’s how:
- Use a gentle touch: Instead of using too much force, press lightly in the center of the dough ball to create a well for the jam.
- Don’t press all the way down: Keep it deep enough for the jam, but avoid going through the bottom, which will help keep the filling from leaking out.
- A spoon can help: If your thumb is too big for the dough, use a small spoon to create the indentation.
These tips will ensure that each cookie has just the right amount of raspberry filling to enjoy!
Italian Raspberry Thumbprint Cookies
Ingredients You’ll Need:
For the Cookies:
- 1 cup (2 sticks) unsalted butter, softened
- 2/3 cup granulated sugar
- 2 large eggs
- 2 teaspoons pure vanilla extract
- 2 cups all-purpose flour
- 1/2 teaspoon baking powder
- 1/4 teaspoon salt
- 3/4 cup raspberry jam (seedless preferred)
- 1/3 cup chopped pistachios (optional, for coating)
For Toppings:
- Fresh raspberries (optional, for garnish)
- Raspberry glaze or drizzle (optional, made from raspberry jam diluted with a little water)
How Much Time Will You Need?
This delightful recipe takes about 30 minutes of prep time and an additional 15-18 minutes of baking time. Allow some extra time for cooling. You’ll have delicious cookies ready in under an hour, perfect for sharing (or keeping all to yourself!).
Step-by-Step Instructions:
1. Preheat the Oven:
Start by preheating your oven to 350°F (175°C). This is the perfect temperature for baking these lovely cookies. While the oven heats up, prepare your baking sheet by lining it with parchment paper to prevent sticking.
2. Cream Butter and Sugar:
In a large mixing bowl, combine the softened butter and granulated sugar. Use a hand mixer or a whisk to cream them together until the mixture is light and fluffy, which should take about 3-4 minutes. This step helps to incorporate air for soft cookies!
3. Add Eggs and Vanilla:
Next, beat the eggs into the mixture one at a time, ensuring each is fully incorporated before adding the next. Then, stir in the pure vanilla extract for wonderful flavor!
4. Mix Dry Ingredients:
In a separate bowl, whisk together the all-purpose flour, baking powder, and salt. This helps to evenly distribute the baking powder and ensures a light texture in your cookies.
5. Combine Wet and Dry Ingredients:
Gradually add the dry flour mixture to the wet ingredients, mixing until you form a soft dough. Don’t overmix, just combine until there are no dry spots left!
6. Prepare for Coating:
If you’re using the chopped pistachios, place them in a small bowl now. This will add a lovely crunch and flavor to your cookies.
7. Shape the Dough:
Scoop the dough into 1-inch balls. Roll each ball gently in the chopped pistachios to coat the edges, giving them a nice crunch and a beautiful look!
8. Arrange on Baking Sheet:
Place the coated dough balls on your prepared baking sheet, spaced about 2 inches apart to allow room for spreading.
9. Create Indentations:
Using your thumb or the back of a small spoon, gently create an indentation in the center of each dough ball. Make sure not to press all the way through the bottom.
10. Add the Raspberry Jam:
Fill each indentation with about 1 teaspoon of raspberry jam. This sweet filling is what makes each cookie special!
11. Bake the Cookies:
Bake in the preheated oven for 15-18 minutes or until the edges are lightly golden brown. Keep an eye on them so they don’t overbake!
12. Cool Down:
When the cookies are done, remove them from the oven and let them cool on the baking sheet for about 5 minutes. Then gently transfer them to a wire rack to cool completely.
13. Optional Glaze:
If you’d like to add a raspberry glaze, thin some raspberry jam with a tablespoon of warm water, stir until smooth, and drizzle it over the cooled cookies.
14. Garnish and Serve:
For an extra touch, you can garnish each cookie with a fresh raspberry before serving. Enjoy these delicious thumbprint cookies with family or friends, or keep them as a delightful treat for yourself!
With their tender, buttery texture and sweet raspberry center, these Italian Raspberry Thumbprint Cookies are a classic treat that everyone will love!
Can I Use Different Flavors of Jam?
Absolutely! While raspberry is a classic choice, feel free to experiment with other fruit jams like strawberry, apricot, or blueberry for a delicious twist on these cookies.
How Should I Store Leftover Cookies?
Store any leftover cookies in an airtight container at room temperature for up to a week. If you want to keep them fresh for longer, you can freeze them for up to three months.
Can I Make These Cookies Gluten-Free?
Yes! To make gluten-free thumbprint cookies, substitute all-purpose flour with a gluten-free flour blend. Just make sure your jam is also labeled gluten-free.
What If My Dough is Too Sticky?
If your dough feels too sticky, try chilling it in the refrigerator for about 30 minutes. This will make it easier to handle and shape the cookies without sticking to your hands.