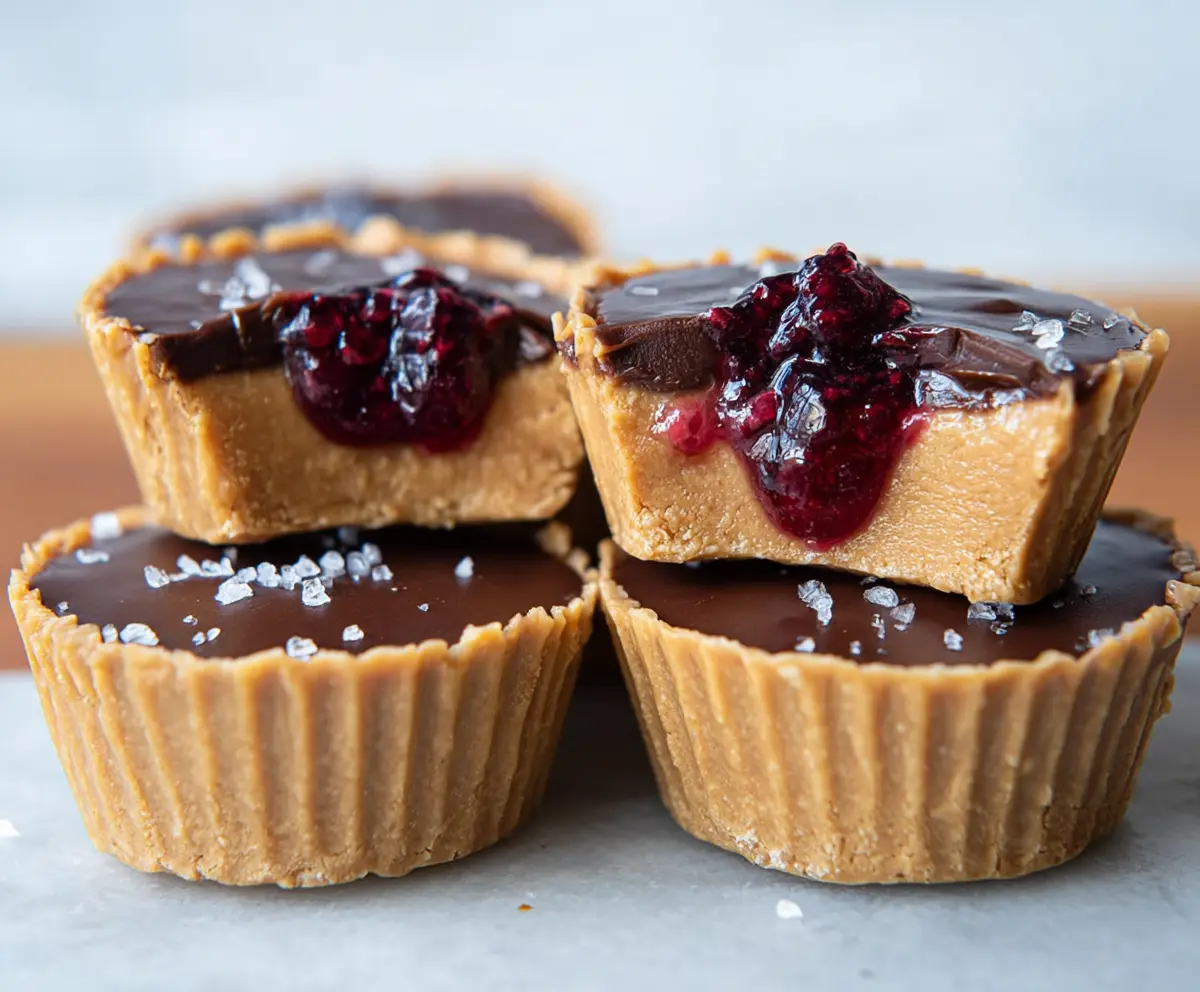
These Healthy Peanut Butter and Jelly Cups are a tasty and fun treat! With creamy peanut butter, a touch of sweetness, and jelly, they bring your childhood favorites to life.
They are so easy to make, even I can whip them up! Just layer peanut butter and jelly in cute cups, and you’re ready to enjoy. Perfect for snacks or dessert!
Key Ingredients & Substitutions
Natural Creamy Peanut Butter: I recommend using peanut butter with just peanuts and salt for a clean taste. If you have nut allergies, try almond butter or sunflower seed butter instead!
Pure Maple Syrup or Honey: Both sweeteners work well, but maple syrup is vegan-friendly. If you’re cutting down on sweeteners, you can use mashed ripe bananas for sweetness, though it may change the texture.
Coconut Flour: This flour helps to thicken the mix. If you don’t have coconut flour, you could use almond flour, but you may need to adjust the amount since it’s less absorbent.
Mixed Berry Jelly or Jam: For a healthier option, look for sugar-free varieties or make your own fruit compote. Any jelly flavor can work—be adventurous!
Dark Chocolate Chips: Using dark chocolate is a great choice for this recipe. If you’re dairy-free, look for vegan chocolate chips. You could also sprinkle cocoa powder for a lighter option.
How Do You Ensure Your Peanut Butter Cups Are Set Perfectly?
Getting the right consistency for these cups is key to enjoying them. Follow these steps for the best results:
- When mixing the peanut butter and sweetener, aim for a creamy texture without lumps; it should easily mold into cups.
- Press the peanut butter mixture firmly into the muffin liners to create a strong base that holds its shape.
- Be gentle with the jelly layer; place it carefully in the center, avoiding mixing it with the peanut butter—this keeps layers distinct.
- Let the chocolate melt fully and cool slightly before pouring it over the jelly; this ensures it spreads evenly.
- Pop them in the fridge for at least an hour to set completely. If you can, leave them longer for an even firmer result.
These tips will help you make peanut butter and jelly cups that are deliciously rich and perfectly set—no messy spills!
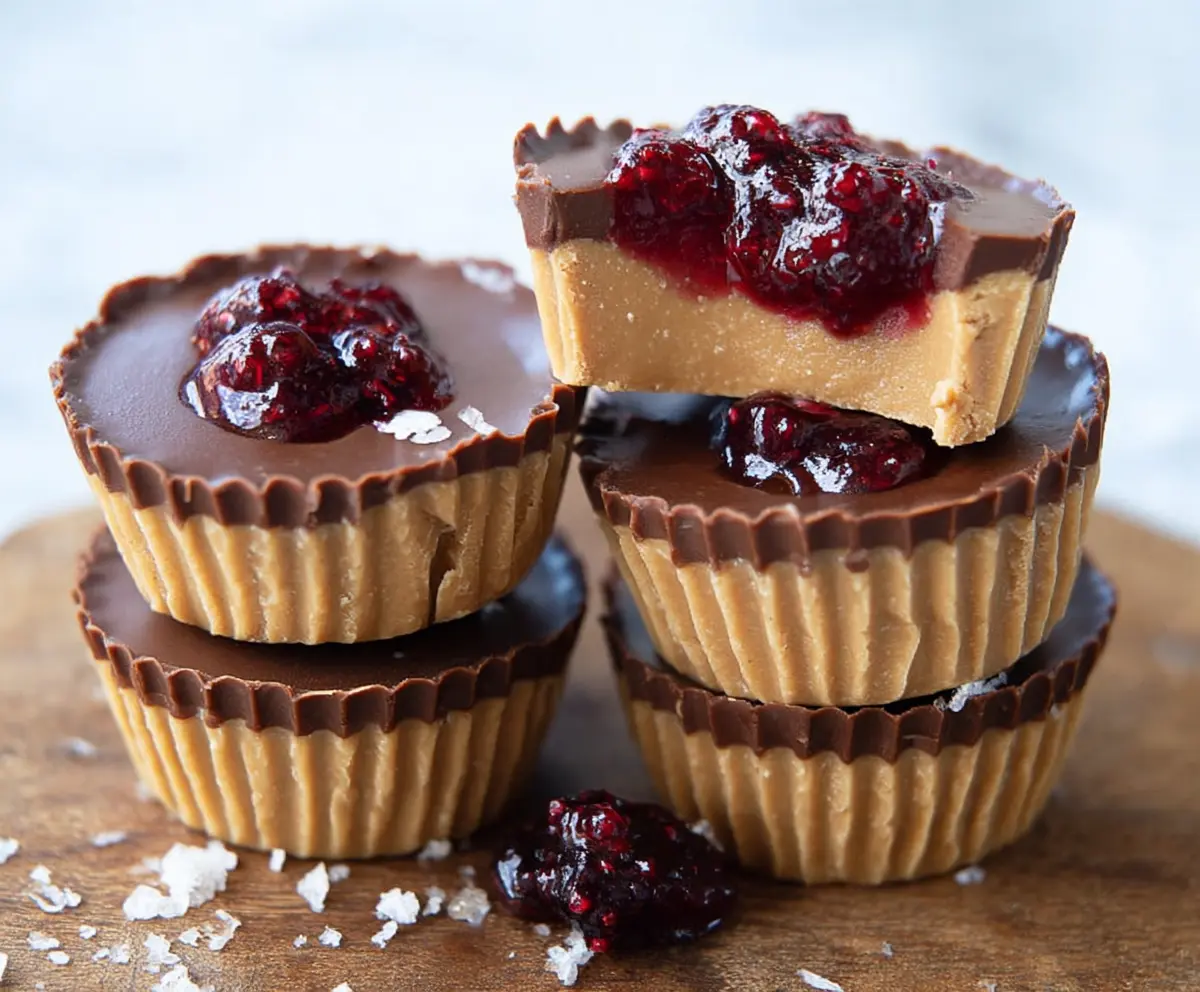
Healthy Peanut Butter And Jelly Cups
Ingredients You’ll Need:
- 1 cup natural creamy peanut butter (no added sugar or oils)
- 1/4 cup pure maple syrup or honey
- 1/4 cup coconut flour (to thicken the peanut butter base)
- 1/2 cup mixed berry jelly or jam (preferably sugar-free or low sugar)
- 1/2 cup dark chocolate chips (70% cocoa or higher)
- 1 teaspoon coconut oil (optional, to melt with chocolate for smooth topping)
- Sea salt flakes for garnish
How Much Time Will You Need?
This delightful recipe takes about 15 minutes to prepare, plus at least 1 hour to chill in the refrigerator. In total, you’re looking at around 1 hour and 15 minutes before you can enjoy your tasty cups. Perfect for a quick treat!
Step-by-Step Instructions:
1. Prepare Your Muffin Tin:
Start by lining a muffin tin with paper liners or use silicone cupcake molds. This will help you easily remove the cups later on.
2. Mix the Peanut Butter Base:
In a mixing bowl, combine the creamy peanut butter and your choice of maple syrup or honey. Stir them together until the mixture is nice and smooth.
3. Add Coconut Flour:
Gradually sprinkle in the coconut flour, mixing as you go. Keep stirring until the mixture thickens up and resembles a dough. This should only take a minute or two!
4. Form the Peanut Butter Cups:
Take about 1 to 1.5 tablespoons of the peanut butter mixture and press it into the bottom and up the sides of each muffin liner. Think of it as forming a little cup for all the yummy layers!
5. Add the Jelly Layer:
Now, add about 1 teaspoon of mixed berry jelly into the center of each peanut butter cup. Be gentle and press it down just a little—try not to mix it with the peanut butter layer.
6. Melt the Chocolate:
In a microwave-safe bowl, combine the dark chocolate chips and coconut oil (if using). Melt them together in the microwave, using 20-second bursts, stirring in between until everything is smooth and velvety.
7. Pour the Chocolate On Top:
Carefully pour the melted chocolate over the jelly layer in each cup. Spread it lightly so that the chocolate evenly covers the top of each cup.
8. Add a Touch of Salt:
Sprinkle a pinch of sea salt flakes on top of each chocolate-covered cup to give it a little extra flavor! It’s a delightful contrast to the sweetness.
9. Chill to Set:
Place your muffin tin in the refrigerator for at least 1 hour. This will allow the cups to firm up and make them easier to eat.
10. Enjoy Your Treats:
Once set, carefully remove the cups from the liners and serve them chilled. If you have any leftovers, store them in an airtight container in the fridge for a later snack. Enjoy your delicious, nourishing Peanut Butter and Jelly Cups!
These Healthy Peanut Butter and Jelly Cups are a fun and satisfying way to enjoy a classic flavor combo. They’re perfect for snacks, desserts, or whenever you need a little pick-me-up! Enjoy!
Can I Use Different Nut Butters?
Absolutely! If you have allergies or just prefer a different flavor, you can substitute the peanut butter with almond butter, cashew butter, or sunflower seed butter. Just be aware that the taste and consistency may vary slightly.
How Can I Make These Cups Lower in Sugar?
You can reduce the amount of maple syrup or honey and use a sugar substitute like stevia or erythritol. Just remember that using substitutes may alter the texture a bit, so adjust the coconut flour if needed.
Can I Freeze These Peanut Butter Cups?
Yes, these cups freeze well! Once you’ve set and removed them from the liners, place them in a container separated by layers of parchment paper and freeze for up to 2 months. Thaw in the fridge overnight before enjoying.
What If I Don’t Have Coconut Flour?
If you don’t have coconut flour, almond flour can be used, but you may need to adjust the quantity since almond flour is less absorbent. Start with a lesser amount and add more until you achieve the desired consistency.