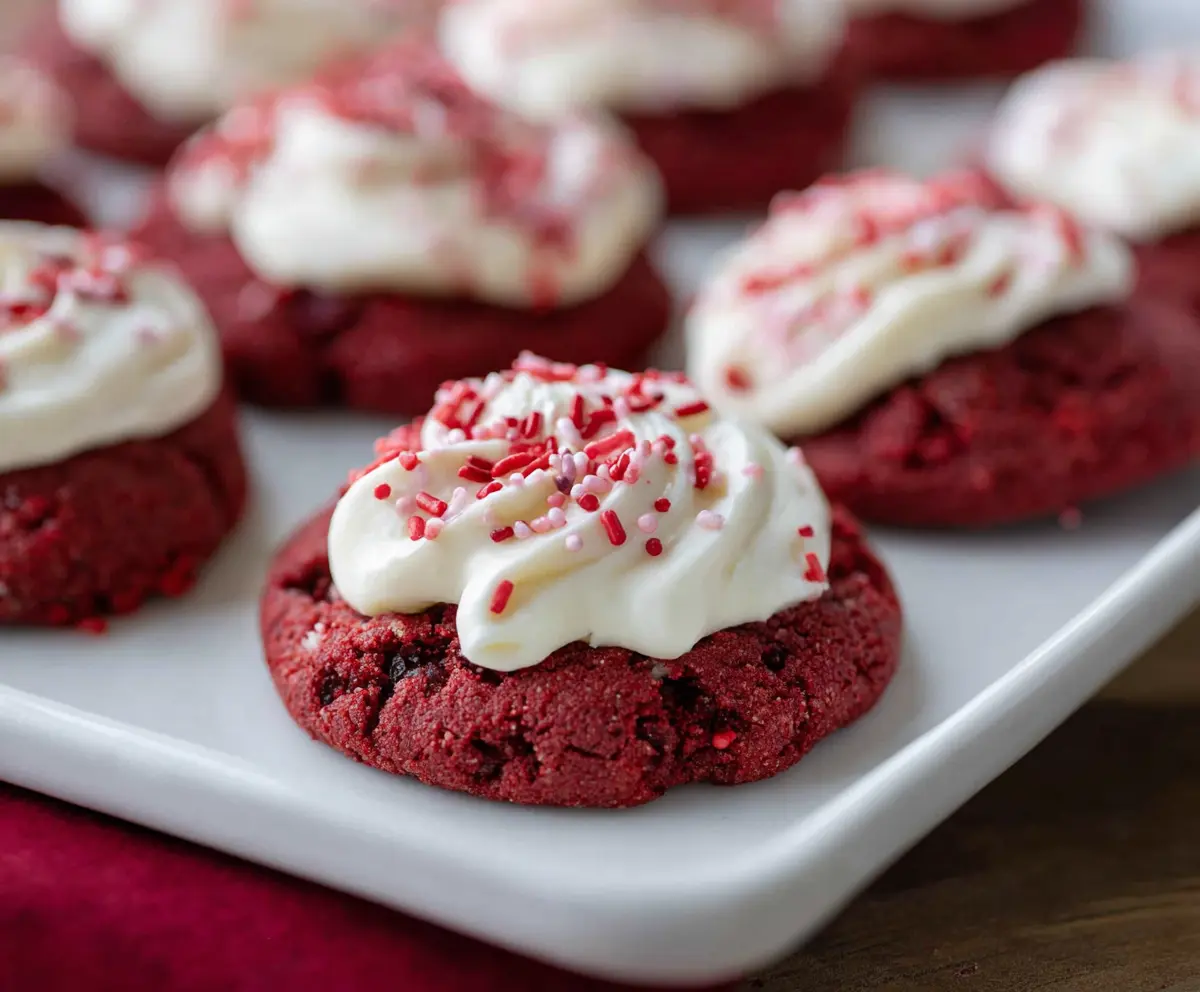
These Crumbl Red Velvet Cupcake Cookies are a treat for your taste buds! With their soft, cake-like texture and rich red velvet flavor, they feel just like a cupcake in cookie form.
I love how they are topped with creamy frosting, making them extra special. Perfect for sharing… or keeping all to myself! Who can resist stealing a bite or two? 😋
Key Ingredients & Substitutions
All-Purpose Flour: This is the backbone of your cookies, providing structure. If you’re gluten-free, try a 1:1 gluten-free flour blend which works nicely as a substitute.
Cocoa Powder: Unsweetened cocoa powder is perfect for adding that rich chocolate flavor. If you’re out, carob powder can work, but the taste will be different.
Butter: Unsalted butter keeps the cookie’s flavors balanced. If you want to reduce dairy, you can replace it with coconut oil or vegan butter, though it may change the texture slightly.
Red Food Coloring: Gel food coloring gives the best vibrant results. If you want a natural alternative, beet juice can be used but may affect the taste and shade of red.
Buttermilk: This adds moisture and tenderness. You can make a quick substitute with whole milk and lemon juice. Just let it sit for a few minutes before use, as you mentioned.
How Do I Get the Cream Cheese Frosting Just Right?
Creating the perfect cream cheese frosting can be tricky! Here’s how to get that smooth, sweet topping:
- Ensure both the cream cheese and butter are very soft. This makes them easier to blend and results in a creamy texture.
- Mix them together first until smooth with a hand mixer. This helps avoid lumps.
- Add the powdered sugar gradually, mixing as you go. This keeps the frosting light and fluffy.
- Once it’s mixed, taste and adjust! You can add a bit more sugar for sweetness or a splash of milk if it’s too thick.
- For decoration, use a piping bag or simply spread it with a knife. Don’t forget those colorful sprinkles for a fun finish!
How to Make Crumbl Red Velvet Cupcake Cookies
Ingredients You’ll Need:
For the Red Velvet Cookies:
- 1 1/2 cups all-purpose flour
- 2 tbsp unsweetened cocoa powder
- 1/2 tsp baking soda
- 1/4 tsp salt
- 1/2 cup unsalted butter, softened
- 1/2 cup granulated sugar
- 1/4 cup brown sugar, packed
- 1 large egg
- 1 tbsp red food coloring
- 1 tsp vanilla extract
- 1 tsp white vinegar
- 1/4 cup buttermilk (or whole milk with 1 tsp lemon juice added, let sit 5 minutes)
For the Cream Cheese Frosting:
- 4 oz cream cheese, softened
- 1/4 cup unsalted butter, softened
- 1 1/2 cups powdered sugar, sifted
- 1/2 tsp vanilla extract
For Garnish:
- Red and pink sprinkles (or any decorative sprinkles of your choice)
How Much Time Will You Need?
This recipe takes about 15 minutes of prep time and an additional 12 minutes for baking. Once the cookies are cool, plan for another 10 minutes to make the frosting and decorate. Total time is around 37 minutes. Delicious cookies are just around the corner!
Step-by-Step Instructions:
1. Prep Your Oven:
Start off by preheating your oven to 350°F (175°C). While it’s heating, line a baking sheet with parchment paper or a silicone baking mat. This will keep your cookies from sticking and make cleanup a breeze.
2. Mix Your Dry Ingredients:
In a medium bowl, whisk together the all-purpose flour, unsweetened cocoa powder, baking soda, and salt. Set this aside for later; you want to keep it separate until it’s time to combine everything.
3. Cream the Butter and Sugars:
In a large mixing bowl, cream the softened unsalted butter, granulated sugar, and brown sugar together until the mixture becomes light and fluffy. This should take about 2-3 minutes using an electric mixer. It’s essential for getting that soft texture!
4. Add the Wet Ingredients:
Next, add in the large egg, red food coloring, vanilla extract, and white vinegar to the butter and sugar mixture. Beat everything together until it’s well mixed and looking lovely.
5. Combine Wet and Dry Ingredients:
Now, gradually add the dry ingredients from your earlier bowl into the wet ingredients, alternating with the buttermilk. Start and finish with the dry mixture. Mix until everything is just combined; be careful not to overmix as that can toughen the cookies!
6. Shape the Cookies:
Scoop about 2 tablespoons of dough for each cookie onto your prepared baking sheet, leaving about 2 inches in between each scoop. This gives the cookies space to spread while baking.
7. Bake:
Pop the baking sheet in the oven and bake for 10-12 minutes. You want the cookies to be set but still soft in the center. When done, remove them from the oven and let them cool completely on a wire rack.
8. Make the Cream Cheese Frosting:
While your cookies are cooling, it’s time to whip up the frosting! In a bowl, beat together the softened cream cheese and butter until the mixture is smooth and creamy. Then add in the powdered sugar and vanilla extract, mixing until the frosting is light and fluffy.
9. Frost the Cookies:
Once your cookies have completely cooled, top each one with a generous swirl of cream cheese frosting. Use a piping bag for a beautiful swirl, or simply spread it with a knife if you prefer!
10. Add Some Festive Touch:
Finish off your cookies by sprinkling some red and pink decorations on top. This adds a lovely pop of color and fun!
11. Serve and Enjoy:
These cookies are best served immediately, but you can also chill them in the fridge to set the frosting a bit more. Enjoy these delicious, soft, and creamy red velvet cupcake cookies that taste just as good as they look!
Happy baking! 🍪❤️
Can I Use a Different Type of Flour?
Yes, you can use a 1:1 gluten-free flour blend if you want to make these cookies gluten-free. Just keep in mind that the texture might differ slightly, but they’ll still be delicious!
What If I Don’t Have Buttermilk?
No worries! You can easily make a buttermilk substitute by adding 1 teaspoon of lemon juice or vinegar to a 1/4 cup measuring cup and filling it up with whole milk. Let it sit for about 5 minutes before using it in the recipe.
How Should I Store Leftover Cookies?
Store any leftover cookies in an airtight container at room temperature for up to 3-4 days. If you want to keep them for longer, you can refrigerate them for about a week or freeze them for up to 3 months. Just be sure to layer them between parchment paper to prevent sticking!
Can I Make the Dough Ahead of Time?
Absolutely! You can prepare the cookie dough and refrigerate it for up to 2 days before baking. Just let it sit at room temperature for about 10-15 minutes before scooping and baking to ensure even baking.