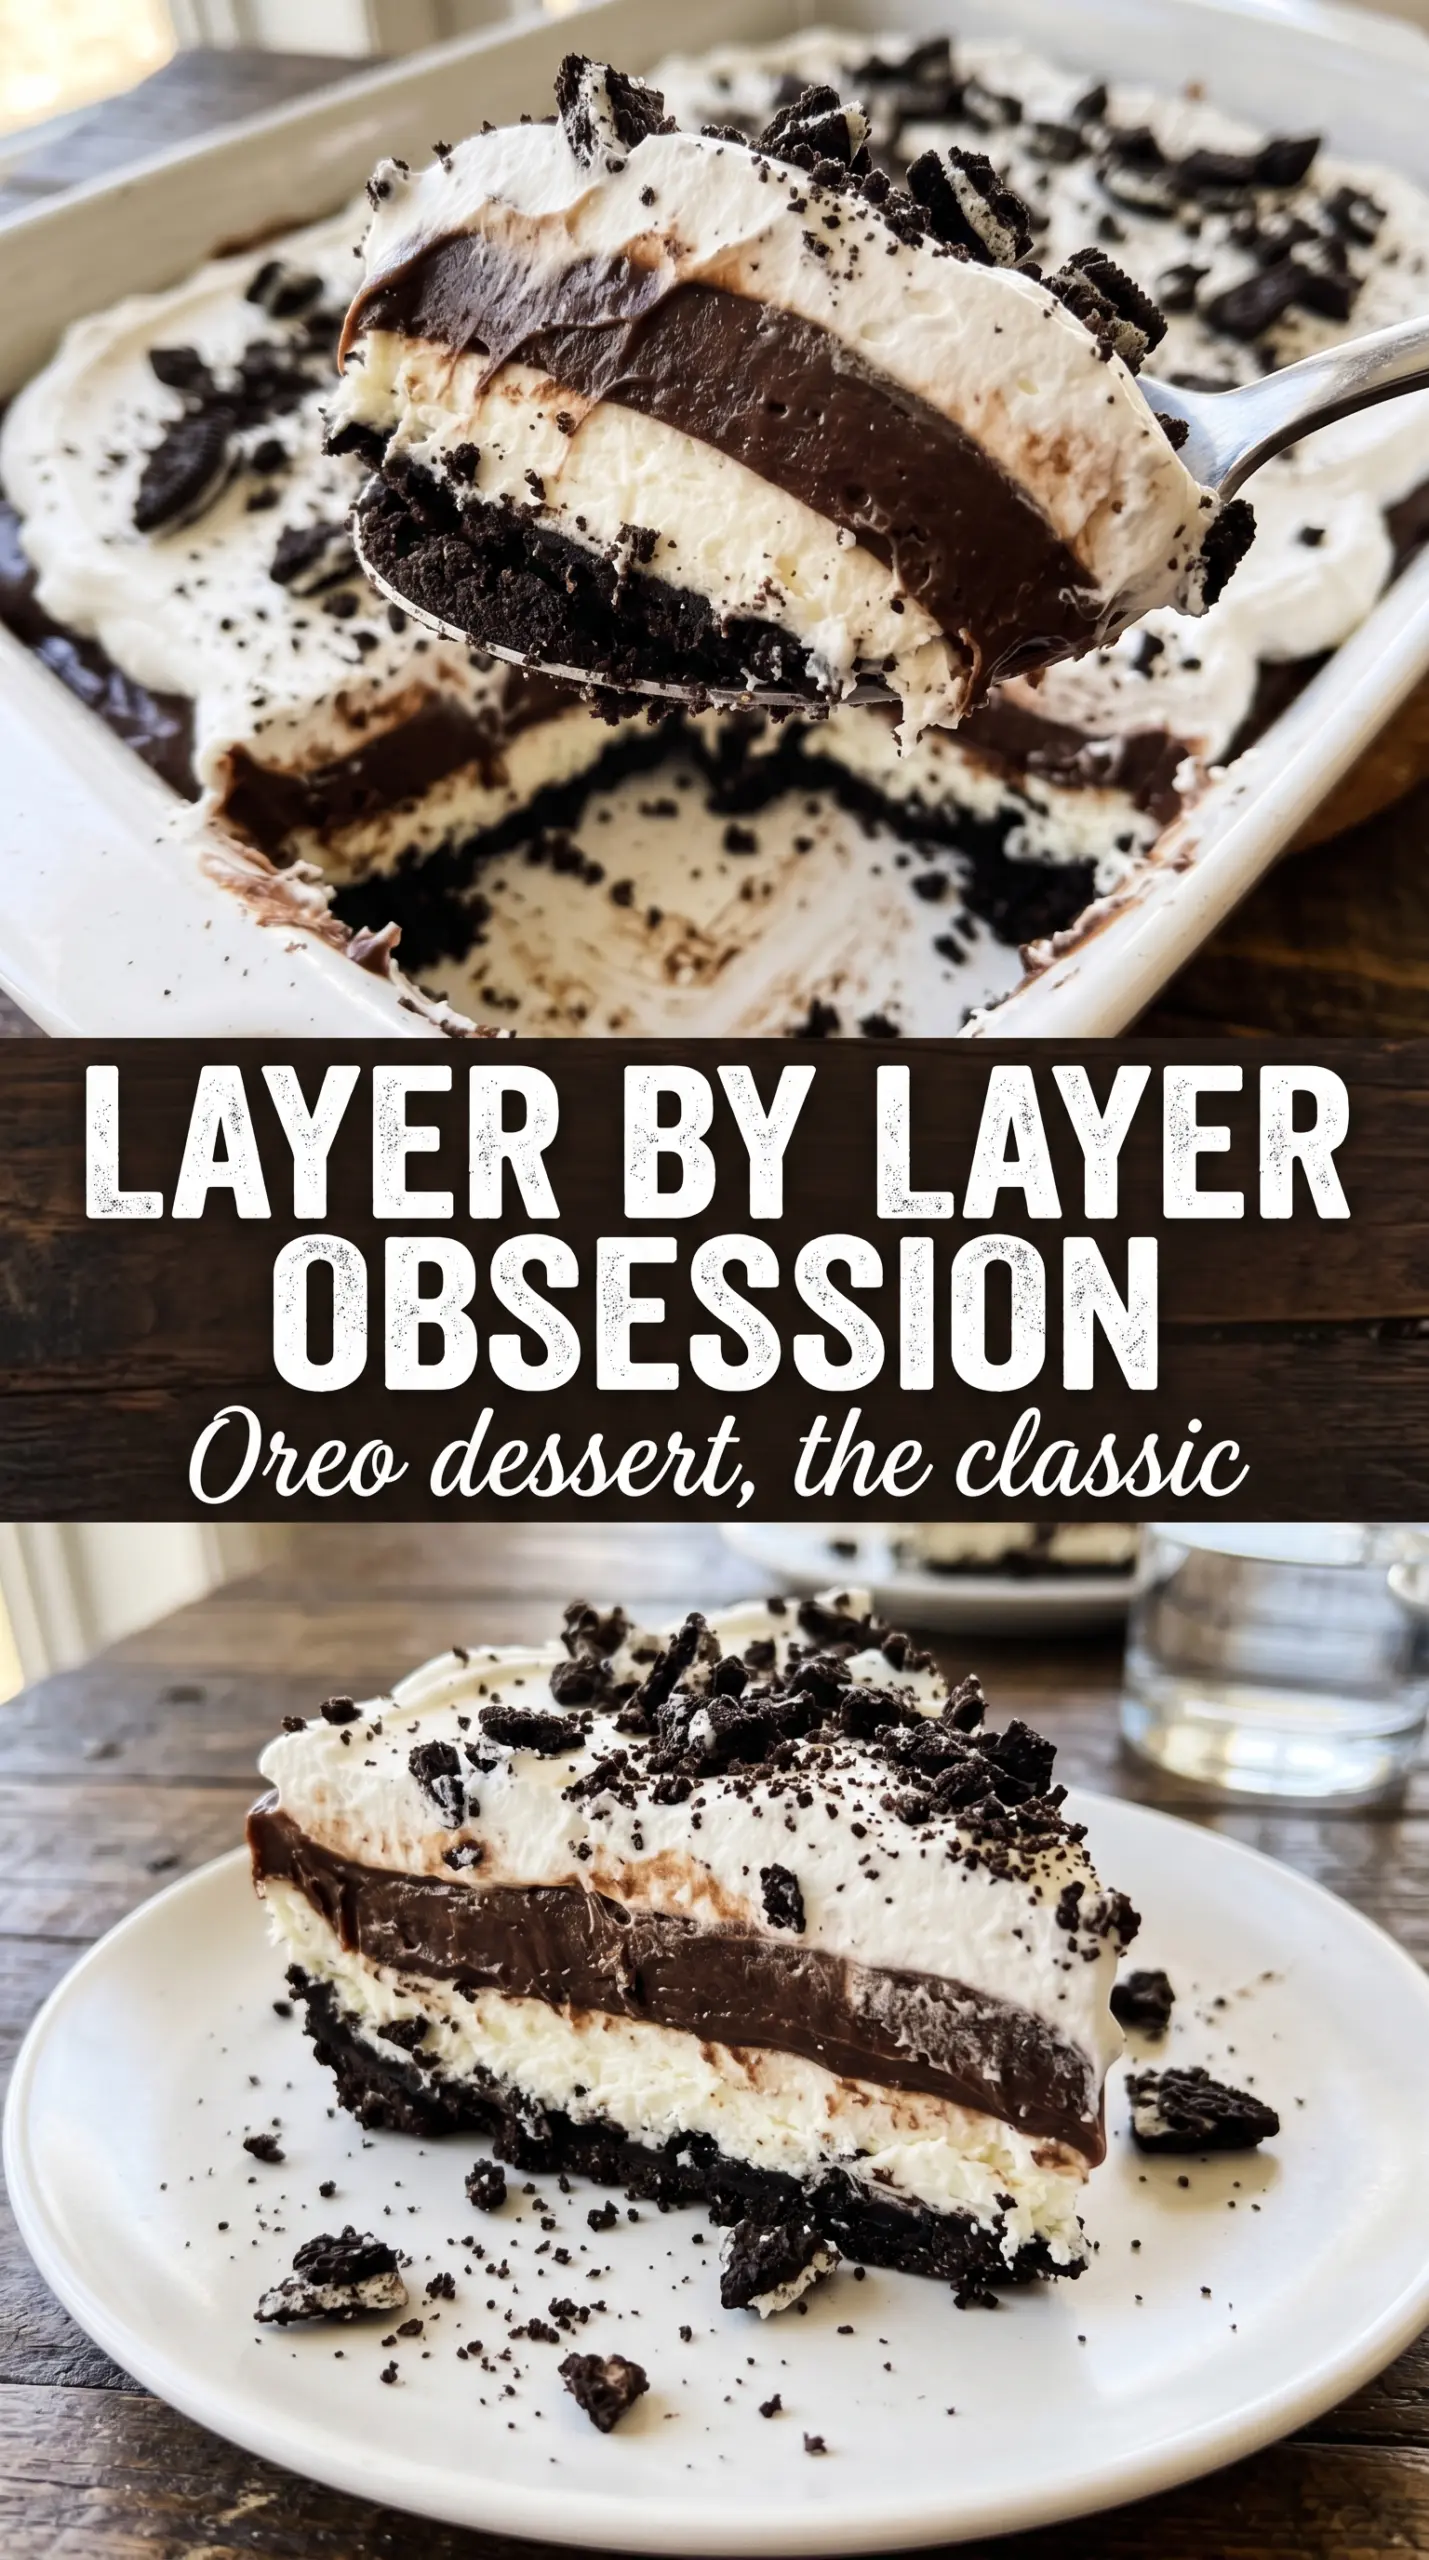
Crushed Oreos, chocolate pudding, and a cool cream cheese layer make this Oreo dessert the kind of no-bake recipe that disappears fast once it hits the table. The layers set up into clean squares, but the texture stays soft enough to feel generous and rich instead of heavy. What you get is a chilled dessert with enough contrast to keep each bite interesting: a firm cookie crust, a smooth middle, and that cookies-and-cream finish on top.
The part that makes this version work is the balance. The cream cheese layer keeps the whole dessert from tasting flat, and the pudding layer needs to be whisked until it visibly thickens before it goes into the dish. If you rush that part, the dessert won’t slice as neatly after chilling. A firm press on the crust also matters more than people think, because it gives the whole pan the structure it needs once the whipped layers go on top.
Below, I’ve included the little details that keep the layers distinct, plus a few smart swaps and the best way to chill and slice it cleanly.
The pudding layer set up beautifully and the slices held their shape after chilling overnight. I loved that the Oreo crust stayed firm instead of getting soggy, and the cream cheese layer gave it a little tang that kept it from being too sweet.
Like this Oreo dessert? Save it to Pinterest for the times you need a chilled, sliceable cookies-and-cream dessert with clean layers.
The Crust That Holds Its Shape Instead of Crumbling Apart
The crust in an Oreo dessert can go one of two ways: it can pack into a neat base, or it can turn into loose crumbs the second you cut into it. The difference is the butter ratio and how firmly you press it. You want the mixture to look like damp sand, then you need to compress it with real pressure so it behaves more like a cookie layer than a loose topping.
That short chill before the filling goes on helps the butter firm back up, which keeps the crust from shifting when you spread the cream cheese layer. If the crust feels greasy or soft, it usually means too much butter or not enough packing. A well-built base should cut cleanly and stay intact under the pudding.
What Each Layer Is Actually Doing Here
- Oreo cookies — These do double duty as both crust and garnish, so use the real cookies here. The filling helps the crust bind and deepens the chocolate flavor, which is why this tastes more complete than a plain chocolate crumb base.
- Butter — This is what turns crushed cookies into a sliceable foundation. Melted butter is better than softened butter because it coats the crumbs evenly and gives the crust a tighter set after chilling.
- Cream cheese — This layer is the reason the dessert doesn’t taste one-note sweet. It adds body and a slight tang, and it needs to be fully softened before beating or you’ll end up with tiny lumps that never disappear.
- Instant chocolate pudding — Instant pudding thickens fast and holds its shape better than cooked pudding in this style of dessert. Use cold milk and whisk until it visibly thickens before spreading, or the layers can blend together as it chills.
- Whipped topping — This keeps the texture light enough to slice without collapsing. If you swap in homemade whipped cream, it will taste a little fresher, but it won’t hold as long in the fridge, especially past day two.
Building the Layers So They Stay Distinct
Pressing the Oreo Base
Mix the crushed Oreos with melted butter until every crumb looks evenly coated, then press the mixture firmly into the bottom of a 9×13 dish. Use the bottom of a measuring cup to flatten it into an even layer, paying attention to the corners where loose crumbs like to collect. If the crust looks patchy, it will break apart when you serve the dessert. Chill it for 15 minutes so the butter can set before the filling goes on.
Whipping the Cream Cheese Layer Smooth
Beat the softened cream cheese and powdered sugar until the mixture is completely smooth and no grainy bits remain. Fold in the whipped topping gently so you keep the mixture airy, then spread it over the chilled crust without digging into it. If your cream cheese is still cold, stop and let it warm up; cold cream cheese is the main reason this layer turns lumpy and tears the crust underneath.
Setting the Pudding Properly
Whisk the instant chocolate pudding with cold milk for the full two minutes until it thickens enough to mound on the whisk for a second before sinking back. That thickness matters because thin pudding will seep into the cream cheese layer and muddy the stripes. Spread it in an even layer, working from the center outward so you don’t drag the filling up the sides of the dish.
Finishing With the Top Layer
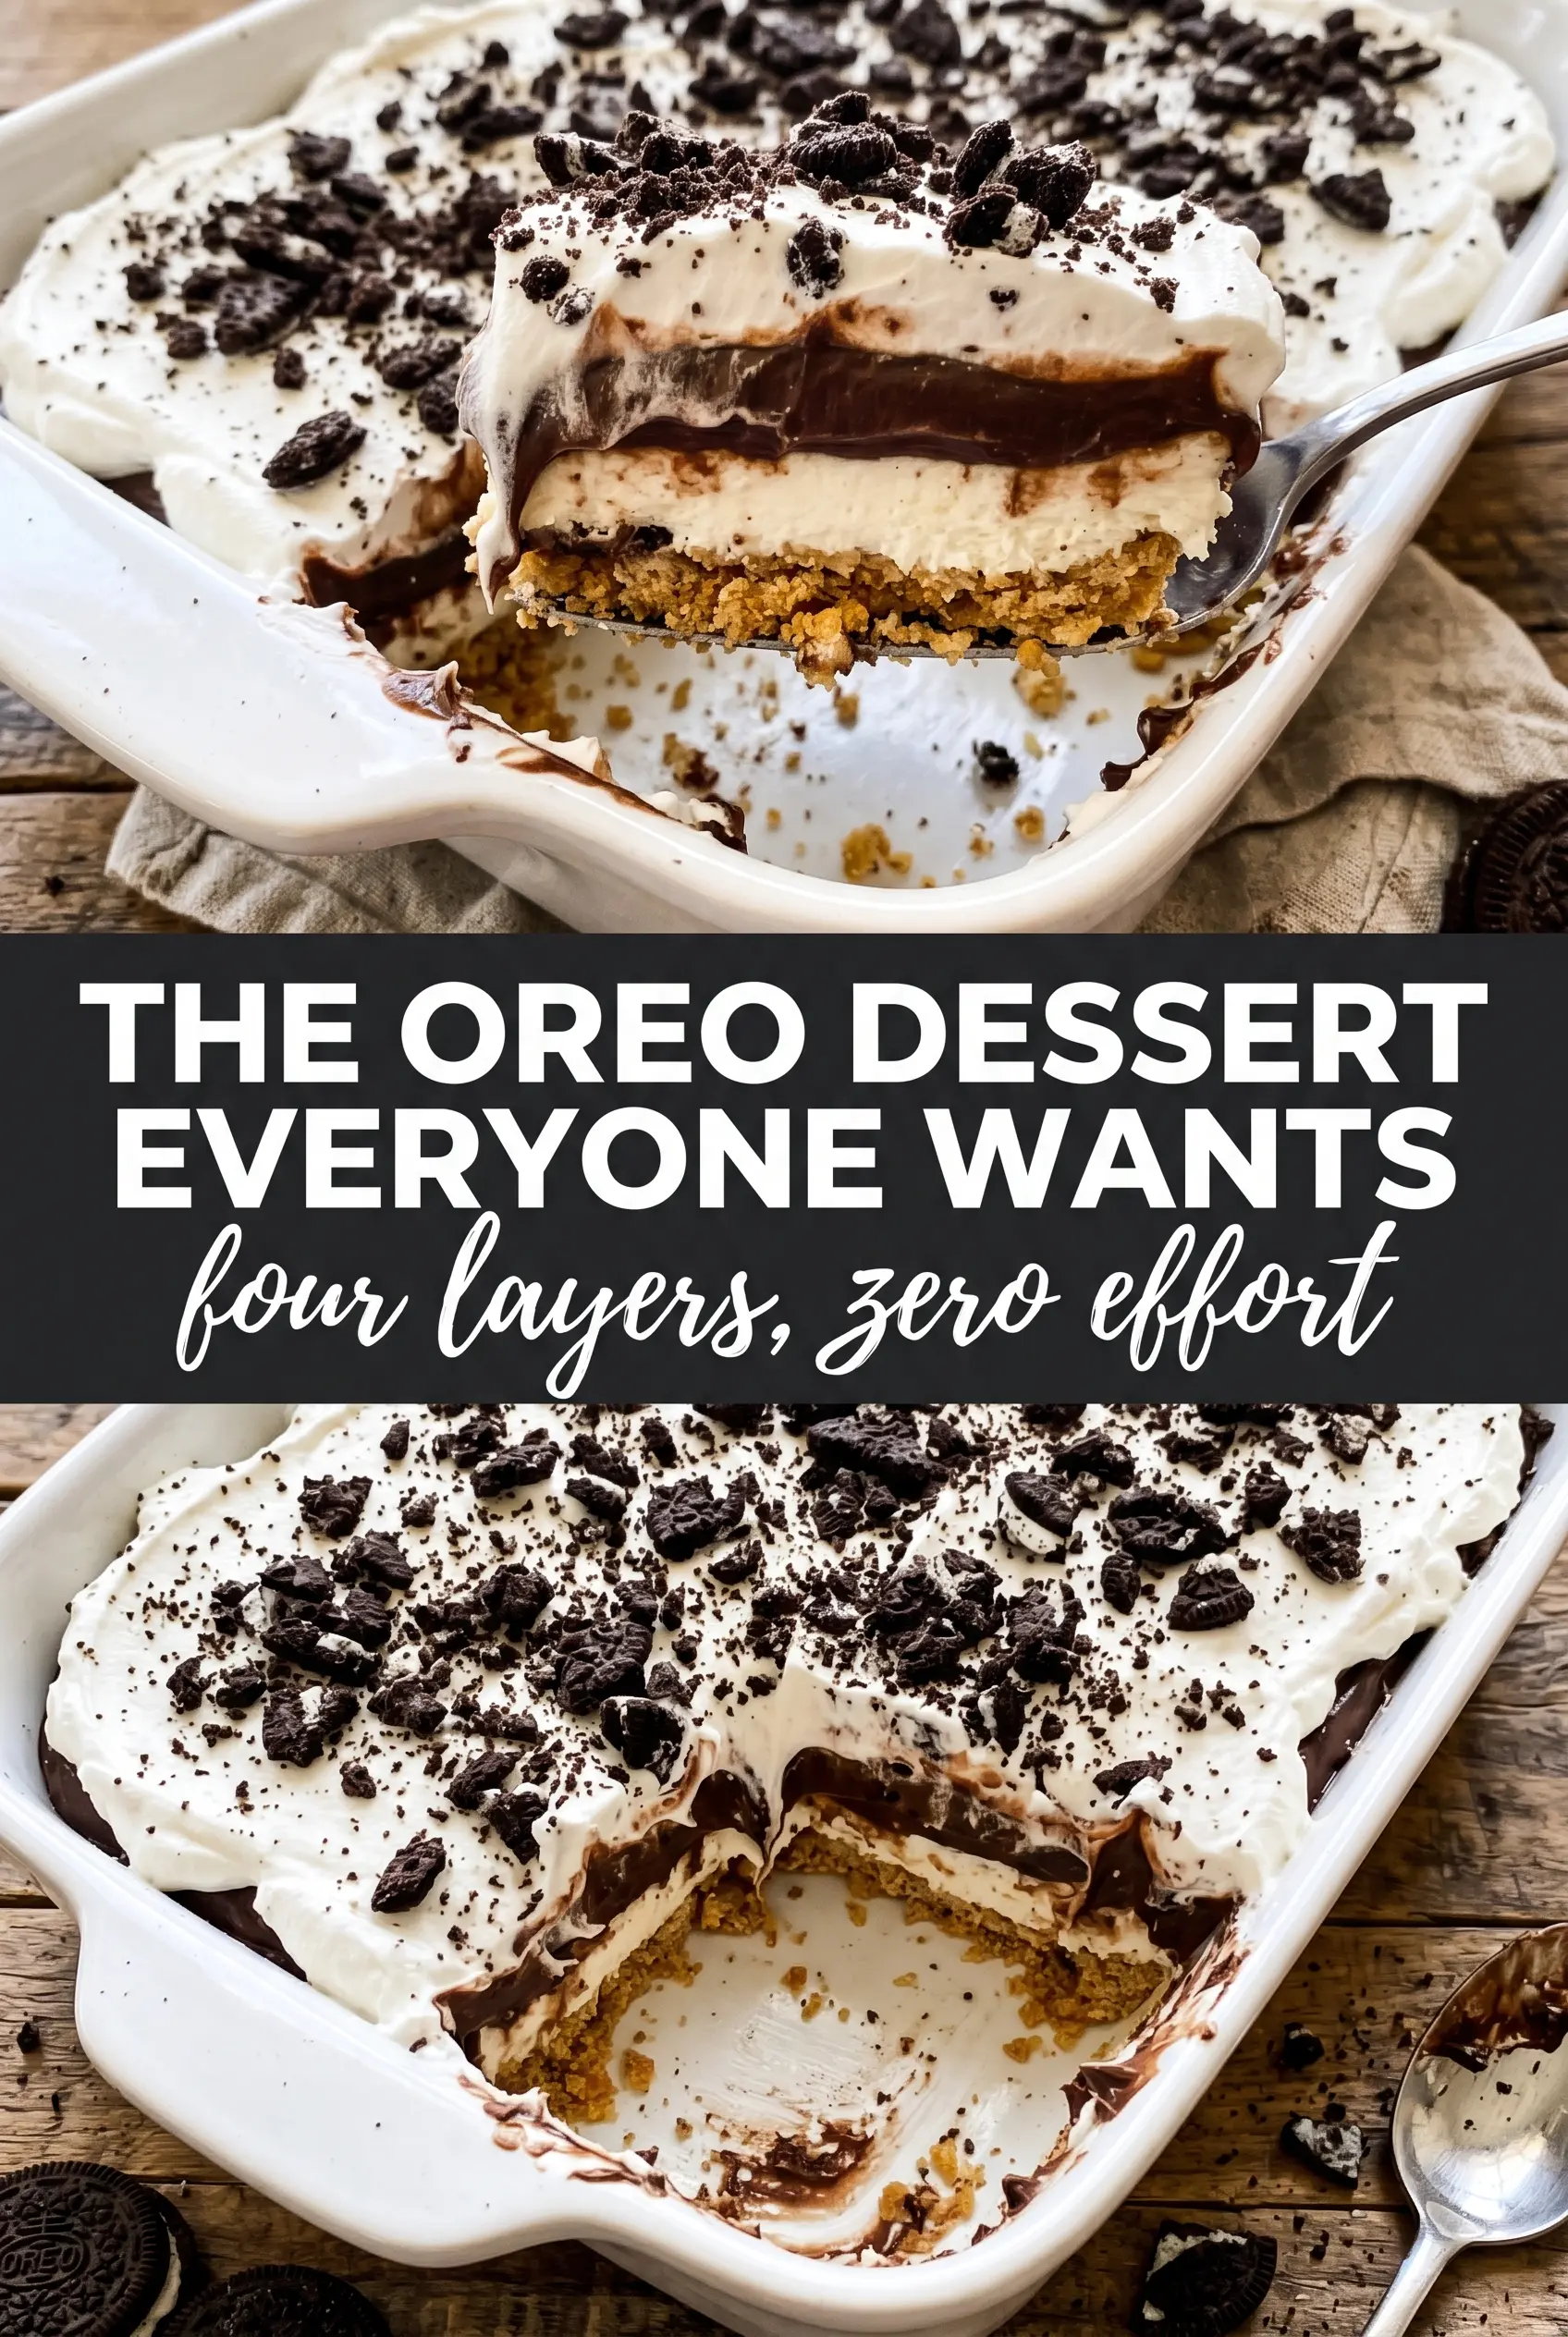
Spread the remaining whipped topping across the pudding, then shower the top with crushed Oreos. Add the cookie crumbs generously; they give you the crackly finish that makes the dessert look polished once it’s sliced. Chill it for at least four hours, but overnight is even better if you want the cleanest squares and the most stable layers.
How to Adjust This Oreo Dessert Without Losing the Structure
Dairy-Free Version With a Slightly Softer Set
Use dairy-free cream cheese, plant-based whipped topping, and a non-dairy instant pudding mix made with the milk alternative listed on the package. The flavor still lands in the same cookies-and-cream lane, but the texture will be a touch softer, so give it the full overnight chill before slicing.
Extra Chocolate Oreo Dessert
Swap the top garnish for chopped chocolate sandwich cookies and add a light dusting of cocoa over the whipped topping. The dessert becomes deeper and more chocolate-forward, but keep the cream cheese layer in place so it doesn’t taste flat or overly sweet.
Gluten-Free Cookie Crust
Use gluten-free chocolate sandwich cookies in place of classic Oreos if you need the whole dessert to be gluten-free. The method stays the same, though some gluten-free cookies are a little drier, so press the crust extra firmly and watch for a sandier texture.
Storage and Reheating
- Refrigerator: Store covered for up to 4 days. The crust softens a little over time, but the dessert still slices well.
- Freezer: It freezes surprisingly well in tightly wrapped portions for up to 1 month. Thaw it in the refrigerator so the pudding layer doesn’t turn icy on the edges.
- Reheating: No reheating needed. This dessert should be served cold, and the most common mistake is letting it sit out too long before cutting, which makes the layers slump and the crust lose its clean edge.
Answers to the Questions Worth Asking
Oreo Dessert
Ingredients
Equipment
Method
- Stir the finely crushed Oreo cookies with the melted butter until evenly combined, then scrape into a 9x13 dish and press firmly into the bottom to form an even crust.
- Refrigerate the dish for 15 minutes to firm the crust for clean layering.
- Beat the softened cream cheese with the powdered sugar until smooth, then fold in 1 cup of whipped topping until light and spreadable.
- Spread the cream cheese mixture over the chilled Oreo crust in an even layer, using a spatula to smooth the surface.
- Whisk the instant chocolate pudding mix with the cold whole milk for 2 minutes until thickened and glossy, then immediately spread it evenly over the cream cheese layer.
- Spread the remaining 2 cups of whipped topping over the pudding layer to fully cover it.
- Sprinkle crushed Oreos generously over the top so the garnish forms a thick, visible crumb layer.
- Refrigerate for at least 4 hours or overnight until set, then cut into squares and serve.