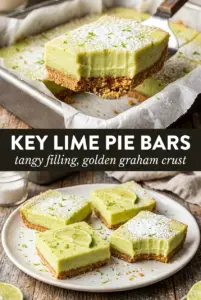
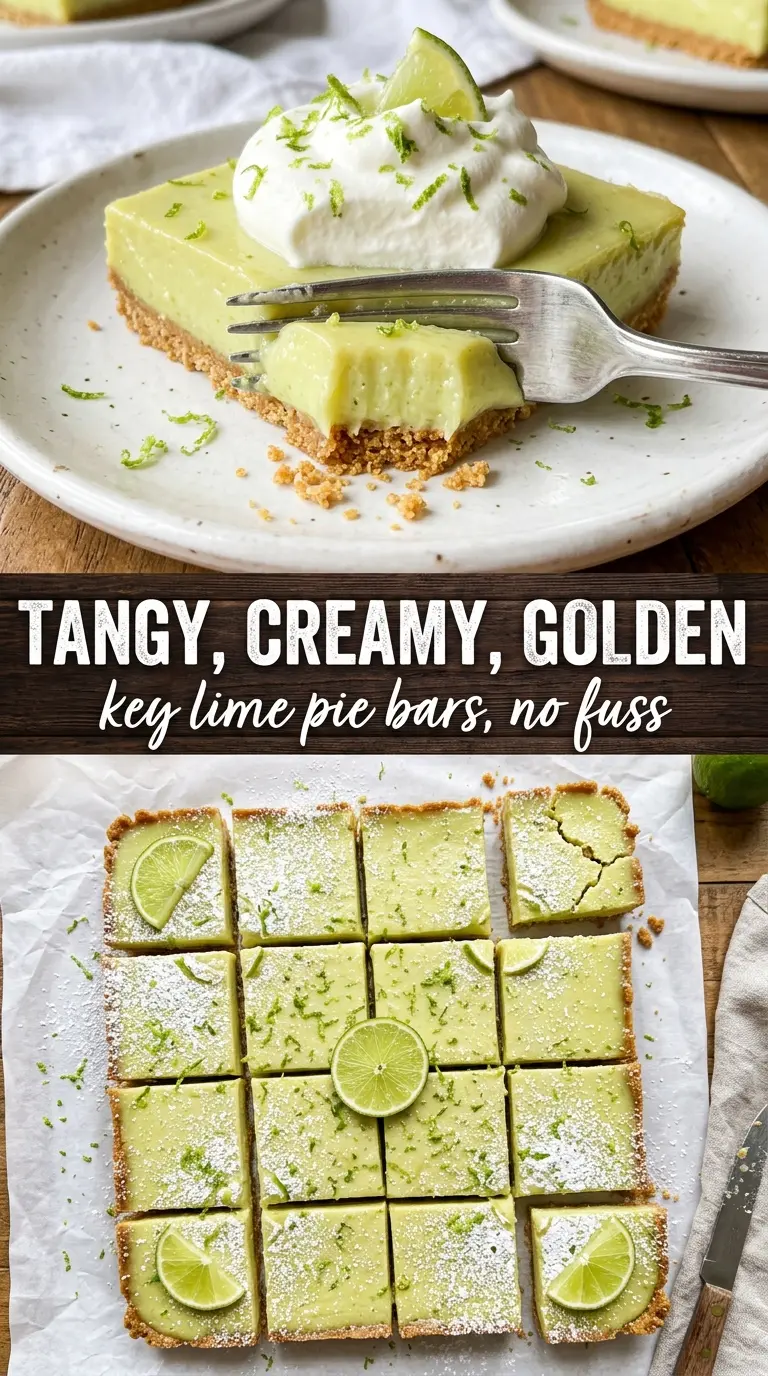
These key lime pie bars hit the sweet spot between bright citrus and a buttery, crumbly crust. The filling sets up smooth and sliceable, with enough tang to wake up the sweetened condensed milk without turning sharp or pucker-heavy. What you get is a dessert bar that tastes like key lime pie’s easier, cleaner-cut cousin.
The crust matters here because it does more than hold the filling. Press it firmly into the pan and pre-bake it just long enough to set the butter, or it’ll crumble when you cut the bars. On the filling side, the egg yolks and condensed milk give you that classic custard-like texture, while the lime zest carries the citrus flavor past straight tartness and into something fuller and more fragrant.
Below, you’ll find the little details that keep the bars neat and bakery-worthy: how to know when the filling is set, why chilling time changes the texture, and the swap I use when fresh key limes are hard to find.
The filling set up perfectly after chilling, and the crust stayed crisp instead of getting soggy. I used regular limes, and the bars still had that sharp, creamy key lime pie flavor my husband kept sneaking from the fridge.
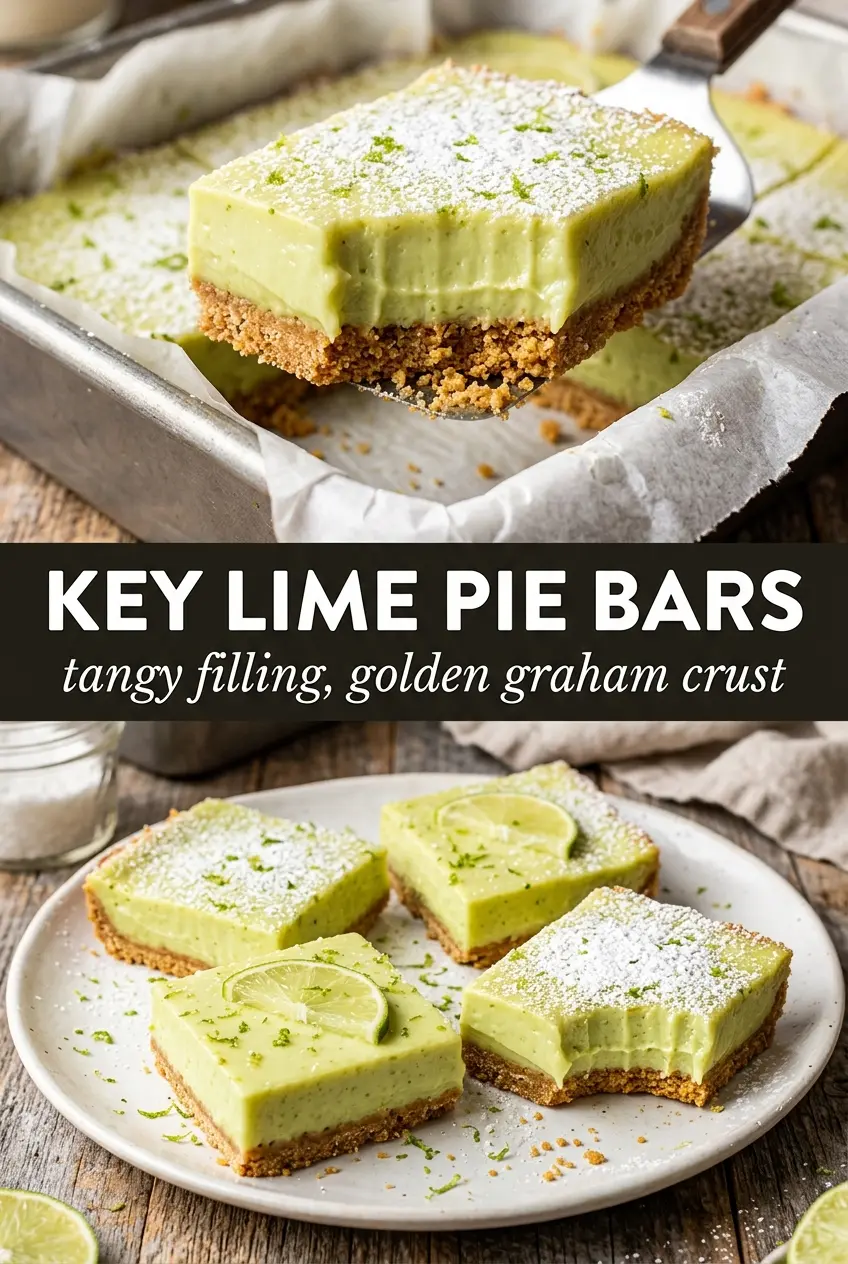
These key lime pie bars slice cleanly after chilling and keep that bright citrus bite with a thick graham cracker crust.
The Reason the Filling Sets Instead of Slumping
The filling in key lime pie bars looks simple, but the texture depends on how the eggs and acid behave together. Sweetened condensed milk gives you body and sweetness, while the yolks add richness and help the filling firm up as it bakes. The lime juice does the heavy lifting on flavor and also helps the mixture thicken into a custardy set.
The part people miss is the bake. You want the center to jiggle slightly when it comes out of the oven, not look fully firm. If you wait until it seems done in the middle, it will be overbaked by the time it cools, and the texture turns dense instead of silky.
- Fresh lime juice — Use fresh if you can. Bottled juice works in a pinch, but fresh juice gives the bars a cleaner, brighter finish and the zest tastes more alive.
- Lime zest — This is where the citrus aroma comes from. It makes the bars taste like lime all the way through, not just tangy on top.
- Sweetened condensed milk — Don’t swap this for regular milk and sugar. You need the thickness and sweetness packed into the can to get the right set.
- Egg yolks — These help the filling hold together and stay creamy. Whole eggs make the texture firmer and less lush.
What the Crust and Citrus Are Doing Together
The crust is more than a base here. Graham cracker crumbs bring sweetness and a toasted, sandy texture that stands up to the tart filling without competing with it. The melted butter binds everything, and the sugar helps the crust bake into a firm layer that slices cleanly instead of shedding crumbs everywhere.
If you want the cleanest slices, press the crust down harder than you think you need to. Use the bottom of a measuring cup and compact the corners too, because weak edges are what break first. For the filling, lime zest is worth the extra minute of prep; without it, the bars still taste good, but they lose that round citrus scent that makes each bite taste finished.
- Graham cracker crumbs — Regular store-bought crumbs are fine. If you crush whole crackers yourself, aim for fine, even crumbs so the crust bakes evenly.
- Butter — Melted butter needs to coat every crumb. If the mixture looks sandy and won’t hold when squeezed, it needs another spoonful of butter.
- Granulated sugar — This gives the crust a little snap and helps it brown. Don’t skip it unless you want a drier, less flavorful base.
- Green food coloring — Optional. It changes the look, not the taste, so leave it out if you want a natural pale lime color.
Getting the Bars Set Without Overbaking the Center
Building the Crust
Mix the crust until every crumb looks evenly moistened, then press it into a parchment-lined 9×13 pan in a tight, even layer. Bake it just long enough to smell toasty and look slightly darker at the edges, about 8 minutes. If it bakes too long, it turns hard and dry under the filling. Let it cool for a few minutes so the filling doesn’t immediately soak into the hot crumb layer.
Whisking the Filling Smooth
Whisk the yolks, condensed milk, lime juice, zest, and food coloring just until smooth and unified. You don’t need to beat air into it. Too much whipping makes the filling puff and then collapse, which leaves a less even surface after chilling. Stop as soon as the mixture looks glossy and the zest is distributed throughout.
Watching for the Right Set
Pour the filling over the warm crust and spread it to the corners. Bake until the edges are set and the center still has a slight wobble, about 18 to 20 minutes. If the whole pan looks firm in the oven, it’s gone too far. The bars finish setting as they cool, then become sliceable after a full chill in the fridge.
Cooling Before Cutting
Let the pan cool completely on the counter before moving it to the refrigerator. Cutting too early makes the filling smear and the crust crack unevenly. After at least 3 hours of chilling, the bars should feel firm to the touch and cut into neat squares with a clean knife wipe between slices.
How to Adapt These Bars When You Need a Different Shortcut
Regular Limes Instead of Key Limes
Regular lime juice works well here and is the easiest swap when key limes aren’t available. The flavor is a little sharper and less floral, so the zest matters even more. Use the same amount and keep the filling ratio unchanged.
Gluten-Free Crust
Swap the graham crackers for certified gluten-free graham-style crumbs. The texture stays close to the original, though some brands brown a little faster, so keep an eye on the oven during the first bake.
Dairy-Free Version
This recipe depends on sweetened condensed milk for its structure, so a dairy-free version needs a full canned coconut condensed milk replacement, not just plant milk. Expect a coconut note and a softer set, but the bars will still slice well after chilling.
Extra-Tangy Bars
If you like a sharper finish, add an extra tablespoon of lime zest before baking rather than more juice. More juice can loosen the filling and slow the set, while zest boosts citrus flavor without changing the texture.
Storage and Reheating
- Refrigerator: Store covered for up to 5 days. The crust softens a little over time, but the bars stay neat and flavorful.
- Freezer: These freeze well. Cut into bars, wrap tightly, and freeze in a single layer before moving to a container. Thaw in the fridge so the filling doesn’t weep.
- Reheating: These are best served chilled, not warmed. If they sit out too long, the filling softens and the slices lose their clean edges.
Answers to the Questions Worth Asking
Key Lime Pie Bars
Ingredients
Equipment
Method
- Preheat the oven to 350°F, then line a 9x13 pan with parchment and press the crust mixture firmly into the bottom.
- Bake the crust for 8 minutes, then cool slightly before adding the filling.
- Whisk the egg yolks and sweetened condensed milk until smooth.
- Whisk in the key lime juice, lime zest, and a drop of green food coloring until evenly combined and smooth.
- Pour the filling over the warm crust and spread evenly.
- Bake for 18-20 minutes, until the filling is just set with a slight jiggle in the center.
- Cool completely at room temperature.
- Refrigerate for at least 3 hours until firm.
- Dust the bars with powdered sugar.
- Scatter lime zest over the top, then cut into 16 bars and serve.