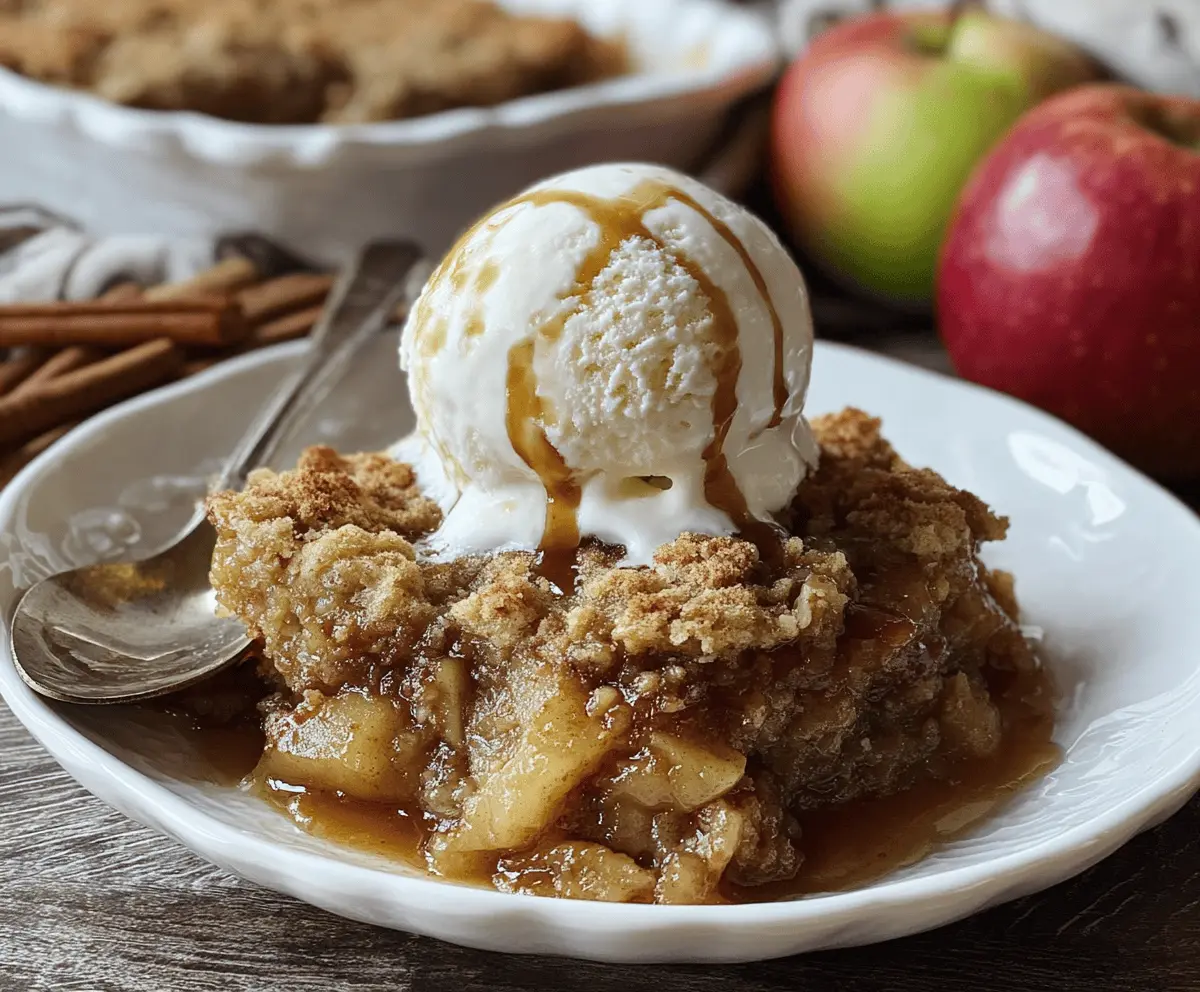
This Apple Pie Dump Cake is so simple and delicious! It combines fruity apple filling and a buttery cake topping that creates a warm, comforting dessert.
You just layer the ingredients and let the oven do the magic! I love serving it warm with a scoop of vanilla ice cream—pure happiness right there! 🍏🍰
Key Ingredients & Substitutions
Apple Pie Filling: Canned apple pie filling is a major time-saver here. If you want to use fresh apples, peel and slice about 6 cups and mix them with sugar and cinnamon. This makes a great fresh alternative!
Yellow Cake Mix: While yellow cake mix is traditional, you can swap it for a spice cake mix for extra flavor, or even a gluten-free mix if you need a gluten-free option. It’ll still taste great!
Unsalted Butter: You could use margarine as a substitute, or coconut oil for a dairy-free version. Just ensure the texture is consistent when melting.
Cinnamon and Nutmeg: Ground cinnamon is a must for that warm flavor. Nutmeg is optional as it can be strong; consider using allspice for a different spice note. For a twist, try adding a pinch of ginger!
What’s the Best Way to Layer This Cake?
Layering is essential for a successful dump cake! Here’s how to get it right:
- Start with a smooth, even layer of apple pie filling on the bottom of your greased dish. This forms the fruity base.
- Sprinkle the dry cake mix evenly over the apples. Resist the urge to mix it in!
- After that, pour melted butter carefully over the top. This creates a nice crust as it bakes.
Following these steps helps create a delicious texture and brings out all the flavors. Trust me; you want that buttery top with juicy apples underneath!
Apple Pie Dump Cake
Ingredients You’ll Need:
For the Cake:
- 2 cans (21 oz each) apple pie filling
- 1 box (15.25 oz) yellow cake mix (dry mix)
- 1 cup unsalted butter, melted
- 1 teaspoon ground cinnamon
- 1/2 teaspoon ground nutmeg (optional)
For Serving:
- Vanilla ice cream
- Caramel sauce (optional)
How Much Time Will You Need?
This delightful Apple Pie Dump Cake takes about 10 minutes to prepare, and then you’ll bake it for 45 to 50 minutes. In total, you’re looking at around 1 hour for deliciousness at its finest! Perfect for a quick dessert when you’re short on time.
Step-by-Step Instructions:
1. Preheat the Oven:
Start by preheating your oven to 350°F (175°C). This step is crucial because a properly heated oven helps the cake bake evenly.
2. Prepare the Baking Dish:
Grease a 9×13-inch baking dish with butter or cooking spray to prevent sticking. This way, your delicious cake comes out easily after baking!
3. Layer the Apple Filling:
Pour both cans of apple pie filling evenly into the bottom of the baking dish. Take a moment to spread it out nicely to make sure every bite is loaded with apple goodness.
4. Add the Cake Mix:
Next, sprinkle the dry yellow cake mix all over the apple pie filling. There’s no need to mix it in—just spread it as evenly as you can.
5. Spice It Up:
In a small bowl, mix the ground cinnamon and optional nutmeg. Sprinkle this flavorful mixture evenly over the dry cake mix for a warm, aromatic touch.
6. Top with Butter:
Drizzle the melted butter uniformly across the top of the cake mix. Resist the urge to stir it in; you want the butter to create a crust while baking!
7. Bake the Cake:
Place the baking dish in the preheated oven and bake for about 45 to 50 minutes. You’ll know it’s ready when the top is golden brown and bubbly around the edges—delicious!
8. Cool and Serve:
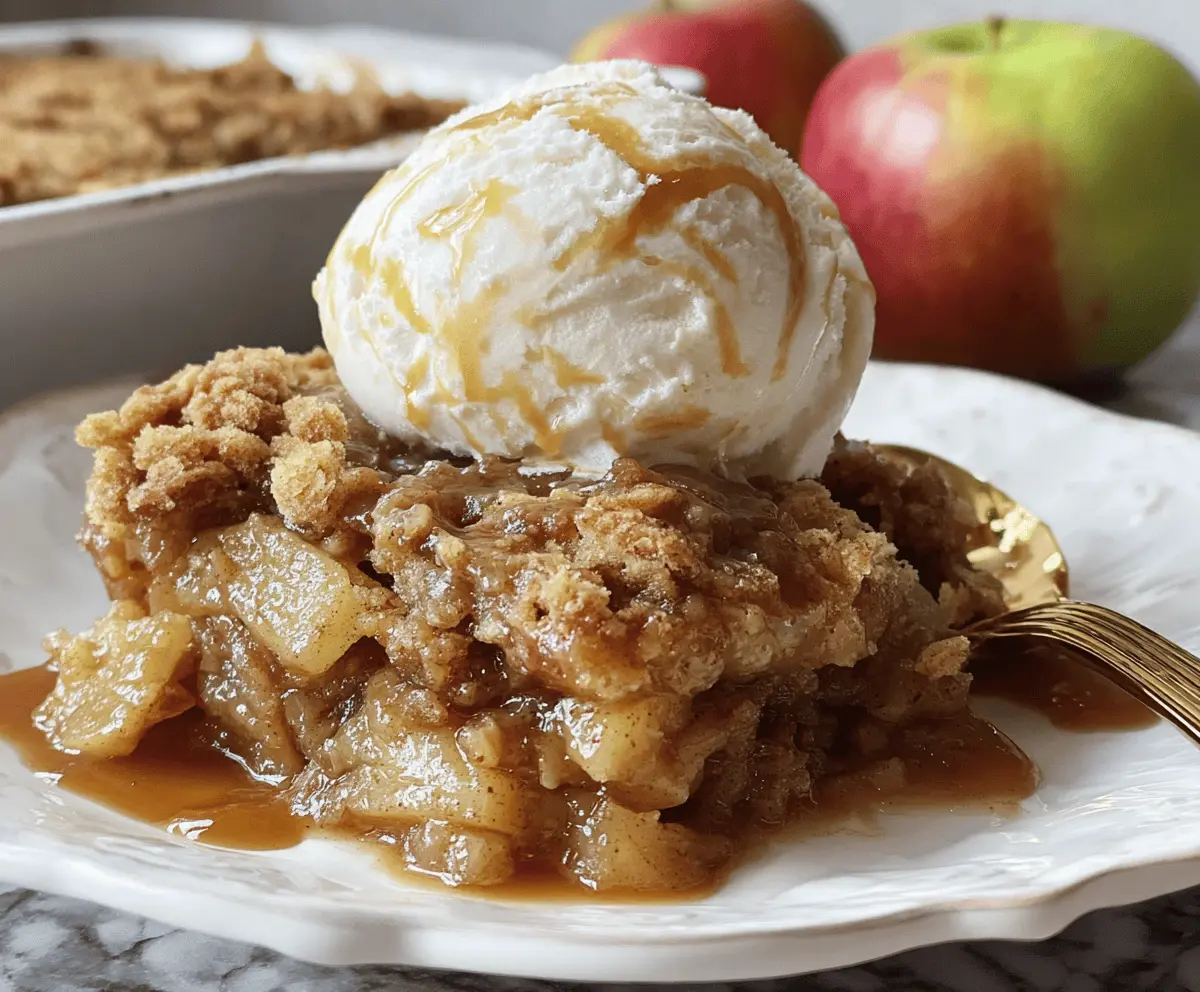
Once out of the oven, let the cake cool for a few minutes before digging in. Serve warm, topped with a lovely scoop of vanilla ice cream and a drizzle of caramel sauce if you’re feeling extra indulgent!
Enjoy your indulgent and easy-to-make Apple Pie Dump Cake! It’s a true crowd-pleaser!
Can I Use Fresh Apples Instead of Canned Filling?
Absolutely! If you prefer fresh apples, you’ll need about 6 cups of peeled and sliced apples. Toss them with some sugar and cinnamon before layering in the baking dish for a delicious fresh twist!
How Can I Make This Gluten-Free?
To make this dump cake gluten-free, simply replace the yellow cake mix with a gluten-free cake mix. Ensure that all other ingredients are also gluten-free. You can find many great options at your local grocery store!
Can I Store Leftovers?
Yes! Store any leftovers in an airtight container in the fridge for up to 3 days. To reheat, pop it in the microwave for a few seconds or warm it up in the oven at 350°F until heated through.
Can I Add Nuts or Other Toppings?
Definitely! Chopped nuts like pecans or walnuts can add a lovely crunch. Just sprinkle them on top of the dry cake mix before drizzling with butter. You might also consider tossing some raisins or dried cranberries with the apple filling for added texture and flavor!