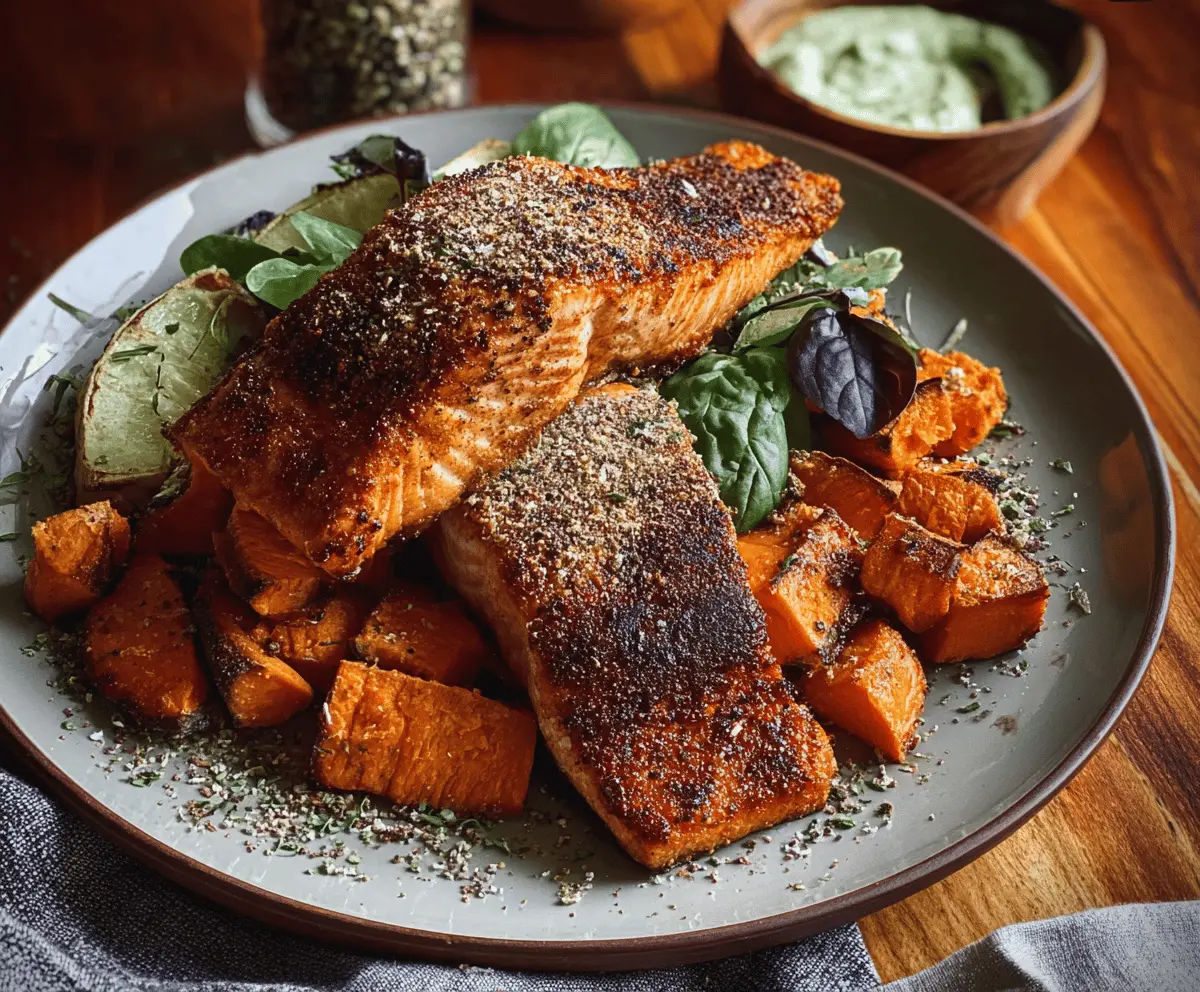
This blackened salmon is packed with flavor, featuring a deliciously crispy crust that will make your taste buds dance! Pair it with sweet, creamy sweet potatoes for a perfect meal.
Cooking this dish is a breeze! Just season the salmon, sear it, and roast the sweet potatoes. It’s a tasty choice that’s sure to impress everyone at the dinner table!
Key Ingredients & Substitutions
Salmon: Fresh salmon fillets are best for this dish. However, if you can’t find salmon, try using other fish like trout or tilapia. Both have a mild flavor that pairs well with the blackening spices.
Sweet Potatoes: They add natural sweetness and creaminess. If sweet potatoes aren’t available, you can use butternut squash or regular potatoes. These options will also roast nicely.
Olive Oil: I prefer olive oil for its flavor, but you can substitute it with avocado oil or melted coconut oil. Both will work well for cooking while adding subtle flavor.
Cayenne Pepper: If you prefer less heat, reduce the cayenne pepper or substitute with smoked paprika for a milder spice but still rich flavor.
How Do You Get the Perfect Blackened Crust on Salmon?
The key to achieving that signature blackened crust is all in the seasoning and the right searing technique. Here’s how to do it right:
- Make sure to pat the salmon dry. This helps the seasoning stick better and creates that desired crust.
- Generously coat the salmon with the blackening seasoning, pressing it in to adhere well to the fish.
- Heat your pan until it’s very hot before adding the oil. This ensures the salmon sears quickly and forms a nice crust.
- Don’t flip the salmon too soon. Let it cook undisturbed so a beautiful crust can form.
By following these tips, you’ll have perfectly blackened salmon every time! Enjoy your cooking adventure!
Blackened Salmon With Sweet Potato
Ingredients You’ll Need:
For the Salmon and Sweet Potatoes:
- 2 salmon fillets (about 6 oz each), skin on or off as preferred
- 2 medium sweet potatoes, peeled and cut into cubes
- 2 tbsp olive oil (for sweet potatoes)
- 1 tbsp olive oil or butter (for searing salmon)
- 1 lime, cut into wedges for garnish
- Fresh greens or spinach leaves for plating (optional)
For Blackening Seasoning:
- 1 tbsp paprika
- 1 tsp salt
- 1 tsp black pepper
- 1 tsp garlic powder
- 1 tsp onion powder
- 1/2 tsp cayenne pepper (adjust for spice preference)
- 1/2 tsp dried thyme
- 1/2 tsp dried oregano
How Much Time Will You Need?
This delicious meal takes about 15 minutes to prepare and 30-35 minutes to cook. You’ll spend the first part roasting the sweet potatoes while you prepare the salmon. It’s a quick and satisfying dish that is perfect for any night of the week!
Step-by-Step Instructions:
1. Preparing the Sweet Potatoes:
Start by preheating your oven to 425°F (220°C). In a large bowl, toss the sweet potato cubes with 2 tablespoons of olive oil and sprinkle with a pinch of salt and pepper. Spread them out in a single layer on a baking sheet. Roast them in the oven for 25-30 minutes, flipping halfway through to ensure they cook evenly. You want them to be tender and slightly caramelized on the edges when they’re done.
2. Making the Blackening Seasoning:
While the sweet potatoes are roasting, prepare the blackening seasoning. In a small bowl, mix together the paprika, salt, black pepper, garlic powder, onion powder, cayenne pepper (if using), thyme, and oregano. This spice mix is what gives the salmon its delicious flavor!
3. Seasoning the Salmon:
Once the seasoning is ready, pat the salmon fillets dry with paper towels. This is important for achieving that perfect sear! Generously sprinkle the blackening seasoning on both sides of the salmon, pressing it in gently to ensure it sticks.
4. Searing the Salmon:
Next, heat a cast iron skillet or a non-stick pan over medium-high heat. Add 1 tablespoon of olive oil or butter and let it heat up until it shimmers. Carefully place the salmon fillets in the pan, skin-side down if applicable. Allow the salmon to cook undisturbed for about 3-4 minutes, or until a beautiful blackened crust forms.
5. Flipping and Finishing Cooking:
When the crust is formed, carefully flip the salmon over and cook for an additional 2-3 minutes, or until it’s cooked to your desired doneness. You can check the center with a fork; it should flake easily but still be moist.
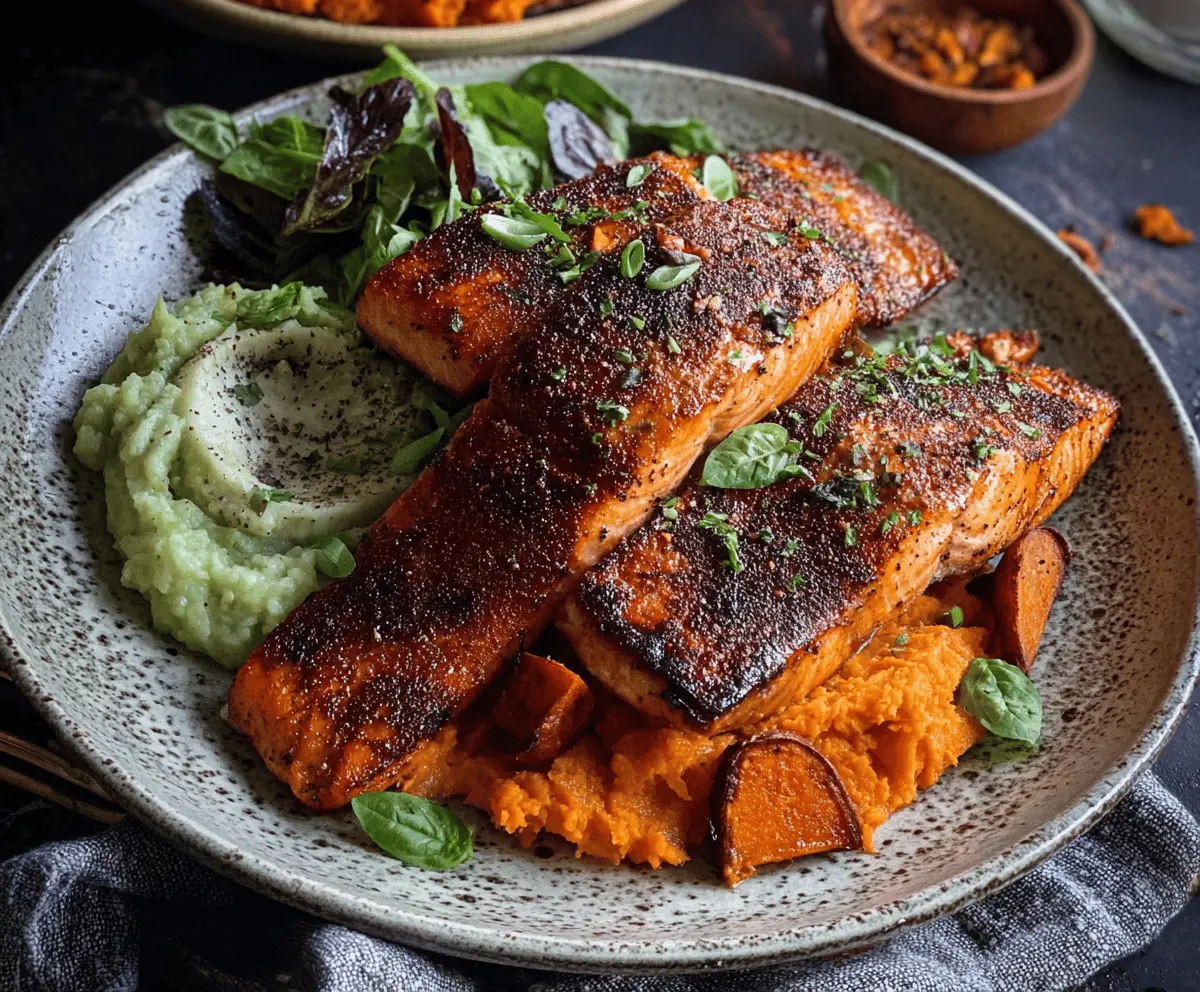
6. Plating and Garnishing:
Now that everything is cooked, it’s time to plate! Arrange the roasted sweet potatoes on plates and top them with the blackened salmon. Garnish with fresh greens or spinach, and add lime wedges on the side for some zesty flavor.
7. Optional Dip:
If you like, serve this dish with a side of creamy herb or avocado sauce. You can easily make a quick sauce by mixing Greek yogurt with fresh herbs and a squeeze of lime juice for extra flavor.
Enjoy your beautifully blackened, spicy salmon with sweet, roasted sweet potatoes! It’s a fantastic dish that’s both healthy and satisfying.
Can I Use Frozen Salmon for This Recipe?
Yes, you can use frozen salmon! Just make sure to fully thaw it in the refrigerator overnight or quickly do so by sealing it in a plastic bag and submerging it in cold water. Pat it dry before seasoning to achieve the best crust.
What Can I Substitute for Sweet Potatoes?
If you don’t have sweet potatoes, feel free to use butternut squash or regular potatoes. They will roast nicely and pair well with the salmon while offering a slightly different taste.
How Do I Store Leftover Salmon and Sweet Potatoes?
Store any leftovers in an airtight container in the refrigerator for up to 3 days. To reheat, warm the salmon and sweet potatoes gently in the oven at a low temperature or in the microwave, making sure not to overcook the salmon.
Can I Make the Blackening Seasoning Ahead of Time?
Absolutely! You can mix the blackening seasoning in advance and store it in an airtight container in a cool, dry place for up to a month. This makes dinner prep even quicker when you’re ready to cook!