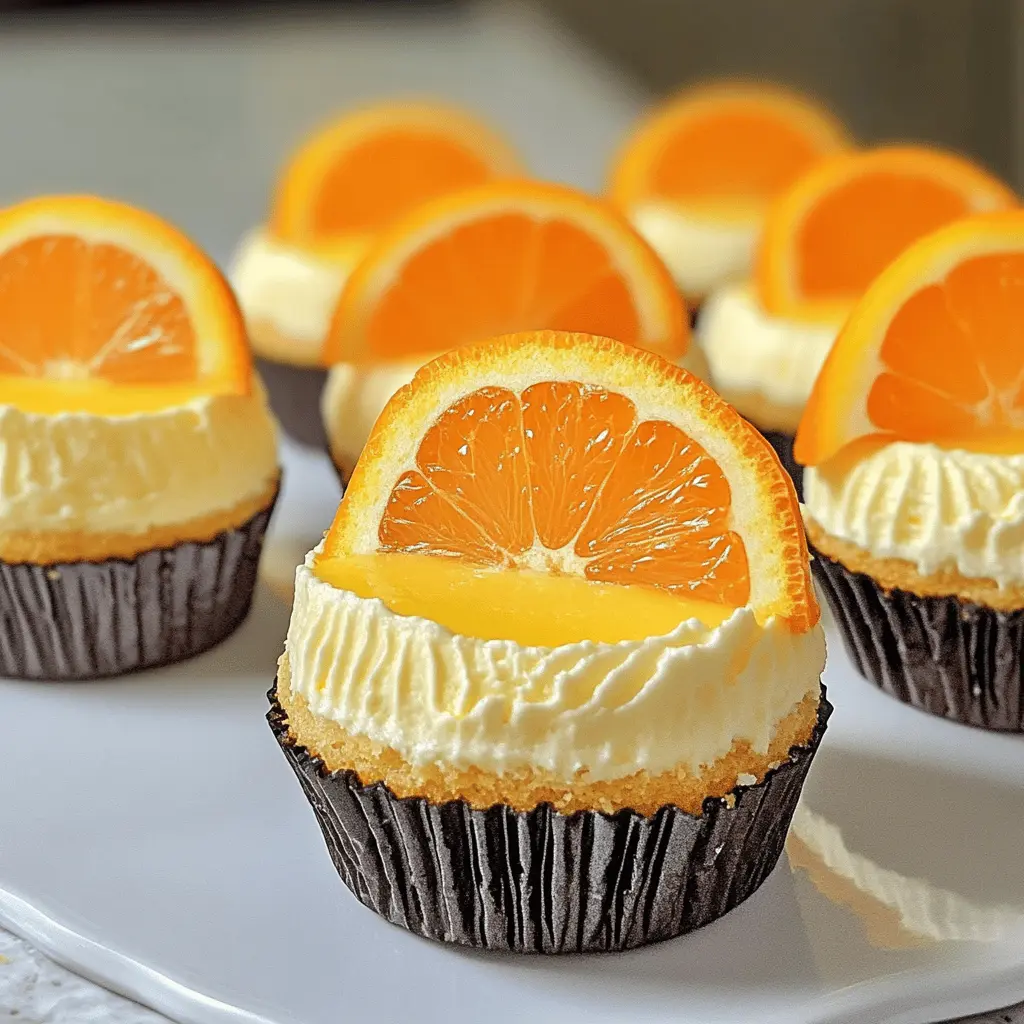
These little cheesecakes taste just like your favorite orange creamsicle! With a creamy filling and a sweet, crunchy crust, they are perfect for any occasion.
Making them is a breeze—just mix, pour, and chill! I love serving these mini delights at parties, and they always disappear quickly. Who can resist that orange flavor? 🍊
Key Ingredients & Substitutions
Oreo Cookie Crumbs: These give a sweet and chocolatey crust. If you’re looking for a different option, graham cracker crumbs work well, too! For a gluten-free version, use gluten-free cookies instead.
Cream Cheese: This is key for a rich texture. If you’re dairy-free, you can use vegan cream cheese, but check that it’s soft enough to blend smoothly.
Orange Juice and Zest: Fresh orange juice and zest provide bright flavor. You can substitute this with lemon juice and zest for a tart twist, but it’ll change the overall taste.
Whipped Topping: I prefer using a non-dairy whipped topping for a lighter feel. You can also whip your own cream for a fresher taste, but remember to add some powdered sugar for sweetness!
How Do I Make Sure My Crust Is Perfect?
The crust is crucial for holding your mini cheesecakes. It should be firm and hold together well. To get the right texture, mix the Oreo crumbs and melted butter thoroughly, ensuring every crumb is coated.
- Press the crumb mixture firmly into each cupcake liner, using the back of a spoon or your fingers for even packing.
- Baking the crust for just 8-10 minutes helps it set without burning. Allow it to cool completely before adding the filling to prevent it from becoming soggy.

How to Make Orange Creamsicle Mini Cheesecakes
Ingredients You’ll Need:
For The Crust:
- 1 ½ cups Oreo cookie crumbs
- 4 tablespoons butter, melted
For The Cheesecake Filling:
- 16 oz cream cheese, softened
- ½ cup granulated sugar
- 1 teaspoon vanilla extract
- 2 cups whipped topping, divided
- 1 cup orange juice
- 1 teaspoon orange zest
- 1 packet (3 oz) orange gelatin mix
For The Topping:
- Whipped cream (for garnish)
- Orange slices (for garnish)
How Much Time Will You Need?
This delicious recipe takes about 15 minutes of prep time and requires at least 4 hours in the refrigerator to set. So, plan ahead to enjoy these tasty treats after they chill!
Step-by-Step Instructions:
1. Prepare the Crust:
First, preheat your oven to 350°F (175°C). While the oven is warming up, line a muffin tin with cupcake liners. In a mixing bowl, combine the Oreo cookie crumbs and melted butter. Stir until everything is well mixed. Now, press this mixture evenly into the bottom of each cupcake liner to create your crusts.
2. Bake the Crusts:
Pop the muffin tin into the preheated oven. Bake the crusts for about 8 to 10 minutes, or until they set nicely. Once they look good, take them out of the oven and let them cool completely on a wire rack.
3. Make the Cheesecake Filling:
In a large bowl, use a hand mixer to beat the softened cream cheese until it’s nice and smooth. Gradually add the granulated sugar and vanilla extract, mixing everything together until combined. Next, pour in the orange juice, orange zest, and the orange gelatin mix. Mix this well until the gelatin is fully dissolved and the mixture is smooth.
4. Combine the Toppings:
Now, gently fold in 1 ½ cups of whipped topping into the cheesecake mixture. Be careful not to over-mix; just combine it until you see no streaks. This will help create a light and airy filling.
5. Fill the Cheesecakes:
Spoon the creamy cheesecake mixture over the cooled crusts in the muffin tin, filling each liner all the way to the top. It’s going to look amazing, and you’re almost done!
6. Chill and Set:
Now, it’s time for a little patience. Place the mini cheesecakes in the refrigerator and let them set for at least 4 hours, or until they are firm and ready to enjoy.
7. Garnish and Serve:
Once they’re set, carefully remove the mini cheesecakes from the muffin tin. Top each mini cheesecake with the remaining whipped topping and place an orange slice on top for a lovely garnish. Now they’re ready to be served!
Enjoy your Orange Creamsicle Mini Cheesecakes chilled and get ready to impress everyone with this delightful treat! Taste the summer goodness in every bite!
Can I Use a Different Type of Cookie for the Crust?
Absolutely! If you don’t have Oreo cookies on hand, you can use other chocolate cookies, graham crackers, or even vanilla wafers for a different flavor. Just make sure to crush them finely and adjust the butter amount slightly if using a different type of cookie for best results.
How Can I Make These Cheesecakes Ahead of Time?
These mini cheesecakes are perfect for making ahead! You can prepare them up to 2 days in advance. Just keep them covered in the fridge to maintain freshness. Add the whipped cream topping and orange slices right before serving to keep them looking their best!
What Should I Do If I Don’t Have Orange Gelatin Mix?
If you can’t find orange gelatin mix, you can substitute it with a similar citrus-flavored gelatin or even skip it entirely. If you skip the gelatin, your cheesecakes will still set—just ensure they chill for a longer time to firm up properly.
How Do I Store Leftover Mini Cheesecakes?
Store any leftovers in an airtight container in the refrigerator for up to 3 days. You can also freeze them for longer storage; just make sure to wrap them well in plastic wrap or a freezer bag. Thaw in the fridge before serving again!