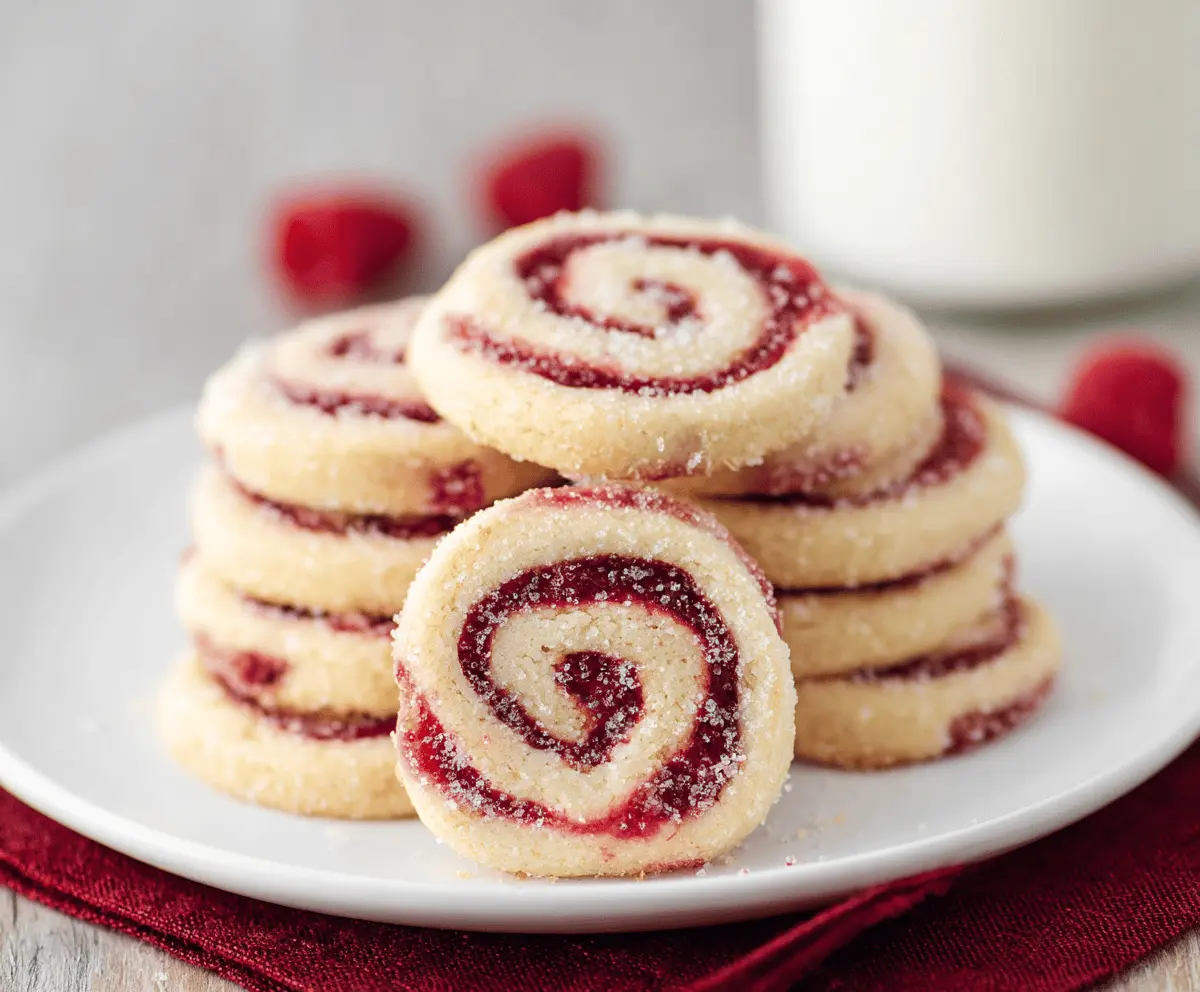
These Raspberry Swirl Cookies are a sweet treat that combines buttery cookie dough with swirls of fruity raspberry. They look as pretty as they taste!
Whenever I bake these cookies, my kitchen smells amazing. Plus, I can’t resist those beautiful swirls—it’s like art you can eat! Who doesn’t love a colorful cookie? 🍪
Key Ingredients & Substitutions
Unsalted Butter: This is crucial for a tender cookie. If you’re in a pinch, stick to salted butter but avoid adding extra salt. Some bakers even use coconut oil for a dairy-free version!
Granulated Sugar: This gives the cookies their sweetness and helps with texture. Brown sugar can be used instead if you prefer a richer flavor, but your cookies might be chewier.
Raspberry Jam: Look for seedless varieties for a smooth finish. You can swap it with any fruit spread like strawberry or blueberry if raspberries aren’t available. Homemade fruit spread works too!
All-Purpose Flour: This is the standard choice, but you might try a gluten-free blend if you need a gluten-free option. Just ensure it has xanthan gum for better texture.
How Do You Achieve Beautiful Swirls in Cookies?
The key to those lovely swirls is rolling the dough evenly and tightly. After spreading the jam, use the edges of the parchment paper to help you roll it smoothly. Here’s how:
- Start with a well-floured surface to prevent sticking.
- Spread the jam evenly, but don’t overdo it—too much can make it messy.
- Begin rolling from the shorter edge, applying gentle pressure to keep the roll tight without squishing the filling out.
- Wrap the logs well in plastic wrap for a clean shape and refrigerate to firm them up before slicing.
Remember, a sharp knife helps make clean cuts without squishing the dough. Enjoy the process, and have fun making these beautiful cookies!

Raspberry Swirl Cookies
Ingredients You’ll Need:
- 1 cup (226 grams) unsalted butter, softened
- 3/4 cup (150 grams) granulated sugar
- 1 large egg
- 1 tsp vanilla extract
- 2 1/4 cups (280 grams) all-purpose flour
- 1/2 tsp baking powder
- 1/4 tsp salt
- 1/2 cup raspberry jam or raspberry preserves (seedless preferred)
- Additional granulated sugar for rolling
How Much Time Will You Need?
This delicious recipe takes about 20 minutes to prepare and around 12 to 15 minutes to bake, plus an hour to chill the dough. So, set aside about 1 hour and 45 minutes, which includes the chilling time. It’s a perfect weekend or afternoon baking project!
Step-by-Step Instructions:
1. Preheat the Oven
Start by preheating your oven to 350°F (175°C). This will make sure it’s nice and hot when you’re ready to bake your cookies. While the oven heats up, line two baking sheets with parchment paper. This will keep your cookies from sticking!
2. Cream the Butter and Sugar
In a large bowl, combine the softened butter and granulated sugar. Using an electric mixer, beat them together until the mixture is light and fluffy. This should take about 2 to 3 minutes. It’s important for getting that nice soft texture in your cookies!
3. Add the Egg and Vanilla
Next, crack in the egg and add the vanilla extract. Mix everything together until fully incorporated. It’s okay if the mixture looks a little lumpy; just get it combined as best as you can!
4. Combine Dry Ingredients
In another bowl, whisk together the flour, baking powder, and salt. This helps to evenly distribute the leavening agents into your cookies.
5. Mix It All Together
Gradually add the dry ingredient mixture to the butter mixture. Use the electric mixer on low speed to combine until just incorporated. Be careful not to overmix; you want to keep your cookies tender!
6. Shape the Dough
Turn the dough out onto a lightly floured surface and divide it into two equal pieces. Roll each piece into a rectangle about 1/4 inch thick. This part may require a little flour on your rolling pin to prevent sticking!
7. Add the Raspberry Jam
Spread half of the raspberry jam evenly over each rectangle of dough, leaving a small border around the edges to prevent spilling while you roll.
8. Roll the Logs
Starting from one short end, carefully roll each rectangle up tightly like a little log! Keep it tight for nice swirls. Once you’ve rolled both logs, wrap them in plastic wrap and refrigerate for at least 1 hour. This will make them easier to slice.
9. Prepare for Baking
Once the logs are chilled, take them out of the fridge. Pour some granulated sugar onto a plate and roll each log in the sugar to coat. This will add a lovely sweetness and crunch!
10. Slice and Bake
Slice each log into 1/4 inch thick rounds and place them on the prepared baking sheets, allowing about 1 inch between cookies. Bake in the preheated oven for 12 to 15 minutes or until the edges start to turn a light golden brown.
11. Cool and Serve
Finally, remove your cookies from the oven and let them cool on the baking sheet for a few minutes. Then, transfer them to a wire rack to cool completely. Enjoy your delightful raspberry swirl cookies with a glass of milk or your favorite drink!
These cookies are buttery and soft with a bright, sweet raspberry swirl, making them both beautiful and delicious. They make for perfect gifts or cozy treats to share with friends and family. Enjoy every bite!
Can I Use a Different Fruit Jam?
Absolutely! While raspberry jam gives a lovely flavor and color, you can use any other fruit preserves such as strawberry, blueberry, or even apricot. Just make sure they are seedless for smoother swirls.
What If My Dough Is Too Sticky?
If your dough feels sticky and hard to handle, you can add a little more flour, about a tablespoon at a time, until it reaches a manageable consistency. Make sure you don’t add too much, as it can change the texture of the cookies.
Can I Make These Cookies Gluten-Free?
Yes, you can use a gluten-free all-purpose flour blend that includes xanthan gum. This helps mimic the structure of regular flour. Just note that your cookies may have a slightly different texture than traditional ones.
How Should I Store Leftover Cookies?
Store any leftovers in an airtight container at room temperature for up to 3 days. For longer storage, you can freeze them! Just wrap them tightly in plastic wrap and place them in a freezer-safe bag. They can be kept in the freezer for up to 3 months.