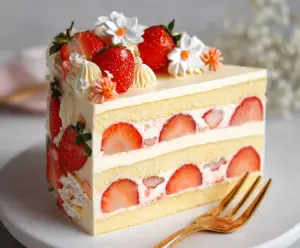
This Strawberry Shortcake Layer Sponge Cake is a light and fluffy treat that’s perfect for any celebration. It features soft sponge layers filled with sweet strawberries and whipped cream!
I’ve gotta say, the layers make it super fun to slice and serve. Plus, the fresh strawberries always steal the spotlight! Don’t forget to save a slice for yourself! 🍓
Key Ingredients & Substitutions
All-purpose flour: This is the base for your sponge cake. If you want to make it a bit lighter, you can use cake flour instead. However, all-purpose works beautifully for a sturdy cake.
Granulated sugar: The main sweetener here! Brown sugar can be a nice alternative if you’re looking for a deeper flavor. Just keep in mind it may slightly change the texture.
Unsalted butter: I always use unsalted butter because it gives you more control over the saltiness. If you’re dairy-free, try coconut oil or a dairy-free butter substitute.
Fresh strawberries: Make sure they are ripe for the best flavor! You can replace them with other fruits like blueberries or raspberries if you’re feeling adventurous.
Heavy whipping cream: This gives the frosting that rich texture. For lighter frostings, you can substitute it with whipped coconut cream for a dairy-free option.
How Do I Make Sure My Sponge Cake Comes Out Perfectly?
The key to a great sponge cake is in the mixing! When creaming the butter and sugar, beat until it’s light and fluffy – this adds air to the cake. Here’s a quick guide:
- Preheat your oven to 350°F (175°C) and prepare your pans well to avoid sticking.
- Cream the butter and sugar properly—this usually takes about 3-5 minutes.
- Add eggs one at a time, ensuring they’re fully mixed in before adding the next.
- When adding your dry ingredients, mix just until combined. Overmixing can lead to a dense cake.
- Make sure to let the cakes cool in the pan for about 10 minutes before transferring them to a wire rack; this helps prevent them from breaking apart.
How to Make Strawberry Shortcake Layer Sponge Cake
Ingredients You’ll Need:
For The Sponge Cake:
- 2 cups all-purpose flour
- 1 cup granulated sugar
- ½ cup unsalted butter, softened
- 1 cup milk
- 3 large eggs
- 1 tbsp baking powder
- 1 tsp vanilla extract
- ½ tsp salt
For The Strawberry Filling:
- 2 cups fresh strawberries, hulled and sliced
- ¼ cup granulated sugar (adjust according to sweetness of strawberries)
For The Whipped Cream Frosting:
- 2 cups heavy whipping cream
- ½ cup powdered sugar
- 1 tsp vanilla extract
For Garnish:
- Fresh strawberries, halved (for decoration)
- Berry sauce (optional for drizzling)
How Much Time Will You Need?
This delicious strawberry shortcake layer sponge cake will take about 1 hour for preparation and baking, plus an additional hour to chill before serving. So, set aside about 2 hours in total to make, chill, and enjoy your lovely cake!
Step-by-Step Instructions:
1. Make the Sponge Cake:
First off, preheat your oven to 350°F (175°C). Next, grease and flour two 9-inch round cake pans to ensure the cakes come out easily after baking. In a large mixing bowl, cream the softened butter and granulated sugar together until it’s nice and light and fluffy. Once that’s done, add in the eggs one at a time, mixing well after each addition, then stir in the vanilla extract.
In another bowl, sift together the flour, baking powder, and salt. Gradually mix this dry combination into your buttery mixture, alternating with the milk—start and end with the flour mix. Stir until everything is just combined, then divide the batter evenly between your prepared cake pans and smooth the tops out. Bake these in your preheated oven for about 25-30 minutes, or until a toothpick inserted in the center comes out clean. Let the cakes cool in the pans for about 10 minutes before transferring them to a wire rack to cool completely.
2. Prepare the Strawberry Filling:
While the cakes cool, prepare the sweet strawberry filling. In a medium bowl, mix the sliced strawberries with the granulated sugar and stir everything together. Let this sit for about 10-15 minutes, so the strawberries release their juicy goodness!
3. Make the Whipped Cream Frosting:
Now for the fun part! In a large mixing bowl, whip together the heavy cream, powdered sugar, and vanilla extract until stiff peaks form. This will be your fluffy frosting!
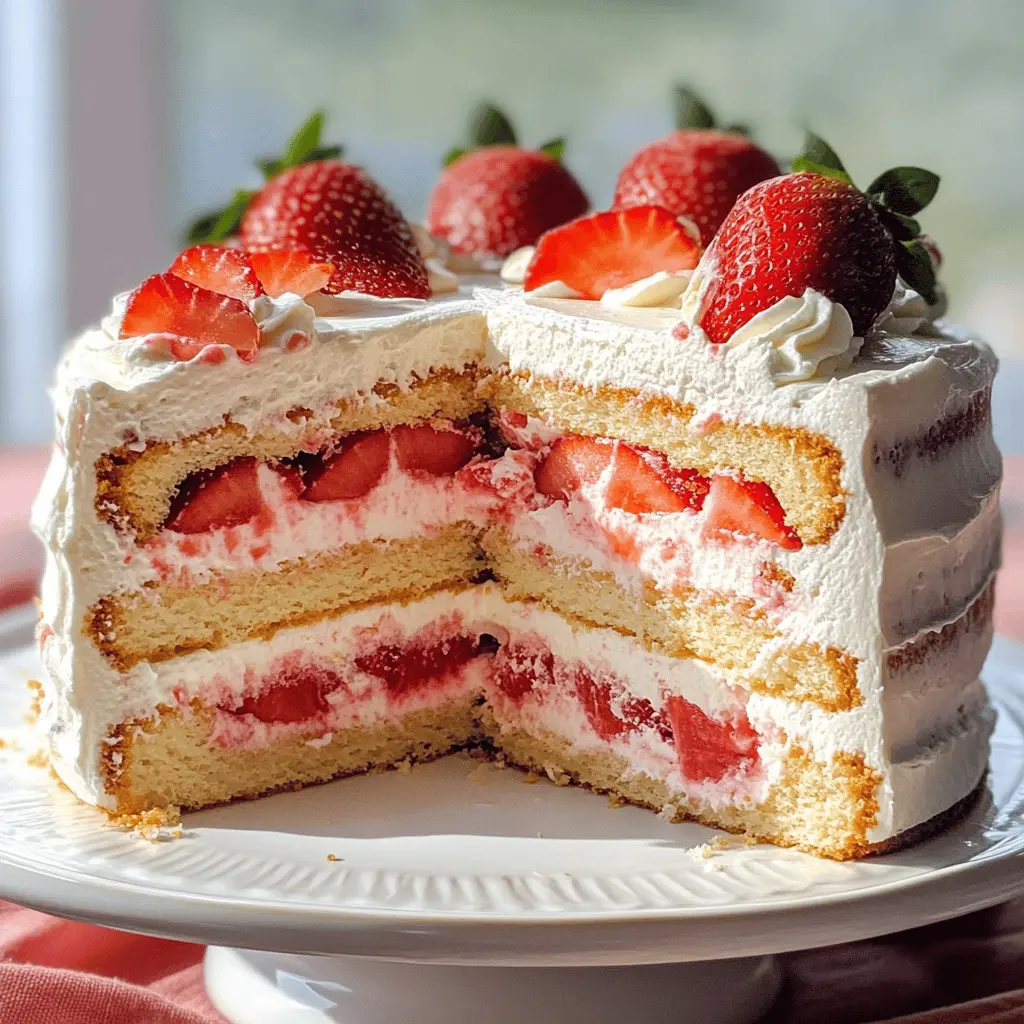
4. Assemble the Cake:
Once the sponge cakes are completely cool, you can level the tops if they need it. Place one cake layer on your serving plate, then spread a layer of whipped cream frosting over the top, followed by a layer of those delicious sugared strawberries. Now, gently place the second cake layer on top and repeat the process with another layer of whipped cream and strawberries. Use any extra whipped cream to frost the sides and top of the cake.
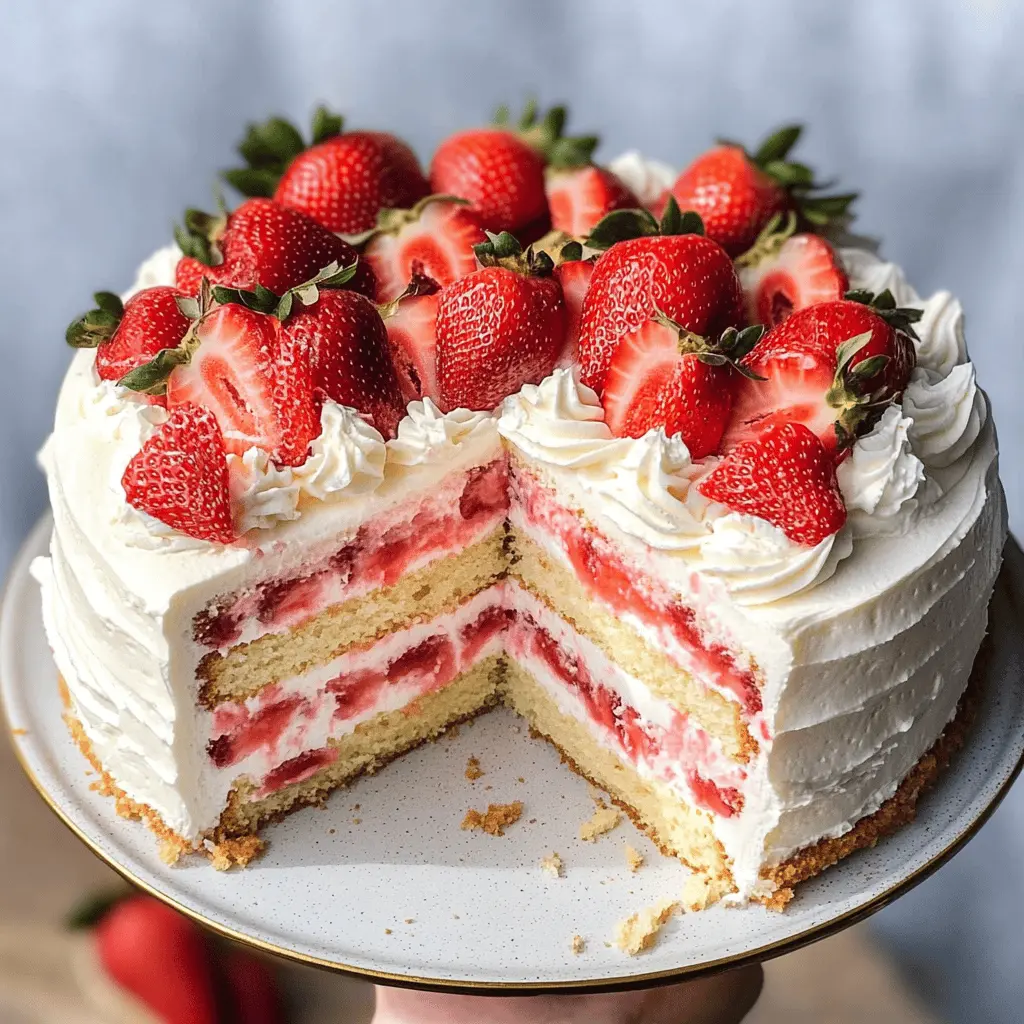
5. Garnish and Chill:
To finish, decorate the top of the cake with fresh strawberry halves for a lovely touch and drizzle with berry sauce if you like! For the best flavor and easier slicing, refrigerate the cake for at least 1 hour before serving. Enjoy every bite of this delightful strawberry shortcake!
Can I Substitute Different Types of Flour?
Yes! You can use cake flour for a lighter texture, or gluten-free all-purpose flour if you need a gluten-free option. Just be sure to check if any additional adjustments are needed for the gluten-free brand you choose.
How to Store Leftover Cake?
Store the leftover strawberry shortcake in an airtight container in the fridge for up to 3 days. If the cake starts to get soggy from the strawberries, consider storing the cake and strawberries separately and assembling slices as needed.
Can I Use Frozen Strawberries Instead of Fresh?
Yes, you can use frozen strawberries, but make sure to thaw them and drain any excess liquid before using. Since they may be less firm than fresh strawberries, you might want to enhance the flavor with a little extra sugar or even lemon juice.
How Can I Make This Cake Dairy-Free?
To make this cake dairy-free, substitute the butter with a dairy-free alternative like coconut oil or vegan butter and use almond or oat milk instead of regular milk. For the whipped cream, you can use a coconut cream or a dairy-free whipping cream alternative.