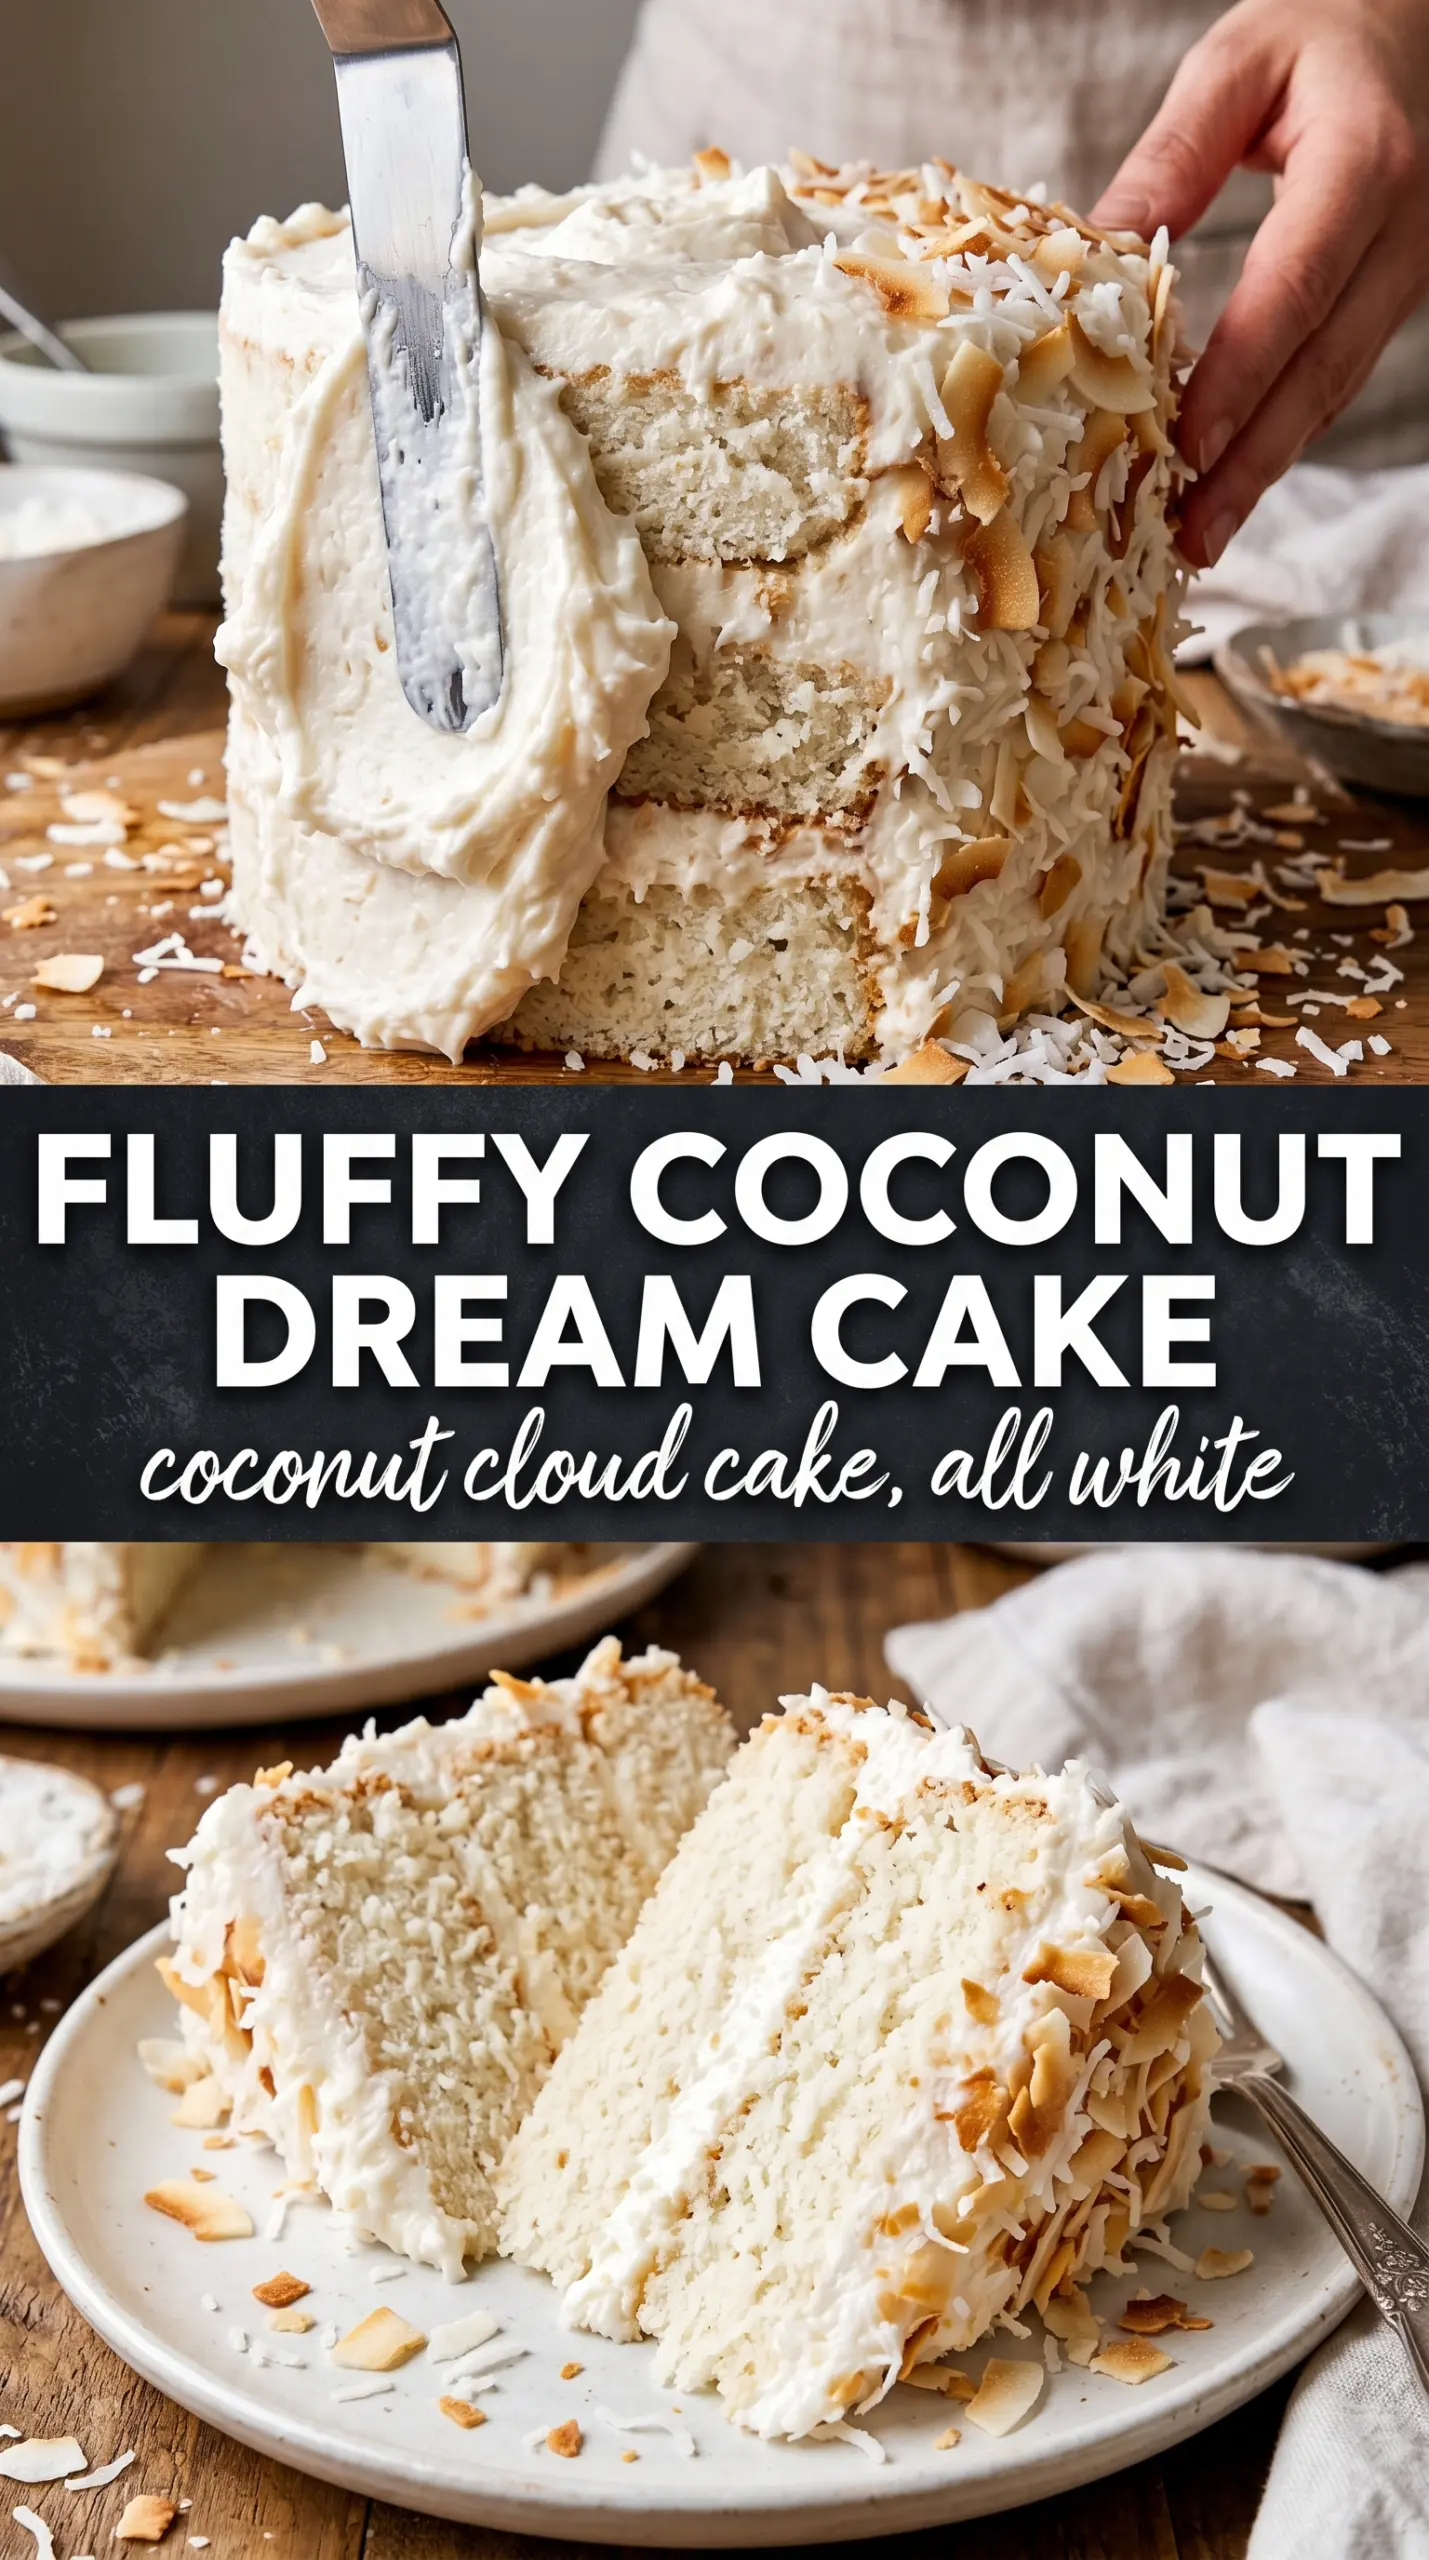
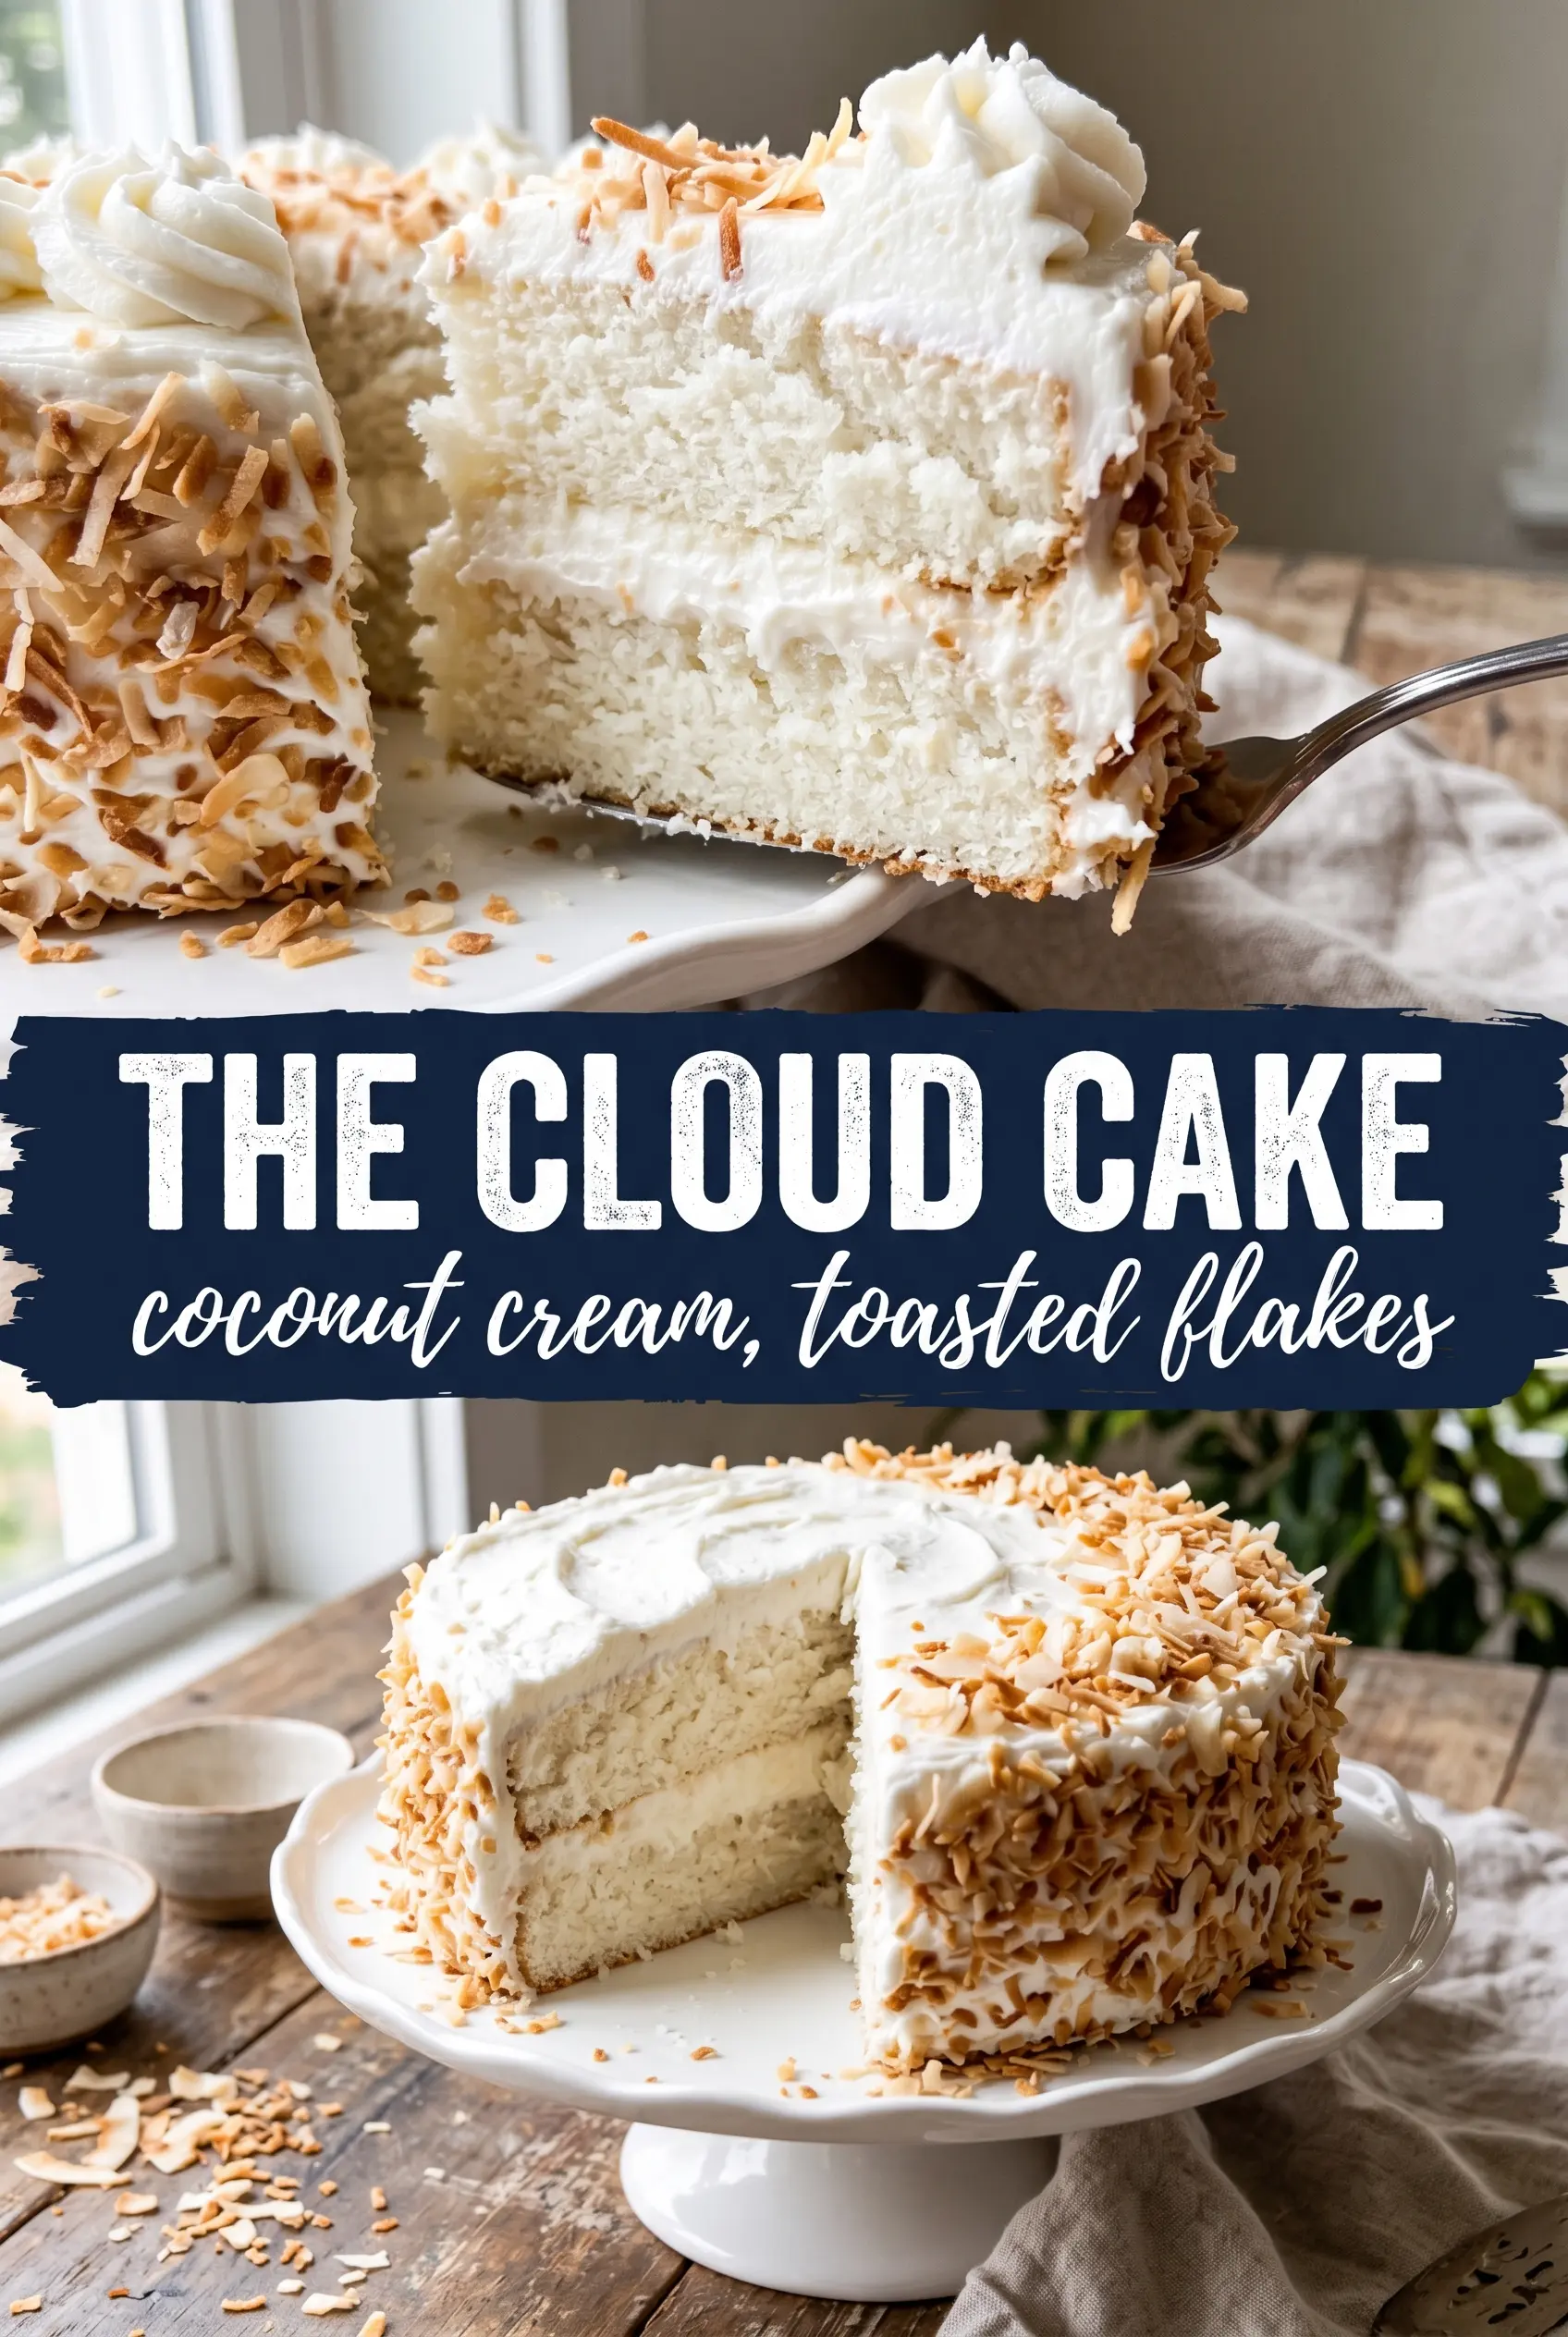
Coconut Cloud Cake earns its name the second you slice into it. The crumb stays soft and tender, the frosting is plush and creamy, and the toasted coconut coating gives every bite a little crunch and a warm, nutty edge. It looks tall and dramatic on the table, but it eats like a cake that was made with care, not fuss.
What makes this version work is the balance. Coconut milk brings richness without making the crumb heavy, while a little coconut extract boosts the flavor so the cake tastes unmistakably coconut instead of just sweet and buttery. Folding shredded coconut into the batter adds texture inside the layers, and coating the outside with toasted coconut gives the whole cake that bakery-style finish.
Below, I’ve included the small details that matter most: how to keep the cake layers fluffy, when the frosting should be soft enough to spread, and the easiest way to get that toasted coconut to stick in a thick, even coat.
The cake stayed unbelievably light, and the toasted coconut on the outside gave it this great little crunch. I chilled it for 20 minutes before slicing and the frosting cut cleanly without squishing the layers.
Save this Coconut Cloud Cake for the kind of celebration that calls for tall layers, fluffy frosting, and a thick coat of toasted coconut.
The Reason This Cake Stays Light Instead of Dense
The biggest mistake with layer cakes like this is overmixing once the flour goes in. That’s how you end up with a tight, heavy crumb instead of the soft, cloudlike texture you want here. Mix just until the batter comes together, then stop. The coconut milk and butter already bring plenty of richness; the cake doesn’t need help becoming dense.
The other thing that matters is how you handle the coconut. The shredded coconut in the batter gives the cake a little chew and moisture, but the toasted coconut on the outside does the visual heavy lifting. If you toast it too far, it turns bitter fast. Watch for pale gold at the edges and pull it as soon as it smells nutty.
What Each Coconut Ingredient Is Doing Here
- All-purpose flour — This keeps the cake sturdy enough for layers without turning it bready. Cake flour will make it a little softer, but all-purpose gives a better structure for the frosting and coconut coating.
- Butter and sugar — Creaming these until the mixture turns pale and fluffy builds the lift in the cake. If the butter is too cold, you won’t trap enough air, and the crumb will come out compact.
- Coconut milk — This is the ingredient that keeps the cake moist and gives it a clean coconut base. Full-fat coconut milk works best; shake the can well before measuring so the cream and liquid are evenly mixed.
- Coconut extract — A small amount makes the flavor read clearly as coconut without overpowering the cake. Don’t skip it if you want a true coconut cake flavor instead of a vanilla cake with coconut sprinkled on top.
- Sweetened shredded coconut — Folded into the batter, it gives little pockets of texture. Toasted for the outside, it adds crunch and that snow-covered look that makes the cake feel special.
- Cream cheese frosting — The tang of cream cheese keeps the cake from tasting cloying. Beat it until smooth before adding the sugar, or you’ll chase lumps forever.
Building the Layers Without Deflating the Batter
Creaming the Butter and Sugar
Beat the butter and sugar until the mixture looks pale, fluffy, and almost whipped. That step adds air, and air is what gives the cake lift before it ever hits the oven. If the mixture still looks greasy or grainy, keep going. Scrape the bowl often so the butter on the sides doesn’t stay unmixed and weigh everything down.
Alternating the Dry Ingredients and Coconut Milk
Add the flour mixture and coconut milk in alternating additions, starting and ending with the flour. This keeps the batter smooth and prevents the liquid from loosening the batter all at once. Mix on low and stop as soon as the flour disappears. If you beat it after that point, the cake starts losing the tenderness you just built.
Baking Until the Center Springs Back
The layers are done when a toothpick comes out clean and the tops spring back lightly when touched. Don’t wait for deep browning; coconut cake should stay pale and tender, not dry at the edges. Let the pans cool for a few minutes before turning the layers out, then cool them completely before frosting. Warm cake will melt the frosting and slide around under the coconut coating.
Make It Dairy-Free
Use a plant-based butter and a thick dairy-free cream cheese alternative. The cake layers still work well with coconut milk, but the frosting will be a little softer, so chill the cake before slicing. The flavor stays coconut-forward, though the tang is slightly milder.
Use Cake Flour for a More Delicate Crumb
Swap the all-purpose flour for cake flour if you want an even softer, finer crumb. The cake will feel lighter, but it can also be a touch more fragile when stacked, so let the layers cool fully before moving them. This version is best when you want a very soft slice.
Skip the Toasted Coconut Coating
If you want a smoother, cleaner look, frost the cake and finish it with plain sweetened coconut instead of toasted. You lose the nutty crunch, but the cake turns out softer in texture and a little sweeter on the finish. It’s a good choice for anyone who prefers a classic white coconut layer cake look.
Storage and Reheating
- Refrigerator: Store covered for up to 5 days. The frosting firms up in the fridge, but the cake stays moist.
- Freezer: Freeze unfrosted cake layers tightly wrapped for up to 2 months. Frosted cake can be frozen, but the coconut coating softens a bit after thawing.
- Reheating: This cake isn’t meant to be reheated. Let refrigerated slices sit at room temperature for 20 to 30 minutes before serving so the frosting softens and the crumb tastes plush again.
Answers to the Questions Worth Asking
Coconut Cloud Cake
Ingredients
Equipment
Method
- Preheat the oven to 350°F and grease three 8-inch or two 9-inch round cake pans; line each pan with parchment for easy release.
- In a bowl, whisk together all-purpose flour, baking powder, and salt until evenly combined.
- In a stand mixer, beat the softened butter and granulated sugar until very fluffy, then add the eggs one at a time, mixing well after each addition.
- Mix in the vanilla extract and coconut extract until the batter looks smooth and uniform.
- Alternate adding the flour mixture and the coconut milk, mixing on low just until incorporated; fold in the sweetened shredded coconut.
- Divide the batter between the prepared pans and bake for 25-30 minutes, until a toothpick comes out clean.
- Cool the cakes completely before frosting, about 1 hour, so the frosting won’t melt.
- Toast 2 cups sweetened shredded coconut on a sheet pan (or in a dry skillet) at 350°F for 5-7 minutes, stirring once, until golden.
- In a stand mixer, beat the softened cream cheese and butter until smooth.
- Add powdered sugar and coconut extract, then beat until fluffy and spreadable.
- Fill and frost the cooled cake generously with coconut cream cheese frosting, smoothing the sides and top.
- Immediately press the toasted coconut flakes firmly all over the outside and top of the cake until fully coated.