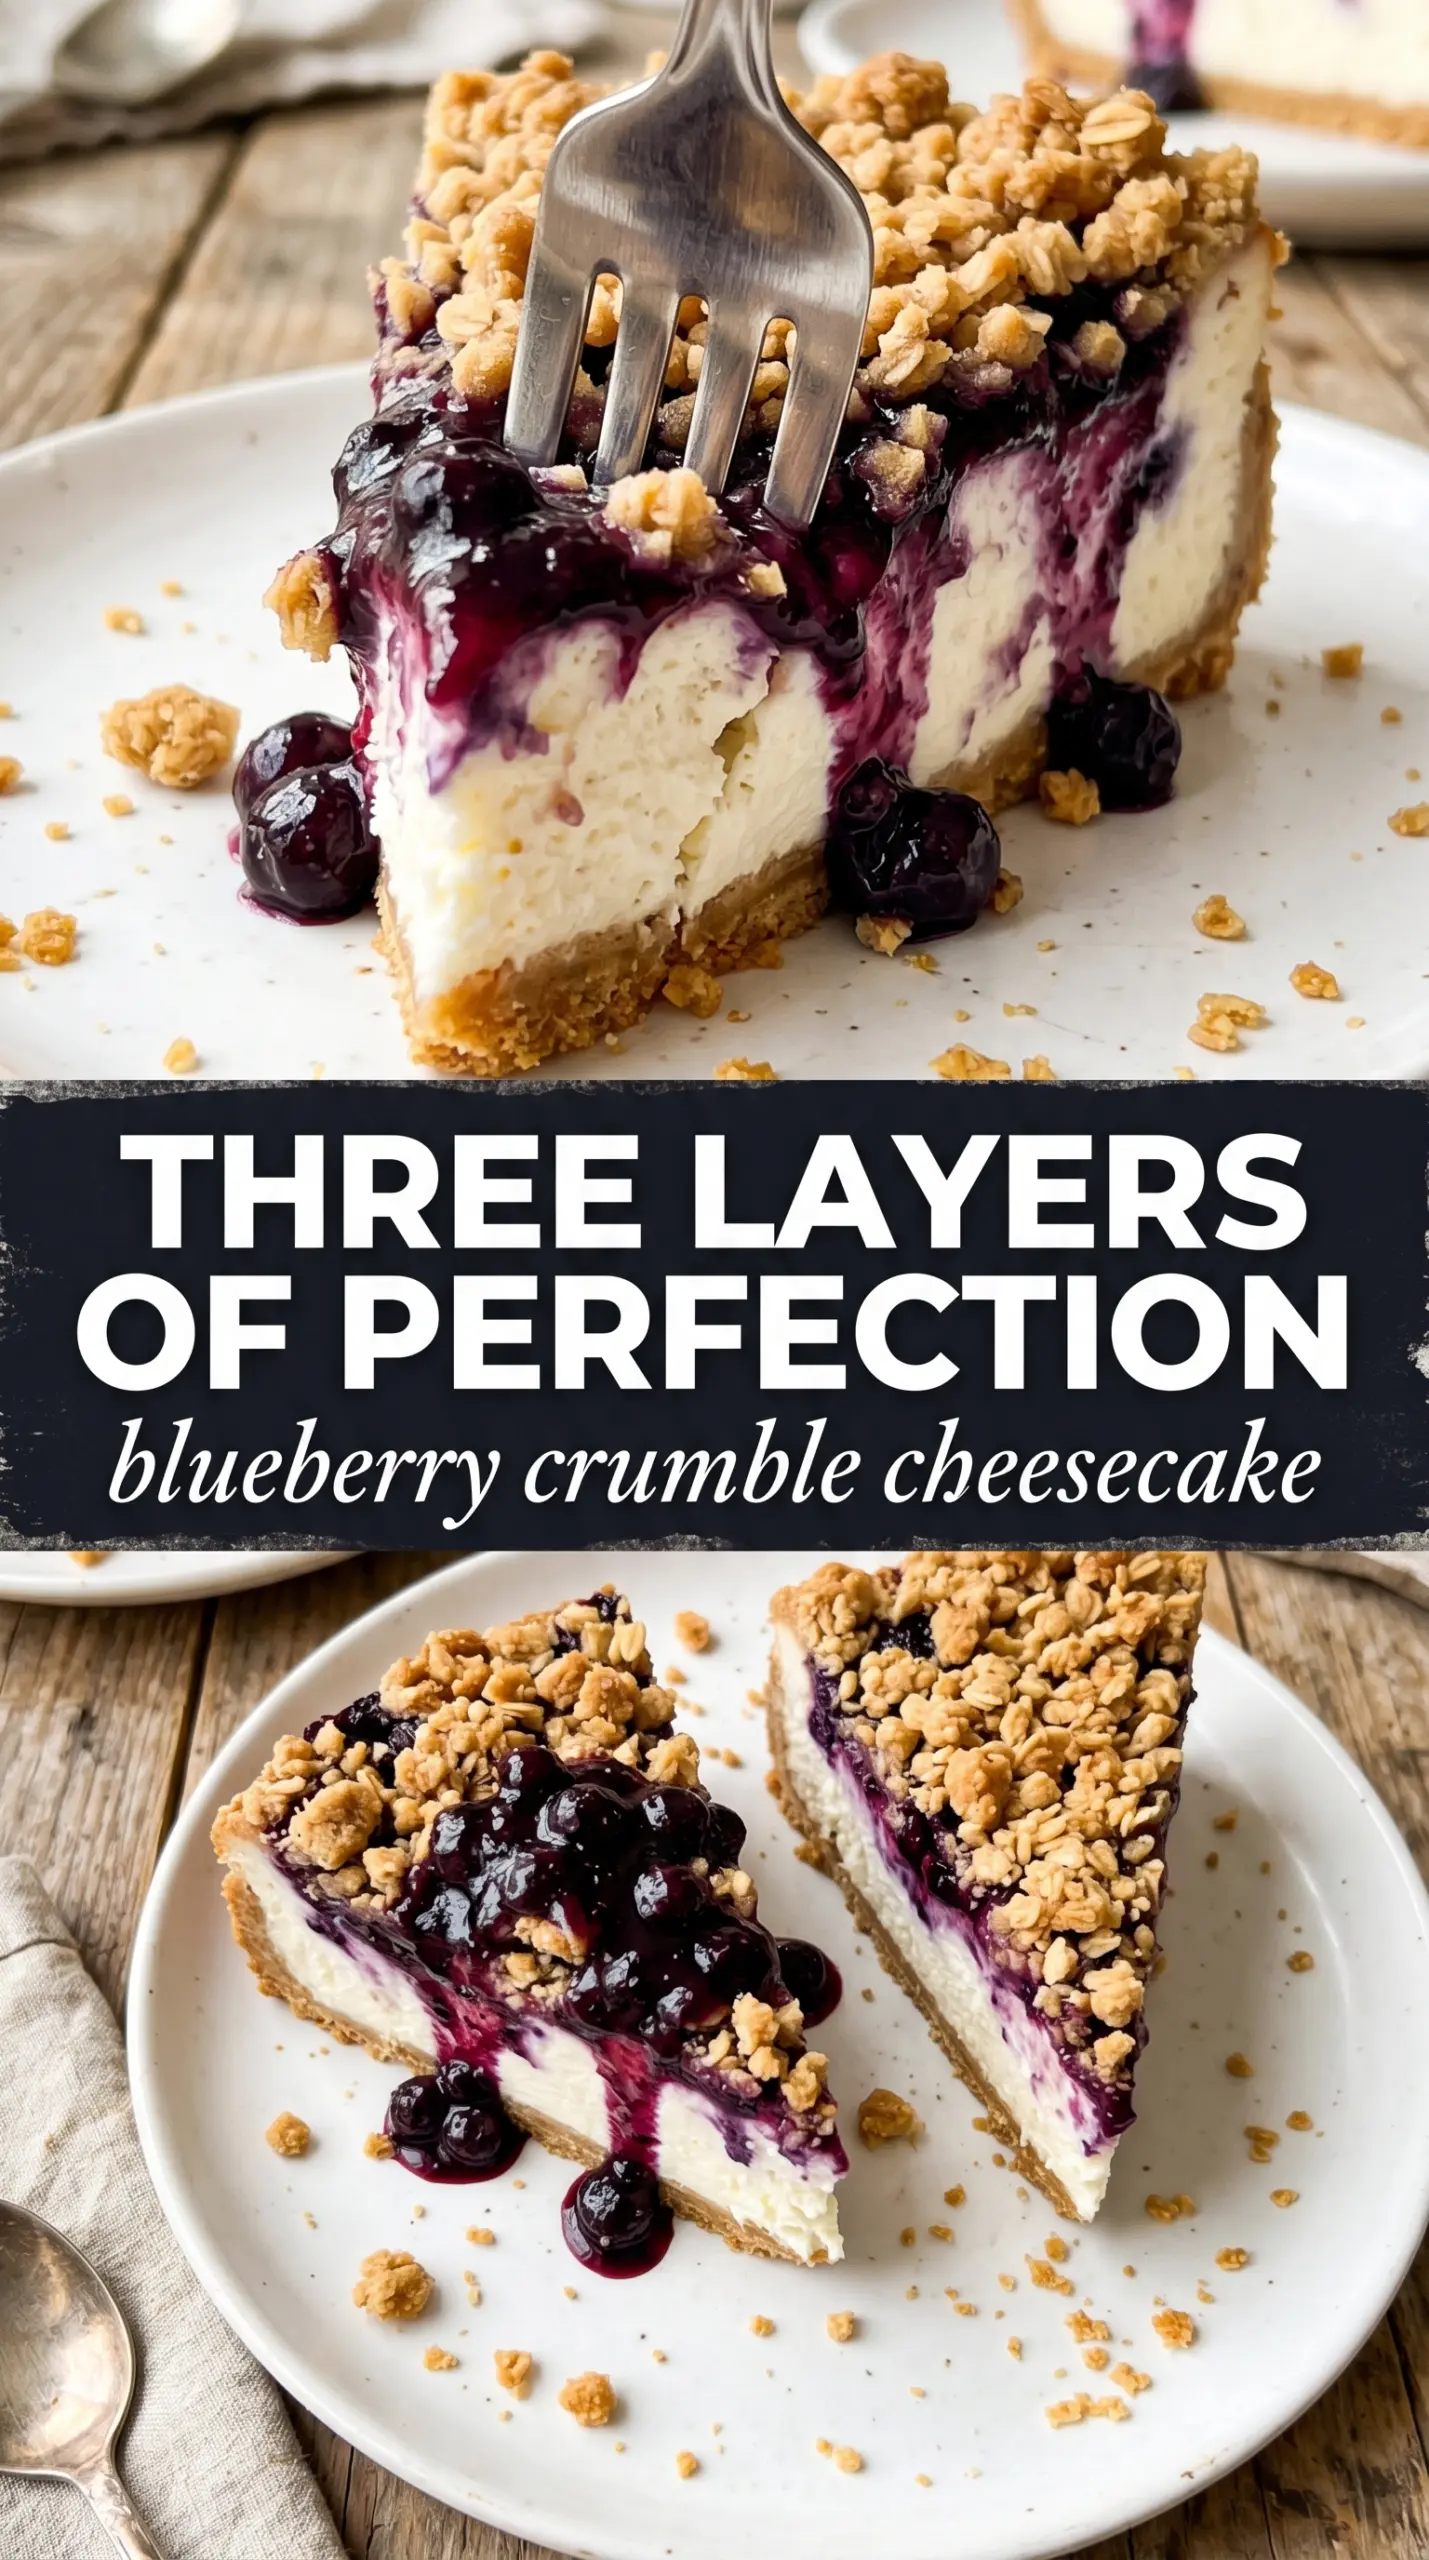
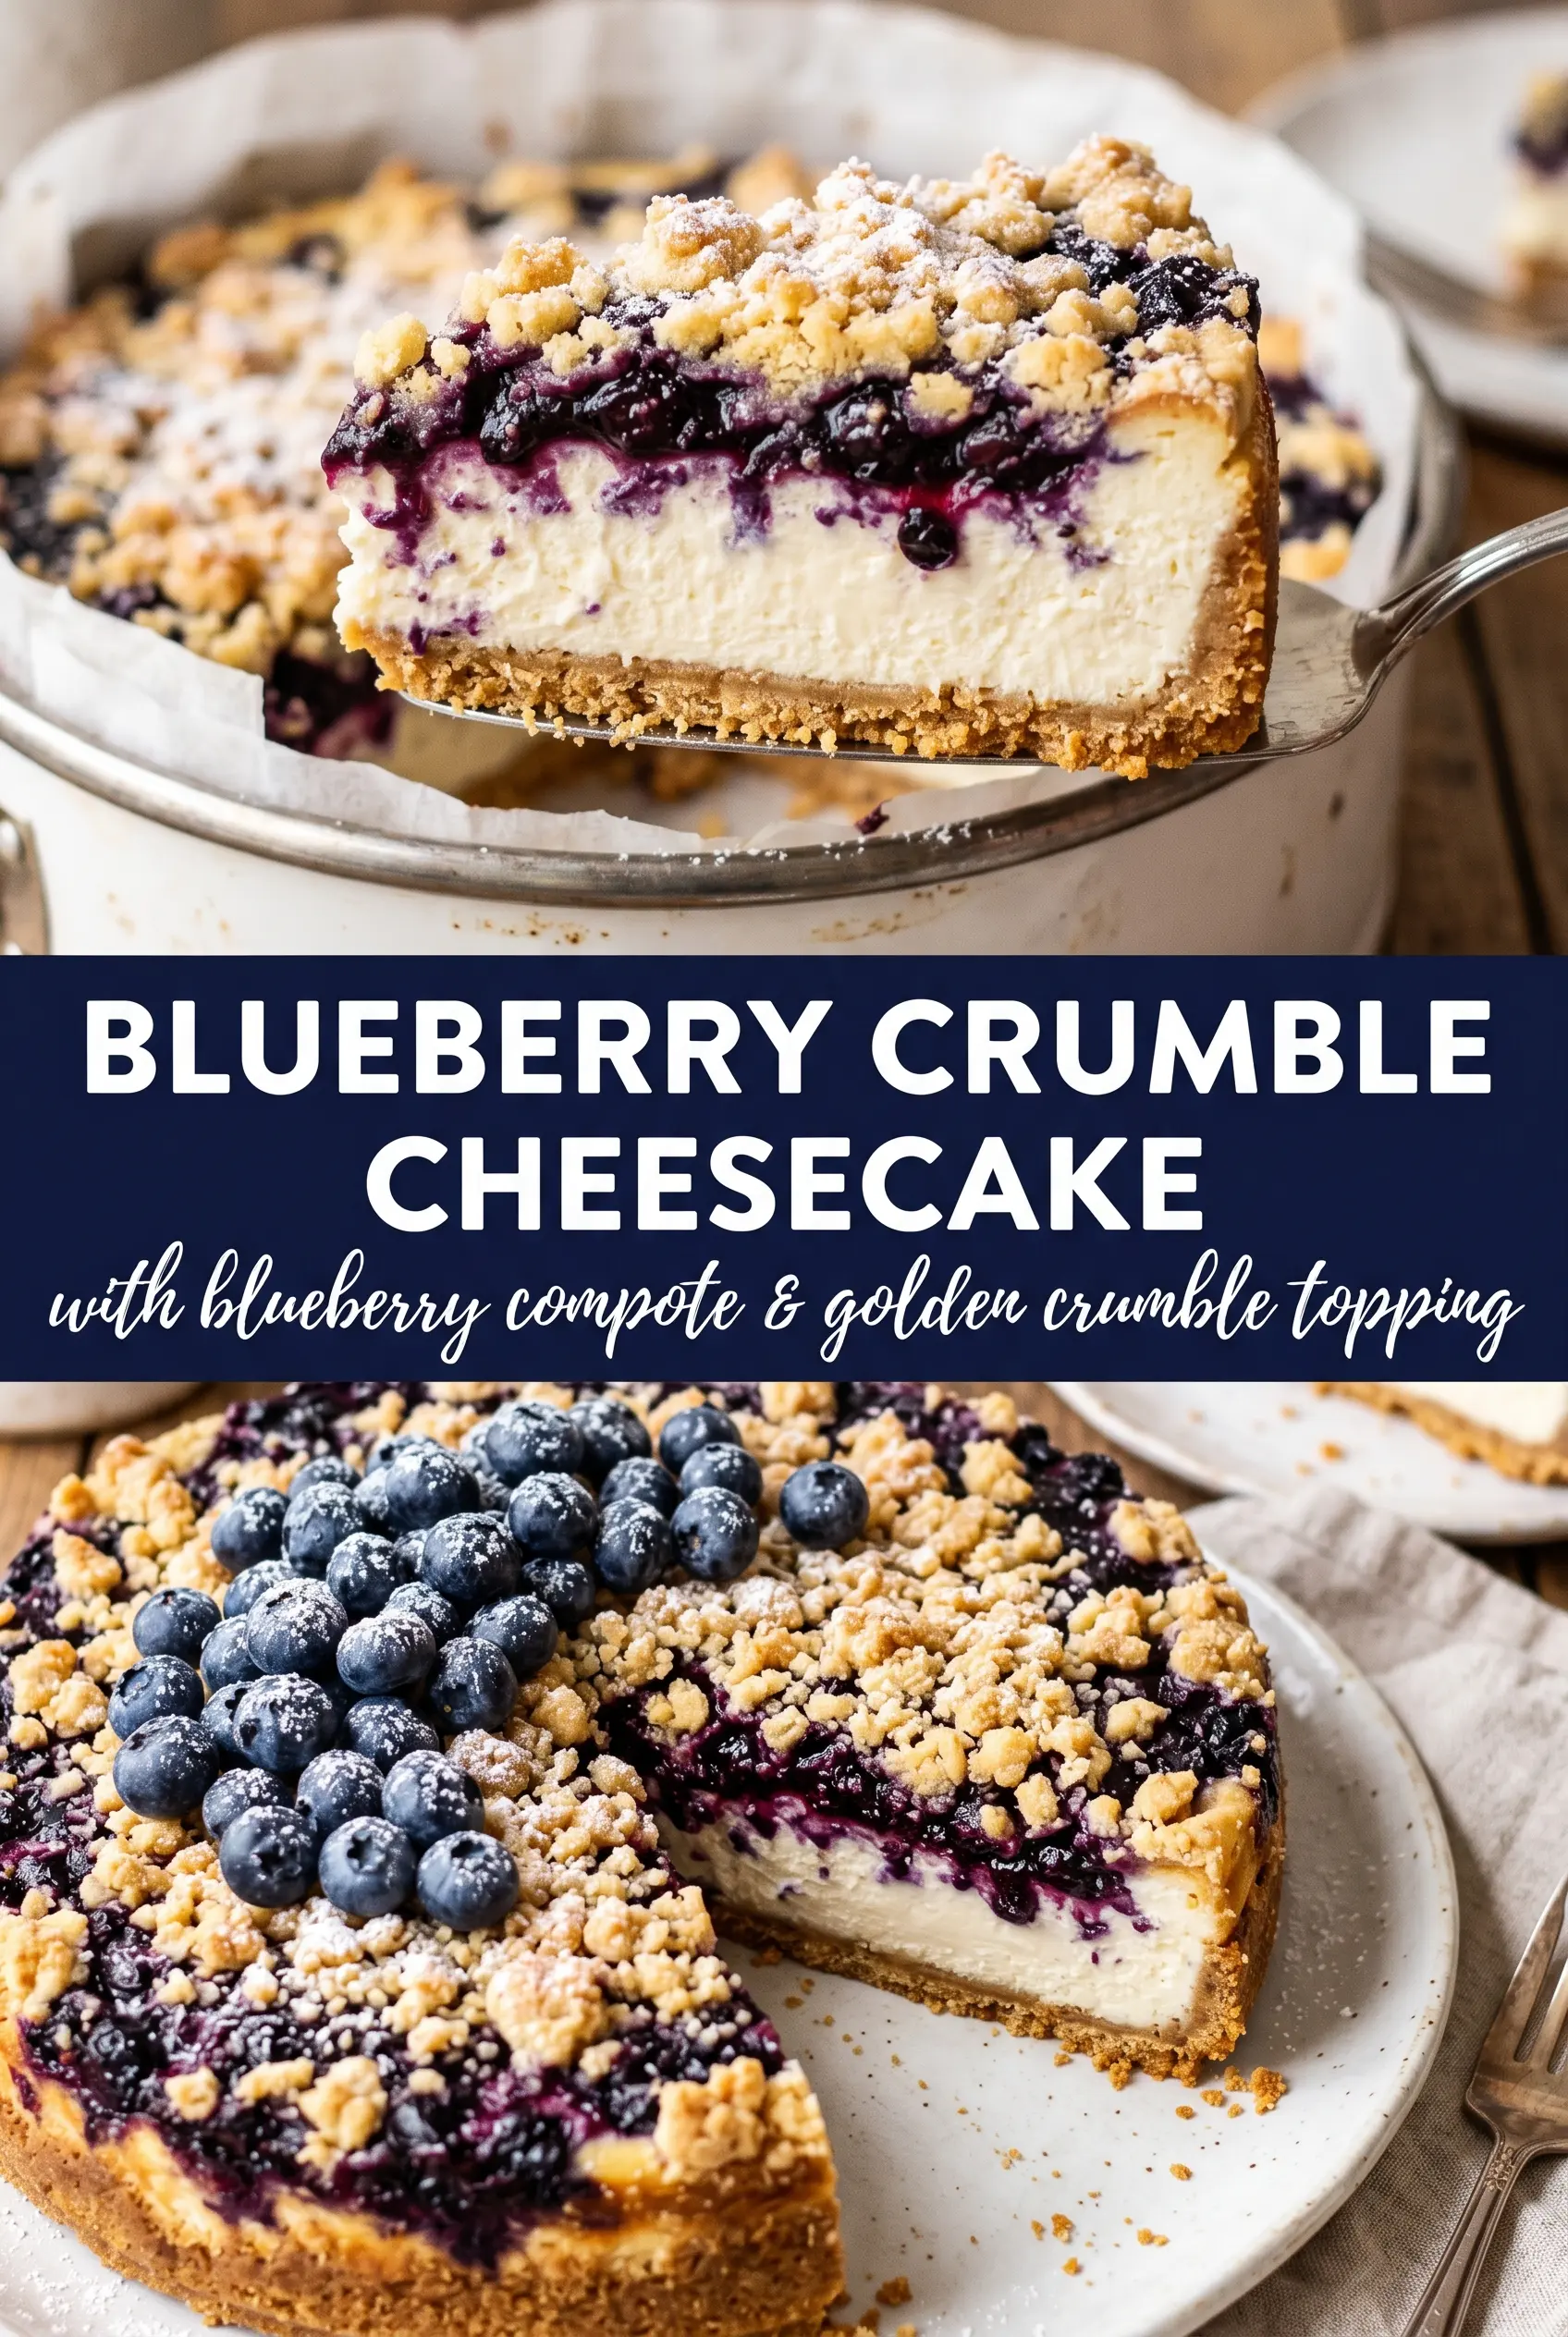
Blueberry crumble cheesecake brings three textures together in one slice: a crisp graham crust, a silky baked cheesecake, and a buttery oat topping that stays a little nubby instead of melting into the filling. The blueberry layer does more than add color. It cuts through the richness with a bright, jammy tang, so every bite tastes balanced instead of heavy.
The trick is treating each layer like it has a job to do. The crust gets a short bake so it sets before the batter goes in. The filling stays smooth because the cream cheese is softened properly and the eggs are mixed in one at a time. The crumble goes on at the end in loose clumps, which gives you those golden, shattery bits on top instead of a sandy blanket.
Below, I’ve included the little details that keep this cheesecake from cracking, sinking, or turning watery. The blueberry topping gets thick enough to sit on the batter without disappearing, and the water bath keeps the center gentle while the edges set.
The blueberry layer stayed thick and didn’t run into the cheesecake, and the oat crumble baked up crisp instead of soggy. I chilled it overnight and the slices came out clean with that perfect creamy center.
Like the creamy filling and buttery oat crumble? Save this blueberry crumble cheesecake for the next time you want a baked dessert with a bright berry topping and clean slices.
The Reason This Cheesecake Stays Creamy Instead of Cracking
The mistake most people make with baked cheesecake is pushing the oven too hard. High heat sets the outside before the center has a chance to catch up, and that’s when the surface splits. This version stays smooth because the filling bakes gently in a water bath, which keeps the temperature steady and gives the eggs time to set without tightening too fast.
The other thing that matters is the texture of the batter before it goes into the pan. If the cream cheese still has cold little bits in it, the batter won’t turn silky no matter how long you mix. Beat the cream cheese and sugar until they look completely unified, then add the eggs one at a time so you don’t trap a lot of extra air in the filling.
- Room-temperature cream cheese — This is the difference between a smooth slice and a lumpy one. Cold cream cheese never blends cleanly, and overmixing later won’t fix it.
- Water bath — It buffers the heat around the pan and helps prevent cracks. Wrap the springform pan well so water doesn’t sneak in through the bottom.
- Cool-down time — The cheesecake finishes setting as it cools. If you rush it from oven to fridge, the sudden temperature change can pull it apart.
What Each Layer Is Actually Doing in the Pan
- Graham cracker crumbs — They give the base its classic cheesecake flavor and enough structure to hold clean slices. Pre-baking the crust keeps it from turning soft under the filling.
- Sour cream — This adds tang and keeps the filling from tasting flat. Full-fat sour cream gives the best texture; lower-fat versions can make the filling looser.
- Lemon zest and lemon juice — The zest brightens the filling, and the juice in the blueberry topping keeps the fruit from tasting one-note. Don’t skip the zest; it lifts the whole dessert.
- Cornstarch — This thickens the blueberry layer so it sits on top instead of bleeding into the cheesecake. Cooked fruit toppings without starch usually run when sliced.
- Rolled oats — They give the crumble its hearty, crisp texture. Quick oats can work in a pinch, but they bake into a finer, less distinct topping.
Building the Layers Without Letting Them Blur Together
Pressing and Pre-Baking the Crust
Mix the graham crumbs, sugar, and melted butter until the mixture feels like damp sand, then press it firmly into the bottom of the springform pan. Use the bottom of a measuring cup to get an even layer, especially around the edges where loose crumbs tend to collect. Bake it just long enough to set the butter, then cool it before adding the filling. If the crust goes in warm, the cheesecake batter starts softening the base before it even bakes.
Mixing the Filling Gently
Beat the cream cheese and sugar until the mixture looks glossy and completely smooth. Add the eggs one at a time and stop mixing as soon as each one disappears; that keeps you from whipping in air that can puff and crack the surface later. Stir in the sour cream, vanilla, and lemon zest on low speed. The batter should look thick, creamy, and almost satiny.
Layering the Blueberries and Crumble
Stir the blueberries with sugar, cornstarch, and lemon juice until the fruit looks lightly coated, then spoon that mixture over the cheesecake batter. The blueberries don’t need to be cooked first; they soften in the oven and thicken as the cornstarch activates. For the crumble, work the cold butter into the oats, flour, and sugar with your fingertips until you get clumps the size of peas and small marbles. Scatter it loosely over the fruit so it bakes into craggy golden pieces instead of a dense lid.
Baking Until the Center Just Trembles
Bake until the edges are set and the center still has a slight jiggle when you nudge the pan. That wobble is what you want; it firms up as the cheesecake cools. Turn the oven off, crack the door, and let the cheesecake sit inside for an hour so the temperature drops slowly. If you pull it straight into a cold kitchen, the surface is more likely to split.
Make It Gluten-Free Without Losing the Crumble
Swap the graham crackers for a gluten-free version and use a 1:1 gluten-free flour blend in the crumble. The filling and blueberry layer are naturally gluten-free, so the texture change stays minimal if you keep the same bake time and press the crust firmly.
Using Frozen Blueberries
Frozen blueberries work, but don’t thaw them first or they’ll bleed too much color into the filling. Toss them with the sugar, cornstarch, and lemon juice while still frozen, then spoon them over the batter and add a minute or two to the bake if needed.
Dairy-Free Version
Use plant-based cream cheese and a dairy-free butter substitute, but expect a slightly softer set and a tangier finish. Choose a thick, brick-style dairy-free cream cheese so the filling still slices cleanly after chilling.
Storage and Reheating
- Refrigerator: Keep covered for up to 5 days. The crumble softens a little, but the flavor stays excellent.
- Freezer: Cheesecake freezes well. Chill completely, slice, and wrap pieces tightly before freezing for up to 2 months.
- Reheating: Cheesecake is best served cold or lightly tempered at room temperature. Don’t microwave it; that melts the filling unevenly and turns the crumble soggy.
Questions I Get Asked About This Recipe
Blueberry Crumble Cheesecake
Ingredients
Equipment
Method
- Preheat the oven to 325°F. Press graham cracker crumbs, sugar, and melted butter into a 9-inch springform pan and bake for 8 minutes, then cool.
- Beat softened cream cheese and granulated sugar until smooth. Add the eggs one at a time, mixing after each, then mix in sour cream, vanilla extract, and lemon zest until glossy and fully combined.
- Pour the cheesecake batter over the cooled crust. Tap the pan gently to help the surface settle into an even layer (visual cue: no dry crust patches showing).
- Combine fresh blueberries, sugar, cornstarch, and lemon juice until the berries are coated and the mixture looks lightly thickened. Spoon the blueberry mixture over the cheesecake batter (visual cue: blueberries spread across the top in an even layer).
- Mix rolled oats, all-purpose flour, brown sugar, and cold cubed butter with fingertips until clumpy. Scatter the crumble over the blueberry layer so it covers generously from edge to edge (visual cue: irregular oat clusters, not a smooth powder).
- Bake in a water bath at 325°F for 55–65 minutes until the center barely jiggles. The edges should look set while the middle still has a gentle wobble (visual cue: a slight jiggle like set custard).
- Cool the cheesecake in the oven with the door cracked for 1 hour. This gradual cooling helps prevent cracking (visual cue: top looks matte, not puffed or watery).
- Refrigerate the cheesecake at least 4 hours until fully chilled and firm. Unmold and serve with the crumble shattering cleanly at each slice (visual cue: defined layers, creamy interior, jam visible beneath crumble).