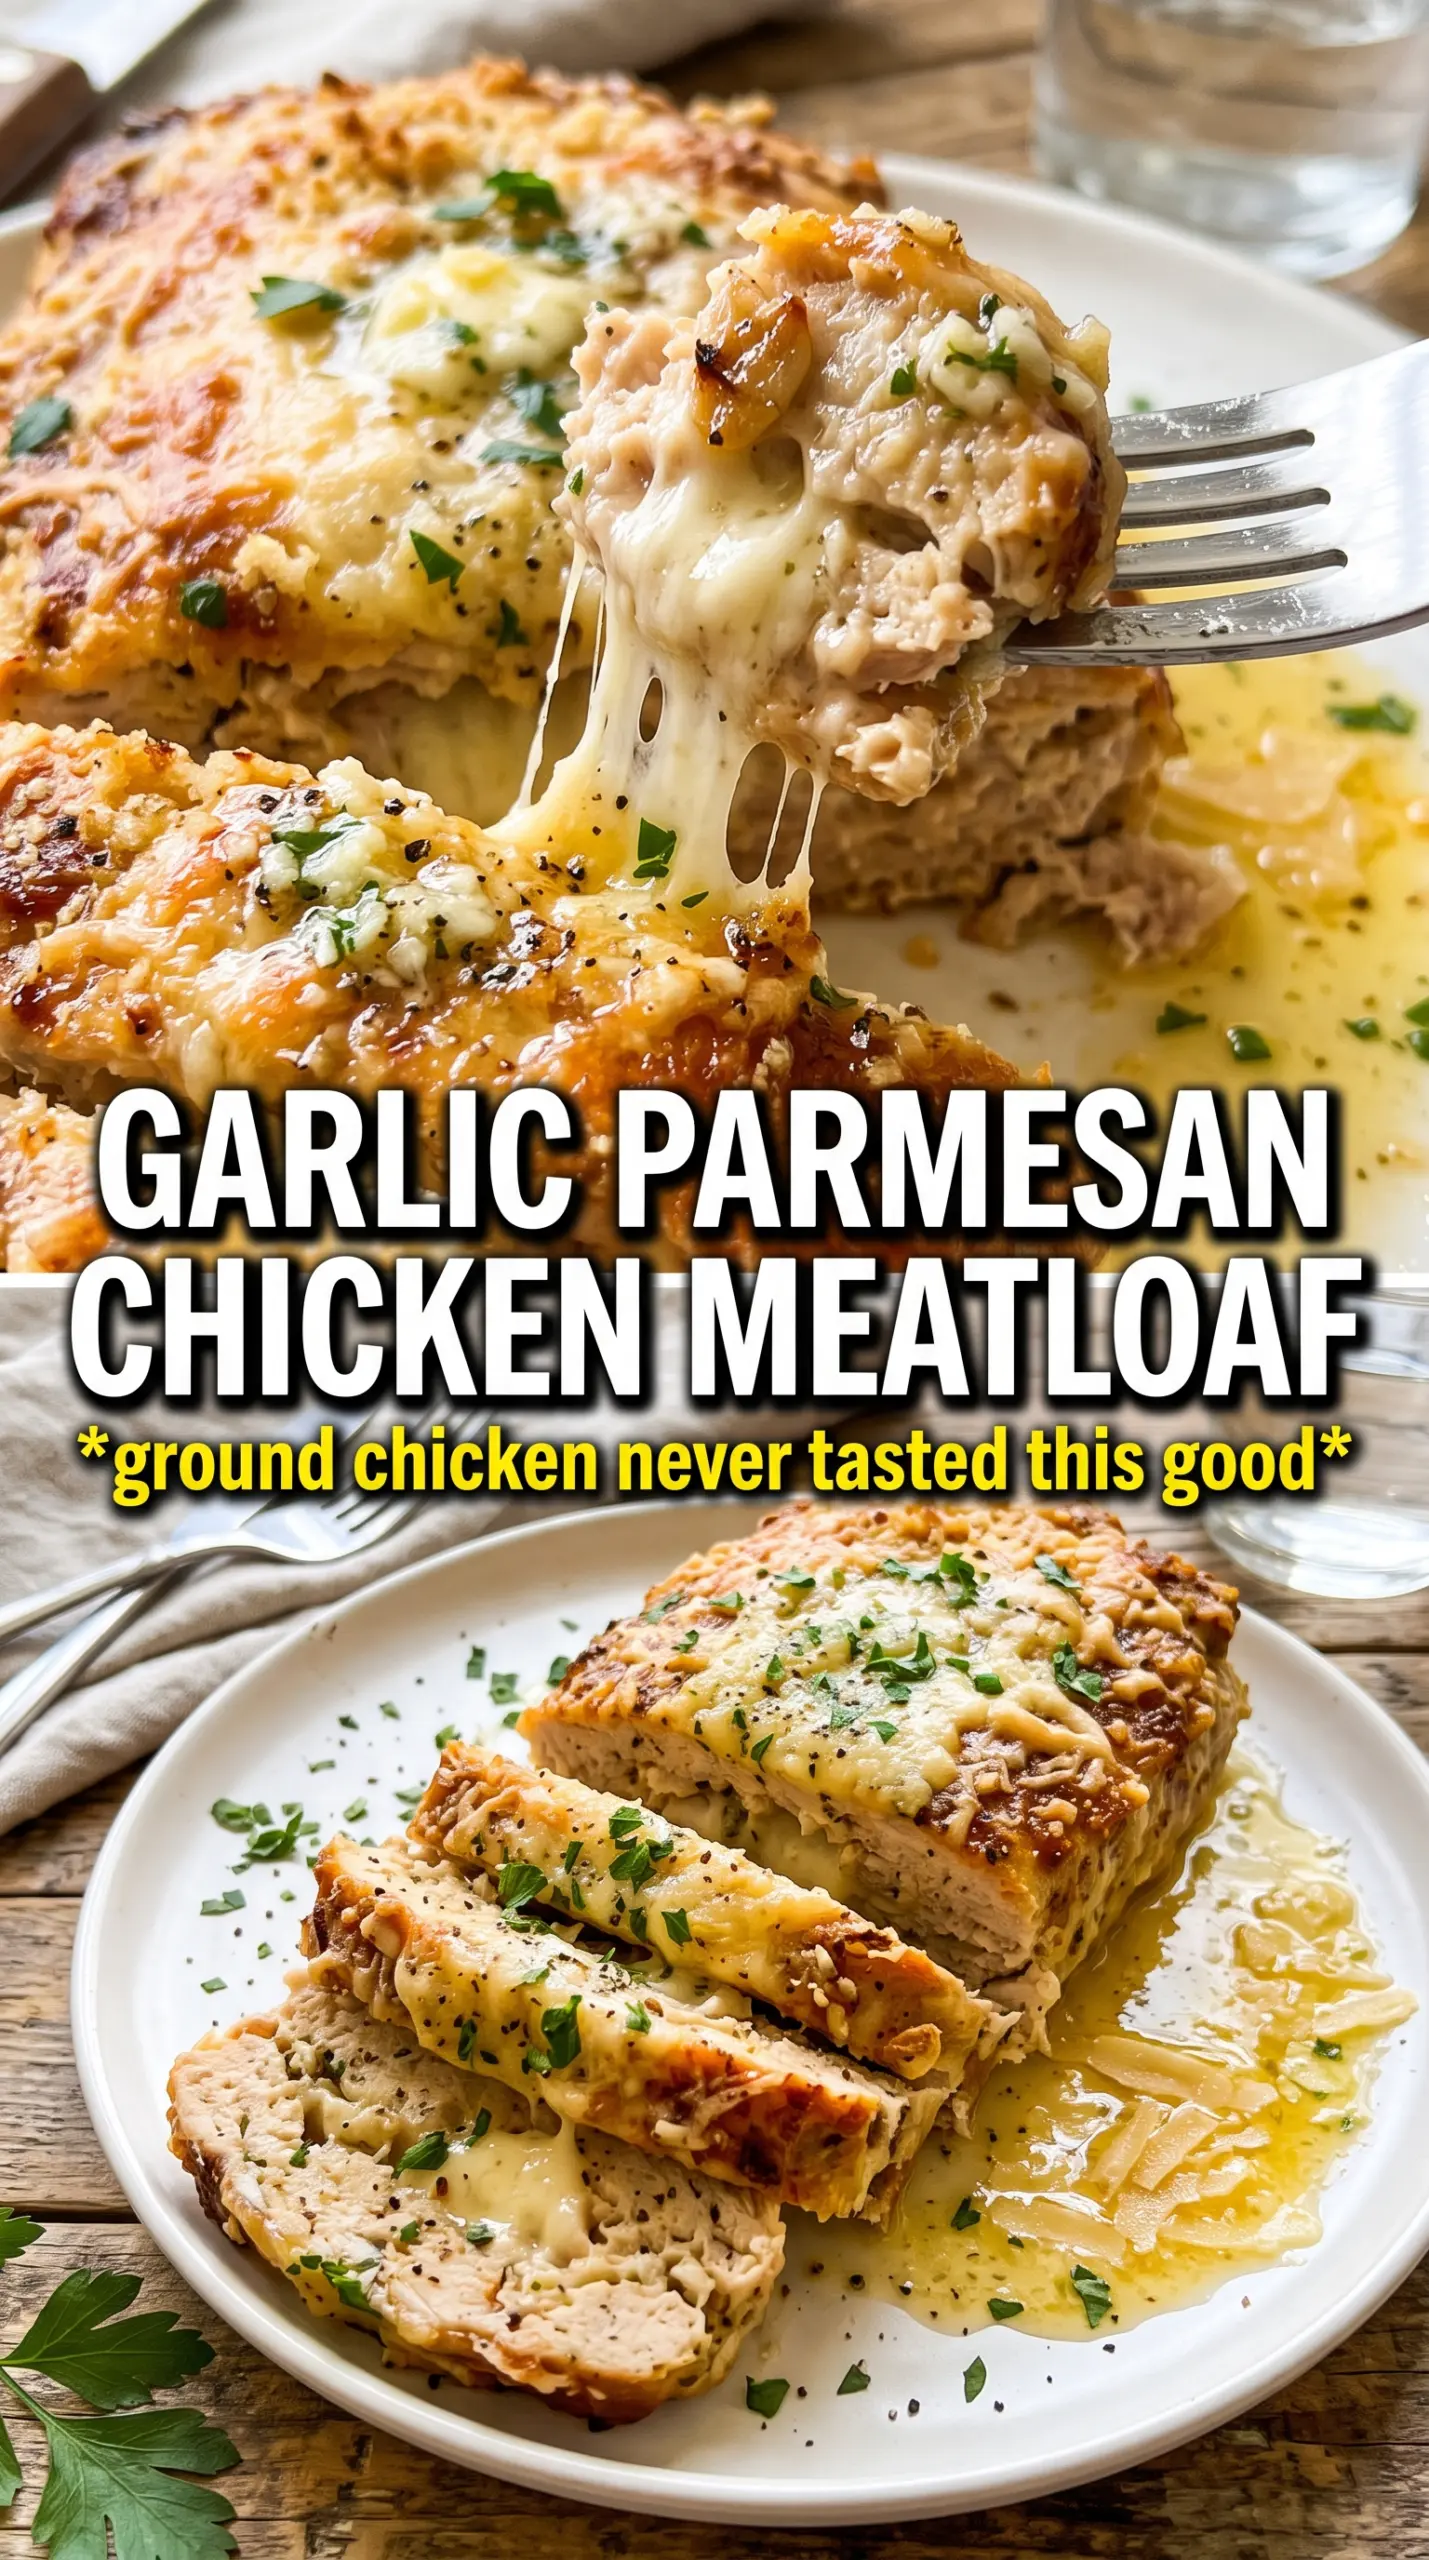
Garlic Parmesan Chicken Meatloaf bakes up tender in the middle with a bronzed, savory crust that holds together cleanly when you slice into it. The chicken stays lighter than a classic beef loaf, but the parmesan, garlic, and buttery topping give it the kind of rich, comforting finish that makes it feel like a full dinner, not a compromise.
What makes this version work is the balance. Ground chicken needs enough binder and enough fat on the surface to stay juicy, so the egg and panko keep the texture light without turning it dense, and the garlic butter on top helps the parmesan brown instead of drying out. I also like shaping it into individual loaves because they cook faster and more evenly than one big pan loaf.
Below, you’ll find the timing cues that keep chicken meatloaf from going chalky, plus a few swaps that still give you that garlicky, cheesy finish when you need to work with what’s in the fridge.
The tops browned beautifully and the garlic butter soaked into that parmesan crust without making it greasy. I used the 165°F check and the loaves came out juicy, not at all dry.
Love the golden parmesan crust and garlicky butter finish? Save this garlic parmesan chicken meatloaf for a lighter comfort dinner that still feels hearty.
The Parmesan Crust Needs Direct Heat, Not a Covered Pan
Chicken meatloaf can go from pale and soft to dry if it’s trapped under steam. That’s why this recipe works best on a parchment-lined sheet pan instead of in a loaf pan. The heat hits more surface area, the parmesan on top browns instead of melting into a slick layer, and the edges get a little firm before the center is done.
The other trap is overmixing. Ground chicken tightens up fast, and if you work the mixture until it looks perfectly smooth, the finished loaf turns springy and compact instead of tender. Mix just until the ingredients are evenly distributed, then stop. That small pause is what keeps the texture light.
- Sheet pan setup — The open exposure helps the tops brown and keeps the bottom from steaming.
- Panko — It gives the loaf structure without making it heavy. Regular breadcrumbs work in a pinch, but panko keeps the crumb softer.
- Parmesan on top — This is what gives you that savory crust. Freshly grated parmesan browns best and melts more evenly than the shelf-stable fine stuff.
- Garlic butter brush — Brushing it on before baking helps the cheese toast, and adding more after baking gives the meatloaf a glossy finish instead of a dry surface.
What Each Ingredient Is Doing in the Bowl
- Ground chicken — This is the base, and the leaner the meat, the more careful you need to be with mixing and baking time. I use 93% lean if I can find it because it stays juicy without pooling a lot of liquid on the pan.
- Parmesan cheese — Parmesan seasons the meat from the inside and helps the top form that salty crust. Grate it fresh if possible; it melts and browns better than pre-shredded cheese.
- Panko breadcrumbs — These keep the loaf from tightening into a dense block. If you need a gluten-free swap, use gluten-free panko and keep the amount the same.
- Egg — It binds the loaf so it slices cleanly. Without it, the mixture is more likely to crumble, especially with lean chicken.
- Garlic and garlic powder — Fresh garlic gives the loaf a sharper bite, while garlic powder spreads that flavor through every bite. The combination keeps it from tasting flat.
- Fresh parsley — Parsley adds color and a fresh edge that cuts through the cheese and butter. Dried parsley won’t bring the same brightness, so use fresh if you can.
- Butter topping — This is the difference between a decent chicken loaf and one that looks finished and polished. Butter carries the garlic across the surface and helps the parmesan brown instead of baking on dry.
Shaping, Topping, and Baking It Through
Mixing Just Enough
Combine the chicken, parmesan, panko, garlic, egg, parsley, seasoning, garlic powder, salt, and pepper in a large bowl, then mix with your hands or a fork until the ingredients are evenly distributed. Stop the second the mixture looks cohesive. If it starts to feel sticky and pasty, you’ve gone too far and the texture will tighten in the oven.
Forming the Mini Loaves
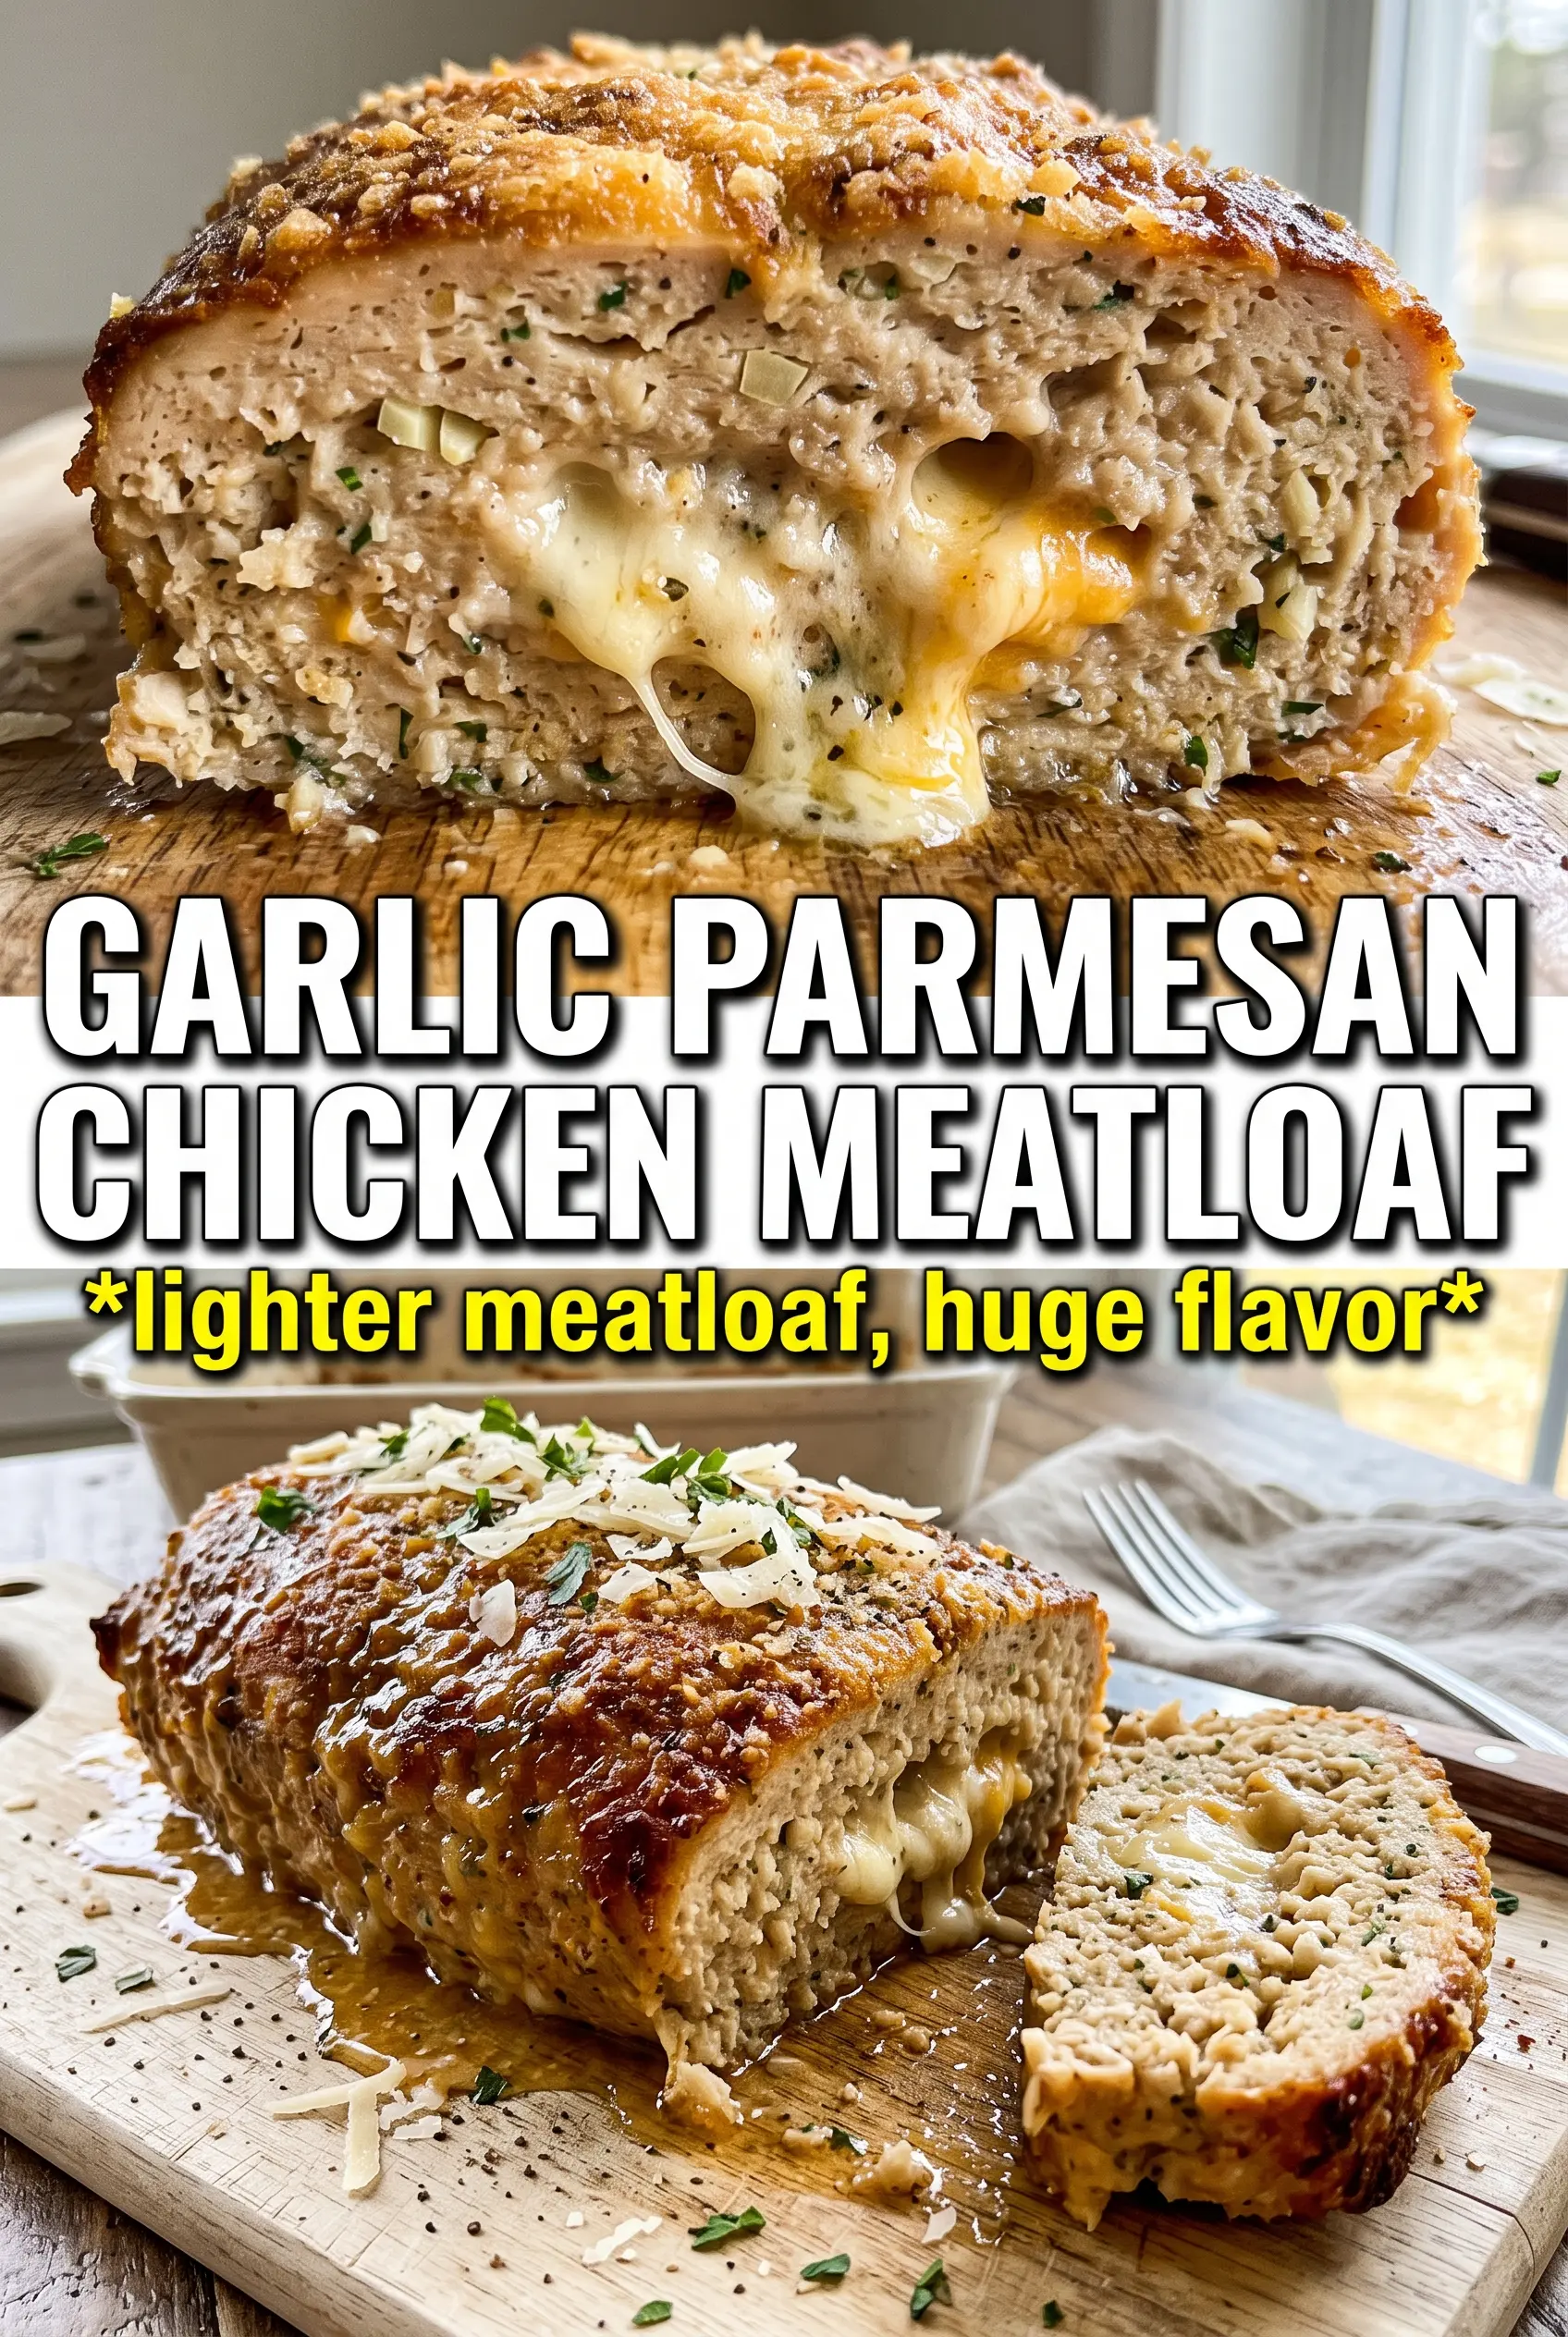
Divide the mixture into four equal portions and shape each one into a compact oval on the prepared pan. Keep them similar in size so they bake at the same rate. Don’t press them flat; chicken meatloaf needs a little height so the center stays juicy while the outside browns.
Building the Garlic Parmesan Top
Stir the melted butter with the minced garlic, brush it over each loaf, then press extra parmesan onto the top. The cheese should cling in a thin layer, not pile up in clumps. If the butter looks separated, whisk it again before brushing so the garlic distributes evenly across the surface.
Knowing When It’s Done
Bake at 400°F for 25 to 28 minutes, then check the center with an instant-read thermometer. Pull them when the thickest part reads 165°F and the tops are golden with some darker parmesan spots. If you bake by color alone, ground chicken can stay undercooked in the middle or dry out waiting for the top to look done.
Finishing With the Last Brush of Butter
Let the loaves rest for a couple of minutes, then brush on the remaining garlic butter and scatter over fresh parsley. That final brush soaks into the crust while the meatloaf is still hot. Skip the rest time and the juices will run when you slice instead of settling back into the meat.
How to Change the Loaf Without Losing the Garlic Parmesan Character
Make it gluten-free
Swap the panko for gluten-free panko or crushed gluten-free crackers. Keep the amount the same and don’t add more unless the mixture seems loose, because too much dry filler can make the loaves crumbly.
Use ground turkey instead
Ground turkey works well here, especially if you use 93% lean. It tastes a little milder than chicken, so the parmesan and garlic stand out even more, but the loaf may need a minute or two less in the oven depending on thickness.
Make it dairy-free
Use a dairy-free parmesan-style substitute and replace the butter topping with olive oil brushed over the loaves before baking. You’ll lose a little of that rich finish, but the garlic still carries the flavor and the tops still brown nicely.
Turn it into one larger loaf
You can shape the mixture into a single loaf, but it will need a longer bake time and the center can lag behind the edges. Cover it loosely with foil only if the top starts browning too quickly; otherwise leave it uncovered so the parmesan crust can form.
Storage and Reheating
- Refrigerator: Store leftovers in an airtight container for up to 4 days. The crust softens a little, but the flavor holds up well.
- Freezer: Freeze baked meatloaf portions wrapped tightly and tucked into a freezer bag for up to 2 months. Thaw overnight in the fridge before reheating so the center warms evenly.
- Reheating: Warm in a 325°F oven, covered loosely with foil, until heated through. Microwaving works in a pinch, but it softens the parmesan crust and can dry out the edges fast.
Answers to the Questions Worth Asking
Garlic Parmesan Chicken Meatloaf
Ingredients
Equipment
Method
- Preheat oven to 400°F and line a sheet pan with parchment to prevent sticking and support easy cleanup.
- In a large mixing bowl, combine ground chicken, parmesan cheese, panko breadcrumbs, minced garlic, egg, chopped parsley, Italian seasoning, garlic powder, salt, and black pepper; mix until just combined for a tender texture.
- Divide the mixture into 4 equal portions and shape each into an oval loaf on the prepared sheet pan, leaving space between loaves.
- Mix the melted butter with minced garlic and brush over each meatloaf, then press extra parmesan on top so it bakes into a golden crust.
- Bake at 400°F for 25–28 minutes, until the meatloaves are cooked through to 165°F internally and golden on top (look for deep browning at the edges).
- Brush the meatloaves with the remaining garlic butter, garnish with fresh parsley, and serve immediately while the crust stays crisp.