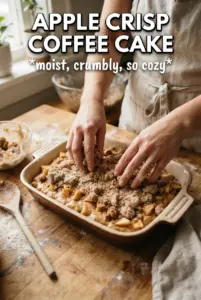
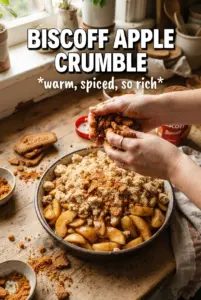
Hickory Bridge Farm Apple Crisp bakes up with a thick, buttery oat topping that shatters into crisp clumps over soft spiced apples, and that contrast is what makes it worth putting on repeat. The filling turns glossy and bubbling at the edges while the top goes deep golden, with just enough chew from the oats to keep every bite interesting.
The thing that makes this version work is the balance of moisture and structure. Cornstarch thickens the apple juices as they bake, so you get a spoonable filling instead of a watery puddle at the bottom of the dish. Cold butter matters here too; it needs to stay in little streaks and nuggets so the topping bakes into actual crumbles instead of turning sandy or pasty. Pile it on generously. A sparse topping just disappears into the apples.
Below, I’ve included the one detail that keeps the crisp from collapsing when you serve it, plus a few smart swaps and storage notes so you can make it ahead without losing that just-baked texture.
The topping baked into big buttery clusters instead of just turning into crumbs, and the filling set up enough that it scooped cleanly after resting. I used a scoop of vanilla ice cream on top and it was gone fast.
Save this Hickory Bridge Farm Apple Crisp for the nights when you want a thick oat crumble and a bubbling cinnamon-apple filling.
The Reason the Topping Stays Craggy Instead of Sandy
Apple crisp falls flat when the topping melts into a smooth layer instead of baking into rough, buttery clusters. The fix is cold butter and a light hand. When you work the butter in just until the mixture holds together in clumps, the flour and oats stay separate enough to crisp, but the butter still melts through them in the oven and creates those uneven golden bits everyone wants.
The other trap is a topping that looks generous before baking but disappears after the apples release their juice. This recipe needs a thick blanket of crumble, piled higher than you think, because the apples settle as they soften. If the top looks a little overbuilt before it goes in, that’s a good sign.
What Each Ingredient Is Doing in the Pan
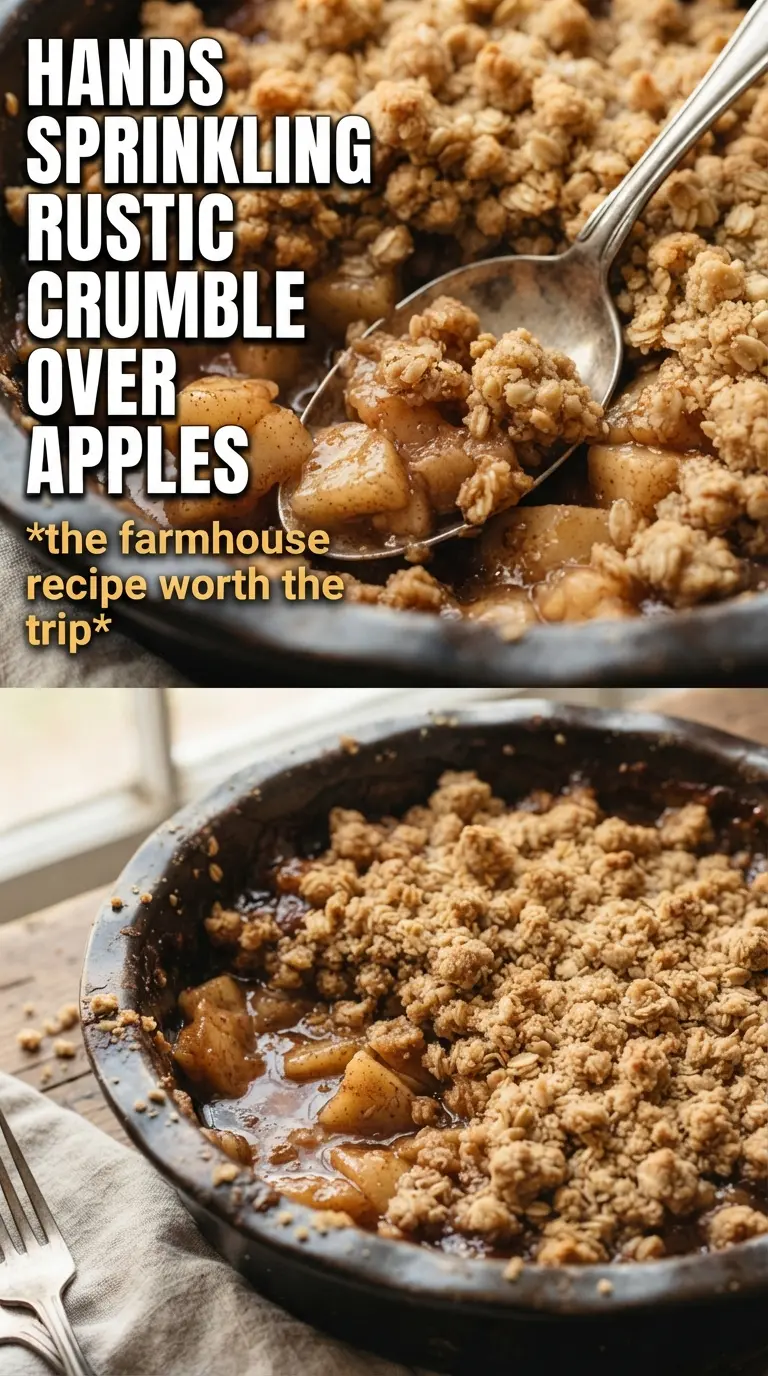
- Apples — Use a firm baking apple so the slices hold some shape after 55 minutes in the oven. Softer apples turn mushy and lose that clean layer of fruit under the topping.
- Cornstarch — This thickens the juices from the apples and sugar. Without it, the filling can leak into the topping and leave the bottom watery.
- Lemon juice — It brightens the filling and keeps the apples from tasting flat. It also helps the slices stay a little fresher-looking while you mix everything together.
- Rolled oats — These give the topping its rustic, craggy texture. Quick oats will make the crumble finer and more compact, which is fine in a pinch but less interesting.
- Cold butter — This is what makes the topping taste rich and bake into clusters. If the butter gets soft before baking, the topping turns pasty instead of crisp.
Building the Crisp So the Filling Bubbles and the Top Browns Evenly
Coating the Apples
Toss the sliced apples with both sugars, spices, cornstarch, and lemon juice until every piece looks lightly coated. You want the cornstarch distributed before the fruit goes in the dish, because clumps of dry starch can bake into stubborn little pockets. Spread the apples in a thick, even layer so the filling cooks at the same rate across the pan.
Making the Crumble
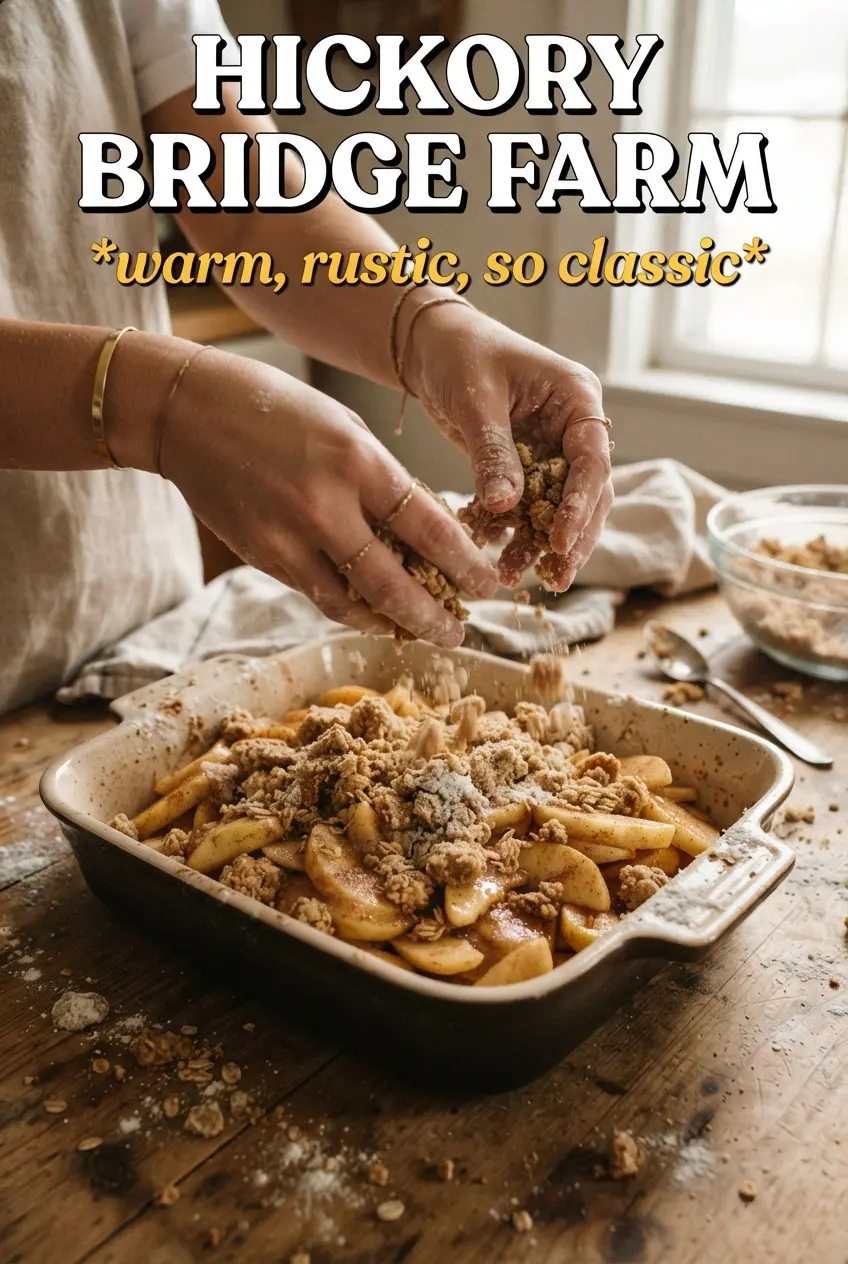
Combine the oats, flour, brown sugar, cinnamon, and salt, then work in the cold butter with your hands until you get large, butter-streaked clumps. Stop before it becomes a uniform dough. If the mixture looks sandy, the butter was too soft or it was worked too long; chill it for a few minutes and break it up with your fingers again.
Baking Until the Edges Bubble
Pile the topping generously over the apples and bake until the top is deeply golden and the filling bubbles around the edges, usually 50 to 55 minutes. Those bubbles matter more than the clock, because they tell you the cornstarch has actually thickened the juices. If the top browns too fast before the filling bubbles, lay a loose piece of foil over the dish and keep baking.
Letting It Set Before Serving
Give the crisp at least 15 minutes to rest after it comes out of the oven. That short wait lets the filling tighten up, so the spoonfuls hold together instead of flooding the plate. The topping stays crisp, the apples stay tender, and the whole dish scoops like a proper dessert instead of hot fruit soup.
How to Adapt This Crisp Without Losing the Texture
Gluten-Free Crisp
Swap the all-purpose flour for a good 1:1 gluten-free baking blend. The topping will still clump and brown, though it may be a little more delicate when you scoop it. Keep the butter cold and use the same amount so the crumble doesn’t turn dry.
Less Sweet, More Apple-Forward
Cut the granulated sugar in the filling back a little if your apples are sweet on their own, but leave the brown sugar in the topping alone. That brown sugar helps the crumble caramelize and gives the crisp its deep, bakery-style finish.
Walnut Oat Topping
Add a handful of chopped walnuts to the topping for more crunch and a toasty note. Fold them in after the butter so they stay in chunky pieces instead of disappearing into the flour mixture.
Dairy-Free Version
Use a solid plant-based butter stick in place of the unsalted butter. Choose one that stays firm when cold, not a soft tub spread, or the crumble will melt too quickly and lose its texture.
Storage and Reheating
- Refrigerator: Store covered for up to 4 days. The topping softens a bit in the fridge, but the flavor stays good.
- Freezer: It freezes well after baking. Cool completely, wrap tightly, and freeze for up to 2 months; thaw overnight in the refrigerator before reheating.
- Reheating: Warm individual portions in a 350F oven until the topping crisps back up, or use short bursts in the microwave only if you don’t mind a softer crumble. The oven is the better choice because it brings the texture back instead of steaming the topping.
Questions I Get Asked About This Recipe
Hickory Bridge Farm Apple Crisp
Ingredients
Equipment
Method
- Preheat the oven to 350F and generously grease a 9x13 baking dish.
- Place the baking dish on a sheet pan to catch any drips during baking.
- Toss the apple slices with granulated sugar, brown sugar, cinnamon, nutmeg, allspice, cornstarch, and lemon juice until evenly coated, then spread in the prepared dish in a thick layer.
- Combine rolled oats, all-purpose flour, brown sugar, cinnamon, and salt, then work in the cold butter with your hands until large, butter-streaked clumps form.
- Pour and spread the crumble topping generously over the apples, piling it thick.
- Bake for 50-55 minutes at 350F until the topping is deeply golden and the apple filling bubbles all around the edges.
- Rest the crisp for 15 minutes so the juices thicken before serving.
- Scoop and serve with vanilla ice cream or whipped cream.