Apple Crisp Shortbread Bars hit the sweet spot between a buttery cookie bar and a classic apple crisp. The shortbread base bakes up firm enough to hold clean slices, while the cinnamon apples soften underneath a thick oat crumble that stays nubby and golden instead of turning sandy. A final drizzle of caramel pushes the whole thing into dessert territory without making it fussy.
What makes this version work is the layered structure. The base gets a short bake before the apples go on, which keeps it from going soggy, and the cornstarch in the filling turns the apple juices into a glossy, spoonable layer instead of a wet puddle. Cold butter matters here too. It creates little pockets in the crumble that bake up crisp and give the bars their best texture.
Below, I’ll walk through the one step people tend to rush, plus a few smart swaps for different apples or dietary needs. If you want bars that slice neatly and still taste like warm apple crisp, this is the method to follow.
The crumble stayed crisp on top and the apple layer set up perfectly once it cooled. I added a little extra caramel and my husband kept sneaking squares from the pan.
Save these Apple Crisp Shortbread Bars for the days when you want a buttery apple dessert with a crisp crumble and clean slices.
The Secret to Bars That Slice Clean Instead of Collapsing
The biggest mistake with apple bars is cutting them while the filling is still loose. Hot apple filling looks set in the pan, but the juices keep moving until the bars cool all the way through. If you slice too early, the shortbread base drags and the crumble falls apart.
That first 12-minute bake on the crust is doing real work. It firms the bottom layer before the apples go on, which keeps the fruit from soaking straight through the dough. The second bake finishes the apples and browns the crumble, but the real structure comes from cooling patience. Let the pan sit until it’s room temperature, then chill it if you want the neatest squares.
What the Butter, Apples, and Cornstarch Are Each Doing Here
The ingredients here aren’t interchangeable in the same way. The butter needs to be cold and cubed so it cuts through the dry mix instead of melting into it; that’s what gives you the crumbly top and the sturdy base in one mixture. Melted butter would turn this into a denser, greasier bar.
- Rolled oats — These add chew and keep the topping from tasting like plain sweet crumbs. Quick oats will work in a pinch, but the texture gets softer and more uniform.
- Brown sugar — This is what gives the base a deeper, almost toffee-like flavor. If you swap in all white sugar, the bars will taste flatter and the crumble will be a little less rich.
- Apples — Use a firm baking apple that holds its shape, like Honeycrisp, Granny Smith, or a mix of both. Soft apples break down too fast and turn the center mushy.
- Cornstarch — This thickens the juices as the apples bake. Flour can work, but it leaves a more opaque, pasty filling; cornstarch gives a cleaner set.
- Lemon juice — It keeps the apples bright and keeps the filling from tasting heavy. You don’t need much, but skipping it makes the bars taste one-note.
Building the Layers So the Base Stays Crisp
Mixing the Crumble Base
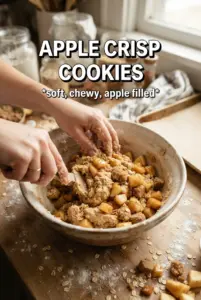
Start by stirring the flour, oats, brown sugar, cinnamon, and salt together before you add the butter. That keeps the spices evenly distributed, so every bite tastes balanced. Cut the cold butter in until the mixture looks like coarse crumbs with some pea-sized pieces still visible. If it turns into a paste, the butter warmed up too much and the finished topping will bake up dense instead of crisp.
Pressing and Par-Baking the Bottom
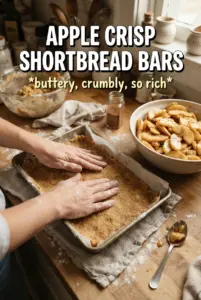
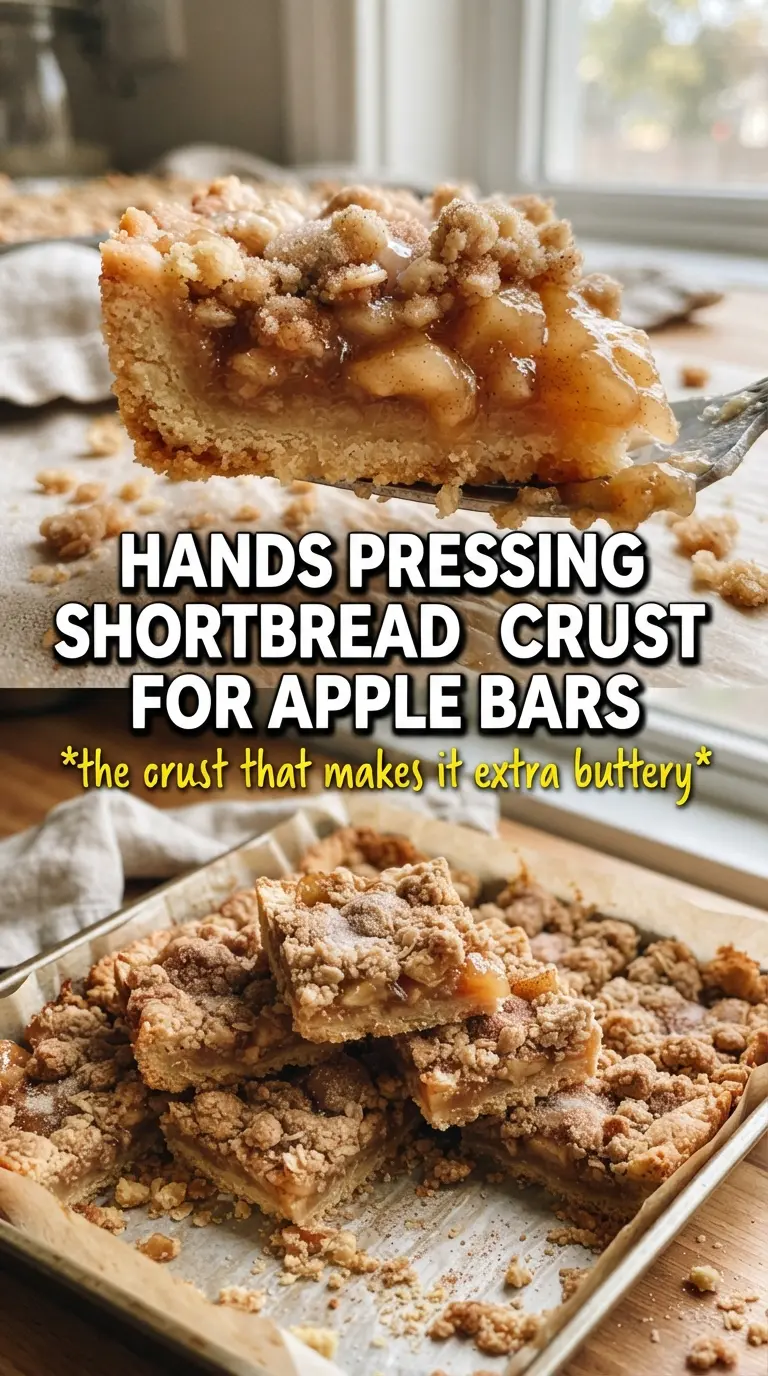
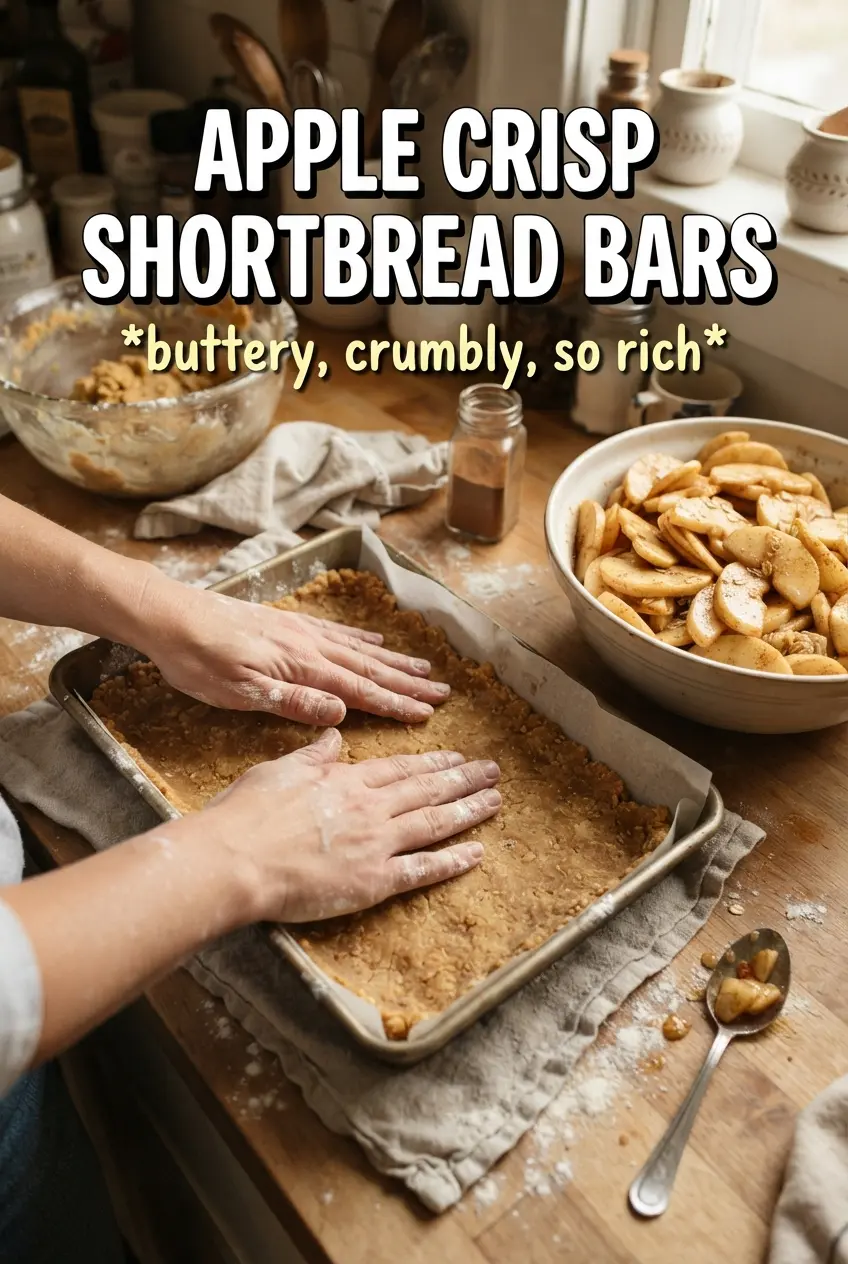
Press the mixture firmly into the parchment-lined pan. Loose packing gives you a base that falls apart when sliced, so use the bottom of a measuring cup or your fingers to compress it evenly. Bake it just until it looks set and slightly dry on top, not browned all over. That short head start keeps the apple juices from soaking the crust before the structure has a chance to form.
Spreading the Apple Layer
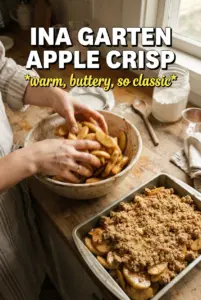
Toss the sliced apples with sugar, cinnamon, nutmeg, cornstarch, and lemon juice until every piece looks lightly coated. The cornstarch won’t clump if you mix it with the fruit before it heats up. Layer the apples over the hot crust and spread them into an even mound. A thin, even layer bakes more consistently than a thick pile in the center, which can leave the middle underdone.
Finishing with the Crumble Top
Scatter the reserved crumble over the apples without pressing it down. You want open gaps so steam can escape and the topping can crisp. Bake until the top is deep golden and you see apple juices bubbling at the edges, which tells you the cornstarch has activated and the filling is thickening. Let the bars cool completely before lifting them out; that’s when the slices finally set.
How to Tweak These Bars Without Losing the Structure
Make Them Gluten-Free
Use a 1:1 gluten-free flour blend in place of the all-purpose flour, and confirm your oats are certified gluten-free. The texture will still be crumbly and sturdy, though the base may be a touch more delicate when warm.
Use a Different Apple Mix
Granny Smith gives you sharper flavor and firmer slices, while Honeycrisp brings more sweetness and juiciness. A mix of the two is the safest choice if you want balanced flavor and a filling that still holds together.
Make It Dairy-Free
Swap in a solid plant-based butter that bakes well, not a soft tub spread. The bars will still slice nicely, but the flavor will be a little less rich and the crumble may brown a bit faster.
Add Nuts for More Crunch
Chopped pecans or walnuts can replace about 1/2 cup of the oats if you want a richer, toastier topping. The bars will taste more like a bakery-style crisp, but the topping will be less delicate and more textured.
Storage and Reheating
- Refrigerator: Store in an airtight container for up to 5 days. The crumble softens a little, but the bars still hold together well.
- Freezer: These freeze well. Wrap individual bars tightly and freeze for up to 2 months, then thaw in the fridge overnight.
- Reheating: Warm a bar in a 300F oven for 8 to 10 minutes if you want the topping crisp again. Microwaving works, but it softens the crumble and makes the base more tender.
Questions I Get Asked About This Recipe
Apple Crisp Shortbread Bars
Ingredients
Equipment
Method
- Preheat oven to 375F and line a 9x13 pan with parchment for easy bar release. Set aside while you mix the shortbread base.
- Mix all-purpose flour, rolled oats, brown sugar, cinnamon, and salt until evenly combined. Cut in the cold unsalted butter until the mixture looks crumbly.
- Reserve 1 cup of the crumb mixture for the topping. Press the remaining mixture firmly into the prepared pan to form an even base.
- Bake the shortbread base at 375F for 12 minutes until it looks set. It should be lightly fragrant and slightly golden at the edges.
- Toss the apple slices with granulated sugar, cinnamon, nutmeg, cornstarch, and lemon juice until every slice is coated. Spread the apples evenly over the hot base.
- Scatter the reserved crumble over the apples in an even layer. Make sure the apples are mostly covered for a crisp top.
- Bake at 375F for 30-35 minutes until the topping is golden and the apples are bubbling. Let it stay in the oven until the center shows active bubbling.
- Cool completely before slicing so the bars hold their layers. Once cool, drizzle with caramel sauce to serve.