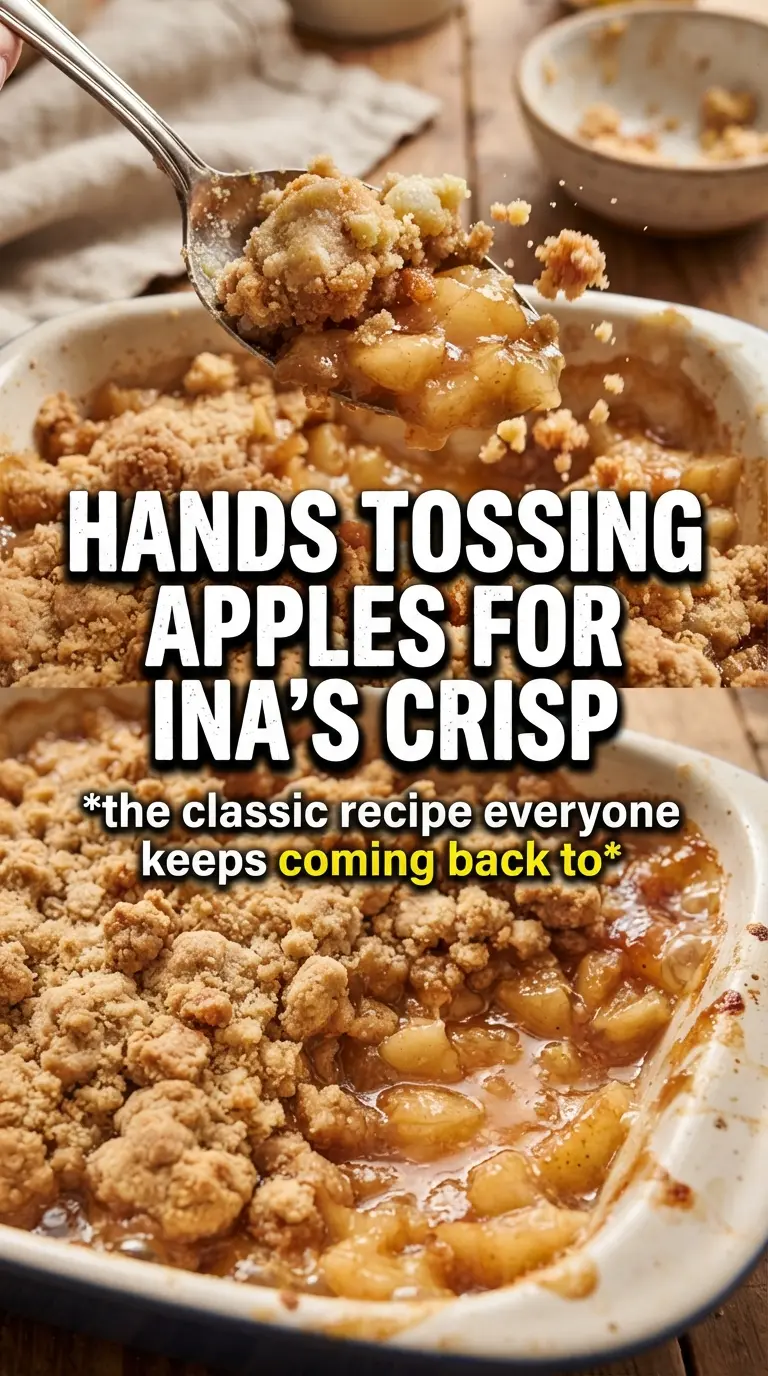
Ina Garten apple crisp bakes into the kind of dessert people go back for before the pan has even cooled. The apples turn soft and jammy underneath a thick oat-and-butter crumble, and the top stays nubby and crisp instead of melting into the filling. What makes it worth making again is the balance: bright citrus keeps the apples from tasting flat, while cinnamon and nutmeg give the filling enough warmth to stand up to the rich topping.
The filling starts with a heavy hand of apples, and that matters because they shrink as they bake. Using firm Macintosh or Braeburn apples gives you tender slices that still hold some shape, instead of turning to applesauce. The topping is just as important. Cold butter, worked in by hand, leaves uneven clumps that bake up into craggy, golden bits with caramelized edges.
Below, I’m walking through the part that makes the biggest difference: how to keep the topping crisp and the apples tender at the same time, plus the substitutions that still give you a dessert worth serving warm with cream.
The topping came out crunchy all the way across, and the apples underneath were soft without getting mushy. I added a little extra baking time until I saw the juices bubbling at the edges, and that made all the difference.
Save this Ina Garten apple crisp for the nights when you want a caramelized oat topping and tender baked apples under a spoonful of whipped cream.
The Crisp-Tender Line That Keeps the Apples from Going Mushy
The mistake with apple crisp is usually simple: the apples bake too long before the topping is properly browned, and you end up with a soft, collapsed filling under a pale crumble. This version avoids that by using a deep dish and a generous layer of topping, which slows the apples just enough to keep their texture while the surface turns deeply golden. You’re looking for bubbles around the edges and apple slices that give easily when pierced, not apples that have lost all shape.
The citrus juice and zest matter here more than they might seem at first glance. They keep the filling bright and stop the sweetness from feeling one-note. If your apples taste flat after mixing, it usually means they need the acid from the orange and lemon before they go into the oven, not after.
What the Apples, Oats, and Cold Butter Each Do Here
- Macintosh or Braeburn apples — These bake into a soft filling without disappearing. Macintosh gives you a more tender, almost saucy texture, while Braeburn holds a little more structure. If you use a firmer apple like Honeycrisp, the dessert will stay chunkier and need a little longer in the oven.
- Orange zest and lemon zest — The zest is where the sharpest citrus aroma lives, and it perfumes the filling more than juice alone. Don’t skip it unless you have to. The juice adds moisture and brightness, but the zest is what keeps the apple flavor from feeling heavy.
- Old-fashioned oats — These give the topping its chew and irregular crunch. Quick oats will work in a pinch, but the crumble will be finer and less textured. If you want that rough, craggy top with clear oat flakes, stick with old-fashioned oats.
- Cold unsalted butter — Cold butter is the difference between a sandy topping and a proper crumble. When you work it in with your fingers, some pieces should stay pea-sized so they melt into little pockets and leave crisp edges behind. If the butter softens too much before baking, the topping goes flat.
Building the Filling and Topping So They Finish at the Same Time
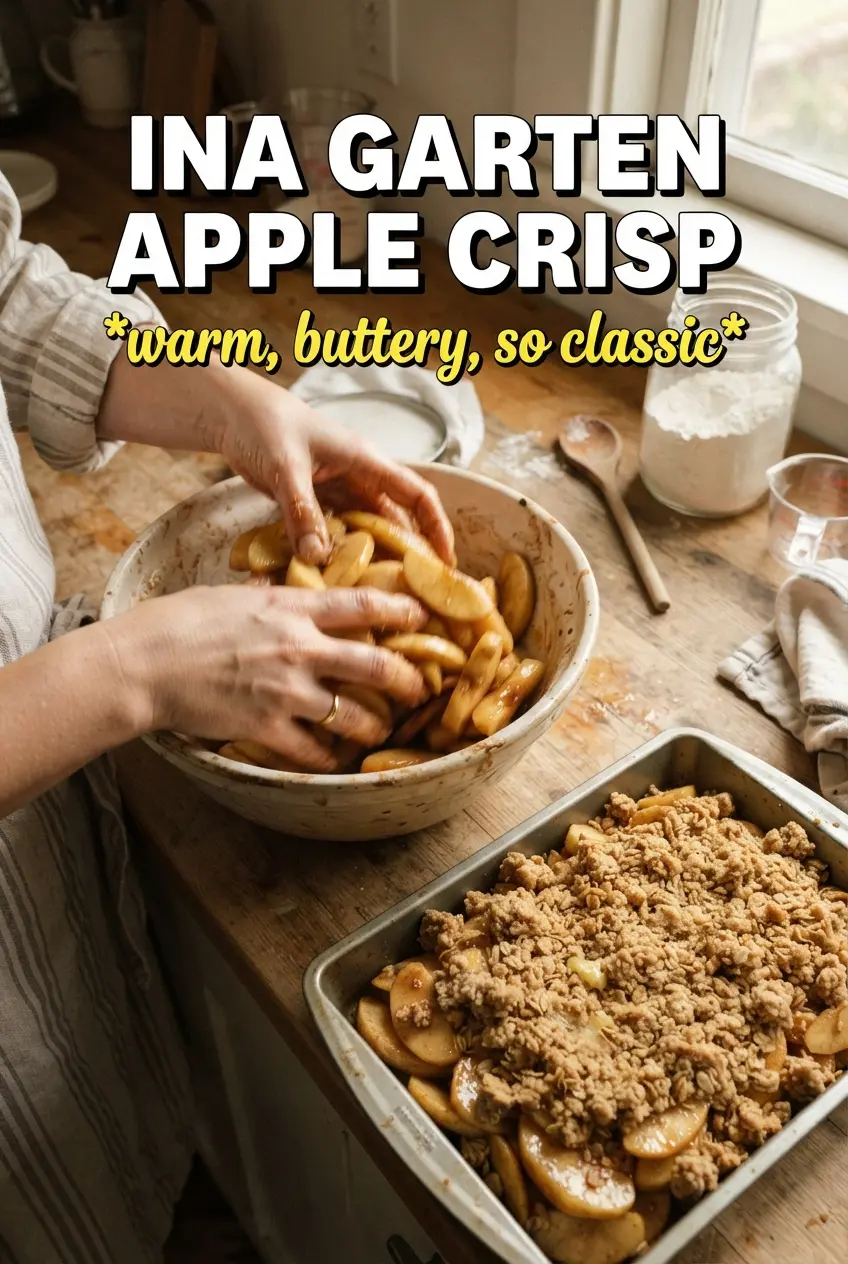
Tossing the Apples Until They’re Evenly Coated
Combine the sliced apples with the citrus zest, juices, sugar, cinnamon, and nutmeg until every slice looks lightly glossy. The goal is even seasoning, not a puddle of liquid in the bottom of the bowl. If you see a lot of juice collecting immediately, the apples are releasing moisture early; just spread them into the dish and bake without letting them sit too long.
Making a Crumble with Actual Clumps
Mix the flour, sugars, salt, and oats first, then cut in the cold butter with your fingertips until the mixture forms uneven clumps. Stop when you still see some bigger pieces. That rough texture is what bakes into a crisp top instead of a sandy lid. If the mixture turns pasty, the butter has warmed too much and the topping will bake dense.
Baking Until the Edges Bubble
Scatter the topping over the apples in a thick layer and cover the fruit completely, then bake at 350°F until the surface is deep golden and the filling bubbles around the sides. Those bubbles matter more than the clock because they tell you the apples have cooked through and the sugars have thickened. If the top is browning too quickly before the apples are tender, lay a loose piece of foil over the dish for the last stretch of baking.
Serving While the Contrast Is Best
Let the crisp sit briefly after it comes out of the oven so the juices settle. It should still be warm when you serve it, with the topping crisp enough to crack under a spoon and the apples soft underneath. Vanilla ice cream melts into the crumble beautifully, and whipped cream gives you a lighter finish if that’s what you’re after.
How to Adjust This Apple Crisp Without Losing the Texture
Make it dairy-free
Swap the butter for a plant-based butter block with a firm texture, not a soft tub spread. You’ll still get browning and richness, but the crumble may bake a little less nubbly, so keep an eye on it in the last 10 minutes.
Use pears for a softer, more floral version
Replace up to half the apples with firm pears if you want a gentler sweetness and a slightly softer filling. Keep the citrus zest, since pears need that brightness to keep the dessert from tasting one-note.
Make it gluten-free
Use a 1:1 gluten-free flour blend in the topping and check that your oats are certified gluten-free. The texture stays close to the original, though the crumble may bake a little more delicately and need a few extra minutes to fully brown.
Storage and Reheating
- Refrigerator: Store covered for up to 4 days. The topping softens a little, but the flavor stays good.
- Freezer: It freezes well after baking. Cool completely, wrap tightly, and freeze for up to 2 months. Thaw in the refrigerator before reheating.
- Reheating: Reheat in a 325°F oven until warmed through and the top is crisp again. The microwave will warm the filling, but it turns the crumble soft fast.
Answers to the Questions Worth Asking
Ina Garten Apple Crisp
Ingredients
Equipment
Method
- Preheat the oven to 350°F to make sure it reaches the right heat before baking.
- Toss the sliced apples with orange zest, lemon zest, orange juice, lemon juice, granulated sugar, cinnamon, and nutmeg, then spread them in a 14x9x2-inch baking dish.
- Combine all-purpose flour, granulated sugar, light brown sugar, kosher salt, and oats; add the cold diced butter and work with your fingers until pea-sized clumps form.
- Scatter the crumble topping over the apples, covering every inch generously.
- Bake for 55-60 minutes at 350°F until the top is golden brown and the apples are tender and bubbling.
- Serve warm with vanilla ice cream or whipped cream.