Apple crisp bars give you the same buttery oat crumble and spiced apple filling you want from a classic crisp, just in a form that slices cleanly and travels well. The base bakes first, which keeps the bottom from turning soft under the filling, and the top stays crumbly instead of sinking into the apples. You get a sturdy bar with a tender center, crisp edges, and that unmistakable cinnamon-apple smell the minute the pan comes out of the oven.
The trick is using a firm press for the bottom layer without packing it so tightly that it turns hard. The cornstarch in the apple filling does its job best when the apples are diced small and the bars cool all the way down before cutting. That cooling time matters more than people think. Warm apple bars look tempting, but they’ll smear instead of slice.
Below, I’ve included the small details that keep the crumble from going sandy, the filling from running, and the bars from falling apart. There’s also a note on the best apples to use if you want a filling that stays balanced instead of turning mushy.
The filling stayed thick and the oat topping stayed crisp even after sitting overnight. I cut the bars cold the next day and they came out in perfect squares with no mess at all.
Save these apple crisp bars for the days when you want a thick spiced filling and a crumbly oat topping that cuts cleanly every time.
The Reason the Bottom Gets Crisp Instead of Soggy
The bottom layer is baked before the apples go in, and that’s what keeps these bars sturdy. If you skip that first bake, the butter-rich crumble soaks up too much moisture from the fruit and turns pasty in the center. Ten minutes is enough to set the base without fully browning it, which gives it a head start when the filling goes on top.
Another detail that matters is how you handle the crumble mixture. Once the melted butter is worked through, the oats and flour should look evenly damp, with no dry pockets at the bottom of the bowl. If it looks sandy, the bars will bake up loose. If it looks wet and pasty, you’ve added too much butter or overmixed it.
What the Apples and Cornstarch Are Doing Here
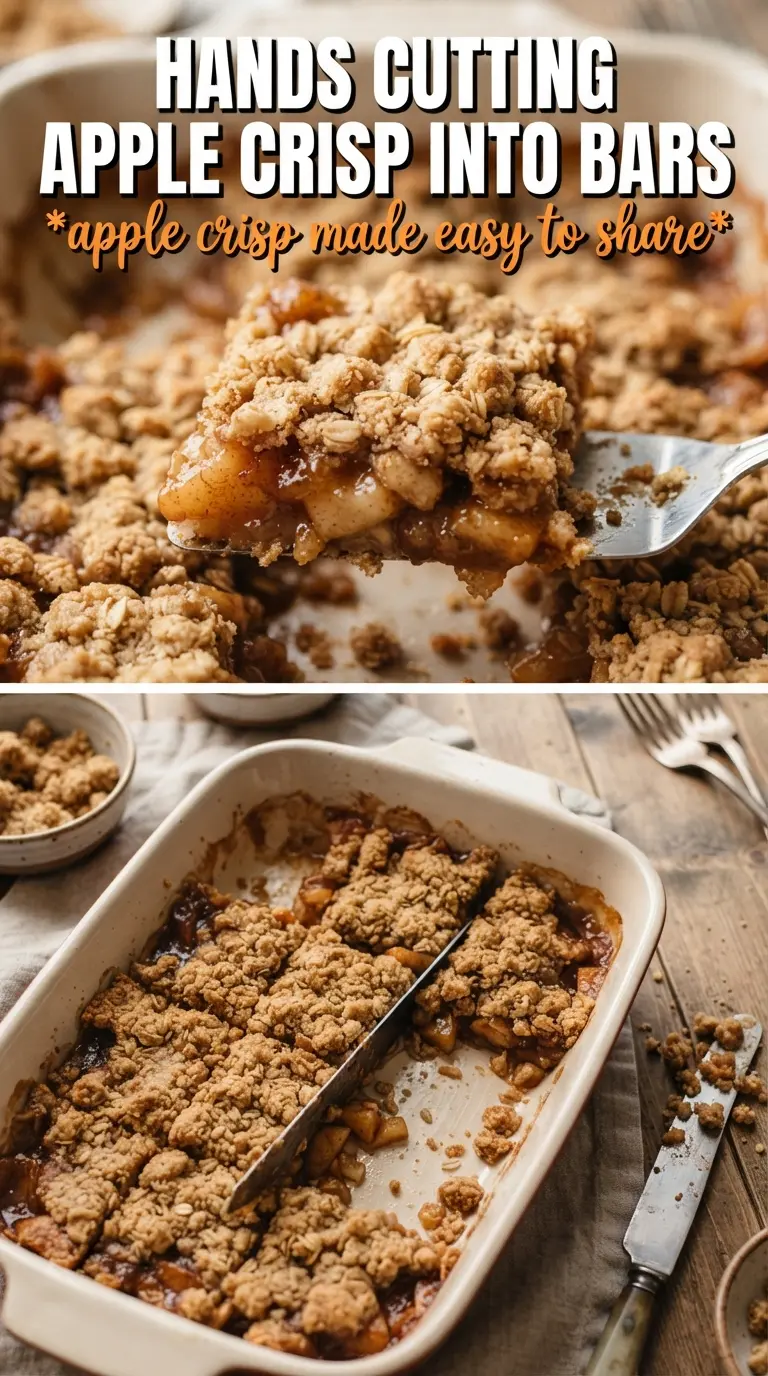
- Rolled oats — These give the bars their nubby, crisp texture. Quick oats will work in a pinch, but they break down more and make the crumble tighter and less rustic.
- Brown sugar — This sweetens the crumble and helps it bake into those caramelized edges. Light or dark brown sugar both work; dark brown sugar gives a deeper molasses note.
- Butter — Melted butter is what binds the crust and topping without making you cut cold fat through the dry ingredients. Use unsalted butter so you control the salt level in the pan.
- Apples — Dice them finely so they soften quickly and slice neatly. A firmer apple like Granny Smith, Honeycrisp, or a mix of tart and sweet apples holds its shape better than soft baking apples alone.
- Cornstarch — This thickens the juices as the bars bake and cool. Don’t skip the cooling step if you want it to set; cornstarch needs that time to finish tightening up.
- Lemon juice — A small amount keeps the filling from tasting flat and helps the apples stay bright. It doesn’t make the bars taste lemony; it just wakes up the fruit.
Building the Layers So the Bars Slice Cleanly
Mixing the Crumble
Stir the oats, flour, brown sugar, cinnamon, and salt together first so the spice doesn’t clump in one corner. Then drizzle in the melted butter and toss until every dry bit looks coated. The mixture should hold together when squeezed in your hand, but still break apart easily when you let it go.
Pressing and Prebaking the Base
Press about two-thirds of the crumble into the parchment-lined pan and use firm, even pressure. Don’t compact it until it feels dense like a cookie crust; you just want it level and cohesive. After ten minutes in the oven, the surface will look matte and set around the edges, which is your signal to add the filling.
Cooking the Apples in the Oven
Toss the diced apples with sugar, cinnamon, nutmeg, cornstarch, and lemon juice until the pieces look lightly coated and glossy. Spread them over the warm base in an even layer so the filling cooks at the same rate across the pan. If you pile the apples unevenly, the center stays loose while the edges overbake.
Finishing with the Crumble Top
Scatter the remaining topping over the apples without pressing it down. That loose layer is what gives you crisp pockets on top instead of a dense lid. Bake until the top is deep golden and you can see the filling bubbling at the edges, not just in the middle.
How to Adapt These Bars Without Losing the Texture
Make Them Gluten-Free
Swap the all-purpose flour for a good 1:1 gluten-free baking blend. The bars will still hold together, but the crumble may be a little more delicate, so let them cool completely before cutting.
Use Different Apples for a Sweeter or Tarter Filling
All Granny Smith bars taste brighter and more tart, while Honeycrisp or Fuji lean sweeter and softer. A mix of one tart apple and one sweeter apple gives the best balance and keeps the filling from tasting one-note.
Add a Nutty Crumble
Stir 1/2 cup chopped pecans or walnuts into the oat mixture for extra crunch. The bars will taste more toasted and a little more rustic, but keep the add-in small enough that the crust still packs into the pan.
Make Them Dairy-Free
Use a plant-based butter stick that’s designed for baking, not a soft tub spread. The texture will be close to the original, but the flavor may be a touch less rich, so the cinnamon and apples need to do a little more of the work.
Storage and Reheating
- Refrigerator: Store in an airtight container for up to 5 days. The crumble softens a little in the fridge, but the bars stay sliceable.
- Freezer: These freeze well. Cut into bars, wrap individually, and freeze for up to 2 months so you can thaw only what you need.
- Reheating: Warm a bar in a 300F oven or air fryer for a few minutes if you want the top to crisp back up. The microwave works for softness, but it makes the crumble lose its texture fast.
Answers to the Questions Worth Asking
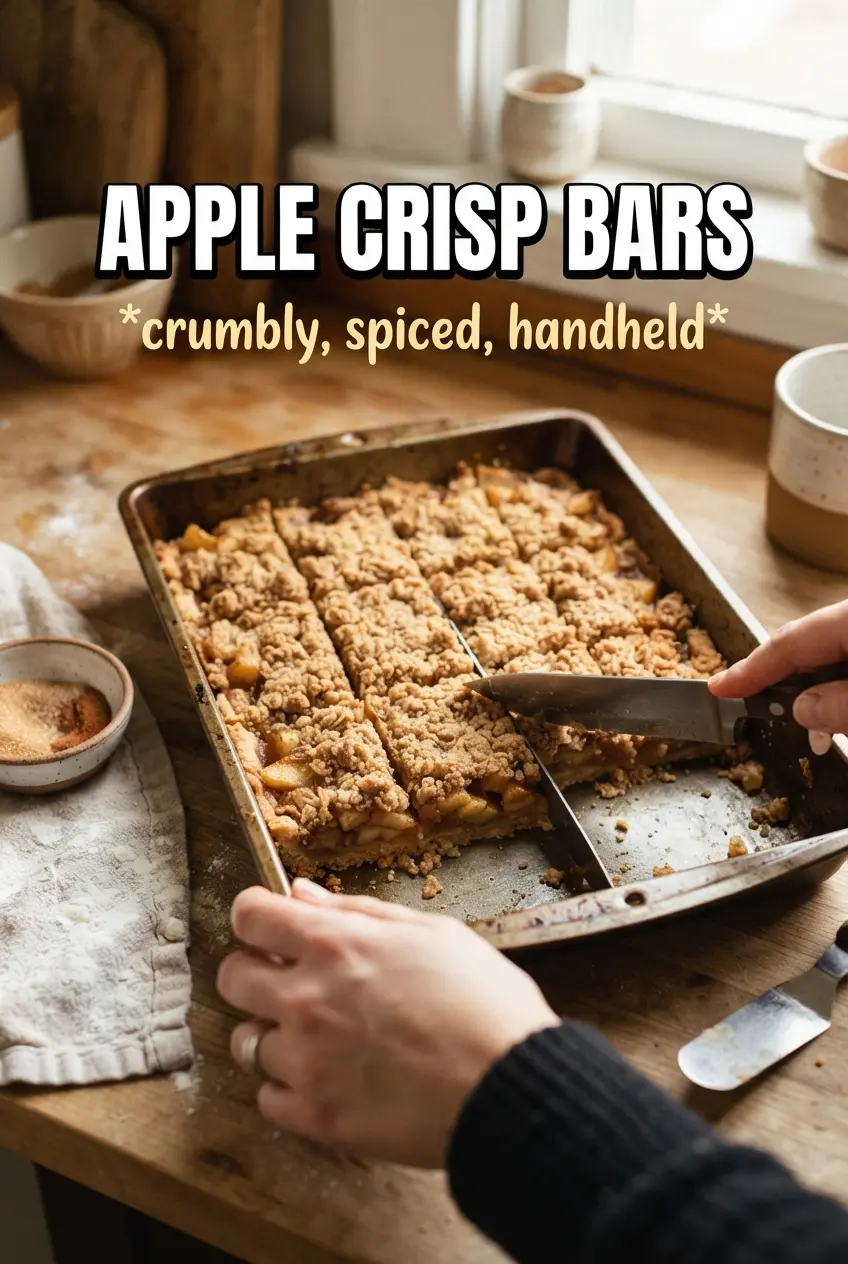
Apple Crisp Bars
Ingredients
Equipment
Method
- Preheat oven to 375F and line a 9x13 pan with parchment.
- Combine rolled oats, all-purpose flour, brown sugar, cinnamon, and salt, then drizzle melted butter over and toss until evenly moistened.
- Press 2/3 of the oat mixture firmly into the prepared pan, then bake for 10 minutes.
- Toss diced apples with granulated sugar, cinnamon, nutmeg, cornstarch, and lemon juice, then spread over the hot base.
- Scatter the remaining oat crumble over the apples, then bake for 30 more minutes until the topping is golden and the filling bubbles.
- Cool completely before slicing into bars.