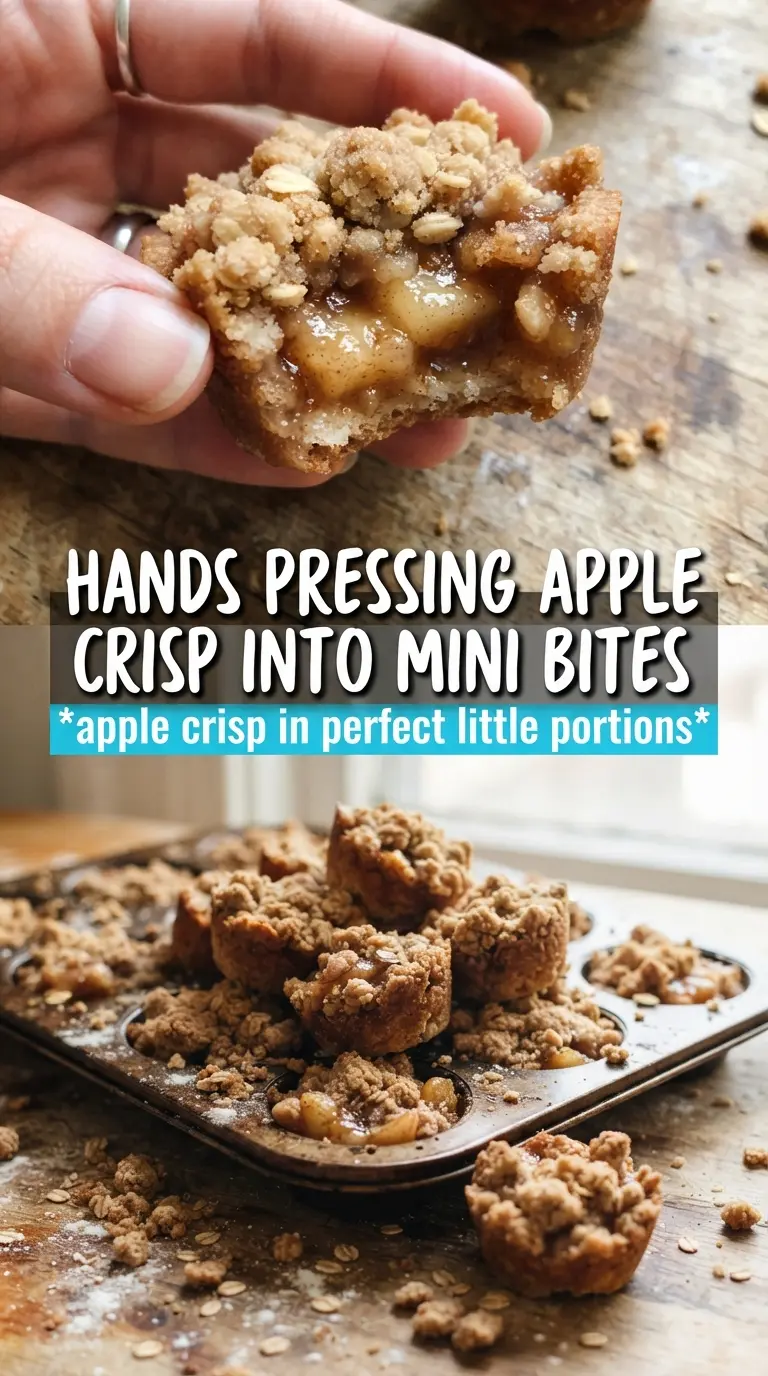
Apple Crisp Bites bring everything good about apple crisp into a small, neat dessert that bakes up with crisp edges, soft spiced apples, and a buttery oat topping that holds its crunch. The shortbread cup does the heavy lifting here. It keeps the filling contained and gives each bite a sturdy base, so you get the contrast of tender fruit and crumbly topping without a spoon.
What makes this version work is the layering. The apples get cooked first, which takes care of excess moisture before they ever hit the oven, and that means the filling stays thick instead of turning the cups soggy. The oat topping is mixed separately so it bakes into clumps instead of dust. That little bit of structure is what makes these taste like a proper dessert instead of a muffin tin shortcut.
Below, I’ve included the small details that matter most: how to keep the shortbread from shrinking, how to cook the apples long enough, and how to tell when the topping is browned without drying out the filling.
The apple filling thickened up beautifully and the little crusts held their shape after baking. I drizzled caramel on top while they were still warm and they disappeared fast.
Save these Apple Crisp Bites for the nights when you want warm spiced apples, a buttery shortbread base, and caramel drizzle in one tidy dessert.
The Trick to Keeping the Crust Crisp Under Wet Apples
The biggest mistake with mini apple desserts is stuffing raw fruit straight into a shell and hoping the oven can sort it out. Apples release juice as they bake, and in a small cup that moisture has nowhere to go. Cooking the filling first solves that problem before it starts, and the cornstarch gives the juices a glossy, spoonable thickness that sets up as it cools.
The other part that matters is the shell itself. A cold butter shortbread bakes up tender and sturdy, but if you overwork it or add too much water, it shrinks and loses that clean cup shape. Press it in firmly, but don’t smear it around the tin. You want a thin, even layer that bakes into a crisp edge and can stand up to the filling and topping.
- Cold butter for the shortbread cups — This is what gives the crust its sandy, tender texture. If the butter softens too much, the cups get dense and bready instead of crisp.
- Apples — A mix of tart and sweet apples works best if you have it, but even one good baking apple will do. Dice them finely so the filling cooks evenly and settles neatly into the cups.
- Cornstarch — This thickens the apple juices without turning the filling gummy. Flour won’t give you the same clean, glossy set here.
- Rolled oats — Use old-fashioned oats, not quick oats. Quick oats collapse into a pasty layer instead of baking into distinct crumbles.
- Caramel sauce — This is for the finish, not the structure, so use a store-bought bottle if that’s what you have. Warm it slightly first so it drizzles instead of clumping on top.
What Each Ingredient Is Actually Doing in This Recipe
- Primary ingredient (the star) — Quality matters most. Choose the best you can find.
- Cooking medium (oil, butter, or broth) — This carries flavors and prevents dryness.
- Seasonings (salt, pepper, spices, herbs) — Layer flavors so nothing overpowers. Build depth gradually.
- Aromatics (garlic, onion, herbs) — Cook with fat to bloom flavors. Become the foundation.
- Supporting ingredients — Complement the main ingredient without overpowering it.
- Sauce or liquid (if applicable) — Brings flavors together. Balance richness with acid.
- Acid (lemon, vinegar, wine, or other) — Brightens and prevents flat-tasting results.
- Final finish (garnish, glaze, or sauce) — Prevents one-dimensional taste and adds visual appeal.
Building the Cups, Filling, and Crumble in the Right Order
Mixing the Shortbread Dough
Start with the flour, powdered sugar, and salt, then cut in the cold butter until the mixture looks like damp sand with a few pea-size pieces left. Those little butter bits melt in the oven and create the tender crumb. Add the ice water only until the dough just comes together; if it feels sticky or wet, the shells will shrink and bake up tough.
Pressing the Shells
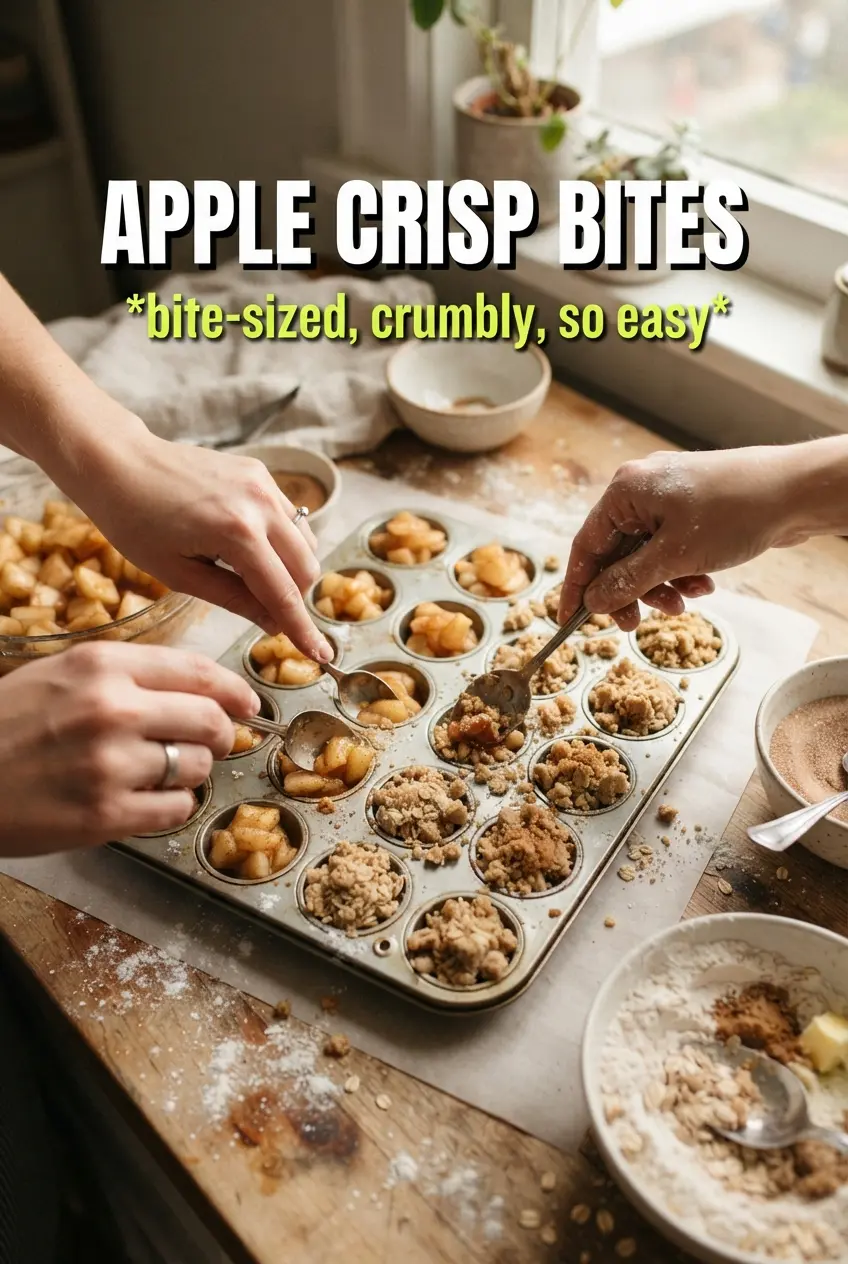
Divide the dough evenly and press it into each mini muffin cup with your fingers or the bottom of a small glass. Keep the layer thin and even, with the dough coming up the sides so it can hold the filling. If the centers puff during baking, press them down gently with the back of a spoon while they’re still warm, but don’t force them out of shape.
Cooking the Apple Filling
Cook the apples with butter, brown sugar, cinnamon, nutmeg, and cornstarch until the fruit turns glossy and the juices thicken around the edges of the pan. The apples should still hold a little shape; if you cook them until they collapse, the filling gets jammy and loses texture. Let it cool before filling the shells, or the heat will soften the crust before it even reaches the oven.
Building the Topping and Baking
Work the cold butter into the oat mixture until you have rough clumps, not a smooth paste. Spoon the cooled filling into each cup, then scatter the crumble over the top so some fruit still shows through. Bake until the topping is golden and the edges of the crust look set and lightly browned. If the filling bubbles up around the sides, that’s your cue that the centers are hot and ready.
How to Make Apple Crisp Bites Work for Different Kitchens and Crowds
Gluten-Free Version
Swap the all-purpose flour in both the crust and topping with a 1:1 gluten-free baking blend that includes xanthan gum. The crust will be a little more delicate, so let the bites cool in the pan for a few minutes before lifting them out.
Make Them Ahead for a Party Tray
Bake the bites a day ahead and drizzle with caramel just before serving. The crust stays crisper that way, and the topping keeps its texture instead of soaking up the sauce in the fridge.
Use Pears Instead of Apples
Pears work well if they’re firm, but they release more moisture than apples, so cook the filling a minute or two longer until it looks thick and jammy. The result is softer and a little more floral, with the same crisp topping and buttery base.
Dairy-Free Swap
Use a solid plant-based butter that behaves like dairy butter when cold. The texture will be close, but choose one without a strong olive or coconut flavor so it doesn’t take over the filling.
Storage and Reheating
- Refrigerator: Store in an airtight container for up to 4 days. The topping softens a bit in the fridge, but the flavor holds up well.
- Freezer: They freeze well after baking. Freeze in a single layer, then transfer to a container for up to 2 months.
- Reheating: Warm in a 325°F oven for 8-10 minutes. The oven brings the crust back faster than the microwave, which tends to make the topping chewy.
Answers to the Questions Worth Asking
Apple Crisp Bites
Ingredients
Equipment
Method
- Preheat the oven to 375F, then grease a 24-cup mini muffin tin so the cups release easily.
- Combine all-purpose flour, powdered sugar, and salt, then cut in cold unsalted butter until the mixture looks crumbly with small butter pieces.
- Add ice water and press the dough into the mini muffin cups to form a shell, smoothing the surface with your fingertips if needed.
- Sauté diced apples with butter, brown sugar, cinnamon, nutmeg, and cornstarch until the mixture thickens, about 5-7 minutes, stirring until glossy.
- Cool the apple filling until it thickly holds together, then keep it ready to spoon into the cups.
- Combine rolled oats, flour, brown sugar, and cinnamon, then cut in cold butter until clumpy and evenly coated.
- Fill each shortbread cup with apple filling, leaving a small gap at the top for the crumble.
- Top each filled cup with oat crumble, letting the clumps sit high so they toast into crisp bits.
- Bake for 18-20 minutes at 375F until golden, with crisp edges visible and the topping set.
- Drizzle caramel sauce over the warm bites so it slightly melts into the crisp topping for a glossy finish.