Vegetable beef soup earns its place in the rotation when the broth turns dark and savory, the beef goes tender without falling apart, and the vegetables still hold their shape instead of collapsing into mush. The best bowls have that slow-simmered depth that tastes like more than the sum of its parts, with potatoes carrying the broth, carrots adding sweetness, and a little tomato cutting through the richness.
This version gets that balance by building flavor in layers. The beef is browned first, which gives the broth a deeper base before a single vegetable goes in. Tomato paste cooks with the aromatics long enough to lose its raw edge, and Worcestershire adds the kind of background savoriness that makes the whole pot taste finished. The vegetables go in at different times on purpose, so the potatoes turn tender without overcooking the green beans and corn.
If you’ve ever ended up with soup that tastes flat or a little gray, the fix is in the order. Below, I’ve laid out the small details that matter most, including the best way to keep the broth rich and the vegetables from turning soft before dinner.
The broth was rich and the beef came out tender, but what I loved most was that the potatoes held their shape and didn’t turn mealy after reheating.
Love the deep broth and tender vegetables in this vegetable beef soup? Save it to Pinterest for a comforting one-pot dinner that reheats beautifully.
The Browning Step That Keeps the Broth from Tasting Thin
The biggest mistake with vegetable beef soup is rushing past the sear. If the beef goes in pale, the broth can still be edible, but it won’t have the deep, beefy backbone that makes people go back for a second bowl. Browning in batches matters because crowded meat steams, and steamed meat never gives you the same flavor or those browned bits on the bottom of the pot.
The other place this soup can flatten out is in the aromatics. Onion, carrot, and celery need enough time in the hot oil to soften and sweeten before the garlic and tomato paste go in. That short cook on the tomato paste matters more than people think; it turns the paste from sharp and metallic into something round and savory.
What Each Ingredient Is Actually Doing in the Pot
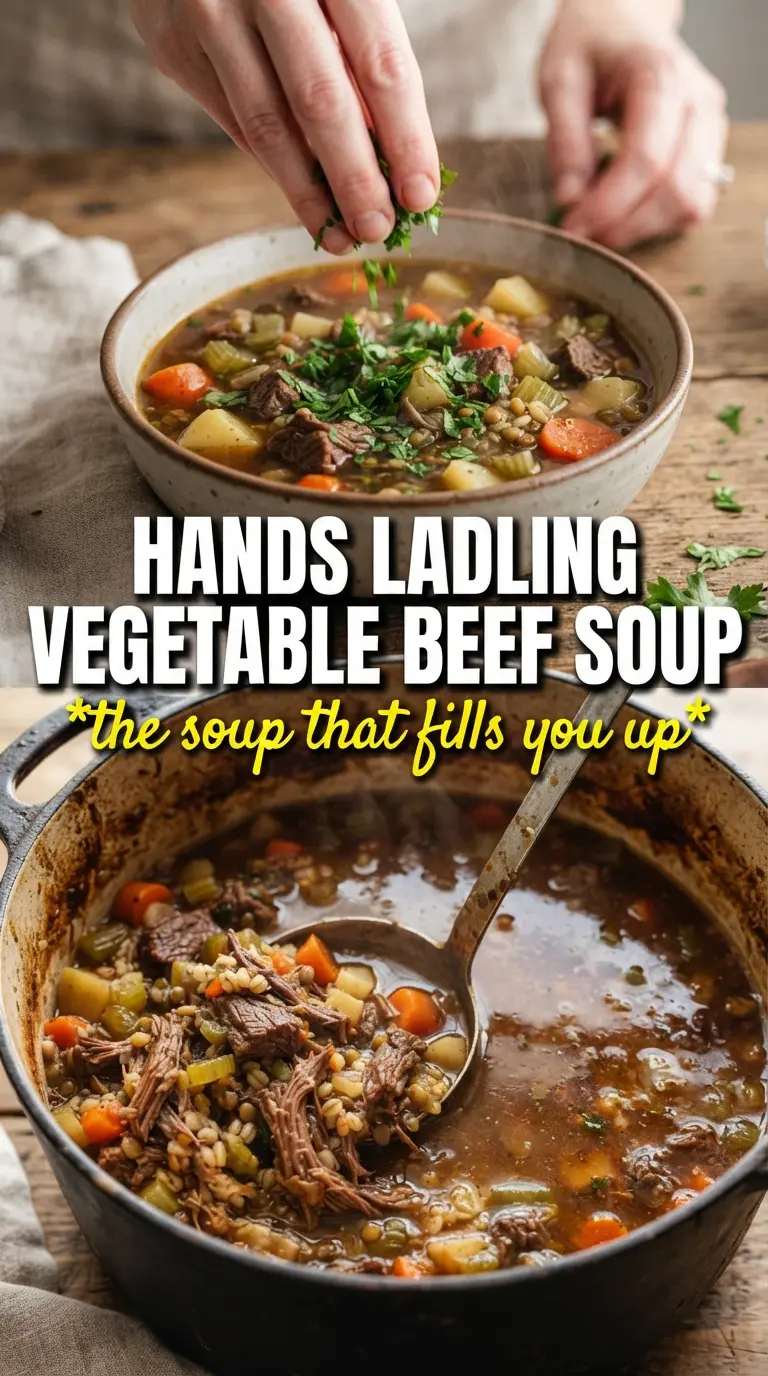
- Beef stew meat — This gives you the sturdy, meaty pieces that hold up to simmering. Chuck-style stew meat is ideal because it turns tender without disappearing. Trim any large hard fat, but don’t fuss over every little bit; a little marbling helps the soup taste fuller.
- Tomato paste — This is the quiet intensity in the pot. It deepens the broth and helps the soup taste rich instead of watery. Cook it with the vegetables for a minute or two so it loses that raw, tinny edge.
- Worcestershire sauce — You won’t taste it as a separate ingredient, but you’d notice if it were missing. It adds salt, tang, and savory depth. There isn’t a perfect substitute, but a splash of soy sauce with a little extra vinegar can cover the same territory in a pinch.
- Potatoes — These thicken the broth slightly as they simmer and make the soup feel like a full meal. Yukon Golds stay creamy and hold their shape better than russets, but any waxy potato works well if you want cleaner cubes.
- Green beans and corn — Add these near the end so they stay bright and don’t turn dull or mushy. Frozen corn is fine here; it keeps its sweetness and saves prep time.
Building the Soup in the Right Order
Searing the Beef First
Heat the oil until it shimmers, then brown the beef in batches. You want a dark crust in spots, not a gray surface. If the pan starts to crowd, stop and work in smaller rounds; that extra minute or two pays you back in flavor. Pull the beef out as soon as it’s browned so it doesn’t overcook while you build the base.
Softening the Aromatics
Cook the onion, carrots, and celery until the onion looks translucent and the edges of the vegetables start to soften. That’s when they’ve given up some of their raw crunch and started sweetening the pot. Add the garlic and tomato paste last, then stir until the paste darkens slightly and coats everything. If the garlic hits the pan too early, it can burn and turn bitter, so keep it brief.
Simmering Until the Beef Relaxes
Once the broth, tomatoes, Worcestershire, thyme, and bay leaf go in, bring the pot to a boil, then drop it to a gentle simmer. The surface should show small bubbles, not a rolling boil. That lower heat gives the beef time to soften without toughening. After about 30 minutes, the meat should be starting to yield at the edges, and the broth will look deeper and a little more unified.
Adding the Vegetables at the End
Potatoes go in next because they need the longest time of the vegetables. When they’re almost tender, add the green beans and corn for the last stretch so they stay intact. If you add them too early, the beans lose their snap and the corn goes starchy. Finish by removing the bay leaf and tasting for salt and pepper once the soup has had a few minutes to settle.
How to Adapt This for Bigger Batches and Different Diets
Make It Gluten-Free
This soup is naturally close to gluten-free already, but check your beef broth and Worcestershire sauce, since both can hide gluten depending on the brand. Use certified gluten-free versions and the rest of the recipe stays the same. The texture and simmer time don’t change.
Swap the Beef for Ground Beef
If you want a faster version, use browned ground beef instead of stew meat. You’ll lose some of the slow-simmered texture, but the soup will still be hearty and satisfying. Drain excess fat before adding the vegetables so the broth stays clean-tasting.
Add More Vegetables Without Diluting the Flavor
Extra vegetables are welcome, but don’t just keep adding broth to make room. Mushrooms, peas, or diced zucchini all work well, though watery vegetables should go in near the end. If you bulk it up a lot, add another spoonful of tomato paste and a pinch more salt to keep the broth from tasting stretched.
Storage and Reheating
- Refrigerator: Store for up to 4 days. The broth gets even better by day two, though the potatoes will soften a bit.
- Freezer: Freezes well for up to 3 months. Cool completely first and leave a little space in the container because the broth expands.
- Reheating: Rewarm gently on the stove over medium-low heat until hot. Don’t boil it hard or the potatoes can break down and the beef can turn tough again.
Answers to the Questions Worth Asking
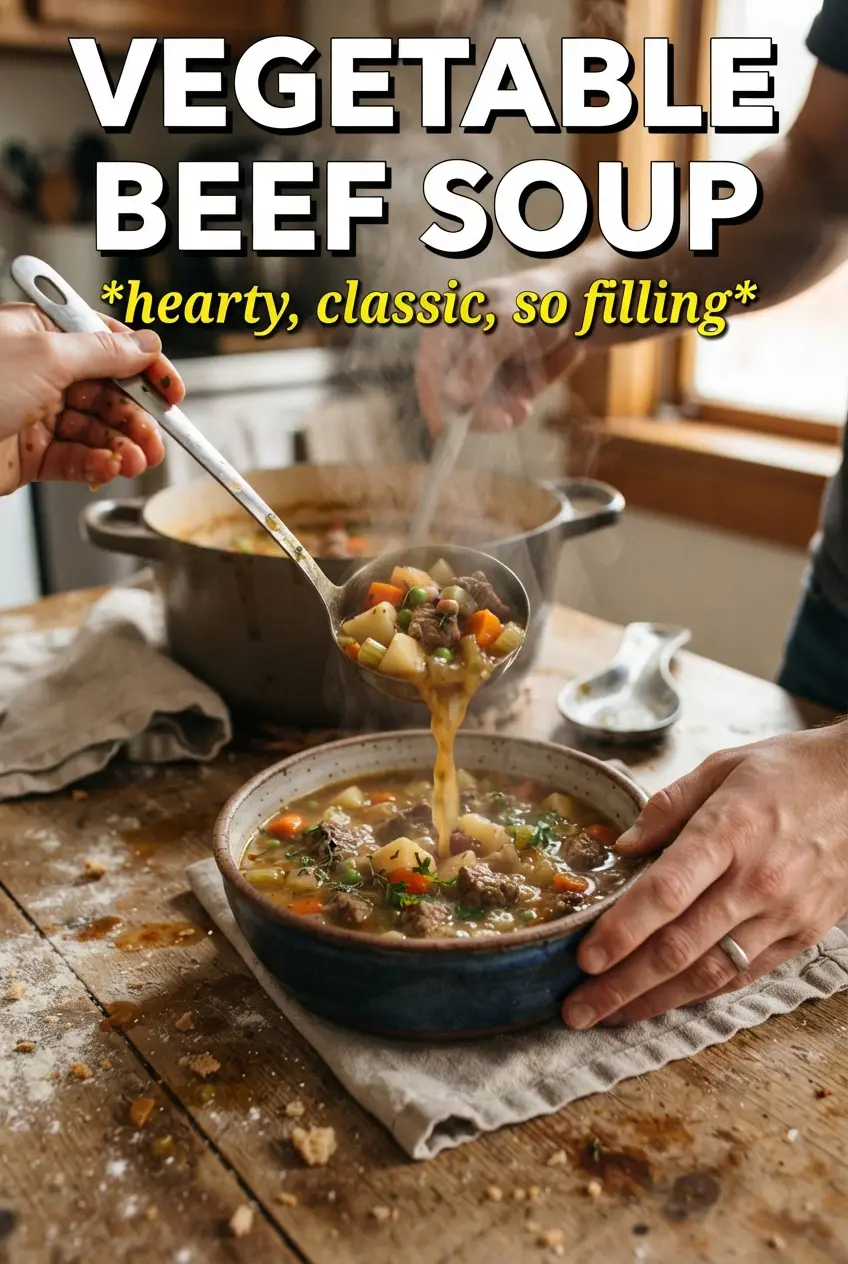
Vegetable Beef Soup
Ingredients
Equipment
Method
- Heat 2 tablespoons olive oil in a large Dutch oven over medium-high heat until shimmering, then sear the beef in batches until browned on all sides. Remove beef to a plate.
- In the same Dutch oven, sauté onion, carrots, and celery for 5 minutes, stirring until slightly softened. Add garlic and tomato paste and cook for 2 minutes.
- Return the beef to the pot, then add beef broth, diced tomatoes, Worcestershire sauce, dried thyme, and bay leaf. Bring everything to a boil.
- Reduce heat to maintain a gentle simmer and cook for 30 minutes, stirring occasionally to keep the flavors developing.
- Add potatoes and cook for 15 minutes, until the potatoes are tender when pierced.
- Add green beans and frozen corn and cook for the last 8 minutes, until the beans are bright-tender and the corn is heated through.
- Remove the bay leaf and season the soup with salt and pepper to taste, then serve hot.