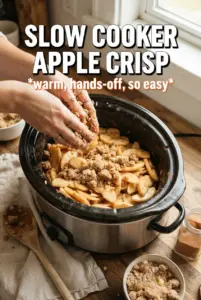
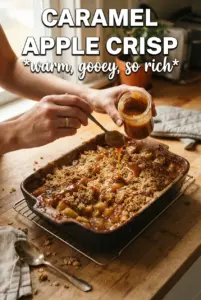
Caramel apple crisp bakes into the kind of dessert that gets scraped from the pan while it’s still warm. The apples soften into a jammy filling, the caramel turns glossy and rich, and the oat topping stays craggy enough to hold its crunch even after a scoop of ice cream starts melting over it. It’s the balance that makes people come back for a second spoonful: sweet, tart, buttery, and just a little salty at the edges.
The trick is treating the apples and topping like two separate jobs that need different handling. The filling needs enough cornstarch to thicken the caramel and apple juices before they run all over the dish, while the topping needs cold butter cut in until you’ve got chunky clumps, not sand. That’s what gives you those golden ridges that toast instead of disappearing into a flat layer.
Below, I’ll walk through the part that keeps the filling from turning watery, plus the one topping detail that makes this crisp stay crunchy on top instead of going soft in the oven.
The filling set up beautifully and the caramel actually stayed in the apples instead of running everywhere. I baked it until the topping was deep golden and it held up even after we added ice cream.
Save this caramel apple crisp for the nights when you want bubbling apples, a crunchy oat topping, and extra caramel under a scoop of vanilla ice cream.
The Part That Keeps the Filling from Going Watery
Caramel apple crisp can go loose fast if the apples release too much juice before the starch has a chance to thicken it. That’s why the cornstarch goes in with the sugar and caramel before baking instead of after. It coats the fruit as it heats, and by the time the filling starts bubbling, the juices have enough starch to turn glossy and spoonable instead of soupy.
Another place people miss is the apple choice. You want apples that hold their shape when baked, not ones that collapse into applesauce the second they get hot. A mix of tart and sweet works best here because the caramel brings plenty of sweetness already, and the lemon juice keeps the filling from tasting flat.
- Cornstarch — This is what thickens the apple juices and caramel sauce into a real filling. Flour won’t give you the same clear, glossy finish.
- Lemon juice — It keeps the apples bright and balances the sugar. Don’t skip it unless your apples are already very tart.
- Caramel sauce — Use a sauce that pours smoothly. Thick caramel candies melted down won’t blend as evenly into the fruit.
- Sea salt — A small amount sharpens the caramel and keeps the dessert from tasting one-note. Fine table salt works in a pinch, but start with a little less.
What Each Ingredient Is Doing in the Crisp
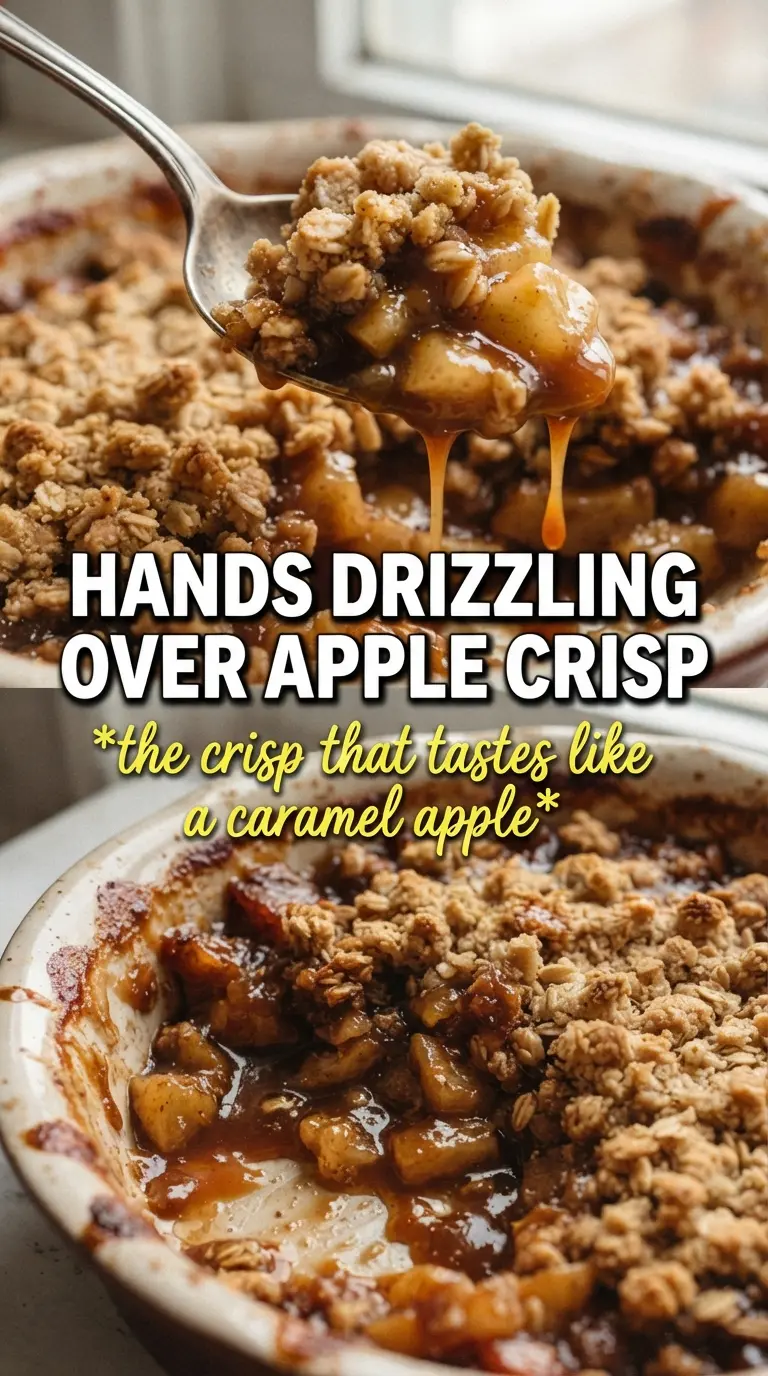
The oat crumble needs both flour and oats to get that classic crisp texture. The flour helps the topping clump, while the oats keep it rustic and crunchy. Brown sugar brings moisture and a light molasses note that tastes right at home with apples and caramel, and the cold butter is what turns the dry mixture into a topping with real structure instead of a dusty blanket.
Butter quality matters here because it’s the main source of flavor in the topping. Salted butter can work if that’s what you have, but cut back the added salt a bit. If you only have quick oats, they’ll work, but the topping will be a little less nubby and a little more compact. Rolled oats give the best craggy finish.
- Rolled oats — They keep the crumble hearty and textured. Quick oats make a tighter, softer topping.
- Brown sugar — This helps the topping brown and adds a deeper caramel note that plain white sugar can’t match.
- Cold butter — Cold butter is what creates those chunky clumps. If it softens too much, the topping bakes up dense instead of crisp.
- Apples — Firm baking apples hold their shape and keep the filling from turning mushy. Softer apples will still taste good, but the texture won’t be as clean.
Building the Crisp So the Topping Stays Crunchy
Toss the Filling First
Mix the sliced apples with the sugar, caramel, spices, cornstarch, lemon juice, and salt until every piece looks lightly coated. That coating matters because the starch needs to be distributed before the fruit goes into the oven. Spread the apples evenly in the baking dish so the center isn’t piled higher than the edges. If the layer is uneven, the middle steams while the edges overcook.
Cut in the Butter Without Overmixing
Combine the oats, flour, brown sugar, cinnamon, and salt, then work the cold butter in until you have clumps ranging from pea-sized to a little larger. Stop before the mixture turns sandy. Those bigger pieces melt into crisp little ridges on top, and those ridges are what make the finish taste baked, not just covered. If the butter warms up too much, chill the bowl for a few minutes before topping the apples.
Bake Until the Filling Is Bubbling at the Edges
Slide the dish into a 375°F oven and bake until the top is deeply golden and the filling is visibly bubbling around the edges, not just in the center. Bubbling is the sign that the cornstarch has activated and the filling has thickened. If the topping browns before the apples soften, lay a loose sheet of foil over the top for the last stretch. That keeps the crumble from scorching while the fruit finishes.
Finish with Caramel at the End
Drizzle extra caramel over the top during the last few minutes of baking or right after it comes out of the oven. Adding it too early can darken it more than you want and make the topping sticky instead of crisp. Serve the crisp warm with vanilla ice cream so the contrast between hot fruit and cold cream is still there when it hits the table.
Three Ways to Make This Crisp Work for Your Kitchen
Make It Gluten-Free
Swap the all-purpose flour for a good 1:1 gluten-free baking blend. The topping will still brown and clump, though it may be a little more delicate when scooped. Keep the oats certified gluten-free if cross-contamination matters in your kitchen.
Use a Dairy-Free Butter Substitute
Use a firm dairy-free baking butter in the topping and serve the crisp without ice cream or with a dairy-free vanilla option. The texture stays close to the original as long as the substitute is cold and block-style, not a soft tub spread.
Make It Less Sweet
Cut the granulated sugar in the filling slightly and use a more tart apple variety. You’ll still get the caramel note, but the dessert will lean more apple-forward and less candy-sweet. Don’t reduce the brown sugar in the topping too much, or you’ll lose the crisp, toasted finish.
Storage and Reheating
- Refrigerator: Store covered for up to 4 days. The topping softens a little, but the flavor holds well.
- Freezer: Freeze baked crisp for up to 2 months, tightly wrapped. Thaw overnight in the fridge before reheating for the best texture.
- Reheating: Warm in a 325°F oven until the filling is hot and the top crisps back up. The microwave will heat the apples, but it turns the topping soft fast.
Answers to the Questions Worth Asking
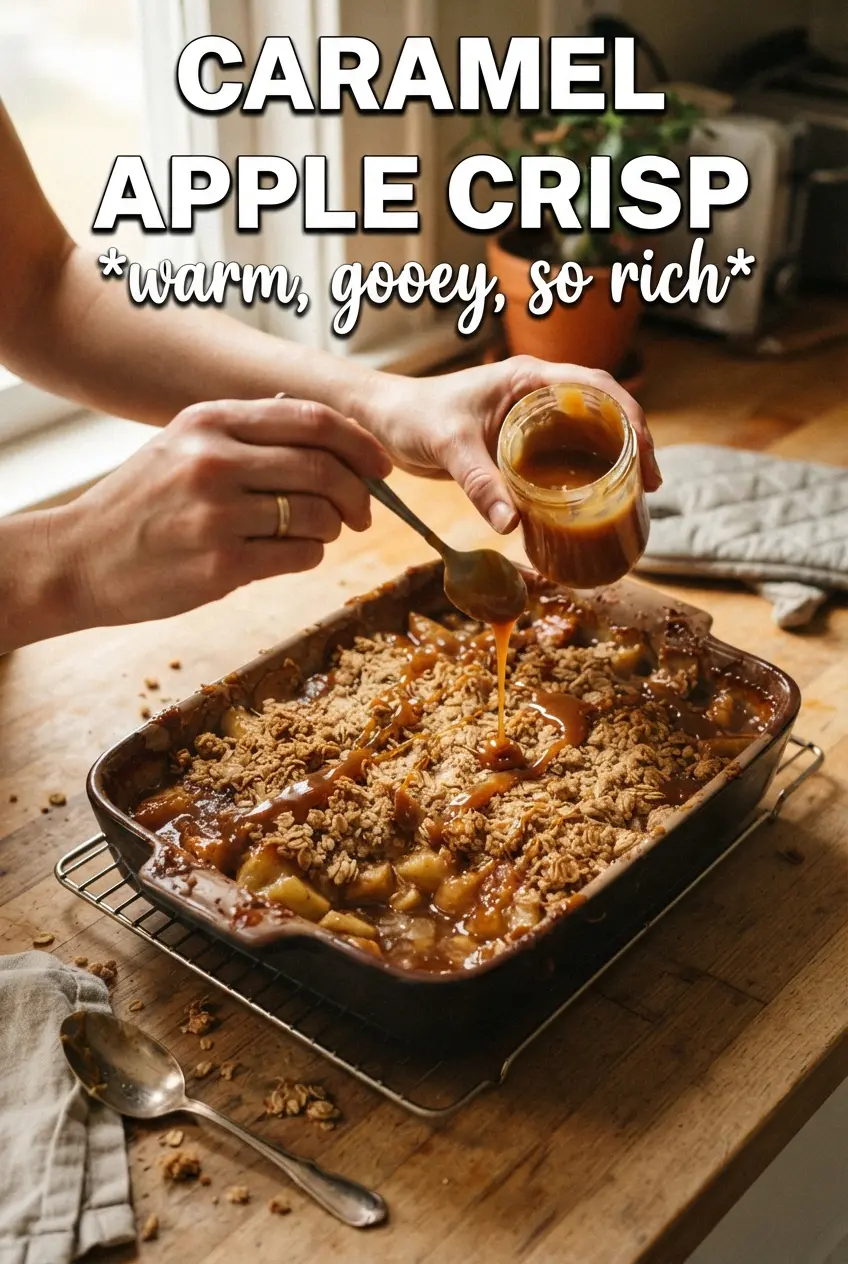
Caramel Apple Crisp
Ingredients
Equipment
Method
- Preheat the oven to 375F and grease a 9x13 baking dish.
- Toss apple slices with granulated sugar, caramel sauce, cinnamon, nutmeg, cornstarch, lemon juice, and sea salt, then spread evenly in the greased dish.
- Combine rolled oats, all-purpose flour, brown sugar, cinnamon, and salt in a bowl, then cut in cold butter until chunky clumps form.
- Scatter the crumble over the caramel apples to cover as much surface as possible.
- Bake for 40 to 45 minutes, until the topping is deeply golden and the filling is bubbling at the edges.
- Drizzle extra caramel sauce over the top during the last 5 minutes of baking for a glossy finish.
- Serve warm with vanilla ice cream and more caramel sauce.