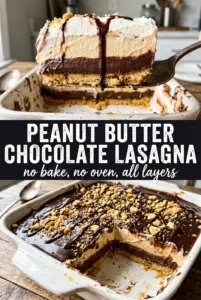
Cold, creamy layers and a dark Oreo base make this no-bake peanut butter chocolate lasagna the kind of dessert people keep sneaking forkfuls of long after dinner. The crust stays firm enough to slice cleanly, the peanut butter layer tastes rich without turning heavy, and the chocolate pudding settles into the middle with that soft, spoonable texture that works so well in layered desserts. Every bite gives you crunch, cream, and chocolate in one neat square.
What makes this version work is balance. The cream cheese keeps the peanut butter layer stable, while the whipped topping lightens it enough that the whole dessert doesn’t eat like frosting on frosting. Instant pudding is the right choice here because it thickens fast and sets predictably once it hits the fridge. The chilling time matters just as much as the mixing. If you cut it too early, the layers slide. Give it the full rest and you’ll get sharp slices and clean stripes.
Below you’ll find the little details that keep the crust from crumbling, the peanut butter layer from turning grainy, and the top from looking messy instead of bakery-clean. I also included a few swaps and storage notes, since this is the kind of dessert that gets requested ahead of time for potlucks and birthdays.
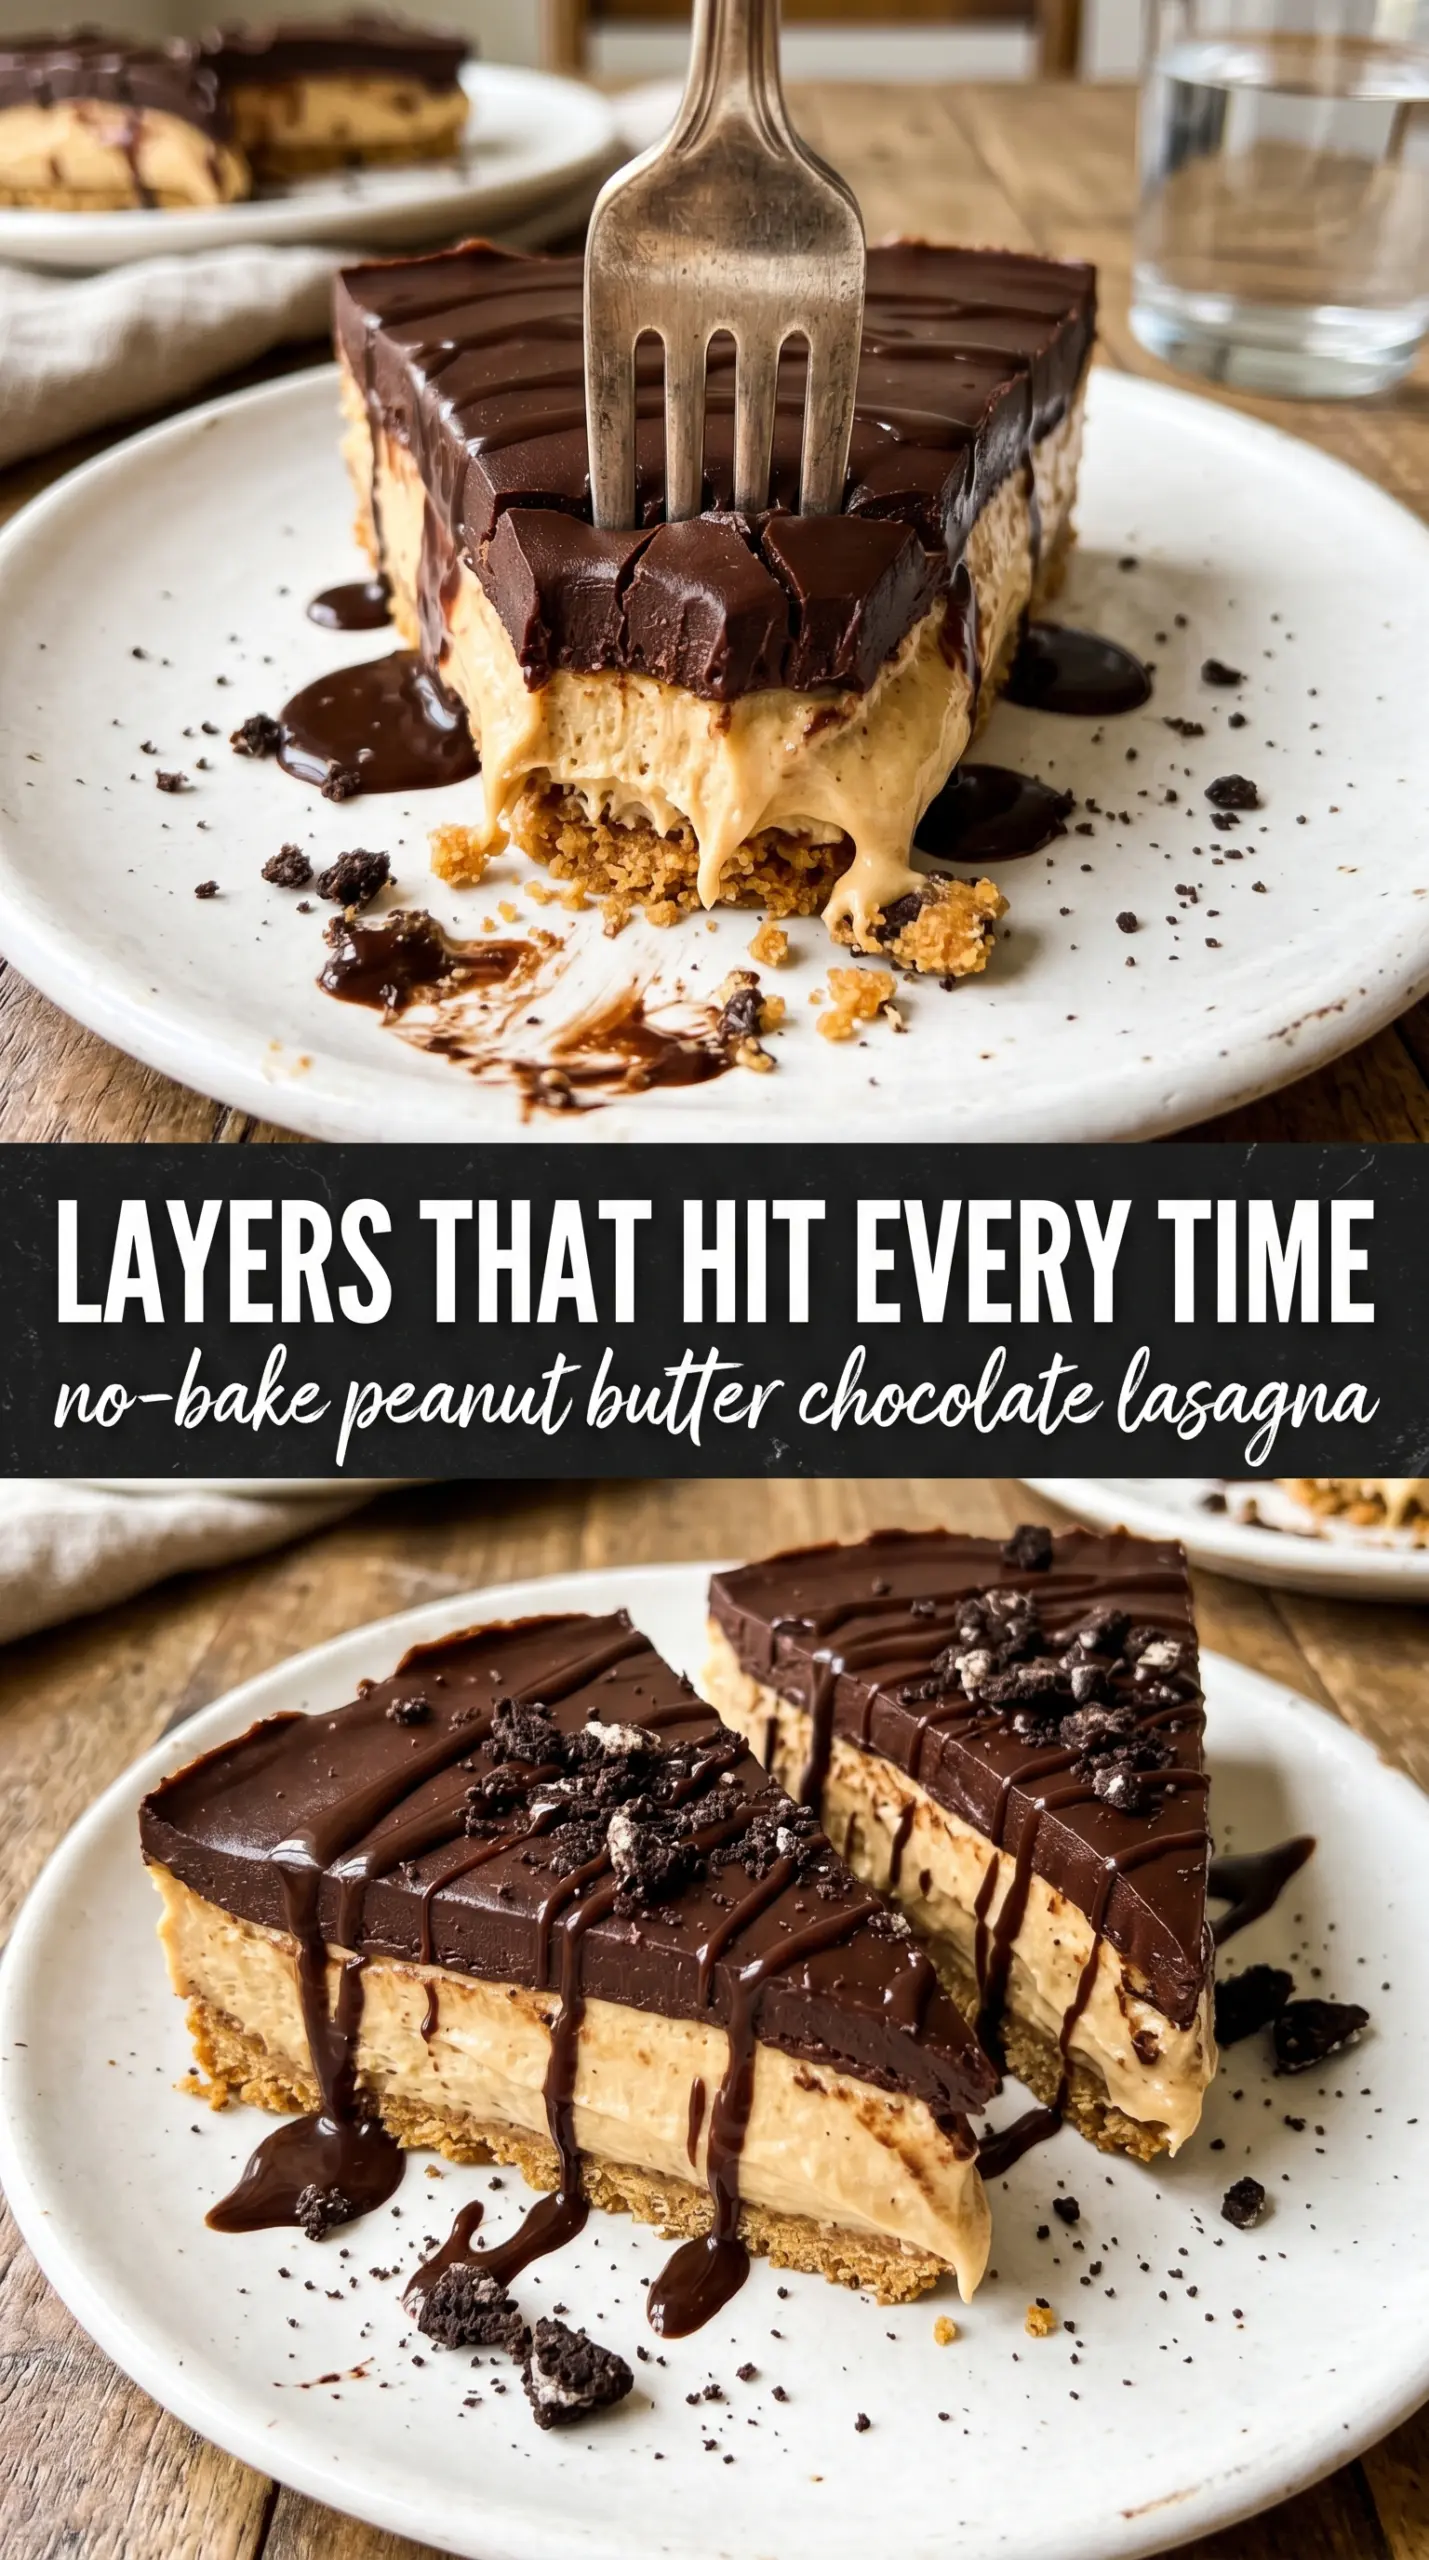
The crust held together perfectly and the peanut butter layer stayed light instead of dense. I chilled it overnight and the slices came out clean with those pretty layers everyone kept talking about.
No-bake peanut butter chocolate lasagna with clean layers, rich filling, and a sliceable Oreo crust
The Secret to Clean Layers Starts with a Firm Crust
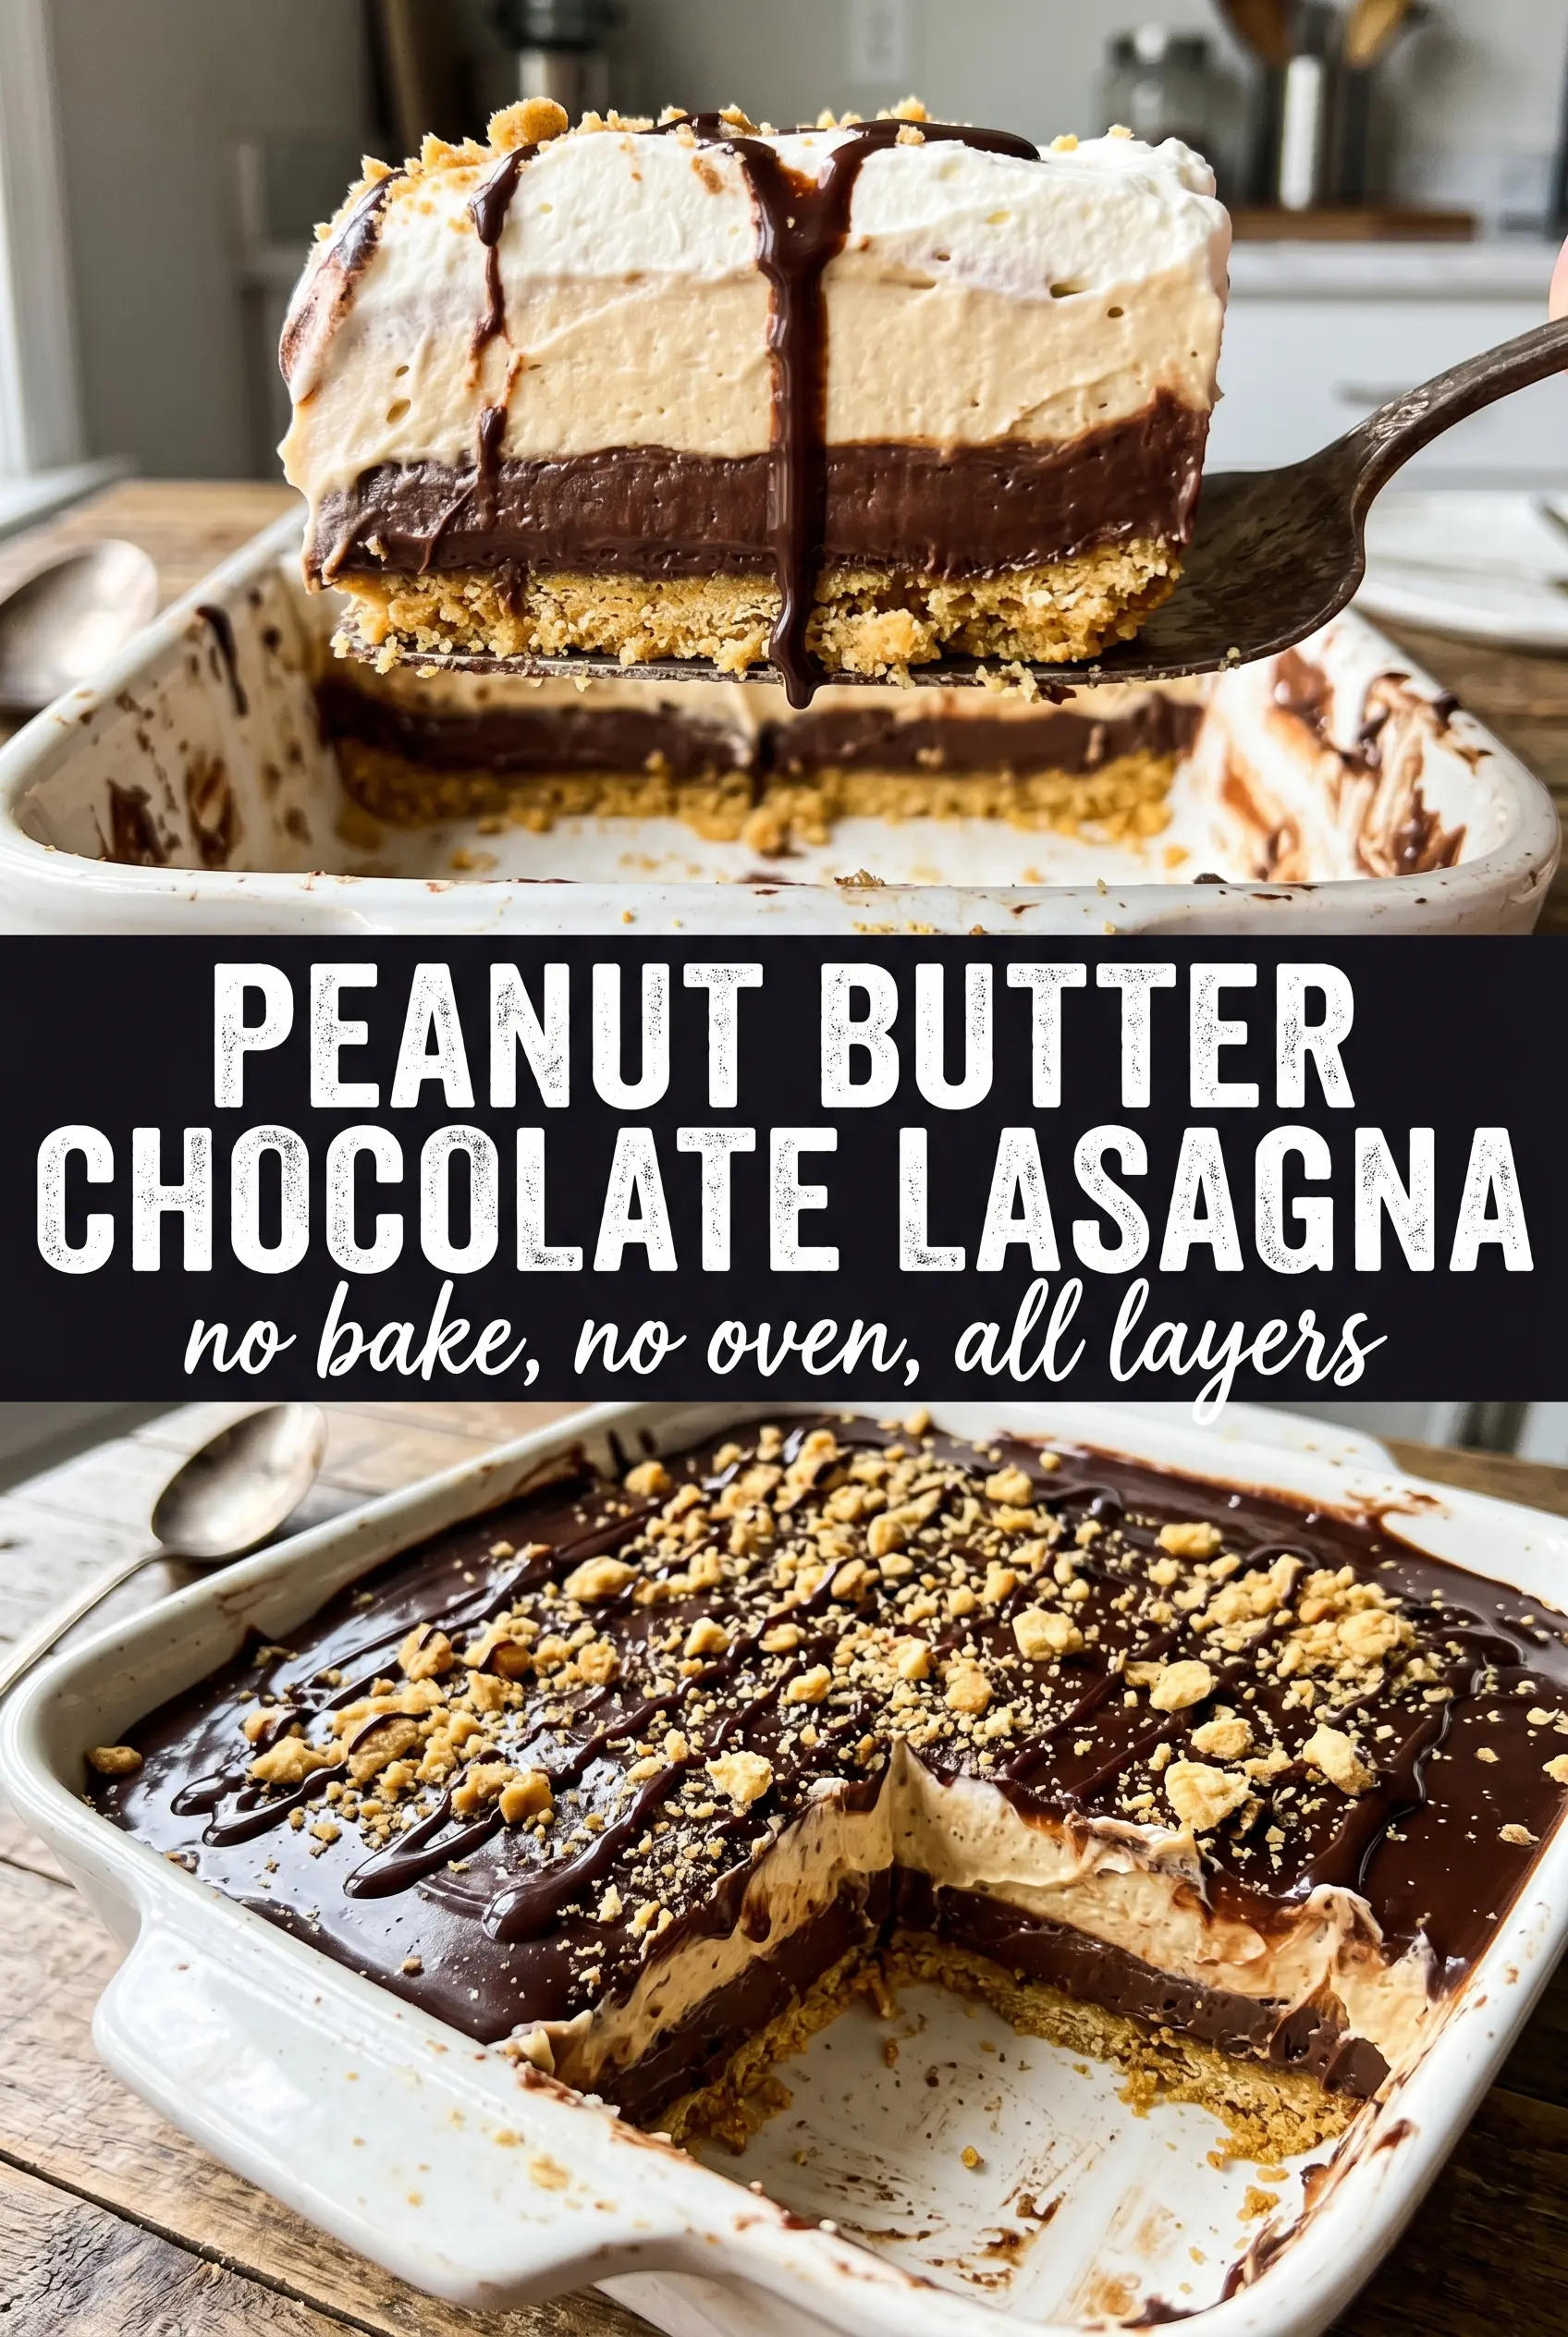
The most common problem with dessert lasagna is a base that turns sandy or collapses when sliced. This one avoids that by pressing the Oreo crumbs down hard enough to compact them, then chilling the crust before the filling goes in. That short rest gives the butter time to set, which keeps the bottom from mixing into the peanut butter layer.
The other thing that matters is the order of assembly. Each layer needs enough body to support the next one, and that means every spread should be even all the way to the corners. If the crust is loose or one side of the pudding layer is thicker than the other, the slice will lean and the stripes won’t stay distinct.
- Oreo cookies — Use the whole cookie, filling and all. The cream in the cookies helps bind the crust better than cookie crumbs alone.
- Butter — Melted butter coats the crumbs and helps them set into a sliceable base. Don’t reduce it much or the crust gets dry and falls apart.
- Cream cheese — This gives the peanut butter layer structure and a slight tang that keeps the dessert from tasting flat. Soften it fully before beating or you’ll end up with little lumps that never smooth out.
- Instant chocolate pudding — Instant pudding thickens quickly and stays stable in the fridge. Cook-and-serve pudding won’t set the same way here.
- Whipped topping — This lightens both the peanut butter layer and the top layer. Homemade whipped cream can work on top, but it won’t hold as long, especially if the dessert sits out.
What Each Layer Is Doing in the Bowl and in the Pan
The peanut butter needs to be creamy, not natural-style oily. Natural peanut butter can separate and make the layer greasy or loose, so stick with a shelf-stable creamy peanut butter for the best texture. The powdered sugar sweetens and thickens at the same time, which helps the filling hold its shape once it’s chilled.
Whole milk makes a difference in the pudding layer. Lower-fat milk can work, but the filling won’t be as rich or as firm. If you want the cleanest possible slices, use cold milk straight from the fridge and whisk the pudding for the full two minutes so it thickens before you spread it.
The whipped topping is doing a lot of quiet work here. It keeps the peanut butter filling fluffy and gives the top layer a smooth finish that feels light against the dense crust and pudding. Chop the Reese’s pieces small enough that they sit on top instead of dragging into the whipped layer.
Crushing and Pressing the Oreo Base
Pulse the Oreos into fine crumbs so the crust packs tightly instead of feeling gritty under the fork. Stir in the melted butter until every crumb looks evenly coated, then press the mixture firmly into the bottom of the dish. A measuring cup or flat-bottomed glass works well here because it compacts the layer evenly, especially in the corners. Chill the crust for 15 minutes before adding filling so it doesn’t lift or smear.
Building the Peanut Butter Layer
Beat the cream cheese first until it’s completely smooth, then add the peanut butter, powdered sugar, and vanilla. If the cream cheese is still cold, the layer will look speckled and won’t spread cleanly. Fold in the whipped topping by hand so you keep the filling airy instead of deflating it, then spread it gently over the crust without digging into the base.
Whisking the Pudding to the Right Thickness
Whisk the pudding and cold milk for the full two minutes until it goes from loose and glossy to thick and moundable. If you stop early, it can seep into the peanut butter layer instead of sitting cleanly on top. Spread it as soon as it firms up, since instant pudding keeps tightening as it sits.
Finishing with the Top Layer and Garnish
Spread the remaining whipped topping all the way to the edges so the pudding layer is completely sealed in. Scatter the chopped Reese’s pieces and chocolate shavings over the top after the whipped topping is smooth; if you add them too early, they can sink and blur the finish. Drizzle the peanut butter last in a thin stream for the cleanest look.
How to Adapt This Dessert Without Losing the Layers
Dairy-Free Version
Use dairy-free cream cheese, plant-based butter, and a dairy-free whipped topping. The texture will still hold, but the peanut butter layer may taste a little less tangy, so the vanilla matters more. Choose a non-dairy instant chocolate pudding mix that sets with the milk you plan to use, since some need a different liquid than the standard box mix.
Gluten-Free Swap
Use gluten-free chocolate sandwich cookies in place of Oreos, then crush and press them the same way. The crust may be a touch more delicate, so chill it well before layering. Check the pudding mix and Reese’s candies if you’re serving someone with a strict gluten-free need, since labels can vary by brand and batch.
Extra Peanut Butter Crunch
Swap some of the chopped Reese’s on top for chopped salted peanuts if you want more crunch and a sharper peanut flavor. This doesn’t change the structure of the dessert, but it does make each bite a little less sweet. Keep the pieces small so the top still slices cleanly.
Storage and Reheating
- Refrigerator: Store covered for up to 4 days. The crust stays best on day one and two, but the layers will remain sliceable.
- Freezer: It freezes well if you wrap the dish tightly and freeze before adding the garnish. Thaw overnight in the refrigerator; the whipped topping may soften a bit, but the dessert still holds together.
- Reheating: No reheating needed. Serve it cold straight from the fridge. If it’s been in the freezer, don’t try to speed things up at room temperature or the top layer can turn watery before the center thaws.
Answers to the Questions Worth Asking
No-Bake Peanut Butter Chocolate Lasagna
Ingredients
Equipment
Method
- Mix the crushed Oreo cookies with the melted butter until combined, then press the mixture firmly into the bottom of a 9x13 dish.
- Refrigerate for 15 minutes to set the crust.
- Beat the cream cheese, peanut butter, powdered sugar, and vanilla extract until smooth and fluffy.
- Fold in 1 cup of whipped topping, then spread the mixture evenly over the chilled Oreo crust.
- Whisk the instant chocolate pudding mix with cold whole milk for 2 minutes, until thickened.
- Spread the thickened pudding evenly over the peanut butter layer.
- Spread the remaining 2 cups of whipped topping over the chocolate pudding layer.
- Scatter the chopped Reeses Peanut Butter Cups and chocolate shavings over the top, then drizzle with peanut butter.
- Refrigerate for at least 4 hours or overnight until fully set, then slice into squares and serve cold.