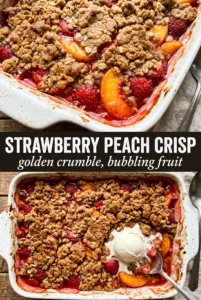
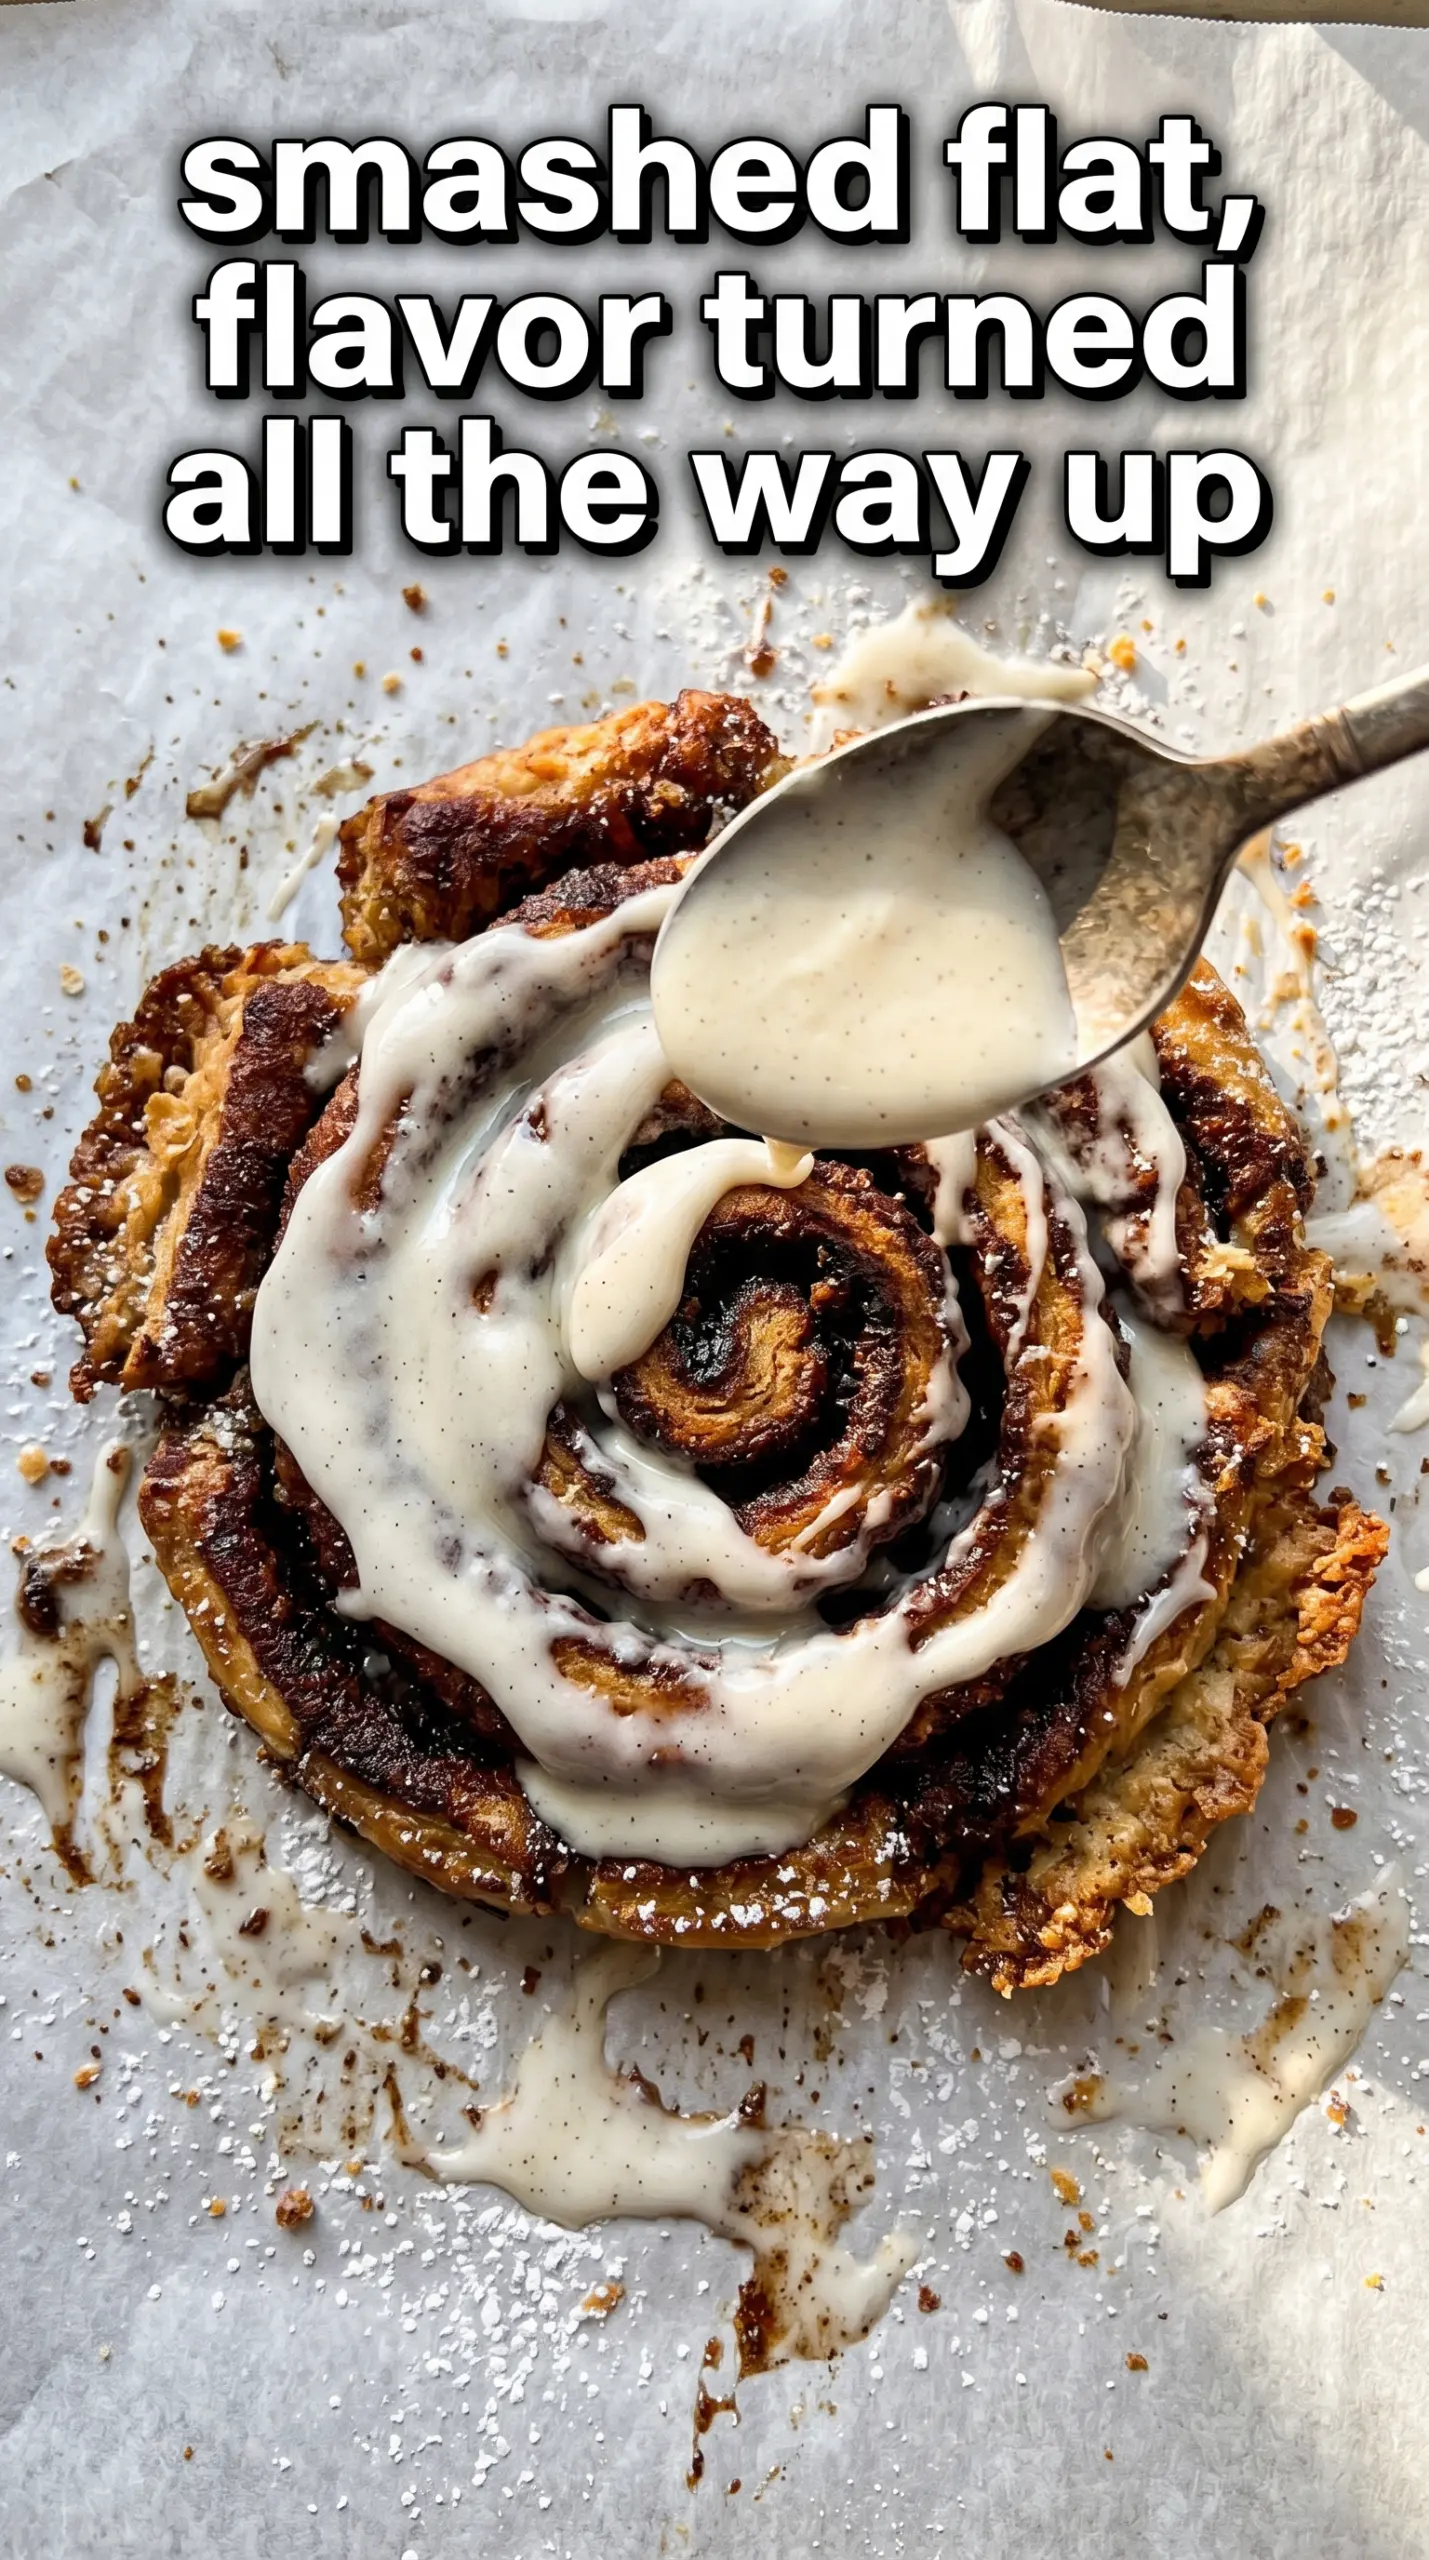
Caramelized edges, a soft center, and icing melting into every crack make these smashed Blackstone cinnamon rolls the kind of breakfast that disappears the second they hit the plate. The griddle does what an oven can’t: it presses the rolls into a wider, crisper surface so you get more browned surface area and less of that doughy middle that canned rolls can sometimes leave behind.
The trick is heat control. Medium-low gives the sugars time to caramelize before the outside burns, and the butter does double duty by helping the rolls release cleanly while adding that toasted, bakery-style flavor. Smashing them flat might feel a little rough the first time, but that pressure is what creates the crisp edges and the dramatic icing puddles everyone loves.
Below, I’ll walk through the small details that keep the centers tender, the bottoms golden, and the icing from sliding off before it settles into all those ridges. There’s also a simple way to make them taste a little more like a cinnamon-roll dessert than a plain grab-and-go breakfast.
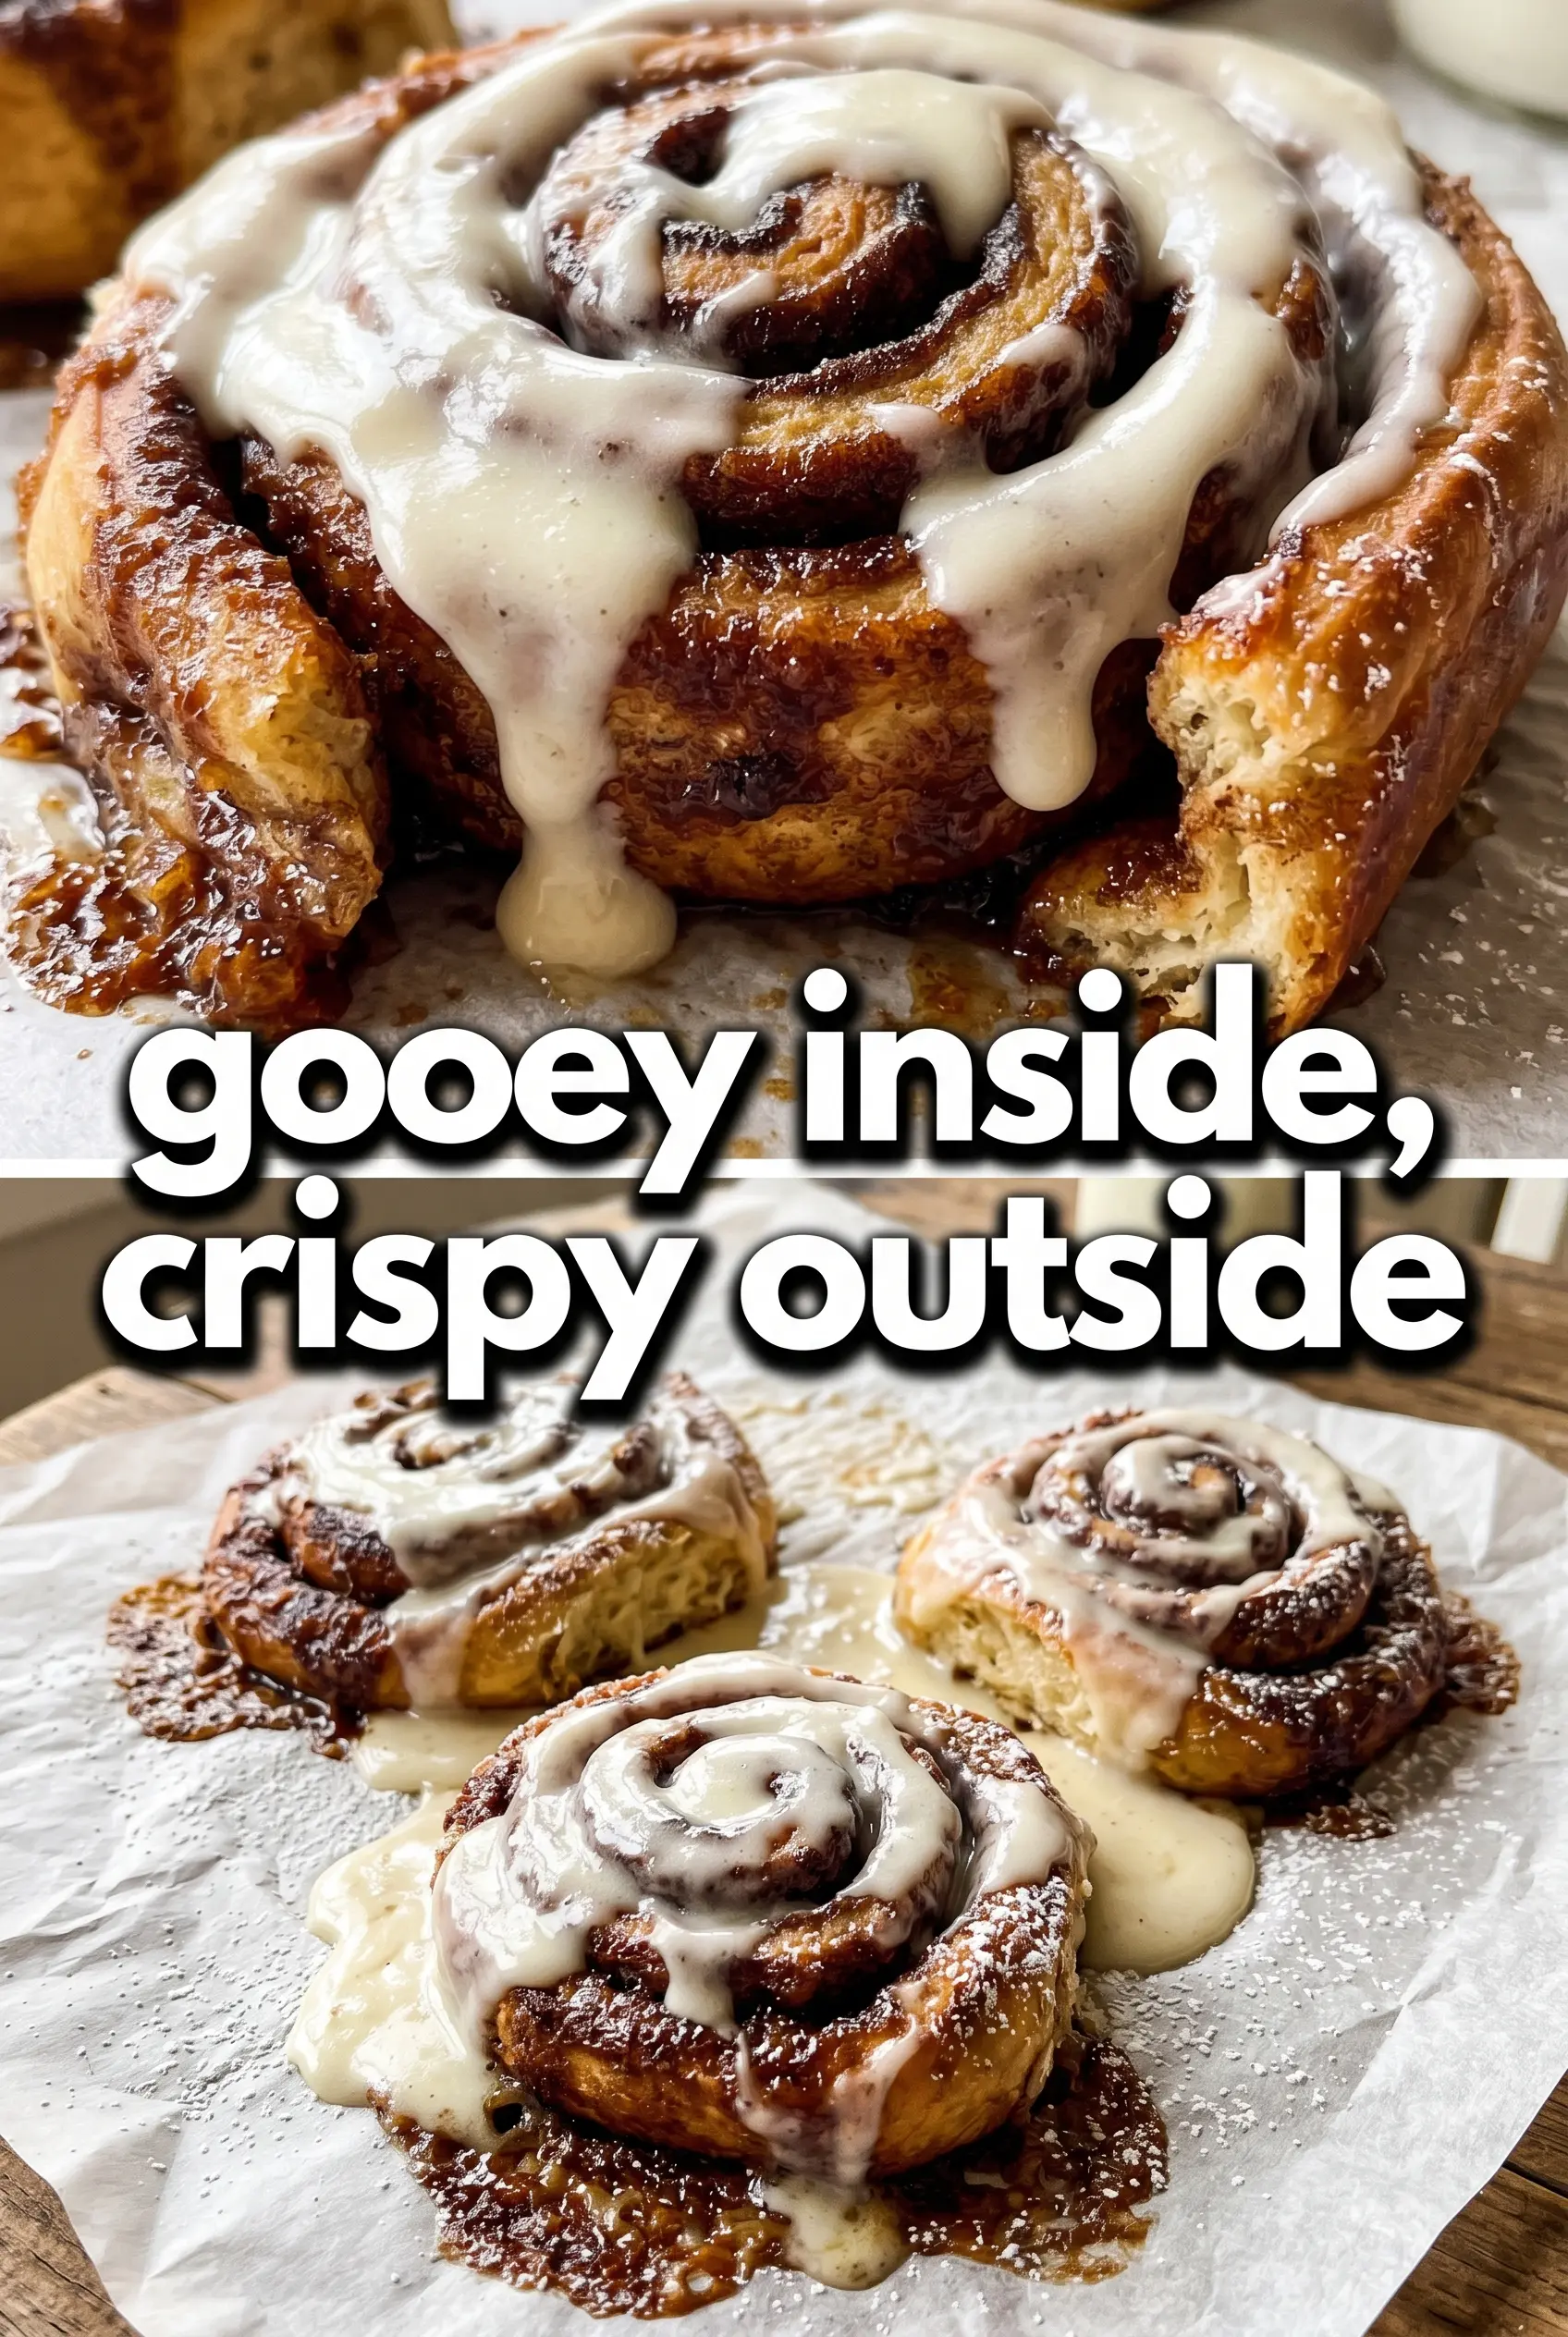
The bottoms turned crisp and caramelized while the centers stayed soft, and the icing melted right into the ridges. My kids asked for these again the next morning.
Like these smashed Blackstone cinnamon rolls? Save them to Pinterest for a fast griddle breakfast with crispy edges and melty icing.
The Fastest Way to Keep the Center Soft While the Outside Crisps
The biggest mistake with griddle cinnamon rolls is blasting them with heat. The sugar in the dough and filling goes from golden to scorched fast, and once that happens, the outside tastes bitter before the center has enough time to warm through. Medium-low heat gives you the only thing that matters here: a browned crust with a tender middle.
Smashing them flat isn’t just for show. It spreads the roll into more contact with the griddle, which means faster caramelization and more of those crisp, buttery edges. If the dough springs back a little, press again after 20 to 30 seconds when the heat has softened it, instead of forcing it all at once and tearing the roll.
What the Butter, Icing, and Cinnamon Sugar Are Each Doing Here
- Refrigerated cinnamon rolls — These are the whole shortcut. They already contain the dough structure and filling, so all you’re doing is changing the cooking method to build more crisp edges. Any standard tube-style cinnamon rolls work here, but the big, thick ones need a touch more time than the smaller varieties.
- Butter — This gives the rolls their browned, griddled flavor and helps keep them from sticking when you smash them. If you skip it, the sugar on the outside can grab the griddle and tear the bottom when you flip. Use real butter if you can; margarine won’t brown the same way.
- Included icing or cream cheese icing — The packaged icing keeps this fast, but cream cheese icing adds a richer finish that stands up to the caramelized edges. Warm rolls need the icing immediately so it melts into the cracks instead of sitting on top in a hard layer.
- Cinnamon sugar — This is optional, but it adds a dry, crackly finish that makes the outside taste more like a bakery cinnamon roll and less like plain griddled dough. Sprinkle it right after icing so it clings to the warm surface.
The Griddle Minutes That Matter Most
Heating the Surface Properly
Set the Blackstone to medium-low and let the butter melt into a thin, glossy layer before anything touches the griddle. You want the surface hot enough to sizzle gently, not hiss aggressively. If the butter browns immediately when it hits the griddle, the heat is too high and the sugars will burn before the rolls cook through.
Smashing and Setting the First Side
Place the cinnamon rolls on the buttered surface, then press straight down with a heavy spatula until they’re flattened. Hold that pressure for a second so they settle into the heat. The bottom should turn deep golden and crisp at the edges after 4 to 5 minutes; if the rolls slide around or stick, they need a little more butter or they’re not ready to release yet.
Flipping Without Losing the Shape
Slide the spatula all the way underneath before turning them, since half-flipped rolls tear when the dough is still soft in the center. Cook the second side for 3 to 4 minutes until both faces are browned and the middle feels warm and springy when pressed lightly. If the edges are darkening too fast, move them to a cooler spot on the griddle rather than turning the heat up and risking a burned crust.
Finishing With Icing While They’re Hot
Take the rolls off the griddle and ice them right away. That heat softens the icing just enough to drip down the sides and settle into the cracks, which is the whole point of this method. Add cinnamon sugar after the icing so it sticks instead of melting into the butter on the surface.
Add a pinch of extra cinnamon to the butter
Stir a little cinnamon into the melted butter before the rolls go on the griddle. It deepens the spice flavor on the crust and gives the outside a more toasted, bakery-style finish.
Use cream cheese icing for a richer finish
The included icing is fine for speed, but cream cheese icing adds tang and keeps the sweetness from leaning one-note. It also melts into the warm rolls in a thicker, silkier way.
Make it dairy-free with plant butter and plain glaze
Use a dairy-free butter spread that browns well and skip the cream cheese icing in favor of the packet icing if it’s dairy-free, or a simple powdered sugar glaze. The rolls will still crisp nicely, though the flavor will be a little less rich.
Double the batch, but cook in small groups
These need space so the edges crisp instead of steaming. If you’re serving a crowd, cook them in batches and keep the finished rolls warm loosely covered; stacking them will soften the crust you worked to build.
Storage and Reheating
- Refrigerator: Store leftovers in an airtight container for up to 2 days. The edges will soften, but they’ll still taste good.
- Freezer: These freeze best before icing. Wrap tightly and freeze for up to 1 month, then thaw and reheat before adding icing.
- Reheating: Warm on a dry skillet or griddle over low heat for a few minutes. The mistake is microwaving them until the centers are hot, which turns the crisp bottom soft and gummy.
Questions I Get Asked About This Recipe
Smashed Blackstone Cinnamon Rolls
Ingredients
Equipment
Method
- Heat Blackstone griddle to medium-low heat and add butter until it shimmers and foams slightly, indicating it’s ready to brown.
- Place cinnamon rolls on the griddle and use a heavy spatula to smash them flat, pressing until each roll spreads into a thin, even patty.
- Cook for 4-5 minutes until the bottom is golden and caramelized, watching for dark-golden edges and a crisp surface.
- Flip the rolls and cook another 3-4 minutes until both sides are crispy, using light pressure to keep them flattened.
- Remove from the griddle and immediately drizzle with the included icing or additional cream cheese icing while the rolls are hot so it pools and drips.
- Sprinkle with cinnamon sugar and serve warm so the topping sticks and stays lightly crunchy.