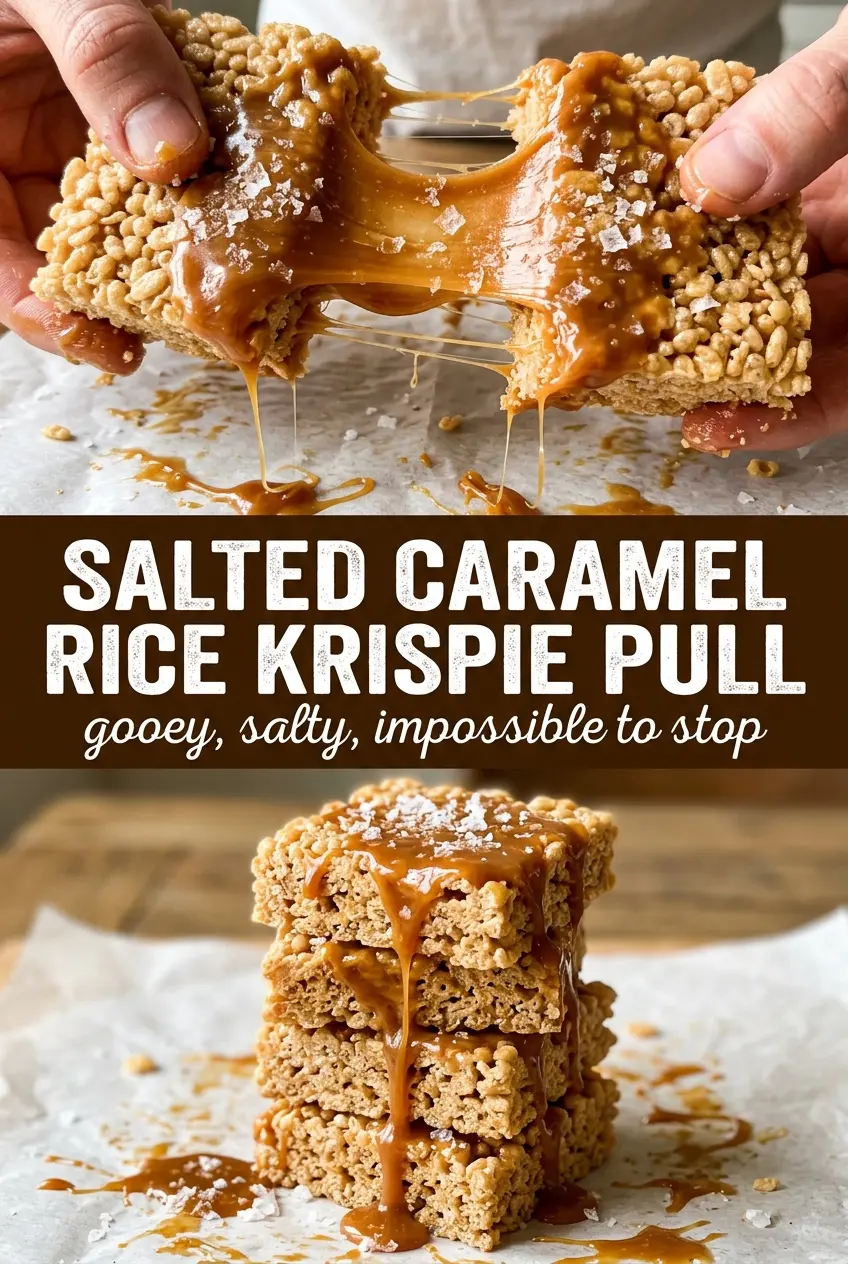
Thick, chewy bars with molten caramel ribbons and a little hit of flaky salt disappear fast because they hit every texture people want in a marshmallow treat. The edges set up just enough to slice cleanly, but the center stays soft and stretchy, with pockets of extra marshmallow that make each bite pull apart instead of crumble.
The trick is getting the caramel into the marshmallow base after the heat comes off, not while the pot is still roaring on the burner. That keeps the sauce smooth instead of grainy and helps the treats stay tender instead of turning hard once they cool. Folding in a handful of extra marshmallows at the end gives you those gooey pockets that make these feel a little more special than the standard pan.
Below, I’ve laid out the one detail that matters most when you’re mixing and pressing these bars, plus the swaps that work if you want to change the caramel, make them a touch saltier, or prep them ahead for a party.
The caramel stayed smooth when I took the pot off the heat first, and the extra marshmallows made these soft in the middle even the next day.
Like this salted caramel Rice Krispie treat recipe? Save it for the next time you want gooey bars with caramel drizzle and flaky sea salt.
The Difference Between Chewy Bars and a Rock-Hard Pan
Rice Krispie treats go wrong when the marshmallow base gets cooked too long or pressed too aggressively. Overheating dries out the sugar, and packing the mixture down like a cake layer squeezes out the air that keeps the bars soft and springy. This version leans on medium-low heat and a gentle press, which gives you bars that hold together without turning dense.
The extra caramel changes the equation too. It adds flavor, but it also softens the set a little, so the cooling time matters. If you cut too early, the bars drag and smear; if you wait until they’re fully set, the knife comes through cleanly and the caramel stays in neat ribbons instead of sliding around.
What Each Ingredient Is Actually Doing in These Bars

- Butter — It keeps the marshmallow mixture glossy and adds a little depth so the bars taste like more than sugar and cereal. Salted butter works, but unsalted gives you better control because the caramel and flaky salt already bring plenty of seasoning.
- Mini marshmallows — Mini marshmallows melt faster and more evenly than big ones, which matters here because you want a smooth base with no stubborn lumps. The extra cup stirred in at the end is what creates those soft pockets; don’t skip that if you want the gooey pull.
- Store-bought caramel sauce — Use a sauce that pours smoothly at room temperature, not a thick caramel candy topping. Thin caramel folds into the marshmallow mixture without seizing, and it stays drizzly on top after the bars set.
- Rice Krispies cereal — The original cereal has the light, crisp structure that keeps these bars from turning heavy. Generic crisp rice cereal works fine, but stale cereal gives you a flatter, less snappy texture, so use a fresh box if you can.
- Flaky sea salt — This is the finish that makes the caramel pop. Fine table salt disappears into the mixture, but flaky salt gives you those little bursts of contrast on top.
Building the Base Without Overcooking the Marshmallows
Melting the Butter and Marshmallows
Start by melting the butter in a large pot over medium-low heat, then add the marshmallows and stir constantly until they’re fully melted and smooth. The mixture should look glossy and fluid, not foamy or grainy. If the heat is too high, the marshmallows tighten up and turn sticky instead of silky, which shows up later as tough bars.
Adding the Caramel Off the Heat
Pull the pot off the burner before stirring in the caramel sauce, vanilla, and salt. That short pause keeps the caramel from breaking and lets the vanilla stay fragrant instead of cooking off. The mixture should smell warm and buttery with a deep caramel note; if it starts looking separated, the pot was too hot when you added the caramel.
Folding in the Cereal and Extra Marshmallows
Add the Rice Krispies quickly and stir just until every piece is coated, then fold in the extra marshmallows. Work fast here, because the mixture starts setting as soon as it cools. Overmixing crushes the cereal and makes the bars compact, while under-mixing leaves dry patches that won’t hold together.
Pressing, Drizzling, and Setting
Transfer the mixture to the prepared pan and press it in with buttered hands, using light, even pressure. You want the top level, not packed tight. Drizzle with more caramel right away, sprinkle the flaky salt over the top, and let the pan sit for at least 30 minutes before cutting; if you cut early, the caramel will smear and the bars will lose their shape.
How to Adapt These Salted Caramel Rice Krispie Treats
Extra-Gooey Marshmallow Version
Keep the full cup of extra marshmallows and add them after the cereal is coated. They won’t melt completely, which is the point — you’ll get soft pockets that stay stretchy even after the bars cool.
Dairy-Free Version
Use a plant-based butter and choose a caramel sauce that’s dairy-free. The bars still set well, but the flavor will be a little less rich and the finish a touch sweeter, so the flaky salt becomes even more important.
Gluten-Free Note
Use a certified gluten-free crisp rice cereal if you need these to stay gluten-free. The texture should stay the same as long as the cereal has that light, airy crunch; the rest of the ingredients are naturally gluten-free.
Storage and Reheating
- Refrigerator: Store in an airtight container for up to 4 days. They’ll firm up in the fridge, so let them sit at room temperature for 10 to 15 minutes before serving.
- Freezer: These freeze well. Wrap individual bars tightly and freeze for up to 2 months, then thaw at room temperature so the caramel doesn’t get sticky.
- Reheating: No reheating is needed, and the microwave will just melt the caramel and collapse the texture. If you want them softer, let them warm naturally on the counter.
Answers to the Questions Worth Asking
Salted Caramel Rice Krispie Treats
Ingredients
Equipment
Method
- Line a 9x13 pan with parchment paper and spray lightly with cooking spray for easy release.
- Melt the butter in a large pot over medium-low heat, then add the mini marshmallows and stir constantly until fully melted and smooth.
- Remove from the heat and stir in the caramel sauce, vanilla extract, and salt until the mixture looks glossy and evenly combined.
- Fold in the Rice Krispies cereal quickly until each piece is coated and the mixture turns warm golden with a glossy sheen.
- Fold in the extra 1 cup mini marshmallows so pockets form throughout, visible as slightly lighter bits in the mix.
- Press the mixture into the prepared pan using buttered hands, pressing firmly but not too hard to keep the bars chewy with a level top.
- Drizzle generously with additional caramel sauce and immediately sprinkle with flaky sea salt, so the salt sticks before the surface firms.
- Let set for 30 minutes before cutting into 16 bars, until they hold together and can be pulled apart cleanly.