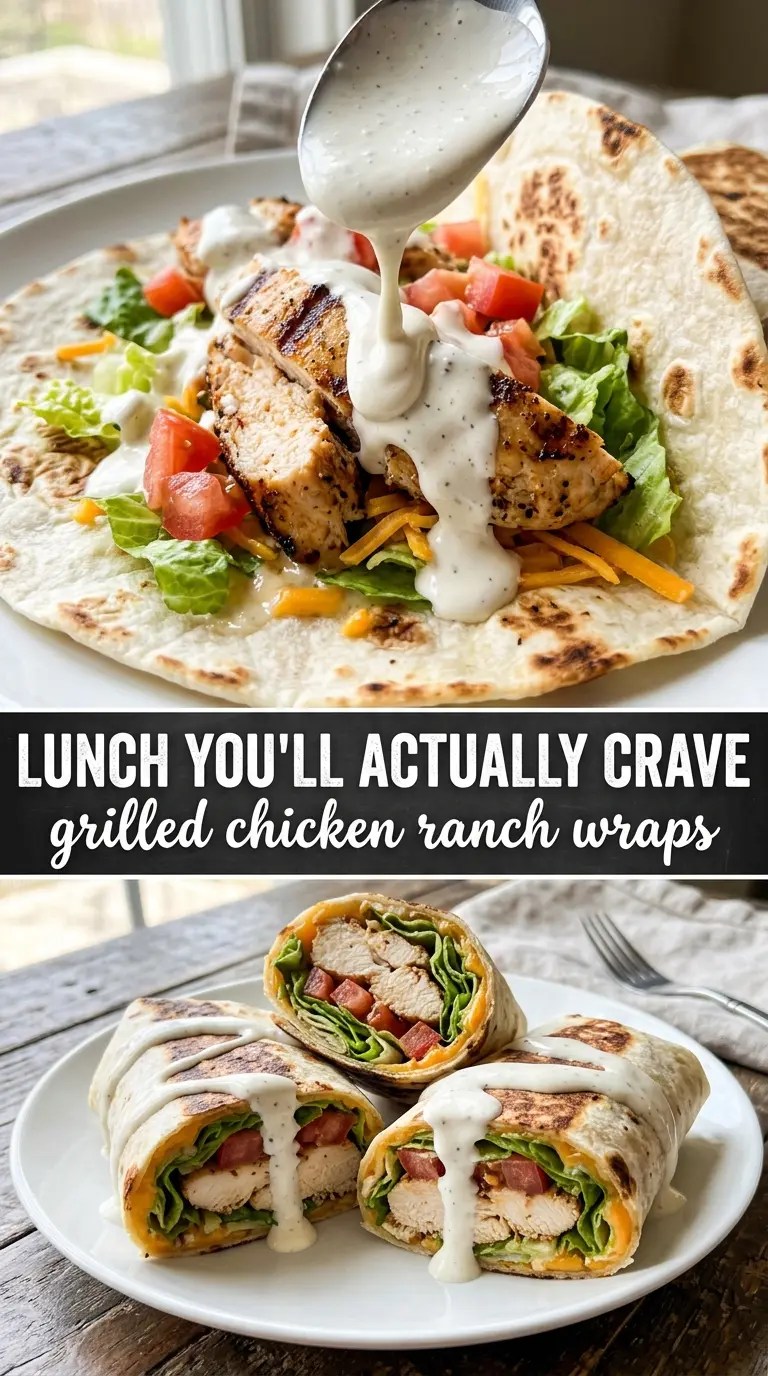
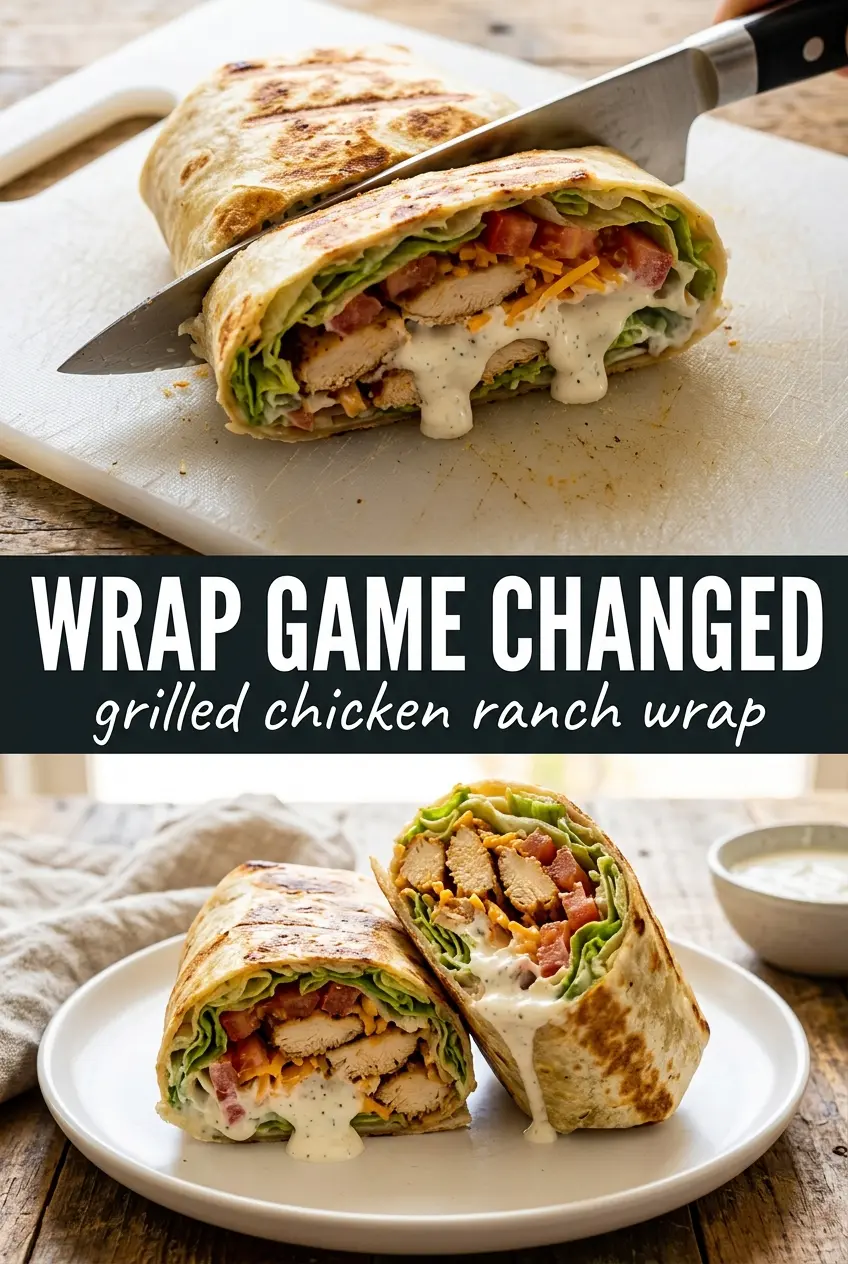
Grilled Chicken Ranch Wraps hit that sweet spot between fresh and filling. The tortilla gets lightly toasted and sealed, the chicken stays juicy from a short rest before slicing, and the ranch ties everything together without turning the wrap soggy. Cut one in half and you get those clean layers of grilled chicken, crisp romaine, tomatoes, bacon, and cheddar that make lunch feel a little more thought out than usual.
What makes this version work is the order. The chicken is seasoned before it hits the grill, then sliced after a brief rest so the juices stay in the meat instead of running into the wrap. The ranch goes on the tortilla first, but not in a heavy layer, so it acts like glue without flooding the lettuce. A quick toast in the skillet is the last move that locks the seam and gives the outside that golden, toasty finish.
Below, I’m walking through the small details that keep these wraps crisp and sturdy, plus a few smart swaps if you want to change up the filling or make them fit what’s already in your kitchen.
The chicken stayed juicy, and toasting the wraps seam-side down kept everything from falling apart. I used extra ranch for dipping and the whole thing held together better than any wrap I’ve made at home.
Grilled Chicken Ranch Wraps are at their best when you want a crisp tortilla, juicy chicken, and that bacon-ranch finish in every bite.
The Trick to Keeping a Grilled Chicken Wrap from Going Soggy
The most common mistake with wraps like this is stacking wet ingredients too close to the tortilla and then skipping the final toast. Ranch dressing, juicy tomatoes, and hot chicken can all soften the wrap fast if they’re left to sit. The fix is simple: build on a warm tortilla, keep the ranch in a thin layer, and let the skillet do one last bit of work after rolling.
That last sear matters more than it sounds. It seals the seam, gives the outside a little grip, and helps the wrap hold its shape when you slice it. If the chicken is sliced too soon, the juices soak right into the tortilla, so the five-minute rest is part of the recipe, not an extra.
- Rested chicken — Slice it after it rests so the juices stay in the meat instead of running across the cutting board and into the wrap.
- Warm tortillas — A pliable tortilla rolls tighter and cracks less, which helps the seam stay closed in the skillet.
- Toasted seam-side down — This is what keeps the wrap from unrolling and gives the outside that golden finish.
What Each Ingredient Is Doing in These Wraps
- Chicken breasts — Boneless, skinless breasts grill quickly and slice neatly. Thighs work too, but they’ll be richer and a little less clean-cut inside the wrap.
- Smoked paprika and garlic powder — These season the chicken without needing a long marinade. Smoked paprika gives the grill flavor you’d expect even if you’re cooking on a stovetop grill pan.
- Ranch dressing — This is the binder and the main source of creaminess. Use a good bottled ranch if that’s what you have; homemade works too as long as it’s thick enough to cling instead of run.
- Romaine lettuce — Romaine stays crisp after the wrap is assembled, which matters here. Softer greens will collapse fast once the warm chicken goes in.
- Bacon and cheddar — Bacon gives salt and crunch, while cheddar adds body and helps anchor the filling. Pre-shredded cheddar is fine, but freshly shredded melts and settles a little better inside the wrap.
- Flour tortillas — Large tortillas are worth it because they roll more cleanly around a full filling. Smaller tortillas can work, but they’ll split if you overpack them.
How to Grill, Fill, and Toast the Wrap So It Stays Tight
Seasoning the Chicken
Rub the chicken with olive oil first so the spices stick and the surface browns instead of drying out. Garlic powder, smoked paprika, salt, and pepper give the chicken enough backbone to stand up to the ranch and bacon. If the chicken is uneven in thickness, pound the thicker end lightly so it cooks at the same pace as the thinner end. That keeps you from pulling one piece early and serving another piece that’s still underdone in the center.
Grilling to Juicy, Not Dry
Cook over medium-high heat until the chicken gets good grill marks and the center reaches 165°F. If the heat is too low, the chicken steams and turns pale instead of picking up color. If it’s too high, the outside burns before the middle cooks through. Pull it off the grill, rest it for 5 minutes, then slice it thin across the grain so every bite stays tender and easy to eat inside the wrap.
Building the Layers
Spread the ranch in a thin layer across the tortilla, then add the lettuce first so it acts like a cushion between the sauce and the tortilla. Tomatoes go next, followed by cheese, bacon, and chicken. That order helps keep the tortilla from getting wet too quickly, and it also keeps the heavier filling from sliding out when you roll. If you pile the chicken right onto the ranch, the wrap will taste good but turn messy fast.
Toasting for the Finish
Roll the wrap tightly, then place it seam-side down in a dry skillet. Two minutes per side is usually enough to turn the tortilla golden and lock everything in place. If you move it too soon, the seam can open before it sets. Slice diagonally after toasting so the filling shows at the cut edge and the wrap holds together better on the plate.
Three Ways to Make These Wraps Fit What You’ve Got
Dairy-Free Ranch Wraps
Use a dairy-free ranch and skip the cheddar, or use a plant-based shredded cheese if you like the extra richness. The wrap still works because the chicken, bacon, and lettuce carry the main texture, but the filling will taste a little less creamy and more sharply savory.
Gluten-Free Version
Swap in large gluten-free tortillas that are labeled flexible enough for wrapping. Warm them gently so they don’t crack, since gluten-free tortillas usually need a little extra care when rolled and toasted.
BLT-Style Chicken Wrap
Add a few slices of fresh tomato and keep the ranch light, or swap the cheddar for sliced avocado if you want a softer, richer finish. This version leans closer to a BLT and tastes fresher, but it also needs to be eaten right after toasting so the tomato doesn’t soften the wrap.
Meal Prep-Friendly Chicken Filling
Grill and slice the chicken ahead of time, then store the filling components separately and assemble just before eating. This keeps the lettuce crisp and the tortilla from turning soft, which is the main tradeoff when you prep wraps too far in advance.
Storage and Reheating
- Refrigerator: Store the cooked chicken separately for up to 4 days. Fully assembled wraps soften by the second day, so they’re best made fresh.
- Freezer: The chicken freezes well for up to 2 months, but the finished wraps don’t freeze well because the lettuce and ranch turn watery after thawing.
- Reheating: Reheat the chicken in a skillet or microwave until hot, then assemble fresh. If you toast an already filled wrap from cold, the outside can brown before the center warms through and the lettuce will wilt.
Answers to the Questions Worth Asking
Grilled Chicken Ranch Wraps
Ingredients
Equipment
Method
- Season the chicken breasts with olive oil, garlic powder, smoked paprika, salt, and pepper.
- Grill over medium-high heat for 5-6 minutes per side until golden with grill marks and internal temperature reaches 165°F; rest 5 minutes and slice thin.
- Warm the tortillas in a dry skillet or microwave until pliable.
- Spread 2 tablespoons ranch dressing across each tortilla.
- Layer romaine lettuce, cherry tomatoes, cheddar, 2 bacon strips, and sliced chicken onto each tortilla.
- Roll tightly into wraps, then toast seam-side down in a skillet for 2 minutes per side until golden and sealed.
- Slice diagonally and serve with extra ranch for dipping.