Amish apple crisp bakes into one of those desserts that disappears fast because the balance is just right: tender spiced apples underneath, a thick oat crumble on top, and caramelized edges that give every bite a little crunch. It’s the kind of pan dessert that feels generous and old-fashioned without being fussy, and it holds its texture better than a lot of fruit crisps that turn soggy the minute they leave the oven.
The trick is in the layering. The apples get tossed with flour, sugar, and warm spices so they thicken into a glossy filling instead of pooling at the bottom of the pan. The topping uses a mix of flour, oats, brown sugar, and cold butter, with lard added if you want the more traditional Amish-style richness and a sturdier crumble. You’re looking for big, shaggy clumps, not sandy crumbs, because those uneven pieces bake into the best crunchy top.
Below, I’ve included the detail that matters most: how to keep the topping crisp, how to know when the filling has actually cooked through, and what to do if you want to lean more traditional or more pantry-friendly without losing the dessert’s character.
The apples came out tender but not mushy, and the topping stayed crisp even after sitting for a bit. I used the lard, and the crumble had those big golden clumps I always hope for.
Like this Amish Apple Crisp? Save it to Pinterest for the thick oat crumble, caramelized apple filling, and farmhouse-style serving with ice cream and cream.
The Bake Time Matters More Than the Crumble
Apple crisp fails most often for one boring reason: the topping looks done before the apples underneath have actually softened. The top can brown fast because of all that sugar and butter, but the filling needs enough time for the fruit to collapse, release juice, and bubble thickly around the edges. If you pull it too early, you get firm apples and a loose, watery bottom.
The cure is to trust the bubbling, not the color alone. You want the filling actively simmering around the perimeter of the pan, and the crumble should be deeply golden with a few darker spots where the oats and sugar caramelize. That’s when the apples underneath have had enough heat to turn tender without turning to sauce.
- Thin apple slices cook evenly and soften at the same pace. Thick chunks leave you with a split result: browned topping and crunchy fruit.
- Flour in the filling helps the juices thicken as the apples bake. Skip it and you’ll get runny syrup at the bottom of the pan.
- Cold butter in the crumble creates pockets of steam that keep the topping crisp instead of pasty.
What the Apples and the Topping Are Each Doing Here
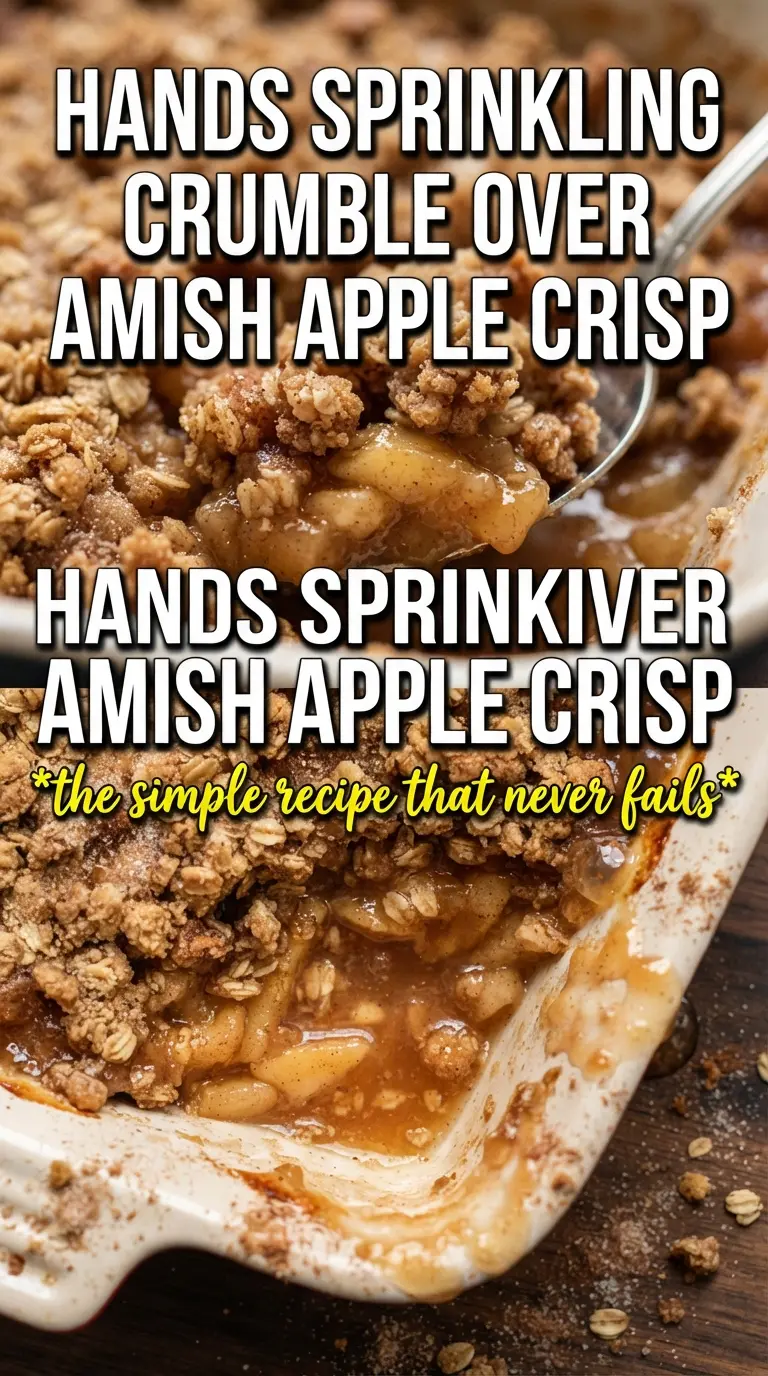
- Apples — Use a firm baking apple if you can: Granny Smith, Honeycrisp, Braeburn, or a mix. You need fruit that softens without disappearing. Very soft apples turn to puree before the topping finishes.
- Brown sugar and cinnamon — Brown sugar gives the filling a deeper caramel note, while cinnamon carries the apple flavor without taking over. The nutmeg and allspice stay in the background, but they make the crisp taste complete.
- Flour — In both the filling and the topping, flour acts as structure. In the apples, it thickens the juices; in the crumble, it keeps the oats from baking into one greasy sheet.
- Rolled oats — Old-fashioned oats give the crumble its chew and rough texture. Quick oats can work in a pinch, but the topping will bake tighter and less rustic.
- Lard or extra butter — This is what pushes the topping toward that old-school Amish feel. Lard makes the crumble a little richer and more tender, but extra butter still works well if that’s what you have.
Building the Layers So the Crisp Stays Crunchy
Tossing the Apples First
Mix the sliced apples with the sugars, flour, spices, and lemon juice until every slice looks lightly coated. The flour should disappear into the juices as it sits, which is what gives you that glossy filling later. Spread the apples into the pan in a deep, even layer, but don’t pack them down hard or the center will stay dense and underbaked.
Making a True Crumble, Not a Paste
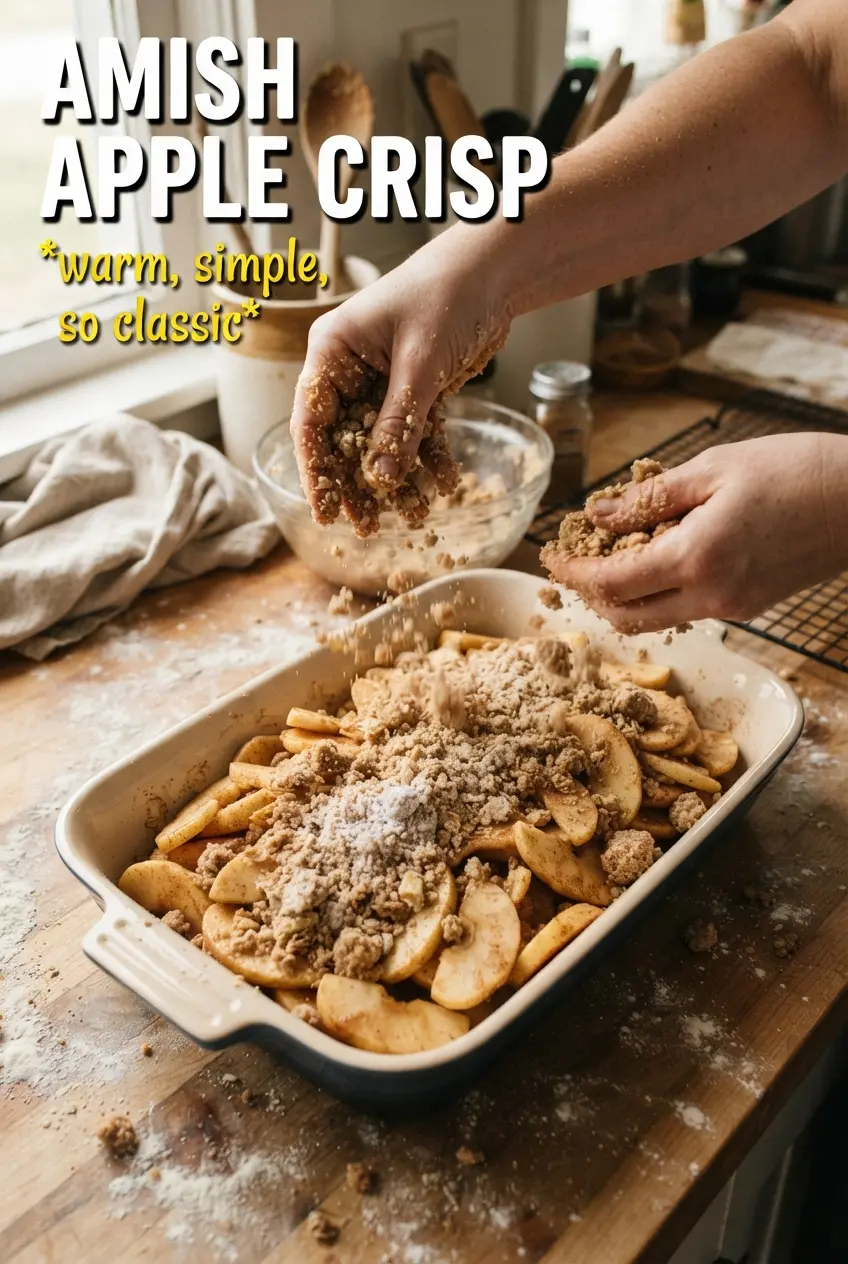
Combine the flour, oats, sugars, cinnamon, and salt, then cut in the cold butter and lard with your hands until you get big clumps. If the mixture feels greasy or starts to look like dough, the fat has warmed up too much. Stop and chill it for a few minutes if needed, because cold fat is what keeps the topping crumbly after baking.
Baking Until the Filling Bubbles at the Edges
Spread the topping over the apples and press it down only very lightly. Bake until the top is a deep golden brown and the filling is bubbling around the sides, which usually takes the full 50 to 55 minutes. If the top browns before the filling bubbles, lay a piece of foil loosely over the pan and keep baking until you see those edges actively simmering.
Letting It Rest Before Serving
Give the crisp at least 15 minutes before you scoop it. That short rest lets the juices thicken and keeps the filling from flooding the plate. It still should be warm when you serve it, especially with vanilla ice cream and a little cold cream over the top.
How to Adjust This Crisp Without Losing Its Character
Make it dairy-free
Use all butter alternatives in the crumble and serve it without ice cream or with a dairy-free vanilla scoop. The texture stays close, but the flavor will be a little less rich and the topping may brown a bit faster, so watch the last 10 minutes of baking closely.
Skip the lard and use all butter
This keeps the crisp easier for most kitchens and still gives you a great result. The topping will be a touch less savory and a little more cookie-like, but the big clumps and crunchy edges still happen if the butter stays cold.
Use a mix of tart and sweet apples
A mix gives the filling better depth than a single variety. Tart apples hold their shape and keep the dessert from tasting flat, while sweeter apples melt into the filling and give you a softer bite.
Storage and Reheating
- Refrigerator: Store covered for up to 4 days. The topping softens a little as it sits, but the flavor gets even better by day two.
- Freezer: It freezes well after baking. Cool completely, wrap tightly, and freeze for up to 3 months. Thaw in the fridge overnight before reheating.
- Reheating: Warm in a 325F oven until heated through. The oven brings back the crumble much better than the microwave, which turns the topping soft and steamy.
Questions I Get Asked About This Recipe
Amish Apple Crisp
Ingredients
Equipment
Method
- Preheat oven to 350F and grease a large 10x15 roasting pan or 9x13 baking dish so the crisp releases easily.
- Toss apple slices with granulated sugar, brown sugar, cinnamon, nutmeg, allspice, all-purpose flour, and lemon juice, then spread them in the prepared pan in a deep layer.
- Combine all-purpose flour, rolled oats, both sugars, cinnamon, and salt, then cut in cold butter (and lard if using) by hand until large, crumbly clumps form.
- Spread the crumble thickly over the apples and press very gently so it stays lumpy for better browning.
- Bake for 50-55 minutes at 350F until the topping is deeply golden and the apple filling bubbles all around the edges.
- Rest the crisp for 15 minutes before serving so the filling thickens slightly.
- Serve warm with vanilla ice cream and pour cold heavy cream over the top.