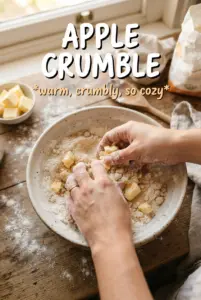
Apple crisp cheesecake hits that sweet spot between a bakery-style cheesecake and a warm apple dessert, with a slice that holds together cleanly and still gives you a little crumble on top. The graham crust stays sturdy, the filling bakes up dense and creamy, and the apple layer keeps the center from tasting flat or one-note. Then the oat topping does what it should: stays crisp enough to contrast the soft cheesecake underneath.
The part that makes this version work is the layering. The apples are cooked briefly before they go in, which keeps them tender without watering down the filling. The water bath matters too, because cheesecake needs gentle heat if you want a smooth top and a center that sets without cracking. Skip that, and you usually get dry edges before the middle is ready.
Below you’ll find the small details that make the difference, including how to keep the crumble from turning sandy and how to get a clean slice after chilling.
The cheesecake layer came out smooth and the apple filling stayed neatly tucked in the middle. The oat topping crisped up beautifully after chilling, and every slice held its shape.
Save this apple crisp cheesecake for the dessert nights when you want creamy cheesecake, spiced apples, and a golden oat crumble in one clean slice.
The Water Bath Is What Keeps the Cheesecake Creamy
Cheesecake bakes best when the heat stays gentle and even. That’s why the water bath matters here instead of being optional decoration. It buffers the pan from direct oven heat, which helps the filling set all the way through without turning dry at the edges or puffing into a cracked top.
The other thing working in your favor is the cooked apple layer. Raw apples release more liquid as they bake, and that extra moisture can make the cheesecake loose in the middle. Cooking them first takes just a few minutes and gives you apple pieces that stay soft, concentrated, and easy to slice through.
- Water bath: This is what keeps the texture silky. Wrap the springform pan well so no water sneaks in, because even a little leak can soften the crust.
- Room-temperature cream cheese: Cold cream cheese leaves little lumps that won’t smooth out later. Softened cream cheese beats into a uniform base fast.
- Cooked apples: Briefly softened apples keep their shape and don’t flood the filling. Let them cool before layering, or they’ll start warming the cheesecake batter.
What Each Layer Is Doing in the Pan
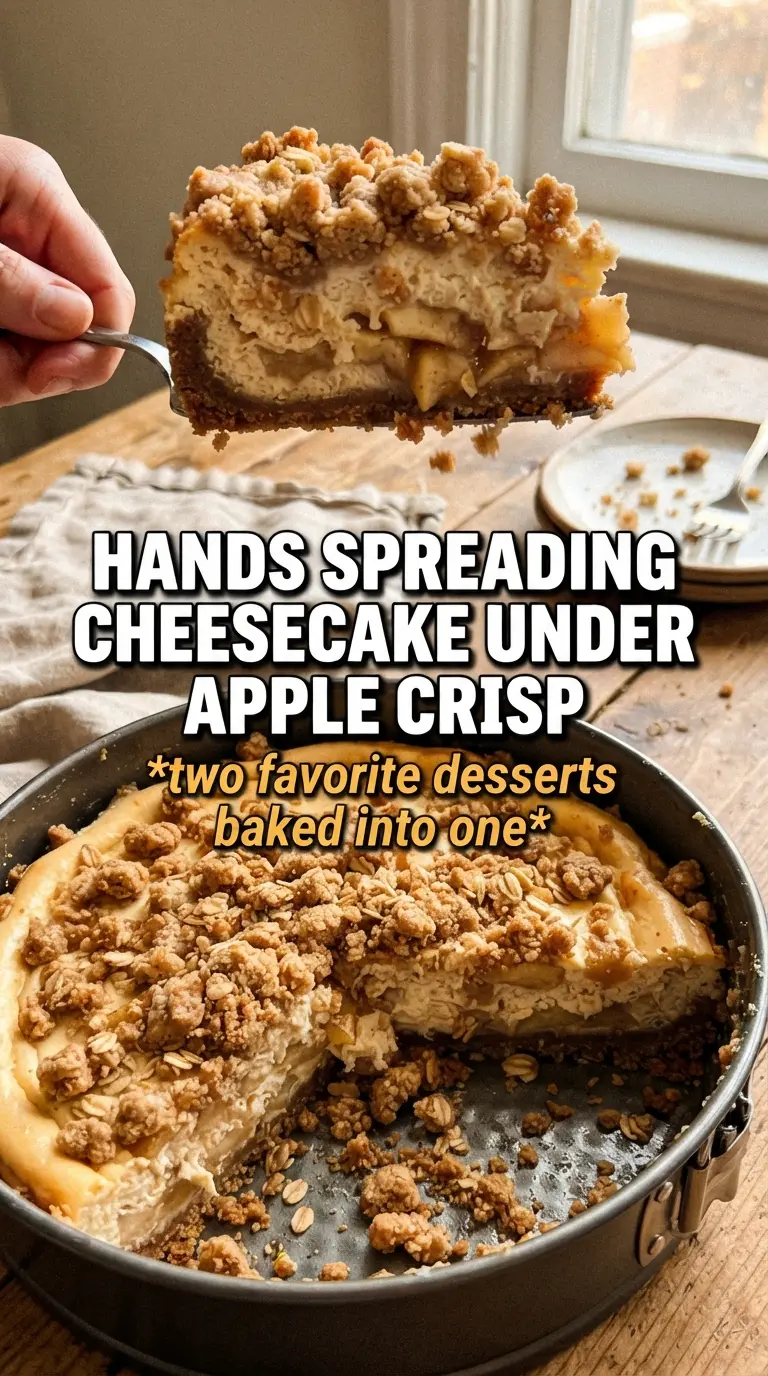
- Graham cracker crumbs: These give you a crust that slices cleanly and has enough sweetness to stand up to the tangy filling. Fine crumbs pack best, so don’t leave large chunks in the mix.
- Cream cheese: This is the backbone of the dessert, so use full-fat blocks, not tub-style spread. The softer the cream cheese, the smoother the batter.
- Sour cream: It loosens the filling just enough and adds a little tang that keeps the cheesecake from tasting heavy. Plain Greek yogurt can work in a pinch, but the texture is a little less plush.
- Rolled oats: These hold the crisp topping together and bake into a better crumb than quick oats. Quick oats turn mushy faster and lose that hearty crumble.
- Cold butter: Cold butter is what creates the little pebbly clusters in the topping. If it softens too much, you’ll get a sandy layer instead of a crisp one.
Building the Layers Without Muddying the Texture
Pressing and Prebaking the Crust
Stir the crumbs, sugar, and melted butter until every crumb looks evenly damp, then press it firmly into the bottom of the springform pan. You want a compact layer, not a loose pile, or the crust will crumble apart when you slice it. Bake it just long enough to smell toasty and look set at the edges. If it darkens too much now, it can taste bitter under the filling.
Cooking the Apples First
Cook the diced apples with butter, brown sugar, and cinnamon until the pieces are barely softened and the pan looks glossy, not watery. The apples should still hold their shape. Drain off any excess liquid if you see it pooling, because that liquid is what makes a cheesecake layer weep. Let them cool before they go onto the filling so they don’t start melting the batter.
Making the Cheesecake Batter
Beat the cream cheese and sugar until the mixture is completely smooth before adding anything else. Once the eggs go in, mix only until they disappear. Overmixing at that point adds too much air, and air turns into puffing, then cracking. The sour cream, vanilla, and cinnamon go in last and should blend into a batter that looks thick and satiny.
Finishing with the Crumble
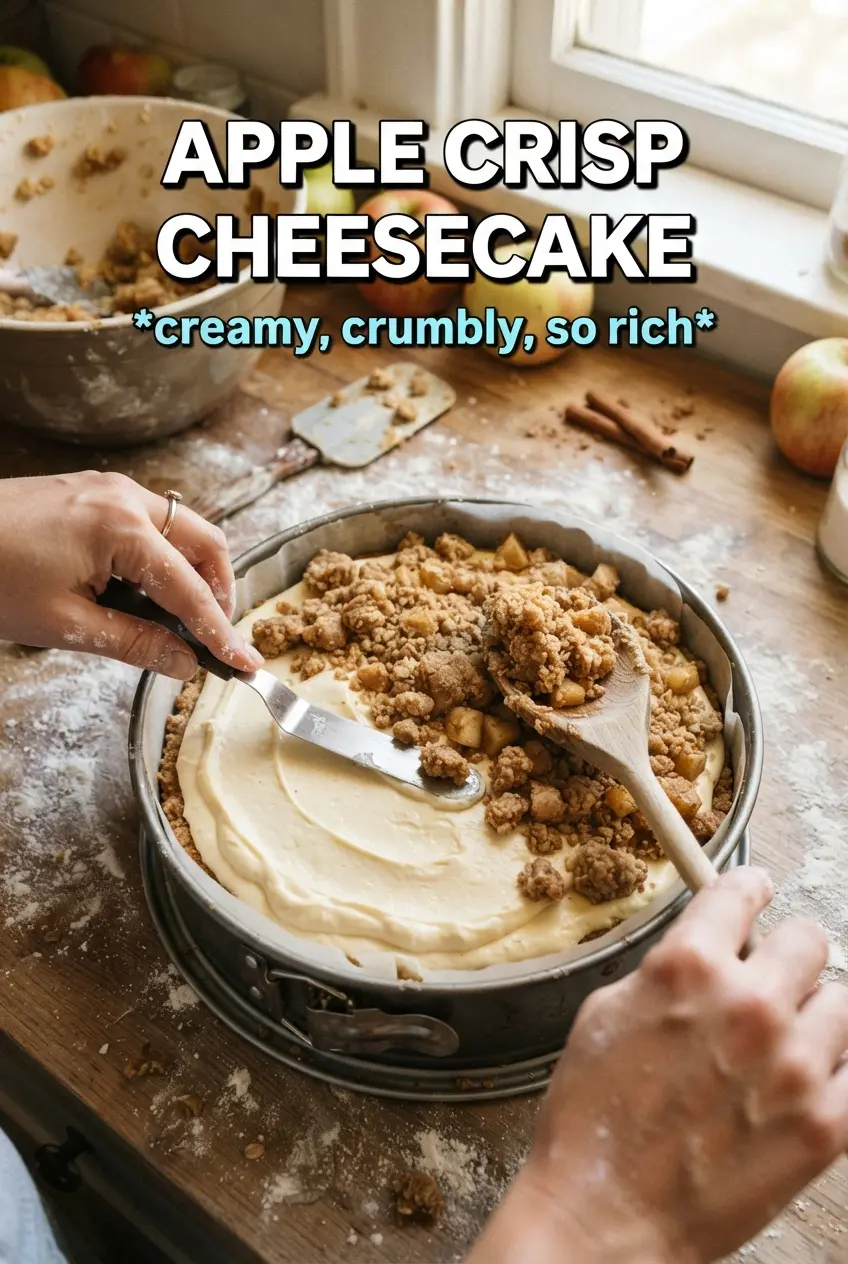
Cut the cold butter into the oat mixture until you have clumps ranging from pea-size to small pebbles. Scatter it evenly over the apples so the top bakes into a crisp, uneven crown. Don’t pack it down. A pressed topping steams instead of crisping, and you lose the contrast that makes this dessert work.
How to Change the Dessert Without Losing the Structure
Make it gluten-free
Use gluten-free graham-style crumbs for the crust and a 1:1 gluten-free flour blend in the oat topping. The filling stays the same. The topping may brown a little faster, so watch for a deep golden color rather than waiting for it to look dry.
Make it dairy-free
Use plant-based butter for both the crust and topping, and a dairy-free cream cheese and sour cream that bake well. The filling won’t be quite as tangy or dense, but it still slices nicely if the batter is smooth before baking.
Swap the apples for pears
Firm pears can stand in for the apples, but they soften faster, so cook them for a minute or two less. The flavor is a little more delicate and less tart, which makes the cheesecake taste sweeter and softer overall.
Storage and Reheating
- Refrigerator: Store covered for up to 5 days. The crumble softens a little, but the flavor deepens after a day.
- Freezer: Freeze slices tightly wrapped for up to 2 months. Freeze before slicing for the cleanest texture, then thaw overnight in the fridge.
- Reheating: Cheesecake is best served cold or just slightly cool. If you want to take the chill off, leave a slice at room temperature for 20 to 30 minutes. Microwaving melts the topping and ruins the texture.
Answers to the Questions Worth Asking
Apple Crisp Cheesecake
Ingredients
Equipment
Method
- Preheat oven to 325F. Press graham crust into a 9-inch springform pan, then bake for 8 minutes.
- Allow the crust to cool while you make the filling and toppings.
- Cook diced apples with 1 tablespoon butter, brown sugar, and cinnamon for 5 minutes until softened, then cool.
- Beat cream cheese and granulated sugar until smooth. Add eggs one at a time, then mix in sour cream, vanilla, and cinnamon.
- Pour filling over the baked crust, then top with the cooked apples.
- Combine rolled oats, flour, brown sugar, and cinnamon, then cut in cold butter until clumpy. Scatter the oat topping over the apples.
- Bake in a water bath for 60-65 minutes until the center is just set. Cool completely.
- Refrigerate for 6 hours before releasing the springform pan and slicing.