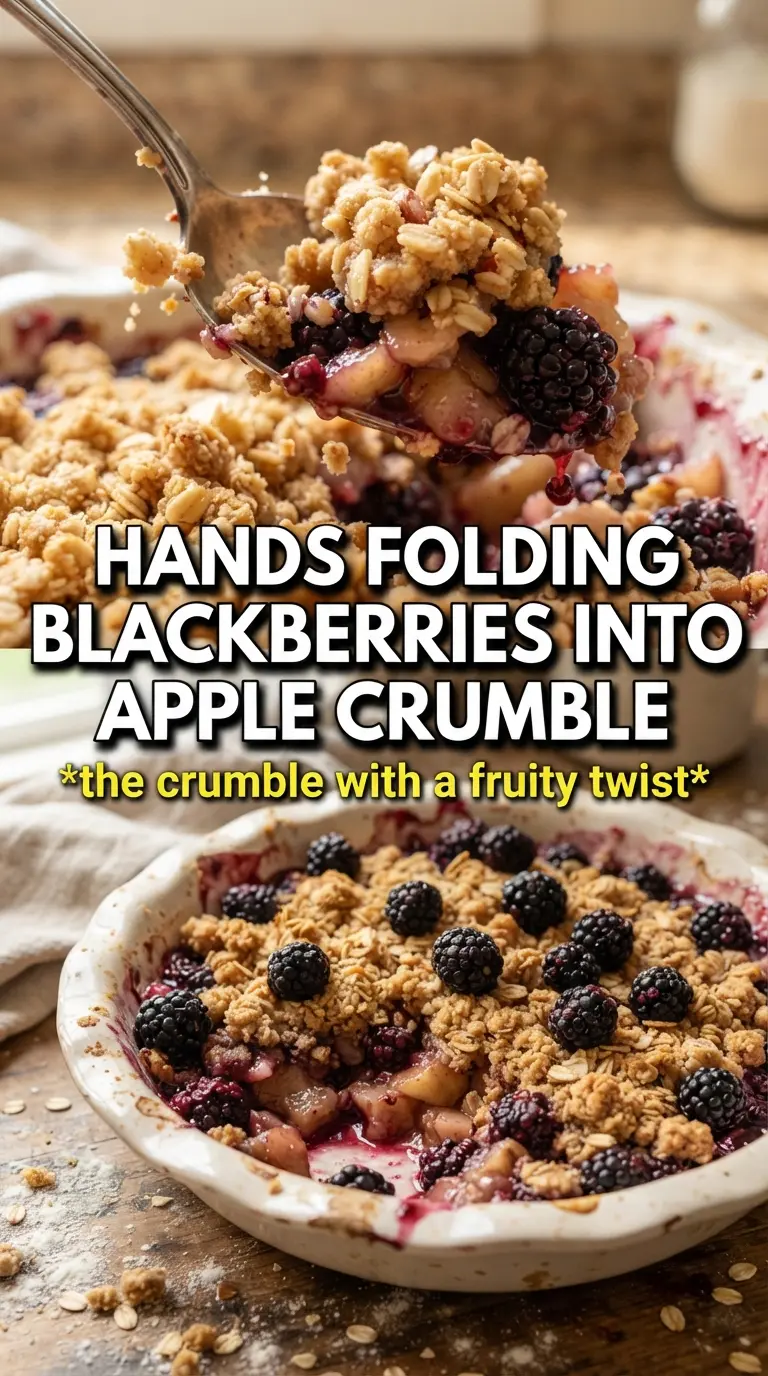
Blackberry apple crumble lands in that sweet spot between homey and sharp, with tender fruit under a bronzed oat topping that stays crisp at the edges and just thick enough in the middle to spoon cleanly. The blackberries bring a deep, jammy juice that keeps the apples from tasting plain, and the crumble bakes into something nubbly and sandy in the best possible way.
The part that matters most is the balance in the filling. Apples need enough time to soften, but not so much time that they collapse before the topping is done. A little cornstarch catches the juices from the berries and apples and turns them into a glossy sauce instead of a thin puddle, while cold butter in the topping gives you those uneven, crunchy bits that make each bite better than the last.
Below, I’ve included the texture cues that tell you the crumble is done, plus a few practical swaps for using frozen berries or changing up the fruit without losing the structure.
The filling bubbled up thick and glossy, and the topping stayed crisp even after we served it with cream. I used frozen blackberries and it still baked up beautifully.
Save this blackberry apple crumble for the nights when you want bubbling fruit and a crisp oat topping under a scoop of ice cream.
The Reason the Filling Stays Thick Instead of Watery
Fruit crumbles fail when the juices run before the topping has time to brown. Blackberries release a lot of liquid as they bake, and apples do the same once their cell walls start to soften. The cornstarch in the filling is there to catch that moisture early and thicken it while the fruit is still in the oven, which is why the filling needs to bubble before you pull the dish out. If it only looks hot, it isn’t done.
The other detail that matters is the apple texture. Slice them evenly so they soften at the same pace as the berries burst. Thick pieces stay too firm; paper-thin slices melt away and leave you with berry sauce and no structure. The goal is tender fruit that still holds its shape when you spoon through it.
What the Butter, Oats, and Brown Sugar Are Doing Up Top
- Apples — Use a firm baking apple if you can. Something that holds a little shape, like Granny Smith or Honeycrisp, gives the filling a clearer fruit bite instead of turning into applesauce.
- Blackberries — Fresh berries give the cleanest shape, but frozen work well here too. Don’t thaw them first or you’ll lose too much juice before they even hit the oven.
- Cornstarch — This is what turns the fruit juices into a thick, glossy filling. Flour can do the job in a pinch, but it usually makes the filling look cloudier and less clean.
- Rolled oats — Oats give the topping its craggy texture and help it bake into clusters instead of a plain sandy layer. Quick oats turn softer and less defined, so rolled oats are worth using.
- Cold butter — Cold butter is what creates those crisp little pockets in the topping. If the butter softens before it goes in the oven, the crumble turns dense instead of nubbly.
Building the Crumble So It Bakes Crisp, Not Soggy
Coating the Fruit
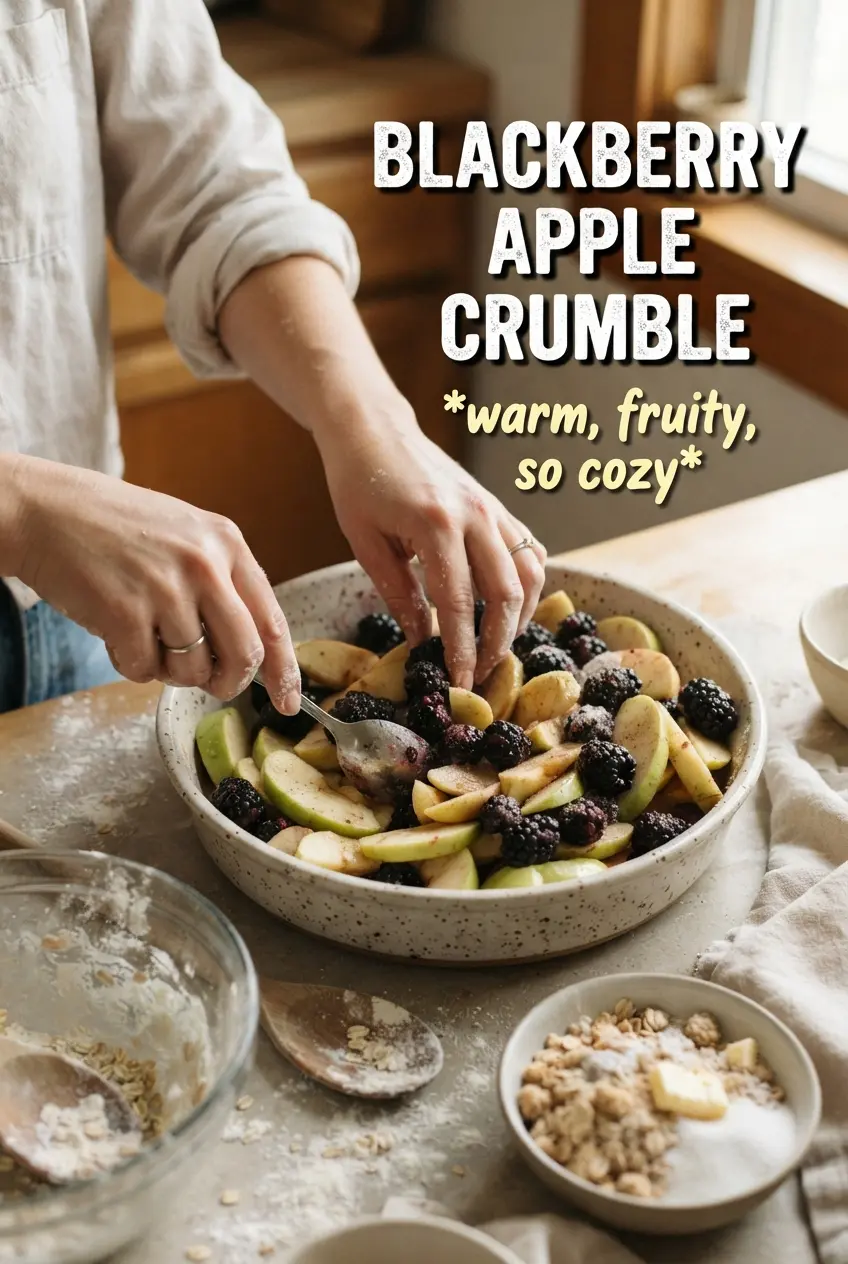
Toss the sliced apples and blackberries with the sugar, cornstarch, lemon juice, and cinnamon until every piece is lightly coated. The sugar draws out the fruit juices, and the cornstarch starts its work as soon as the heat hits the dish. Spread the mixture into the baking dish in an even layer so the filling bakes at the same rate all the way across. If you pile it high in the center, the middle stays underdone while the edges overcook.
Cutting in the Butter
Combine the flour, oats, brown sugar, cinnamon, and salt first, then work in the cold butter until the mixture looks clumpy and uneven, with some bits the size of peas. Those irregular pieces are what create the best texture. If you keep mixing until it looks smooth, you’ve gone too far and the topping will bake into a flat layer instead of a crumble. I use my fingertips or a pastry cutter and stop as soon as the mixture holds together when squeezed.
Baking Until the Edges Bubble
Scatter the topping over the fruit without pressing it down, then bake until the top is deeply golden and the fruit is actively bubbling around the edges and in a few spots through the center. That bubbling is the signal that the cornstarch has activated and the filling has thickened. If the topping browns before the fruit bubbles, lay a loose piece of foil over the top for the last part of baking so the crumble doesn’t darken too fast.
Letting It Set Before Serving
Rest the crumble for at least 10 minutes after it comes out of the oven. The filling is still moving in the pan at first, and that short rest gives it time to settle into a spoonable texture instead of running onto the plate. It will still be warm, still fragrant, and much easier to serve in clean scoops.
How to Adapt This Crumble for What’s in Your Kitchen
Use Frozen Blackberries Without Thawing
Frozen blackberries work well straight from the freezer. Add them to the filling while still frozen so they don’t dump excess liquid into the bowl, and expect the bake time to run a few minutes longer. The filling may look loose at first, but it thickens once the fruit starts bubbling.
Make It Dairy-Free
Swap the butter in the crumble topping for a firm plant-based butter that bakes well. You still want it cold and cubed so the topping stays crumbly instead of greasy. The flavor shifts a little, but the texture stays close if you use a solid, high-fat substitute.
Change the Fruit Mix
You can replace part of the blackberries with raspberries or sliced pears. Keep at least some tart fruit in the mix so the crumble doesn’t turn flat and sweet. Pears add softness and a more mellow flavor, while raspberries make the filling looser and brighter.
Storage and Reheating
- Refrigerator: Store covered for up to 4 days. The topping softens a bit in the fridge, but the fruit stays in good shape.
- Freezer: Freeze baked crumble tightly wrapped for up to 2 months. Thaw in the fridge overnight before reheating so the topping doesn’t go from frozen to soggy in the oven.
- Reheating: Warm in a 325F oven until heated through and the topping crisps back up. The microwave will heat the filling, but it softens the crumble and takes away the contrast that makes this dessert work.
Answers to the Questions Worth Asking
Blackberry Apple Crumble
Ingredients
Equipment
Method
- Preheat the oven to 375F and grease a 9x13 baking dish, so it’s ready for the fruit. You should see a clean, lightly coated surface after greasing.
- Toss the apple slices and blackberries with granulated sugar, cornstarch, lemon juice, and cinnamon, then spread the mixture in the dish. The fruit should look evenly coated and glossy with no dry pockets.
- Combine all-purpose flour, rolled oats, brown sugar, cinnamon, and salt, then cut in the cold cubed unsalted butter until clumpy. Stop when you get pebble-like crumbs rather than a smooth dough.
- Scatter the crumble topping over the fruit so the surface is well covered and dotted with butter crumbs. The topping should sit thickly across the apples and berries.
- Bake at 375F for 35-40 minutes until the topping is golden and the fruit is bubbling at the edges. Look for a crisp, toasted crumb top and active bubbling in the corners.
- Rest for 10 minutes before serving with double cream or vanilla ice cream. The filling should thicken slightly so each spoonful holds together.