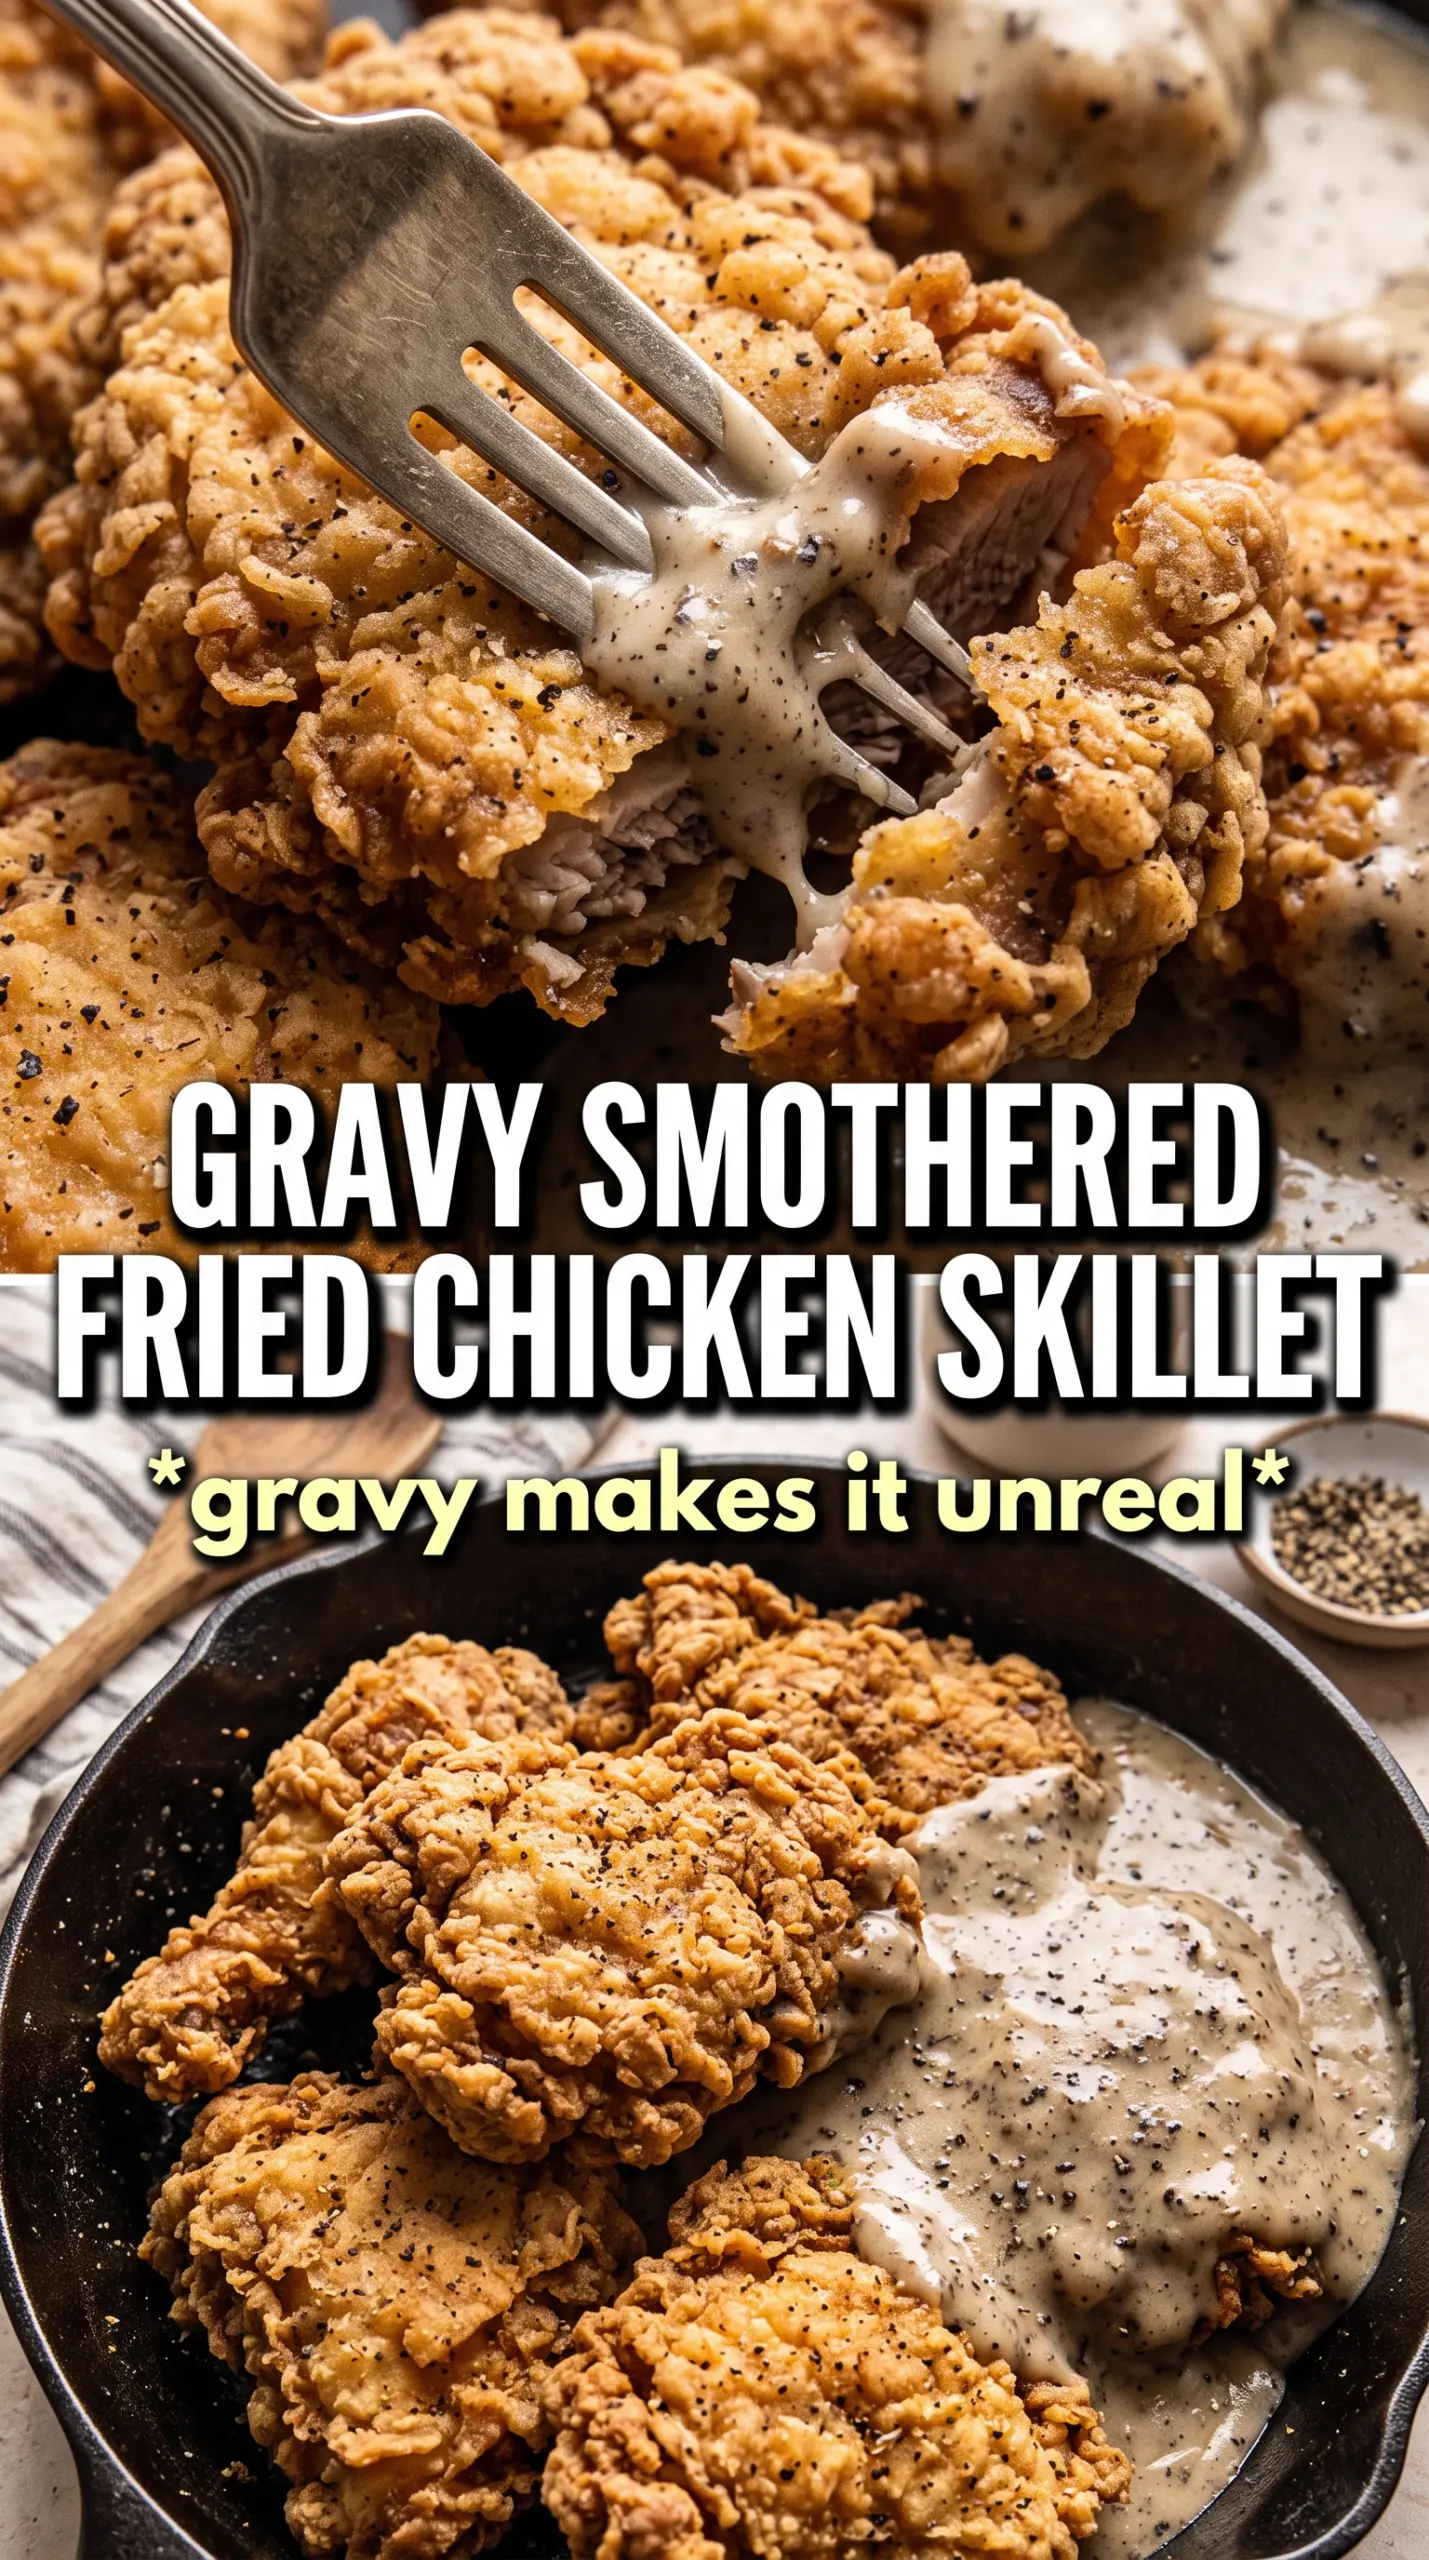
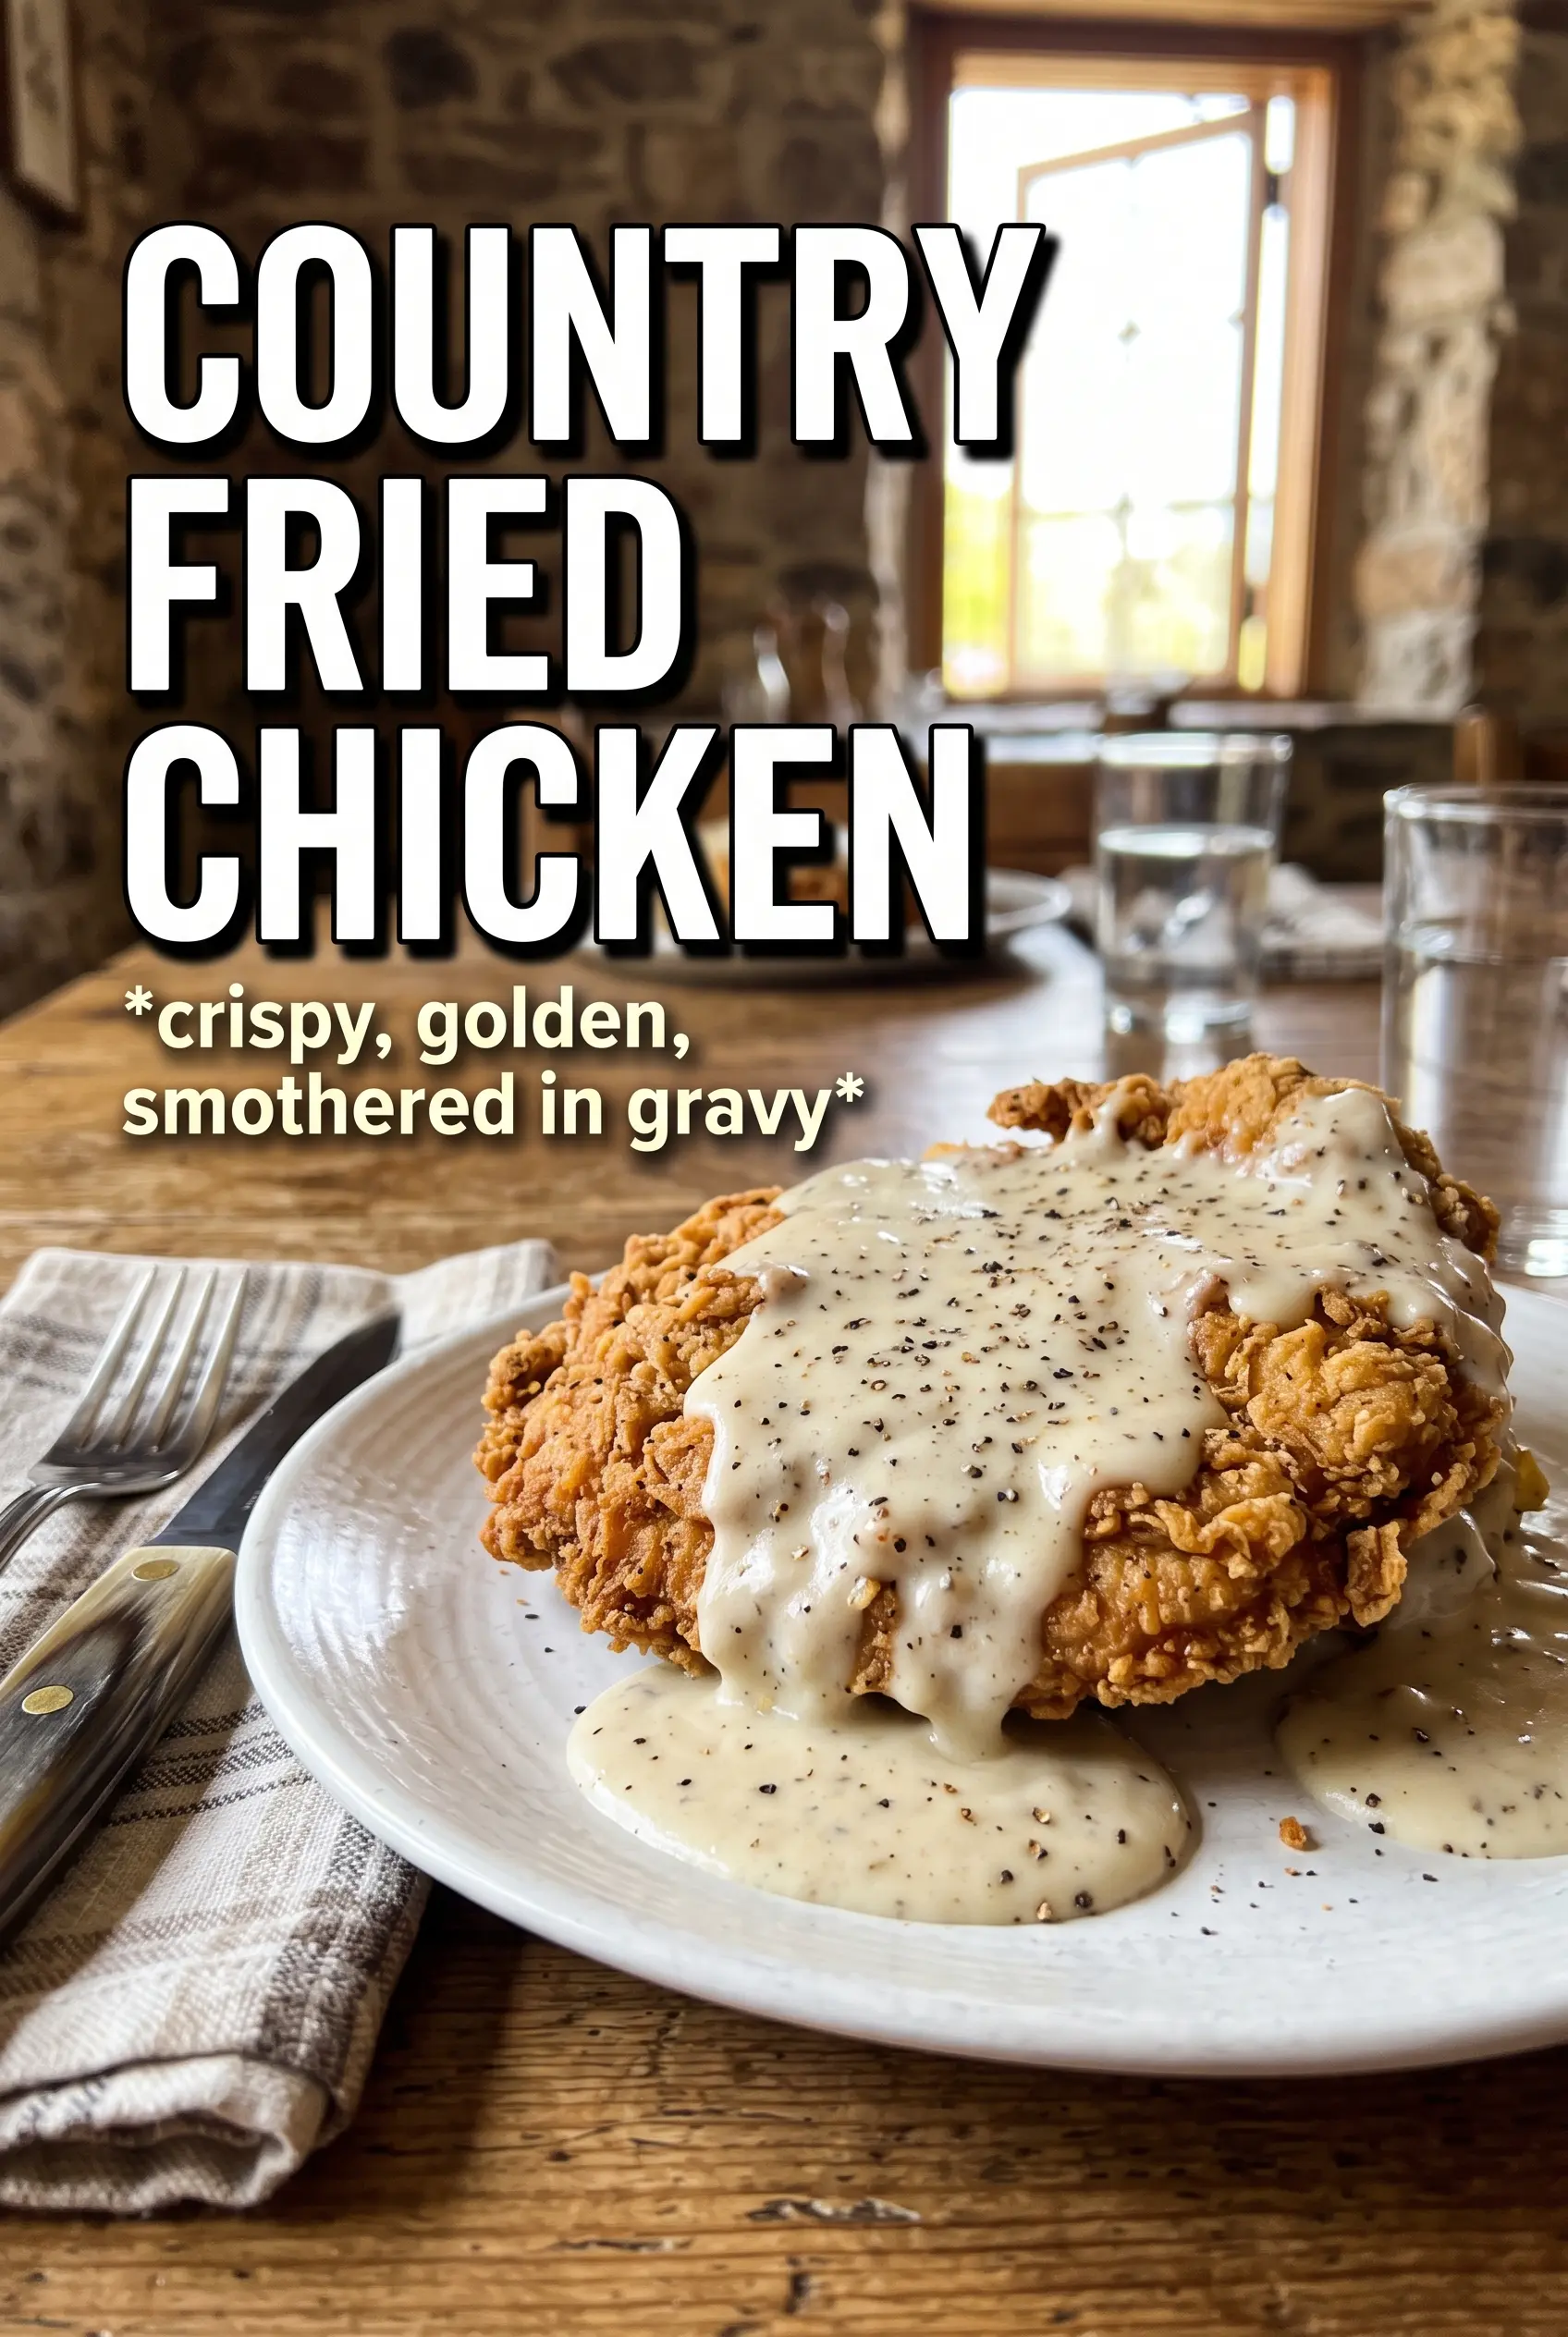
Country fried chicken lands on the plate with a crust that crackles when you cut into it and a juicy center that stays tender under all that seasoning. The buttermilk soak gives the coating something to cling to, and the second dredge builds the kind of shaggy, rugged crust that fries up into those deep golden ridges everyone fights over.
The real difference here is in the balance: enough flour to create crunch, enough spice to season every bite, and enough resting time after dredging for the coating to hydrate just slightly before it hits the oil. That little pause keeps the breading from slipping off and helps the crust set instead of turning dusty and loose in the skillet. The gravy uses the drippings from the pan, so nothing goes to waste and the whole dish tastes like it was built from the same moment.
Below you’ll find the trick to getting that crust to stay on, what the seasoned flour is actually doing, and how to keep the gravy smooth instead of lumpy. If you’ve ever had fried chicken that looked perfect but ate like a greasy shell, the fixes here matter.
The coating stayed on beautifully and the gravy came together silky with the drippings. I rested the dredged chicken like you said and the crust fried up extra craggy instead of falling off.
Like this country fried chicken? Save it to Pinterest for the nights when you want a shatteringly crisp crust and peppery white gravy in one skillet dinner.
The Crust Needs Time to Hydrate Before It Hits the Oil
Most fried chicken problems start before the chicken ever touches the skillet. If the flour coating is too dry when it goes into hot oil, it can look dusty, fall off in patches, and fry into a brittle shell instead of a clinging crust. Letting the dredged chicken rest for a few minutes gives the flour time to absorb moisture from the buttermilk-coated surface, which helps it turn into that thick, rough coating that fries up with texture.
The other thing people get wrong is the oil temperature. Too low and the chicken drinks oil instead of crisping; too high and the outside darkens before the center cooks through. 350°F is the sweet spot for bone-in pieces like these. Keep the heat steady and fry in batches that fit your pan without crowding, because crowded chicken drops the temperature fast and softens the crust you worked for.
What Each Ingredient Is Actually Doing in This Recipe
- Primary ingredient (the star) — Quality matters most. Choose the best you can find.
- Cooking medium (oil, butter, or broth) — This carries flavors and prevents dryness.
- Seasonings (salt, pepper, spices, herbs) — Layer flavors so nothing overpowers. Build depth gradually.
- Aromatics (garlic, onion, herbs) — Cook with fat to bloom flavors. Become the foundation.
- Supporting ingredients — Complement the main ingredient without overpowering it.
- Sauce or liquid (if applicable) — Brings flavors together. Balance richness with acid.
- Acid (lemon, vinegar, wine, or other) — Brightens and prevents flat-tasting results.
- Final finish (garnish, glaze, or sauce) — Prevents one-dimensional taste and adds visual appeal.
What the Buttermilk and Spices Are Actually Doing Here
- Buttermilk — It tenderizes the chicken and gives the flour something sticky to cling to. Plain milk won’t give you the same thickness or mild tang, and that tang matters because it keeps the finished chicken tasting savory instead of flat.
- Hot sauce — This doesn’t make the chicken fiery. It adds a little acidity and background heat that wakes up the seasoning. Any vinegar-forward hot sauce works here.
- All-purpose flour — This is the backbone of the crust. You want regular flour, not cake flour, because it gives enough structure to fry into a substantial coating. If you need a gluten-free version, use a 1:1 gluten-free flour blend that includes starches for crispness.
- Smoked paprika, garlic powder, onion powder, cayenne, black pepper — These are what make the crust taste seasoned all the way through, not just salty on the surface. Fresh cracked black pepper gives the coating a little bite, and the smoked paprika adds color plus a subtle depth that reads Southern without tasting heavy.
- Bone-in chicken pieces — Breasts fry well, but thighs stay juicier and are more forgiving if your oil runs a little hot. Bone-in pieces take longer than boneless cutlets, which is exactly why the crust has time to set before the meat overcooks.
Getting the Chicken Crispy Without Burning the Coating
Soaking and Seasoning the Surface
Submerge the chicken in buttermilk and hot sauce and let it sit long enough for the exterior to relax and absorb some flavor. Thirty minutes works in a pinch, but overnight gives you the best texture and the deepest seasoning from the inside out. If the chicken comes out of the soak dripping wet, let the excess fall away before dredging so the flour clings in a thick layer instead of turning gummy.
Building the Shaggy Coating
Press the chicken firmly into the seasoned flour, then lift it out, dip it back into the buttermilk, and dredge it again. That double coat is what creates the craggy surface that fries into those crunchy ridges. Don’t shake off too much flour after the second dredge; the loose bits are what give you the rugged, uneven crust people love.
Frying in a Steady, Hot Pan
Heat the oil until it reaches 350°F and keep enough oil in the pan to come partway up the chicken. Lay the pieces in gently so you don’t splatter yourself or knock off the coating, then leave them alone until the underside is a deep golden color. If the outside browns too fast, the heat is too high; if it stays pale and greasy, raise the temperature before adding the next batch.
Making the Gravy From the Drippings
Pour off most of the oil, leaving just the drippings and browned bits behind. Whisk in the flour and cook it for about a minute so the raw taste disappears, then add the milk slowly while whisking constantly. If the gravy goes lumpy, the milk went in too fast or the pan was too hot; pull it back to medium-low and keep whisking until it smooths out and thickens enough to coat a spoon.
How to Adapt This for Different Pans, Diets, and Leftovers
Gluten-Free Coating
Swap the all-purpose flour for a gluten-free 1:1 blend that contains starches. The crust won’t be quite as rugged as the wheat version, but it will still fry up crisp if you press the coating on well and let it rest before frying.
Thighs Only for Extra Juiciness
Use all thighs if you want richer flavor and a little more wiggle room on cook time. Thighs stay moist even when the crust gets deeply bronzed, while breasts need a closer eye so they don’t dry out before the coating is done.
Baking After Frying for a Crowd
If you need to hold the chicken for a few minutes before serving, set it on a rack in a 200°F oven. That keeps the bottom from steaming soft the way it would on a paper towel-lined plate, which matters a lot when you’re cooking in batches.
Storage and Reheating
- Refrigerator: Store leftovers in an airtight container for up to 3 days. The crust will soften, but it still reheats well.
- Freezer: Freeze the fried chicken without gravy for up to 2 months. Wrap pieces individually so the coating doesn’t get crushed, and thaw in the fridge before reheating.
- Reheating: Warm on a rack in a 375°F oven until hot and crisp, about 15 to 20 minutes. Skip the microwave if you want the crust back; it turns the coating limp and steamy fast.
Questions I Get Asked About This Recipe
Country Fried Chicken
Ingredients
Equipment
Method
- Soak the bone-in chicken pieces in the buttermilk and hot sauce for at least 30 minutes or overnight, turning once if possible so all surfaces contact the liquid.
- Whisk together the all-purpose flour, garlic powder, onion powder, smoked paprika, cayenne pepper, salt, and cracked black pepper in a shallow dish until evenly combined.
- Remove the chicken from the buttermilk, letting excess drip off, then dredge firmly in the seasoned flour coating.
- Repeat the dip-and-dredge process for extra crunch, pressing the flour onto the chicken so the coating adheres.
- Heat 2-3 inches of vegetable oil to 350°F in a large cast iron skillet, watching for steady bubbling around the chicken.
- Fry the chicken for 10-12 minutes per side until deeply golden and the internal temperature reaches 165°F, flipping once for even color.
- Drain the fried chicken on paper towels until the coating looks dry and crisp at the edges.
- In the same skillet, whisk the pan drippings and flour over medium heat for 1 minute to cook off the raw flour taste.
- Gradually whisk in the whole milk, then cook until thickened and smooth.
- Season the white gravy with salt and pepper to taste until balanced and pourable.
- Serve the country fried chicken immediately with white gravy poured over the top so it pools around the base.