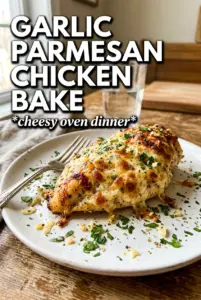
Chicken breasts under a thick garlic-Parmesan crust come out with the kind of top that crackles when you cut into it and stays savory all the way through the bite. The cheese browns into a crisp blanket, the butter keeps the chicken from drying out, and the whole dish lands somewhere between cozy and restaurant-worthy without asking much from you at all.
The trick here is keeping the coating in two parts: butter and garlic first, then the Parmesan-panko mixture pressed on firmly enough to stay put. Freshly grated Parmesan matters because it melts and browns in a way the shelf-stable kind can’t quite match, and the panko gives the crust lift instead of turning it dense. Thin, even chicken breasts also help the timing line up so the topping can get deeply golden before the meat overcooks.
Below, I’ve included the small details that make the crust stay crisp, the best swaps if you need them, and the reheating method that keeps leftovers from turning rubbery.
The Parmesan crust browned evenly and stayed crisp instead of sliding off, and the chicken was still juicy at 30 minutes. I served it with lemon wedges like you suggested, and that little hit of acid made the whole dish pop.
Love that golden Parmesan crust? Save this Garlic Parmesan Chicken Bake for the nights when you want juicy chicken with a crisp, browned topping.
The Reason the Crust Stays Crisp Instead of Sliding Off
The biggest mistake with baked Parmesan chicken is treating the topping like a garnish. It needs to be pressed on after the chicken is coated in butter so it has something to cling to, and the butter needs to be warm enough to spread but not scorching hot. If the topping looks dry and patchy before it goes into the oven, it will bake up that way.
Another thing that matters here is the balance between Parmesan and panko. Parmesan brings the sharp, salty backbone and browning power, while panko keeps the crust lighter and more jagged. Regular breadcrumbs can work, but the texture won’t be quite as crisp, and the top can look more even than crackled.
- Press the coating on firmly. A loose sprinkle won’t survive the bake. Use your fingertips to pat it onto the buttered chicken so it settles into a real crust.
- Don’t crowd the dish. Space between the breasts helps the hot air hit the topping from all sides, which is how you get that even golden color.
- Watch the color, not just the clock. The crust should be deeply golden and fragrant before the chicken comes out.
What Each Ingredient Is Actually Doing in This Dish
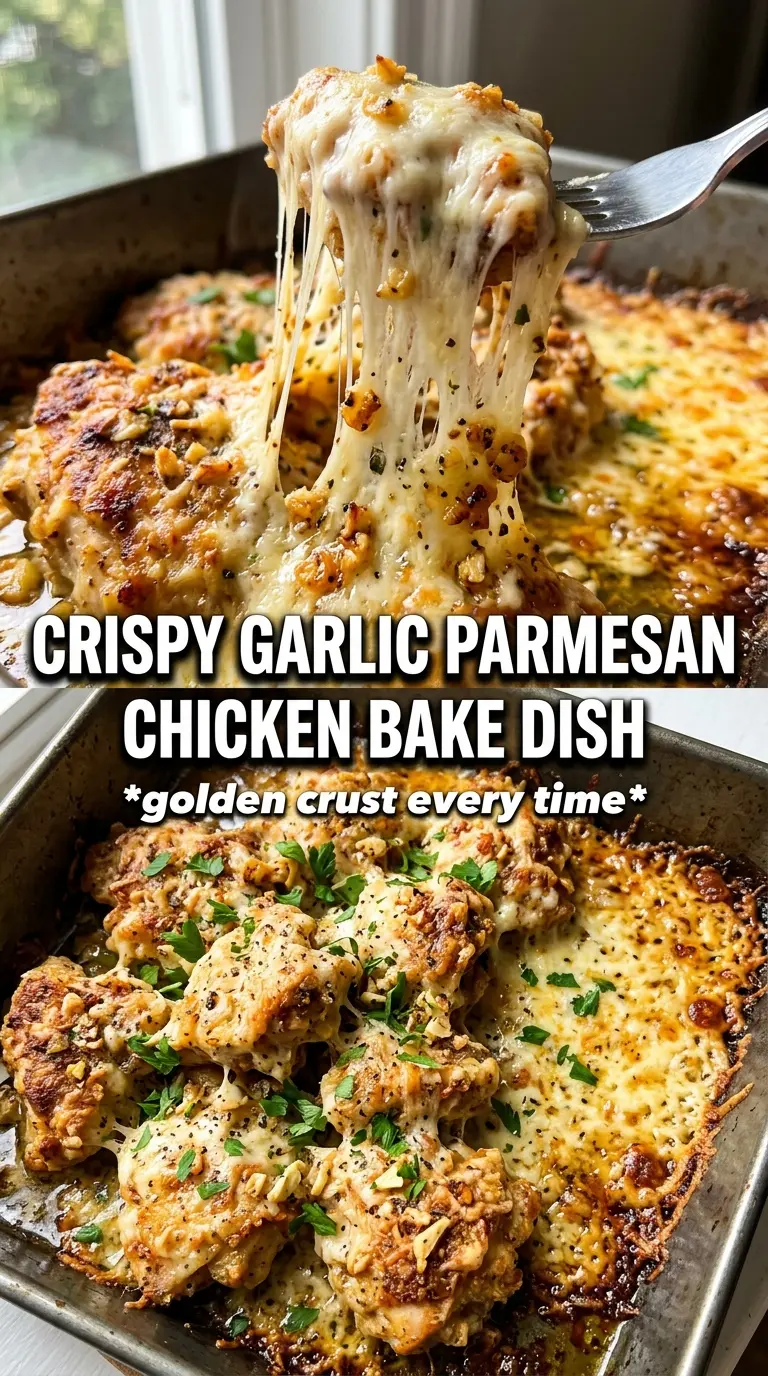
- Chicken breasts: Boneless, skinless breasts give you a lean base that bakes quickly, but they need to be even in thickness. If one end is much thicker, pound it lightly so the whole piece finishes at the same time.
- Butter: This is what carries the garlic and helps the crust brown. Olive oil can stand in, but you’ll lose some of the rich, rounded flavor that butter brings.
- Fresh garlic: Minced garlic gives the topping a sharp, toasted edge as it bakes. Jarred garlic works in a pinch, though it won’t taste as clean.
- Freshly grated Parmesan: This is the ingredient worth buying fresh. Pre-grated cheese often has anti-caking agents that keep it from melting and browning into the same crisp, nutty crust.
- Panko breadcrumbs: These add air and crunch. If you only have regular breadcrumbs, use them, but expect a finer, less shattery crust.
- Italian seasoning, parsley, and smoked paprika: These round out the cheese and garlic without making the dish taste crowded. The paprika adds a little warmth and color, not heat.
Building the Chicken So the Top Browns Before the Meat Overcooks
Seasoning the chicken first
Start by seasoning the chicken breasts with salt, pepper, and garlic powder, then lay them in the greased baking dish. That base layer matters because the topping is rich and cheesy; without seasoning underneath, the chicken can taste flat once you get past the crust. If the breasts are very thick, pound them lightly or slice them into more even pieces so they finish around the same time.
Brushing on the garlic butter
Mix the melted butter with the minced garlic and brush it generously over each breast. You want every surface lightly coated, not puddled, because too much butter can make the crust slide. If the butter pools in the pan, tilt the dish and brush some back up onto the chicken before adding the topping.
Pressing on the Parmesan crust
Combine the Parmesan, panko, Italian seasoning, parsley, and smoked paprika, then press that mixture firmly over the buttered chicken. Don’t just scatter it. Pressing creates contact, and contact is what helps the coating brown instead of drying out and falling away. Bake at 400°F until the crust is deep golden and the thickest part of the chicken reaches 165°F, usually 25 to 30 minutes.
Finishing with acid and herbs
Let the chicken rest for a few minutes before serving, then scatter fresh parsley over the top and add lemon wedges on the side. That squeeze of lemon wakes up the Parmesan and keeps the dish from feeling heavy. If the crust is darkening too quickly before the chicken is done, tent it loosely with foil for the last few minutes, but only after the top has already picked up some color.
How to Adapt This for Different Tables and Different Pantries
Make it gluten-free
Swap the panko for gluten-free breadcrumbs or crushed gluten-free crackers. You’ll still get a crisp top, though crackers can brown a little faster, so start checking the dish a few minutes early.
Make it dairy-free
Use a good dairy-free butter and a Parmesan-style plant-based shred that melts well. The crust will be a little less nutty and less deeply browned, but the garlic and seasoning still carry the dish.
Turn it into chicken cutlets
Slice the chicken breasts in half horizontally or pound them into thinner cutlets, then reduce the bake time. Thin chicken gives you more crust per bite and a faster dinner, but it can dry out if you leave it in too long.
Add a little heat
Stir a pinch of red pepper flakes into the Parmesan mixture or add extra smoked paprika. That gives the crust a gentle back-end warmth without changing the structure of the recipe.
Storage and Reheating
- Refrigerator: Store leftovers in an airtight container for up to 3 days. The crust softens a little, but the flavor stays strong.
- Freezer: This freezes better than you might expect. Cool completely, wrap tightly, and freeze for up to 2 months, though the topping won’t stay as crisp after thawing.
- Reheating: Warm it in a 350°F oven until heated through, uncovered, so the topping can dry back out a bit. The microwave will make the crust soggy before the chicken is evenly hot.
Answers to the Questions Worth Asking
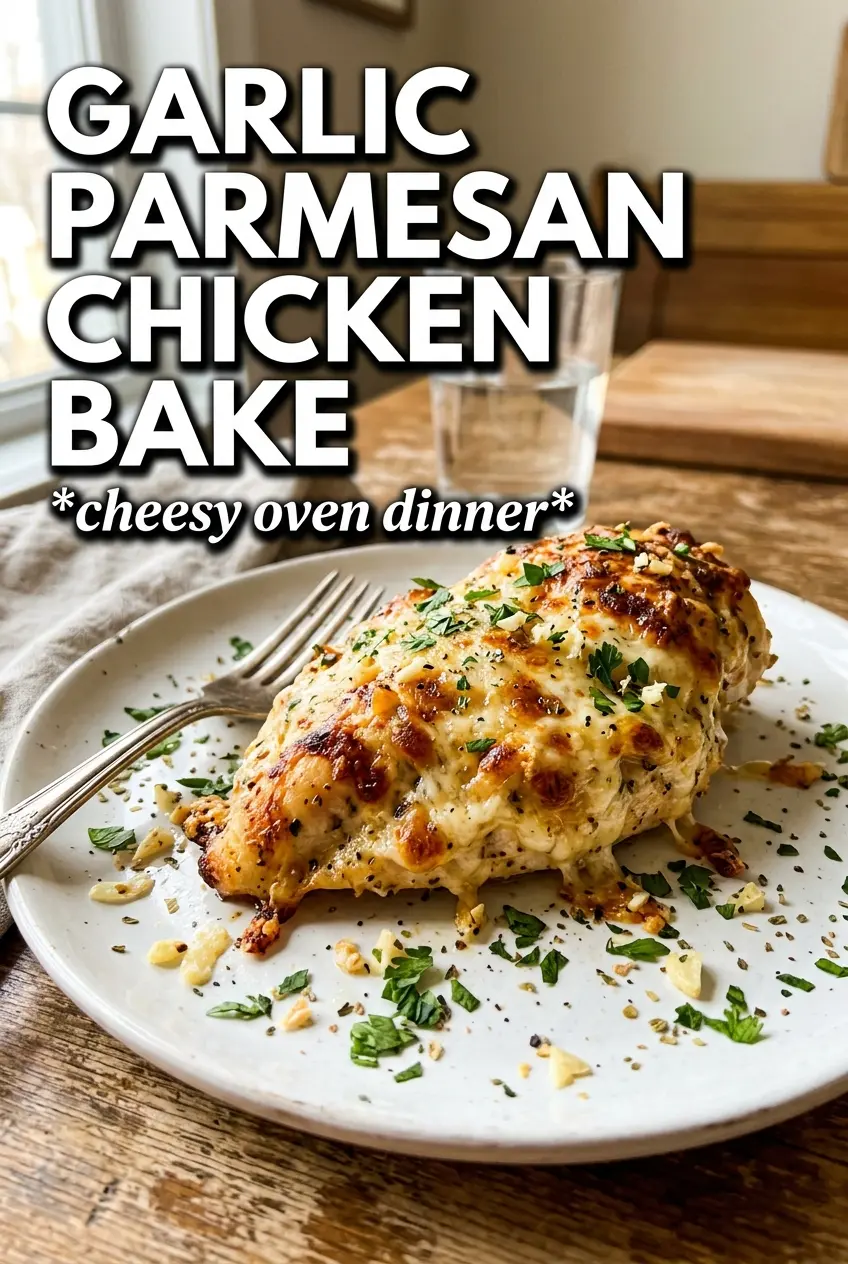
Garlic Parmesan Chicken Bake
Ingredients
Equipment
Method
- Preheat the oven to 400°F and grease a 9x13 baking dish with a light coating. Keep the dish ready so the chicken can go in immediately.
- Season the boneless skinless chicken breasts with salt, pepper, and garlic powder to taste, then place them in the prepared dish. Arrange them with space so the crust can brown on top.
- Mix the melted butter with the minced garlic, then brush generously over each chicken breast. Leave a visible sheen on the surface so the topping sticks.
- Combine the Parmesan, panko breadcrumbs, Italian seasoning, dried parsley, and smoked paprika. Press the mixture firmly over the buttered chicken to coat completely.
- Bake at 400°F for 25-30 minutes, until the Parmesan crust is deeply golden. Continue baking until the internal temperature reaches 165°F and the cheese looks browned and fragrant.
- Garnish with fresh parsley and serve with lemon wedges. The top should appear crackled and crisp right after baking.