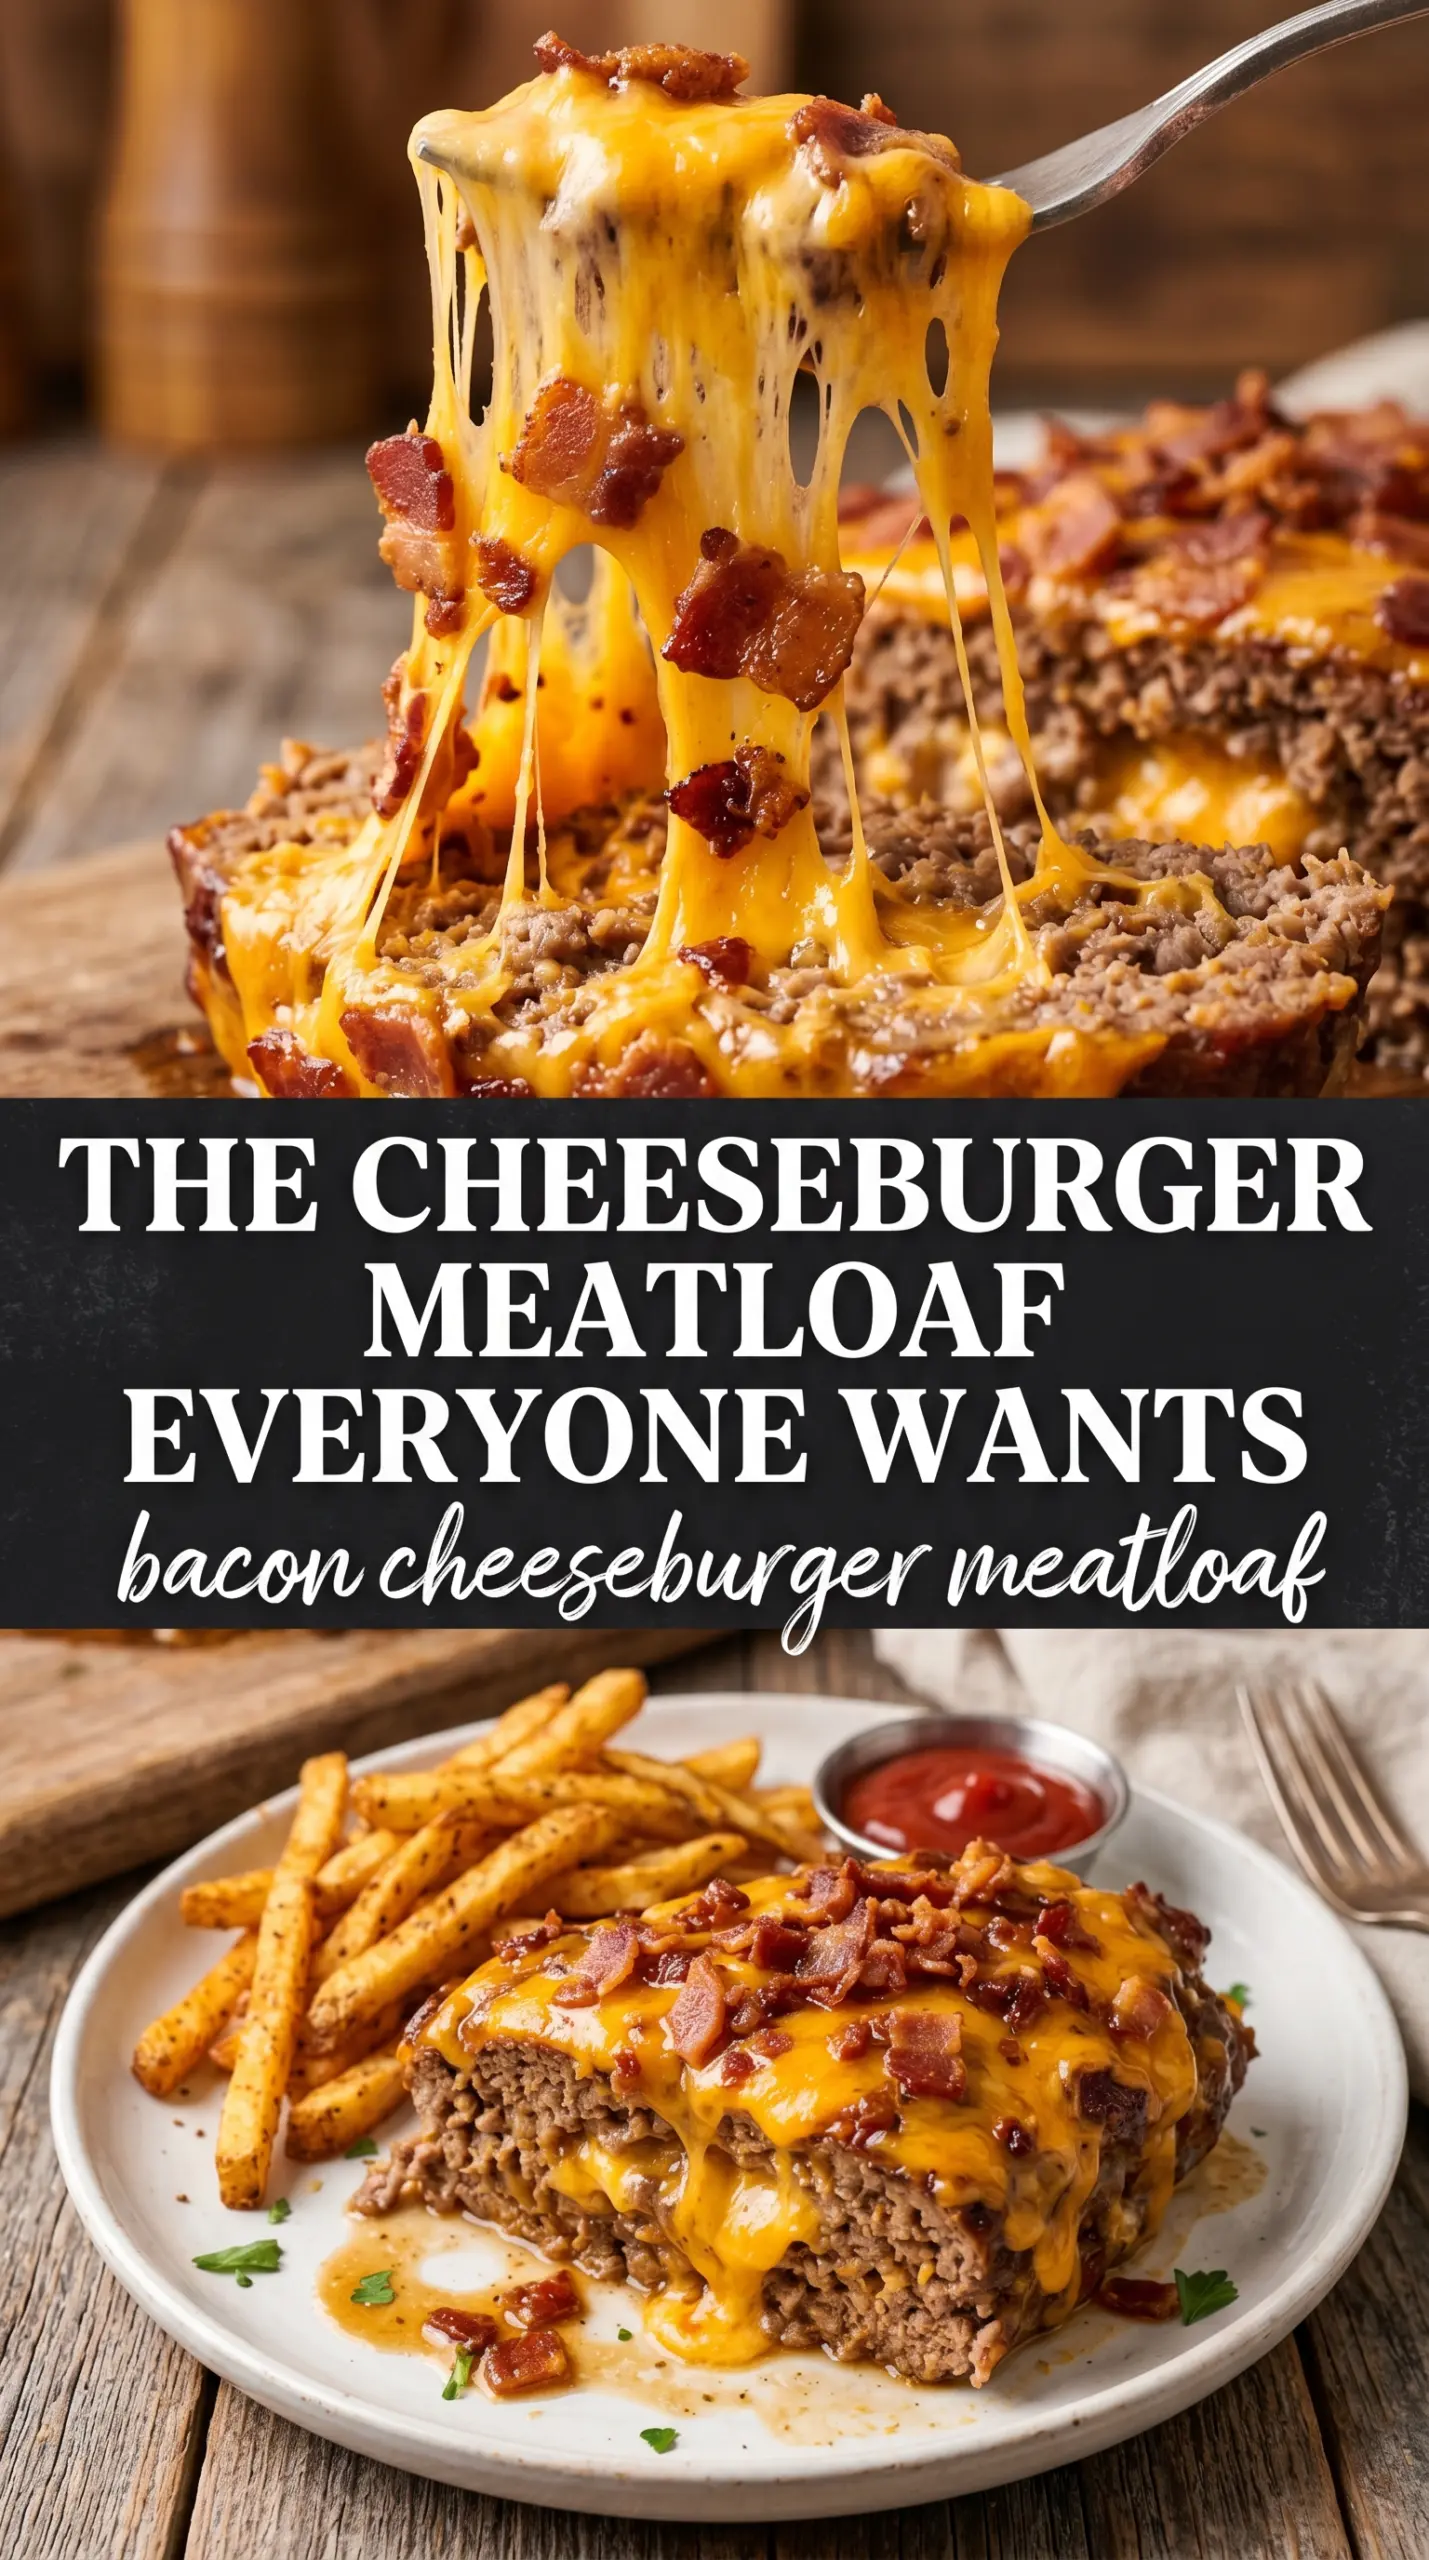
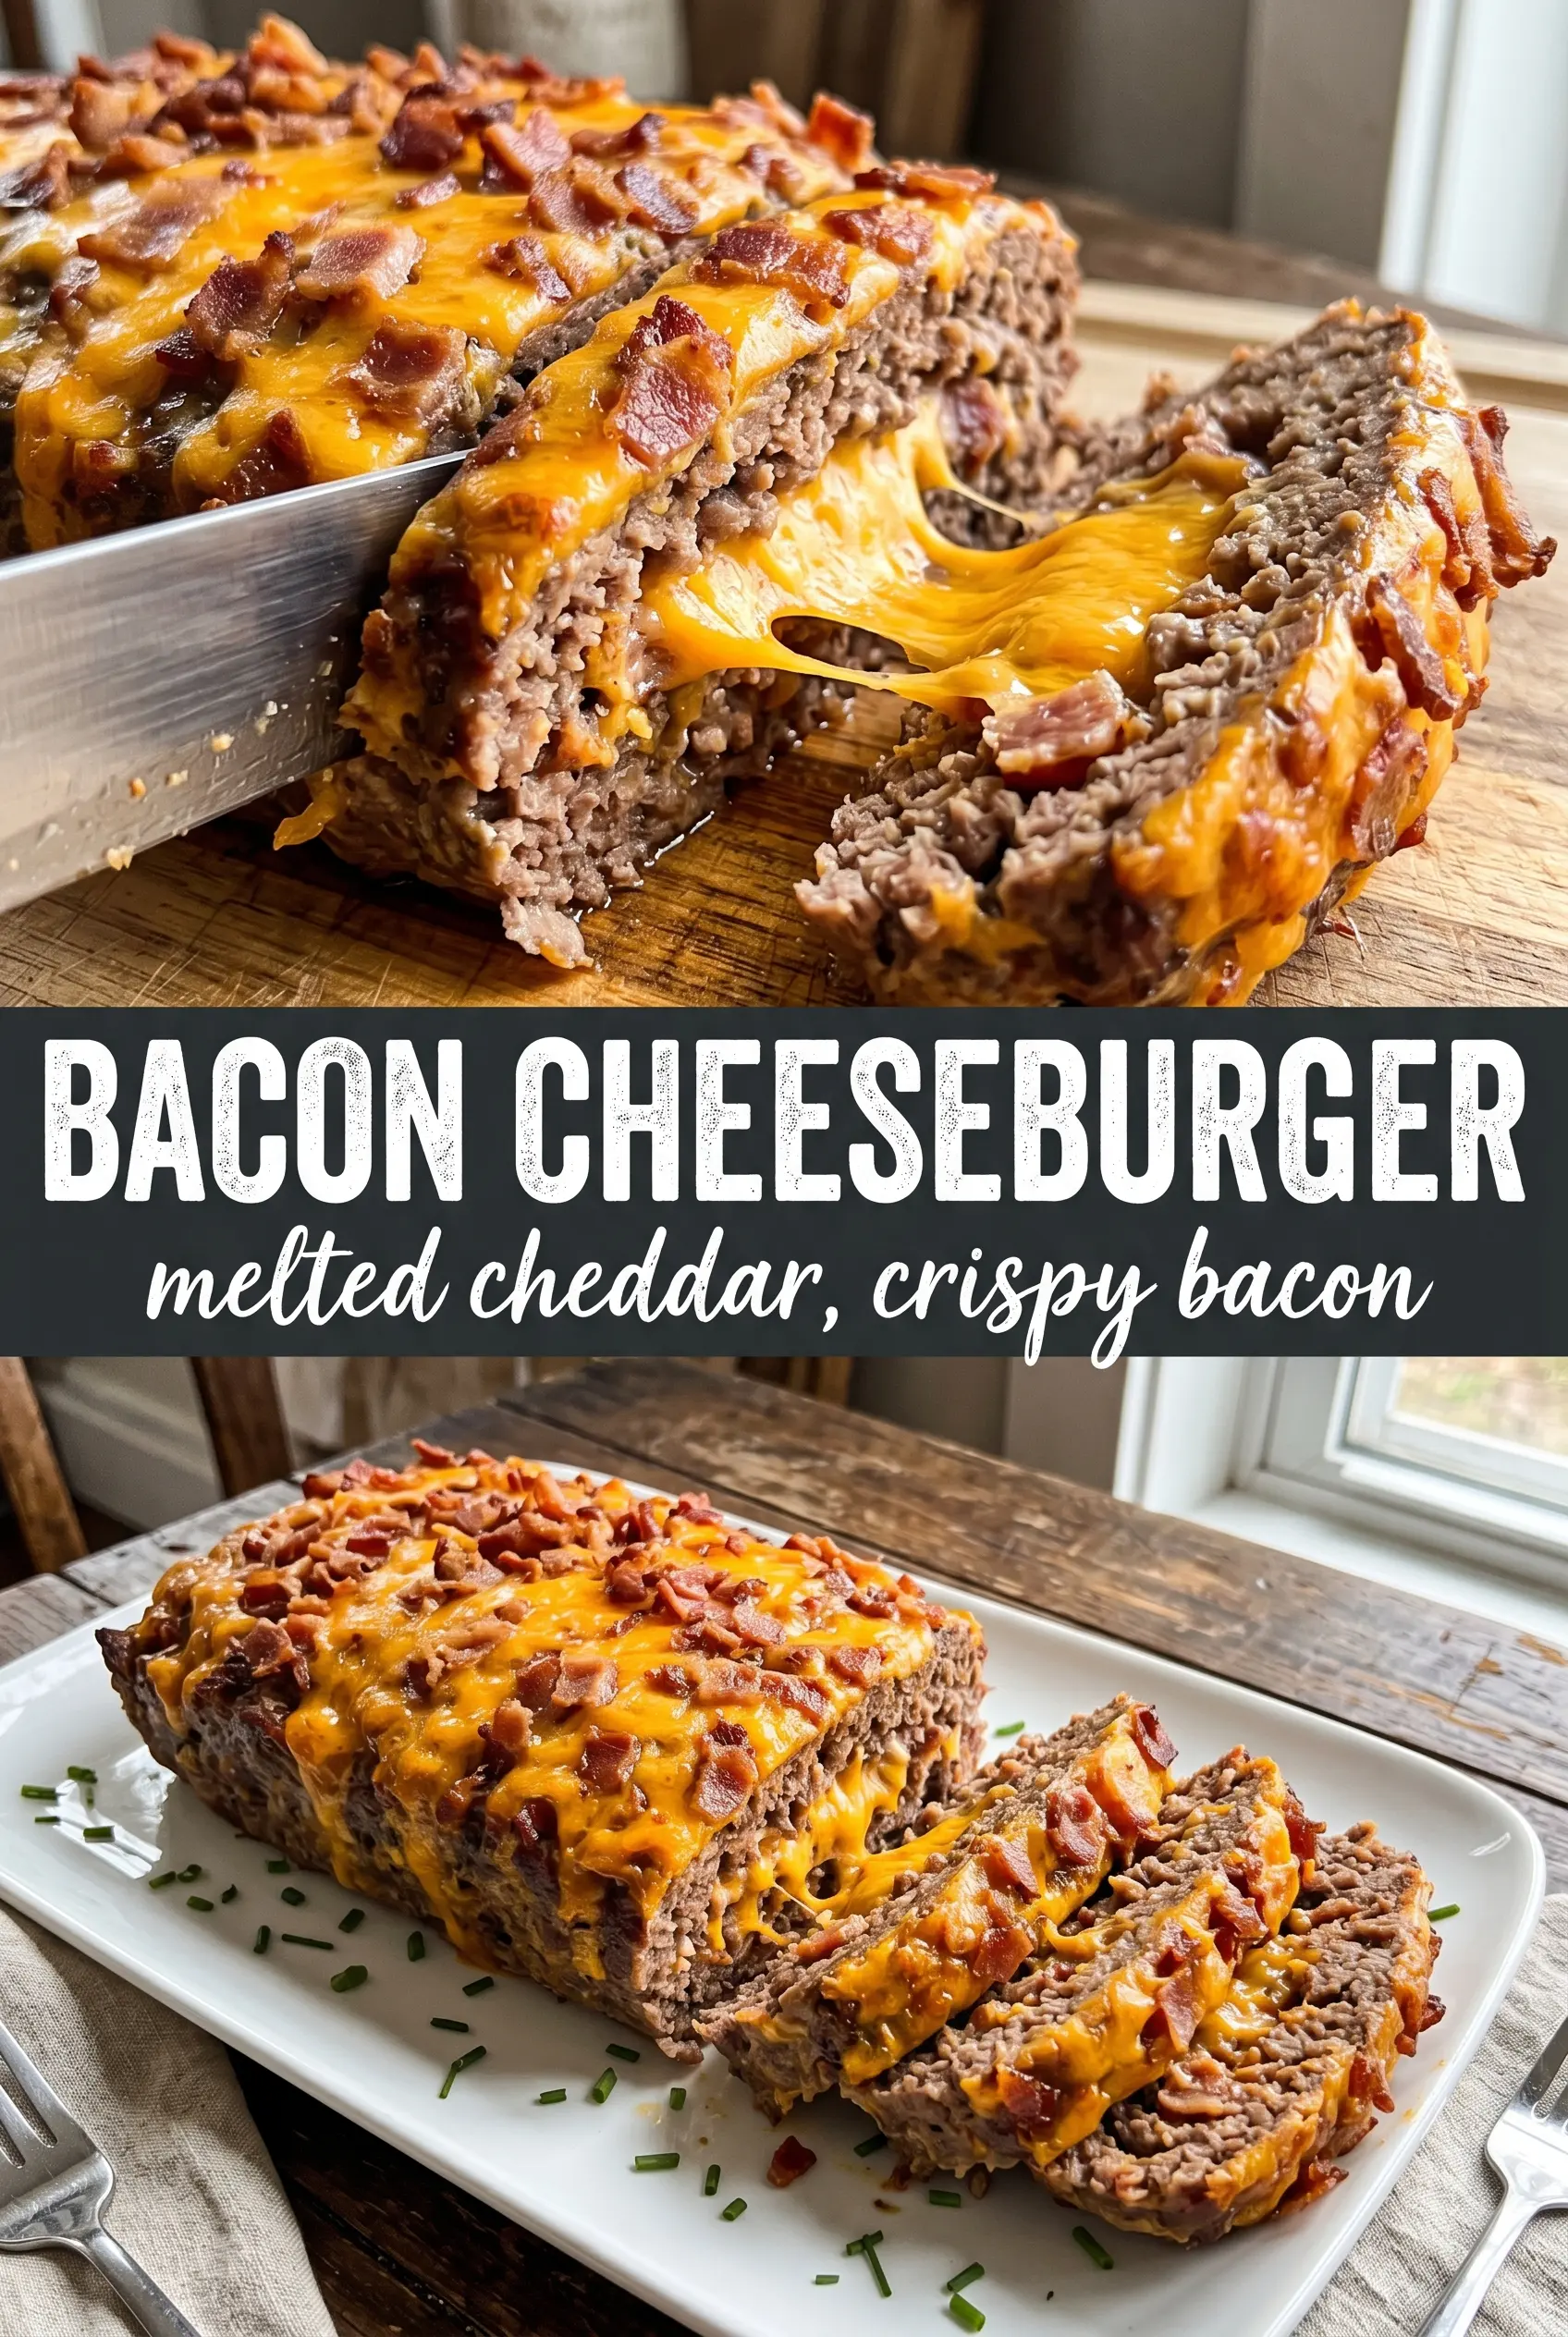
Bacon cheeseburger meatloaf hits the table with the kind of comfort-food payoff that keeps people hovering near the oven. The slices hold together cleanly, the center stays juicy, and the layer of melted cheddar and bacon gives every bite the familiar burger-and-fries feeling without needing a grill. The ketchup-mustard glaze on top brings that cheeseburger finish straight through the loaf.
The trick is treating the meatloaf like a stuffed burger, not just a bigger version of dinner meat. Grated onion melts into the beef so the loaf stays moist without turning watery, and the breadcrumbs plus milk keep the texture tender instead of dense. Dividing the bacon and cheddar matters too; some goes into the meat for flavor all the way through, and the rest forms that gooey middle everyone wants.
Below, I’ve included the small details that keep the loaf from falling apart when you slice it, plus a few smart swaps if you need to work with what’s in the fridge.
The loaf sliced beautifully and the cheddar stayed in a real layer instead of disappearing into the meat. My kids picked off the pickle chips first and asked for seconds before I even finished serving.
Save this bacon cheeseburger meatloaf for the night you want cheesy layers, smoky bacon, and a ketchup-mustard glaze all in one slice.
The Part That Keeps the Center From Turning Greasy
Stuffed meatloaf can go wrong when the filling melts straight into the beef and leaves you with a heavy, greasy middle. The fix here is balance: enough breadcrumbs and egg to hold the meat together, but not so much that it eats like a brick. Grating the onion is a small thing that matters; it disappears into the mixture and gives moisture without big raw bits that can tear the loaf when you slice it.
- Ground beef — Use 80/20 if you can. It gives you enough fat for a juicy loaf without flooding the pan.
- Breadcrumbs and milk — This is the binder that keeps the meatloaf tender. The milk hydrates the crumbs so they don’t pull moisture out of the beef while it bakes.
- Cheddar — Shred it yourself if possible. Pre-shredded cheese is coated and doesn’t melt into the same smooth layer.
- Bacon — Cook it first, then crumble it. Raw bacon won’t crisp in the center of the loaf and can leave the filling soft.
What Each Ingredient Is Actually Doing in This Recipe
- Primary ingredient (the star) — Quality matters most. Choose the best you can find.
- Cooking medium (oil, butter, or broth) — This carries flavors and prevents dryness.
- Seasonings (salt, pepper, spices, herbs) — Layer flavors so nothing overpowers. Build depth gradually.
- Aromatics (garlic, onion, herbs) — Cook with fat to bloom flavors. Become the foundation.
- Supporting ingredients — Complement the main ingredient without overpowering it.
- Sauce or liquid (if applicable) — Brings flavors together. Balance richness with acid.
- Acid (lemon, vinegar, wine, or other) — Brightens and prevents flat-tasting results.
- Final finish (garnish, glaze, or sauce) — Prevents one-dimensional taste and adds visual appeal.
Building the Burger Flavor Layer by Layer
Start with the meat mixture and work it only until everything is evenly combined. Overmixing makes the loaf tight and bouncy instead of tender. Press half of it into the pan first, then add the cheddar and bacon in a middle layer before sealing it with the rest of the meat. That middle layer needs to be covered all the way to the edges or the cheese will leak out and scorch on the pan.
Mixing the Meat Without Packing It
Combine the beef, breadcrumbs, eggs, milk, onion, ketchup, mustard, Worcestershire, half the bacon, and half the cheddar in a large bowl. Use your hands and stop as soon as you no longer see dry patches. If the mixture feels sticky, that’s normal; if it feels dense and paste-like, it’s been worked too long.
Sealing in the Cheeseburger Center
Press half the mixture into the foil-lined loaf pan, then scatter the remaining cheddar and bacon over the top in an even layer. Add the rest of the meat and pinch the seam closed, especially at the sides and corners. If you leave gaps, the cheese will escape during baking and you’ll lose that layered look when you slice it.
Glazing for the Burger Finish
Stir together the ketchup, mustard, and brown sugar, then spread it over the top in a thin, even layer. You want enough to coat the loaf, not bury it, because the glaze should set into a sticky, tangy top rather than slide off. If it starts to pool, use the back of a spoon to push it toward the edges.
Baking Until the Center Is Safe and Juicy
Bake at 350°F until the internal temperature reaches 160°F, usually 60 to 70 minutes. Pull it when the center is done, not when the top just looks dark enough, because the cheese inside changes the appearance of the loaf. Let it rest for 10 minutes before slicing so the filling settles and doesn’t run out the first time your knife goes through it.
How to Change the Loaf Without Losing the Burger Feel
Gluten-Free Version
Swap the breadcrumbs for certified gluten-free breadcrumbs or crushed gluten-free crackers. The texture stays close to the original, but crackers give a slightly saltier, firmer slice. Use the same amount and keep the milk in place so the loaf doesn’t dry out.
Dairy-Free Version
Replace the cheddar with a good melting dairy-free cheddar-style shreds. The filling will still be creamy, but it won’t stretch quite the same way when sliced. Check the bacon and Worcestershire sauce labels too, since some brands sneak in dairy ingredients.
Bacon-Free Version
Leave the bacon out and add an extra 1/2 cup cheddar plus a pinch of smoked paprika. You lose some of the smoky depth, but the loaf still tastes like a cheeseburger with a little extra richness from the cheese.
Storage and Reheating
- Refrigerator: Store slices in an airtight container for up to 4 days. The cheese layer firms up a bit, but the flavor holds well.
- Freezer: This freezes well. Wrap individual slices tightly and freeze for up to 2 months so you can reheat just what you need.
- Reheating: Warm slices covered in a 325°F oven until heated through. The microwave works in a pinch, but it can make the cheese layer rubbery and the edges tough.
Answers to the Questions Worth Asking
Bacon Cheeseburger Meatloaf
Ingredients
Equipment
Method
- Preheat oven to 350°F and line a loaf pan with foil.
- Combine ground beef, breadcrumbs, eggs, whole milk, grated onion, ketchup, yellow mustard, Worcestershire sauce, salt, and pepper.
- Press half the mixture into the pan, then add half the cheddar and half the cooked crumbled bacon.
- Top with remaining meat mixture and press to seal around the filling.
- Mix glaze ingredients (ketchup, mustard, and brown sugar) and spread over the top.
- Bake for 60–70 minutes, until internal temperature reaches 160°F.
- Rest the meatloaf for 10 minutes.
- Top with dill pickle chips, slice, and serve to reveal the cheesy bacon center.