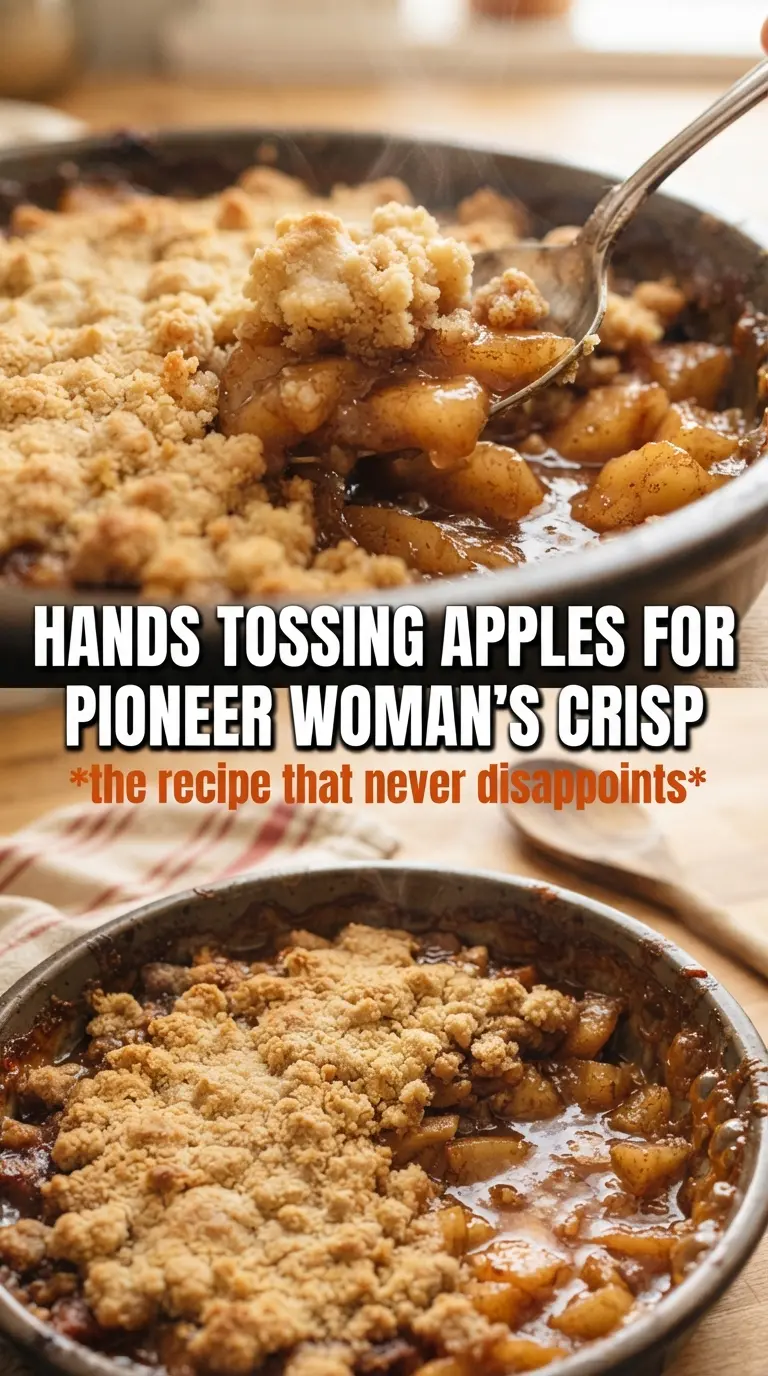
Pioneer Woman apple crisp bakes up with bubbling cinnamon apples under a thick, buttery oat crumble that turns deeply golden at the edges and stays tender in the center. The best part is the contrast: soft fruit underneath, crisp topping on top, and just enough syrupy juice peeking out to tell you the apples have done their job.
What makes this version work is the balance. Granny Smith apples hold their shape, so the filling doesn’t collapse into applesauce, and the topping gets its sturdy texture from a mix of flour, oats, brown sugar, and cold butter cut in by hand. That cold butter matters. It melts in the oven and creates those craggy, toasted clumps that make an apple crisp worth serving warm with a spoon.
If you’ve ever ended up with a soggy topping or apples that baked into mush, the details below will help. There’s a specific reason the apples are tossed with flour, and the crumble method here keeps the topping from turning sandy instead of nubbly and crisp.
The topping stayed crisp even after sitting for a bit, and the apples held their shape instead of turning mushy. I served it with vanilla ice cream and the juices thickened up just right.
Save this Pioneer Woman apple crisp for the nights when you want bubbling apples and a thick brown sugar-oat crumble in one pan.
The Trick to Keeping the Apples Tender, Not Mushy
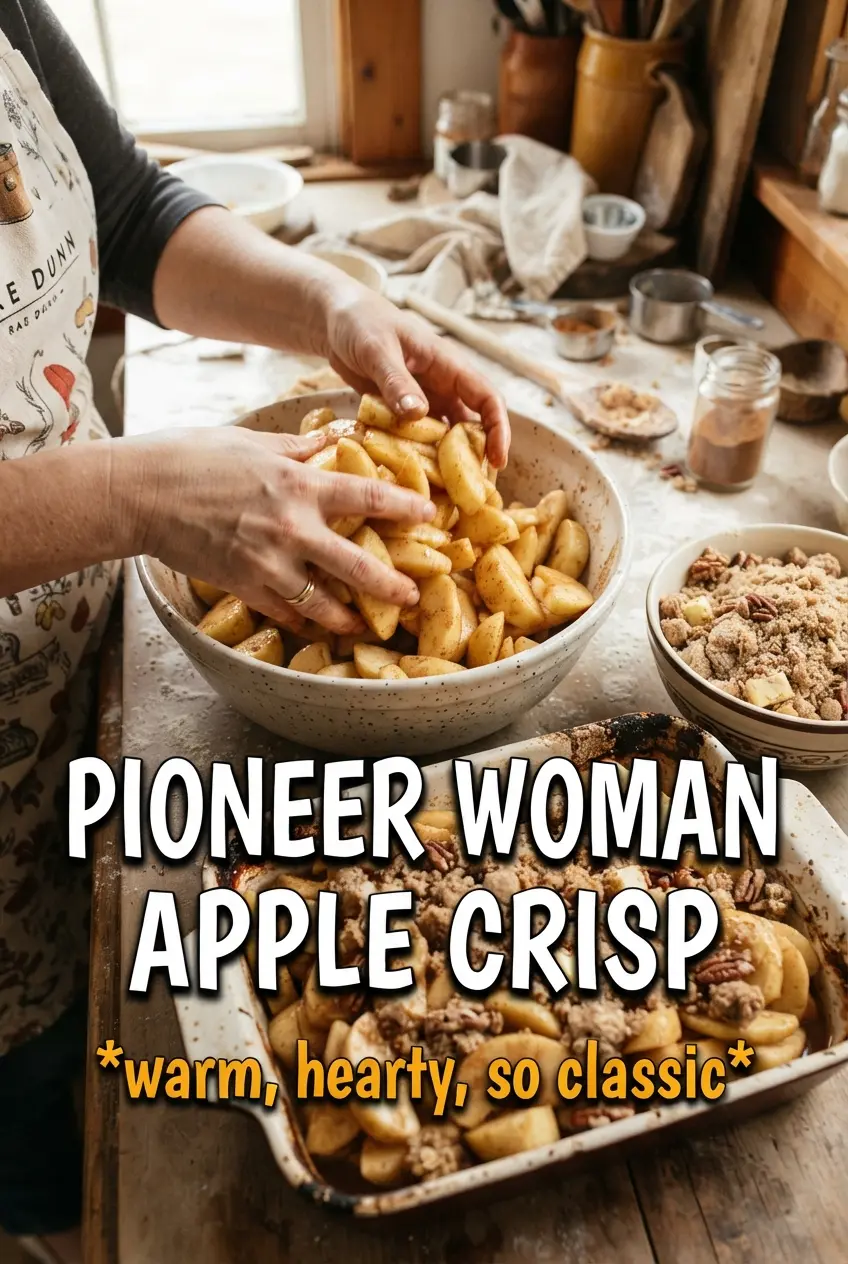
The filling here looks simple, but the order matters. Tossing the sliced apples with sugar, flour, and cinnamon before they go into the dish draws out just enough juice to create a syrup as they bake, and the flour helps that syrup thicken instead of pooling at the bottom. If you skip the flour, the crisp can turn soupy under the topping, especially once it cools a little.
Granny Smith apples are the right call because they stay tart and firm after a long bake. Softer apples break down too fast and lose the clean apple layers that make a crisp worth serving. Slice them evenly so they finish at the same rate; thin slivers disappear, while thick chunks can stay too firm in the middle.
What the Topping Needs to Stay Craggy and Crisp
- Rolled oats — These give the topping its rough, nubbly texture. Quick oats can work in a pinch, but the topping will be denser and less distinct. Old-fashioned oats hold their shape best.
- Brown sugar — This is where the crisp gets its deep caramel note and that darker color on top. Pack it firmly so you get the right sweetness and moisture.
- Cold butter — This is the ingredient that decides whether your topping bakes up in clumps or turns sandy. Cube it cold and work it in just until you see big butter-streaked pieces. If the butter softens too much, the topping melts flat instead of crisping.
- Baking powder — It sounds small, but it helps the crumble lift a little as it bakes, so the topping doesn’t sit there like wet gravel. Don’t overthink it, just measure it accurately.
Building the Crisp So the Top Bakes Before the Apples Collapse
Getting the Filling Into the Pan
Butter the baking dish generously first. That keeps the fruit from sticking at the edges and helps any bubbling juices release cleanly. Spread the apples in an even layer so the filling bakes at the same pace across the dish. If the apples are piled too high in the center, the middle can stay underdone while the topping is already browned.
Making the Crumble by Hand
Stir the flour, oats, sugars, cinnamon, baking powder, and salt together before you add the butter. Then work in the cold cubes with your hands until the mixture forms large clumps and looks uneven, not sandy. Those butter-streaked clumps are what bake into a crisp, craggy top. If the mixture feels greasy or paste-like, the butter warmed too much and the topping won’t hold its texture.
Baking Until the Edges Bubble
Spread the topping evenly over the apples, covering every bit of fruit. Bake until the top is deeply golden and you see the filling bubbling at the edges, which tells you the apples have softened and the juices have thickened. Don’t pull it early because the topping looks done; the bubbling is the real sign that the filling is ready. Let it rest a few minutes before serving so the juices settle instead of flooding the plate.
How to Adapt This Apple Crisp for Different Pans and Diets
Gluten-Free Version
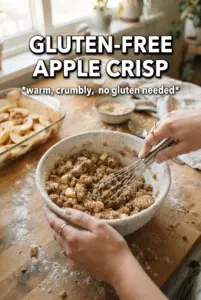
Swap the all-purpose flour in both the filling and topping with a good 1:1 gluten-free baking blend. The oats stay the same if they’re certified gluten-free. The crisp will still bake up with a crunchy top, though the crumble may be a little more delicate when scooped.
Less Sweet, More Tart
Cut the granulated sugar in the filling by a few tablespoons if your apples are especially sweet. You can also reduce the sugar in the topping slightly, but don’t remove it completely because it helps the crumble brown and stay crisp. The result is sharper and more apple-forward.
Using a Different Apple
Honeycrisp, Braeburn, or a tart-sweet mix will work, but use at least some firm apples so the filling doesn’t turn soft too fast. If you use a sweeter apple, expect a rounder, less tangy filling. Avoid very soft apples unless you want a jammy texture.
Make-Ahead and Reheat
Assemble the crisp a few hours ahead and keep it covered in the refrigerator until baking time. If you bake it earlier in the day, rewarm it in a 300°F oven until the topping crisps back up and the center is hot. The microwave softens the topping, which is the one thing you don’t want here.
Storage and Reheating
- Refrigerator: Store covered for up to 4 days. The topping will soften a little as it sits, but the flavor stays good.
- Freezer: Freeze baked portions tightly wrapped for up to 2 months. Thaw in the refrigerator before reheating for the best texture.
- Reheating: Warm in a 300°F oven until the filling is hot and the top re-crisps. A quick microwave heat works only if you don’t mind a soft topping.
Answers to the Questions Worth Asking
Pioneer Woman Apple Crisp
Ingredients
Equipment
Method
- Preheat the oven to 350°F, and generously butter a 9x13 baking dish. The dish should be well coated so the topping releases cleanly.
- Toss the apple slices with granulated sugar, all-purpose flour, and cinnamon, then pour into the baking dish. Spread the apples into an even layer for consistent bubbling.
- Combine the flour, rolled oats, both sugars, cinnamon, baking powder, and salt. Mix until the dry ingredients look evenly distributed in color.
- Cut in the cold cubed unsalted butter using your hands until the mixture forms large, butter-streaked clumps. Stop when you still see thick clumps rather than a sandy powder.
- Pour and spread the topping over the apples to cover evenly. Make sure the surface is fully covered so it bakes up thick.
- Bake at 350°F for 55-60 minutes, until the topping is golden brown and the apple filling is bubbling at the edges. Look for a dry, crisp top rather than pale crumbs.
- Serve warm with whipped cream or ice cream. The cold topping contrasts the hot, bubbling apples.