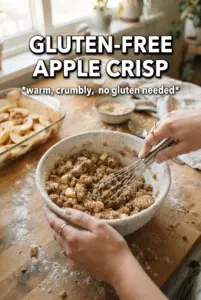
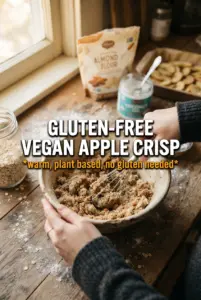
Golden, bubbling apple crisp with a nubby oat topping is one of those desserts that disappears fast because it hits all the right notes at once: soft spiced fruit underneath, crisp clusters on top, and that first spoonful where the juices thicken just enough to cling. This version stays sturdy without butter or wheat, so the topping bakes up with real crunch instead of turning sandy or greasy. The apples soften into a jammy layer, but they still hold their shape, which keeps every bite from turning mushy.
The trick is in the topping. Cold coconut oil gets cut into the dry ingredients first, then a little maple syrup helps the crumbs form into those bigger craggy pieces that bake into the best part of the dish. I also like tossing the apples with cornstarch before they go in the oven, because it keeps the filling glossy and spoonable instead of watery at the bottom of the pan.
Below, I’ll walk you through the part that matters most: how to keep the crumble crisp, how to avoid a soupy filling, and what to change if you want to swap in a different fruit or make it a little more nut-free.
The filling thickened instead of pooling at the bottom, and the coconut-oat topping stayed crisp even after sitting for a bit. My daughter kept asking for “the apple dessert with the crunchy top”.
Pin this gluten-free vegan apple crisp for a dessert with a crunchy oat topping and a thick, spiced apple filling.
The Reason the Crisp Stays Crunchy Instead of Turning Soft
The biggest mistake with fruit crisps is using a topping that melts into the fruit layer before it has time to set. Cold coconut oil is the fix here. When it stays in small pieces as you cut it into the dry ingredients, it creates pockets that bake into a rough, craggy topping instead of a dense paste. That texture is what gives you the crunch people expect from a good crisp.
The other piece that matters is the oat choice. Certified gluten-free rolled oats give you structure and chew, while almond flour keeps the topping from feeling dry or dusty. If your topping comes out sandy, the coconut oil was too soft before it went into the bowl. If it comes out greasy, it was probably melted instead of cold.
What Each Ingredient Is Doing in the Pan
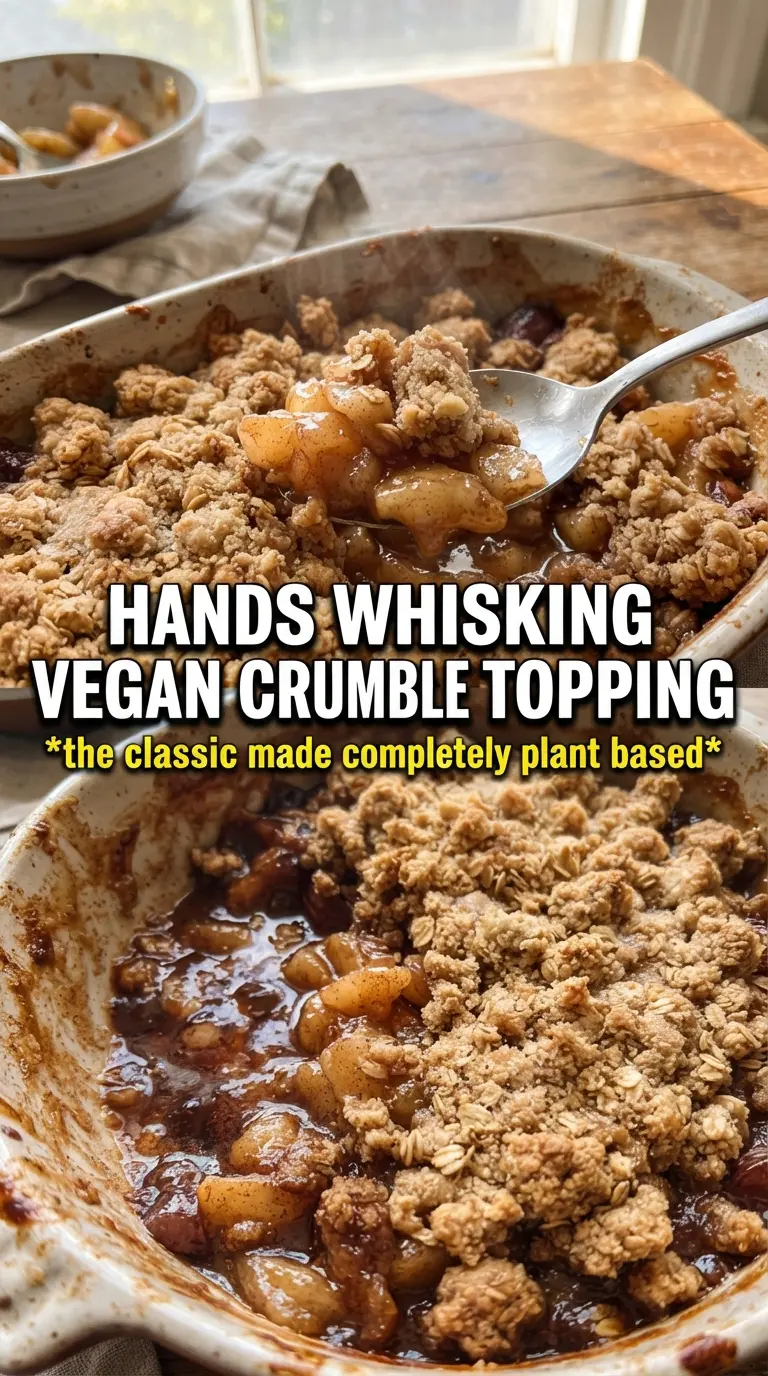
- Apples — Use a firm baking apple or a mix of sweet and tart apples so the filling softens without collapsing. Softer apples turn mealy before the topping is done.
- Maple syrup or coconut sugar — Maple syrup gives the filling a rounder, deeper sweetness and blends easily with the juices. Coconut sugar works too, but the filling will taste a little more caramel-like and a touch less glossy.
- Cornstarch — This is what thickens the juices into a spoonable filling. Without it, the apples release liquid that puddles under the crumble.
- Certified gluten-free rolled oats — Old-fashioned oats give the best texture here. Quick oats tend to make the topping tighter and less crisp.
- Almond flour — Almond flour adds richness and helps the topping clump without butter. If you need a nut-free version, sunflower seed flour is the closest swap, though the flavor will be a little earthier.
- Coconut oil — It has to be solid and cold so the topping bakes up with pockets and edges. Melted coconut oil makes the topping heavy and slick.
Building the Filling and Topping in the Right Order
Coating the Apples First
Toss the sliced apples with the maple syrup, cinnamon, nutmeg, cornstarch, and lemon juice until every slice looks lightly coated. That cornstarch needs direct contact with the fruit juices to work properly, so don’t dump everything into the pan and expect it to thicken on its own. Spread the apples in an even layer in the baking dish so they cook at the same rate. If the slices are piled up too high, the center softens late and the top can brown before the filling bubbles.
Cutting in the Coconut Oil
Mix the oats, almond flour, sugar, cinnamon, and salt first, then cut in the cold coconut oil with a fork until the mixture looks like coarse crumbs with some pea-sized bits. Those bigger pieces are what bake into crisp clusters. If the oil starts to smear, stop and put the bowl in the fridge for a few minutes. Warm hands and a warm kitchen can turn this topping dense faster than you’d expect.
Finishing the Crumble
Drizzle the maple syrup over the mixture and toss until you get uneven clumps. Don’t overwork it into a uniform paste. You want loose crumbs and a few shaggy pieces so the top has texture after baking. Scatter it across the apples without pressing it down, because compacting the topping blocks airflow and makes it softer.
Baking Until the Filling Bubbles
Bake until the topping is deep golden and the fruit is bubbling around the edges, not just warm in the middle. The bubbling matters more than the timer because that’s the sign the cornstarch has activated and thickened the juices. If the top browns before the filling bubbles, lay a piece of foil loosely over the dish and keep baking. Pulling it too early leaves you with thin syrup under the fruit.
How to Adapt This Crisp Without Losing the Good Part
Make it nut-free
Swap the almond flour for sunflower seed flour or extra certified gluten-free oats pulsed briefly in a food processor. The texture stays crisp, but the topping will taste a little less rich and slightly more toasty. If you use seed flour, expect the finished filling to turn a shade darker from the reaction with the fruit.
Use pears instead of apples
Firm pears work well, but they release more liquid than apples, so add an extra teaspoon of cornstarch. The flavor turns softer and more floral, and the baking time may run a few minutes longer if the pears are very ripe. Keep the fruit in an even layer so the juices don’t overwhelm the topping.
Make it refined sugar-free
Use coconut sugar in both the filling and topping, then keep an eye on the color because it browns faster than brown sugar. The crisp will taste a little deeper and less sweet up front, which works well if your apples are naturally sweet. You may want a small pinch more salt to sharpen the flavor.
Storage and Reheating
- Refrigerator: Store covered for up to 4 days. The topping softens a little in the fridge, but the flavor stays good.
- Freezer: It freezes well baked or unbaked for up to 2 months. Wrap tightly and thaw in the fridge before reheating or baking so the center doesn’t stay icy.
- Reheating: Rewarm in a 350F oven until the filling is hot and the top crispens again, usually 15 to 20 minutes. The microwave makes the topping limp, so it’s the wrong tool here.
Answers to the Questions Worth Asking
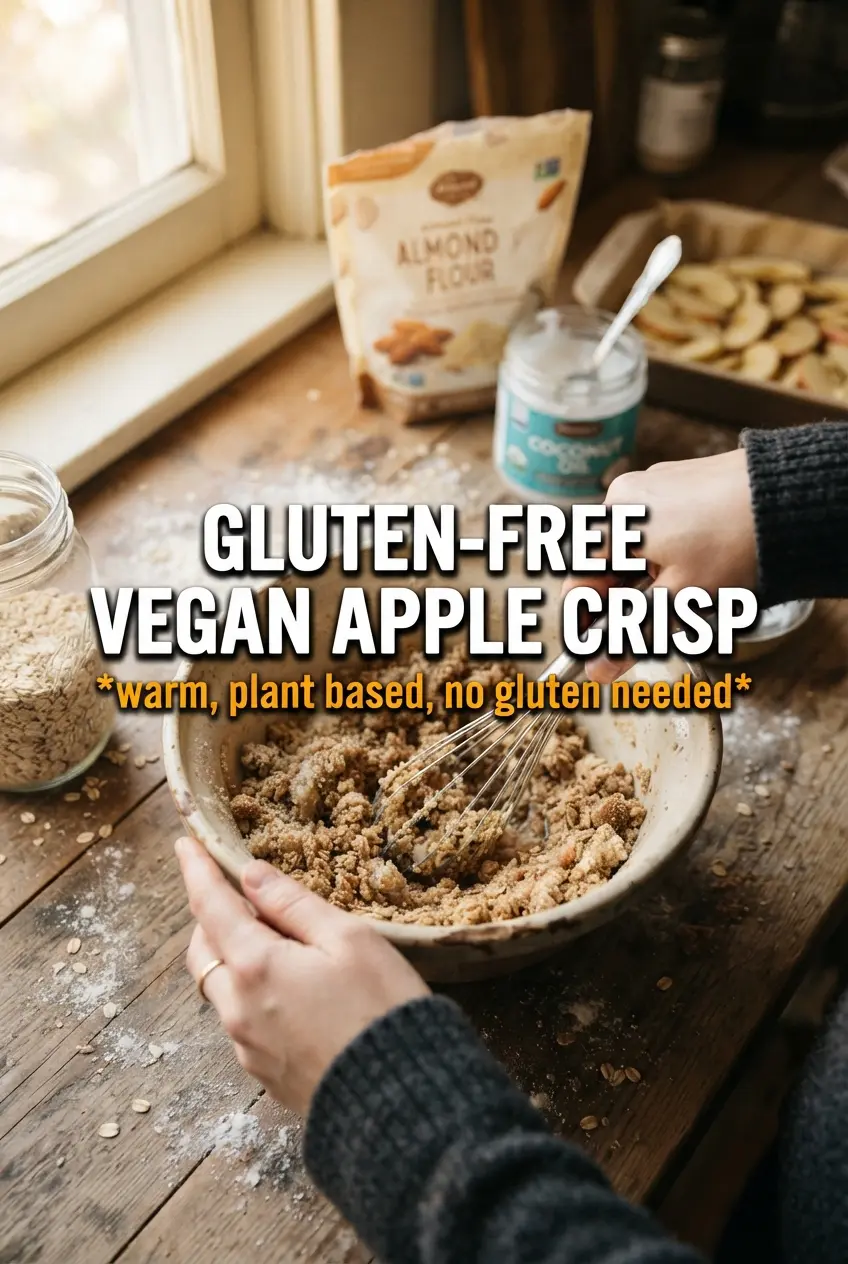
Gluten-Free Vegan Apple Crisp
Ingredients
Equipment
Method
- Preheat oven to 375F and grease a 9x13 baking dish.
- Place the greased dish on a stable baking tray so it’s easy to transfer into the oven.
- Toss apple slices with maple syrup or coconut sugar, cinnamon, nutmeg, cornstarch, and lemon juice until evenly coated.
- Spread the coated apple mixture in the greased dish and level the top.
- Combine certified GF rolled oats, almond flour, brown sugar or coconut sugar, cinnamon, and salt in a bowl.
- Add cold solid coconut oil and cut it in with a fork until the mixture looks crumbly with small uneven bits.
- Drizzle in maple syrup and toss until clumps form.
- Scatter the crumble evenly over the apple filling in an even layer.
- Bake at 375F for 40-45 minutes, until the topping is golden and the filling is bubbling at the edges.
- Let the crisp cool for 5 minutes, then serve warm with coconut ice cream.