Apple crisp gets a lot more useful when you stop treating the filling like an afterthought. With canned apple pie filling, you can get straight to the part people remember most: tender apples under a thick, sandy oat crumble with buttery edges and a bubbling center. The shortcut works because the topping brings the texture, while a few small additions wake up the filling so it tastes like a dessert, not just something poured from a can.
A little lemon juice keeps the sweetness from going flat, and the extra cinnamon, nutmeg, and allspice make the fruit taste warmer and more homemade. The topping matters just as much. Cold butter cut into the dry ingredients gives you those crisp crags and clumps that bake into a proper crumble instead of a soft blanket. If the butter melts before it goes in the oven, you lose the crunch.
Below, I’ve included the small adjustments that make this shortcut crisp taste like you spent more time on it than you did, plus a few easy ways to adapt it for what you’ve got on hand.
The filling bubbled up around the edges and the topping stayed crisp even after we topped it with ice cream. The lemon and spices made the canned apples taste much more like homemade.
Save this apple crisp with canned filling for the nights when you want bubbling fruit, a crunchy oat topping, and dessert in under an hour.
The Shortcut That Still Needs a Real Topping
The canned filling is doing the heavy lifting here, but the topping is what keeps this dessert from tasting like a shortcut. If the crumble is made with melted butter or packed too tightly, it bakes into a dense lid instead of a crisp layer. Cold butter, cut in until the mixture looks like rough pebbles and damp sand, gives you those toasted bits that stay crunchy even after the filling bubbles up underneath.
The other place people miss is seasoning. Canned apple pie filling is already sweet and softened, so it needs a little acid and spice to taste balanced. The lemon juice doesn’t make it tart; it just brightens the apples enough that the brown sugar topping doesn’t flatten everything out.
- Cold butter — This is what creates the crumbly, browned texture. If it starts softening while you’re mixing, chill the bowl for a few minutes before baking.
- Lemon juice — A small amount wakes up the canned fruit. Don’t skip it unless your filling already tastes sharp.
- Brown sugar — It gives the topping a deeper caramel note than white sugar. Light or dark brown sugar both work; dark will taste a little richer.
- Rolled oats — They bring chew and structure. Quick oats will work in a pinch, but the topping won’t stay as crisp or chunky.
What Each Ingredient Is Actually Doing in This Dessert
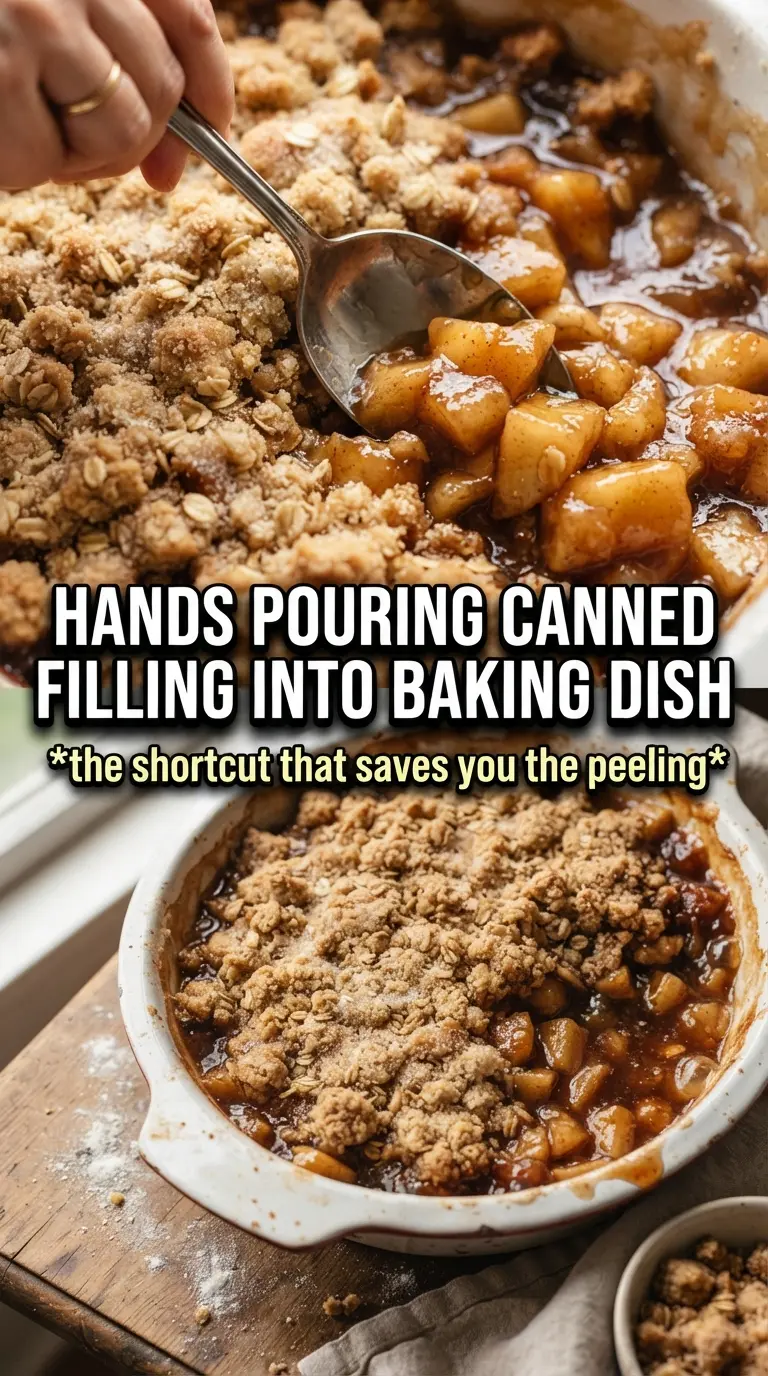
- Apple pie filling — This gives you the soft apple base without peeling or slicing. Brand matters a little here because some cans are syrupier than others; if yours looks very loose, bake until the edges are actively bubbling so the extra liquid cooks down.
- Cinnamon, nutmeg, and allspice — These help the filling taste layered instead of one-note. Cinnamon carries the flavor, nutmeg adds warmth, and allspice gives a little bakery-style depth.
- All-purpose flour — It binds the topping into clusters. You need enough to hold the butter and sugar together, but not so much that it turns cakey.
- Vanilla ice cream — It’s not just for serving. The cold cream melts into the hot crumble and gives each bite that classic crisp-and-cream contrast.
Building the Crisp So the Topping Stays Crunchy
Season the filling first
Stir the cinnamon, nutmeg, allspice, and lemon juice directly into the canned apples before they go into the dish. That way the spices coat the fruit instead of sitting in pockets on top. Spread the filling into an even layer so the crumble bakes at the same rate across the pan. If the fruit is piled too thick in the center, the middle of the topping can stay pale while the edges are already done.
Cut in the butter until clumps form
Mix the oats, flour, brown sugar, cinnamon, and salt, then work in the cold butter until you have uneven clumps, not a smooth paste. Those clumps are what bake into crisp, crunchy bits. If the mixture looks greasy or uniform, the butter got too warm and the topping will bake up flat. Use your fingers, a pastry cutter, or two forks, but stop as soon as the mixture holds together when squeezed.
Bake until the filling is visibly bubbling
The topping should turn deeply golden and the fruit needs to bubble around the edges before you pull it out. That bubbling is the sign the canned filling has heated through and the extra syrup has thickened a little. If the top looks done but the filling isn’t bubbling, give it a few more minutes. A crisp pulled too early can taste loose and wet under the crumble.
Let it settle before serving
Give the crisp about 5 minutes on the counter before scooping. That short rest lets the filling thicken enough that it doesn’t run everywhere on the plate. Serve it warm with vanilla ice cream while the topping still has some texture. If you wait until it’s fully cool, you lose the best contrast.
How to Adapt This for Different Pans and Diets
Gluten-Free Crisp Topping
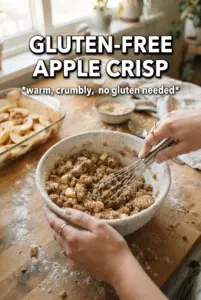
Swap the all-purpose flour for a good 1:1 gluten-free baking blend. The topping will still brown and crisp, though it may be a touch more delicate when you scoop it. Use certified gluten-free oats if you need the dessert to be fully gluten-free.
Dairy-Free Version
Replace the butter with a solid plant-based baking stick, not a tub spread. You still want a cold fat that can be cut into the dry ingredients, or the topping will bake up soft instead of crumbly. Serve with a dairy-free vanilla ice cream or coconut-based frozen dessert.
Smaller Baking Dish, Deeper Crisp
If you bake this in an 8×8 or similar dish, use less filling or expect a thicker layer in the center and add a few extra minutes of bake time. A deeper pan gives you more soft fruit beneath the crumble; a wider pan gives you more browned topping per bite.
Extra-Spiced Filling
If you want the filling to taste less like canned pie filling and more like from-scratch apples, add a pinch of cloves or a little vanilla extract. Keep the additions light. Too much spice can overpower the brown sugar topping and make the whole dessert taste muddy.
Storage and Reheating
- Refrigerator: Cover and refrigerate for up to 4 days. The topping will soften a little as it sits, but the flavor holds up well.
- Freezer: You can freeze baked crisp, but the topping loses some of its crunch after thawing. Wrap it tightly and freeze for up to 2 months.
- Reheating: Warm individual portions in the oven at 325F until hot and the topping starts to crisp again. The microwave works, but it softens the crumble fast.
Answers to the Questions Worth Asking
Apple Crisp With Canned Apple Filling
Ingredients
Equipment
Method
- Preheat oven to 375F and grease a 9x13 baking dish.
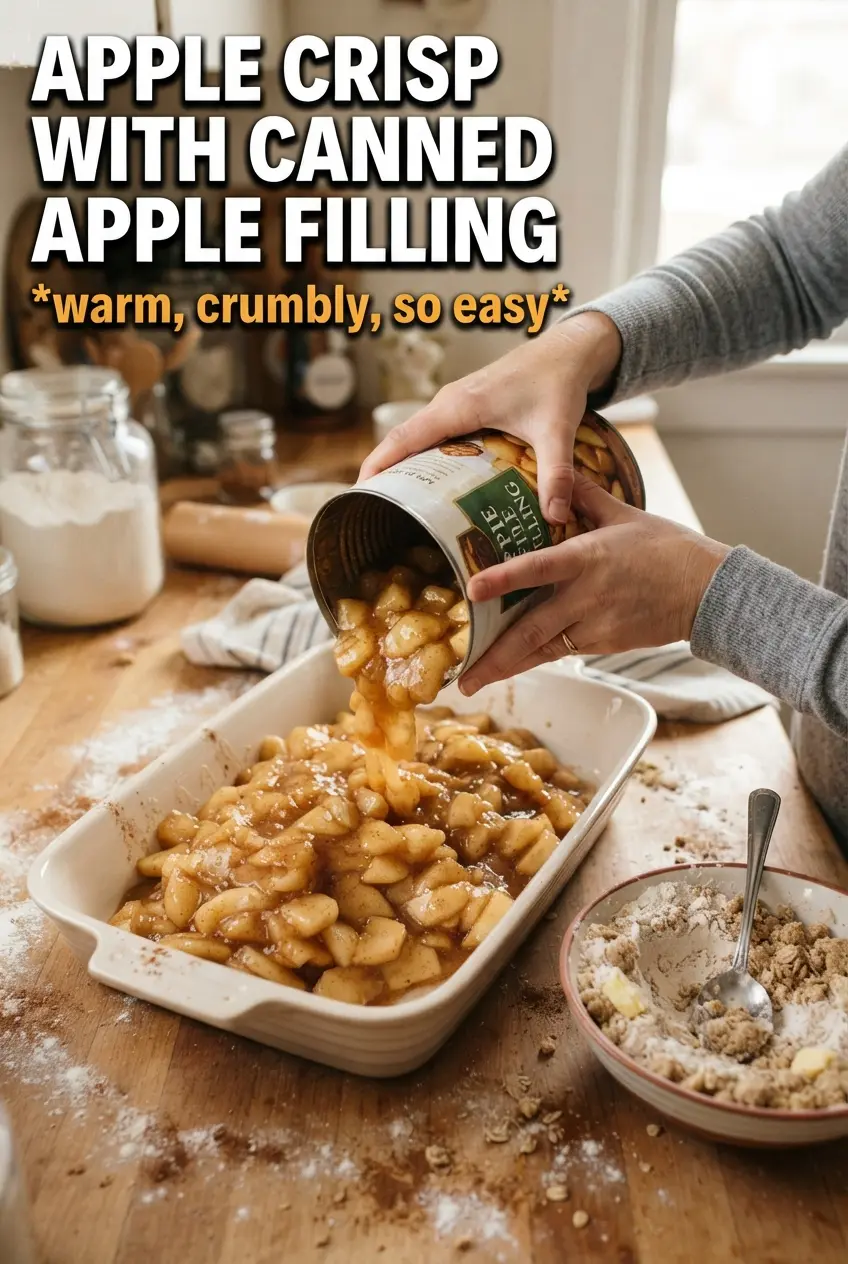
- Stir cinnamon, nutmeg, allspice, and lemon juice into the canned apple pie filling to season it, then spread the filling in the prepared dish.
- Combine rolled oats, all-purpose flour, brown sugar, cinnamon, and salt in a bowl, then cut in cold butter until chunky clumps form.
- Scatter the oat crumble generously over the apple filling.
- Bake for 30-35 minutes at 375F until the topping is golden and the filling is bubbling around the edges.
- Rest the apple crisp for 5 minutes, then serve warm with vanilla ice cream.