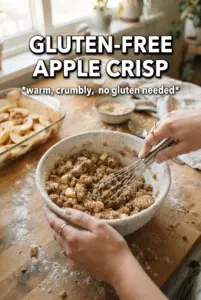
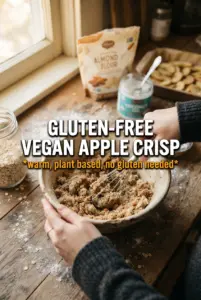
Gluten-free apple crisp lands in that sweet spot between cozy and practical: tender baked apples underneath a buttery crumble that turns crisp at the edges and stays nubbly in the middle. The filling bubbles up around the topping, and every spoonful gives you soft fruit, cinnamon, and those toasted oat clusters that crack just a little under the fork.
The part that makes this version work is the balance in the topping. Certified gluten-free oats give it that classic crisp texture, almond flour adds richness, and a gluten-free all-purpose blend helps bind everything into clumps instead of sandy crumbs. The apples are tossed with cornstarch before baking, which keeps the juices from turning the bottom into soup.
Below, I’ve included the small details that matter most: how to keep the topping crisp, what kind of apples bake best, and how to tweak the recipe if you want it dairy-free or a little less sweet.
The topping baked up crisp instead of sandy, and the apples stayed saucy without turning watery. I used Granny Smith and Honeycrisp, and the cinnamon flavor was just right.
Save this gluten-free apple crisp for the nights when you want a bubbling fruit dessert with a crisp almond-oat topping.
The Trick to Keeping the Crumble Crisp Over Juicy Apples
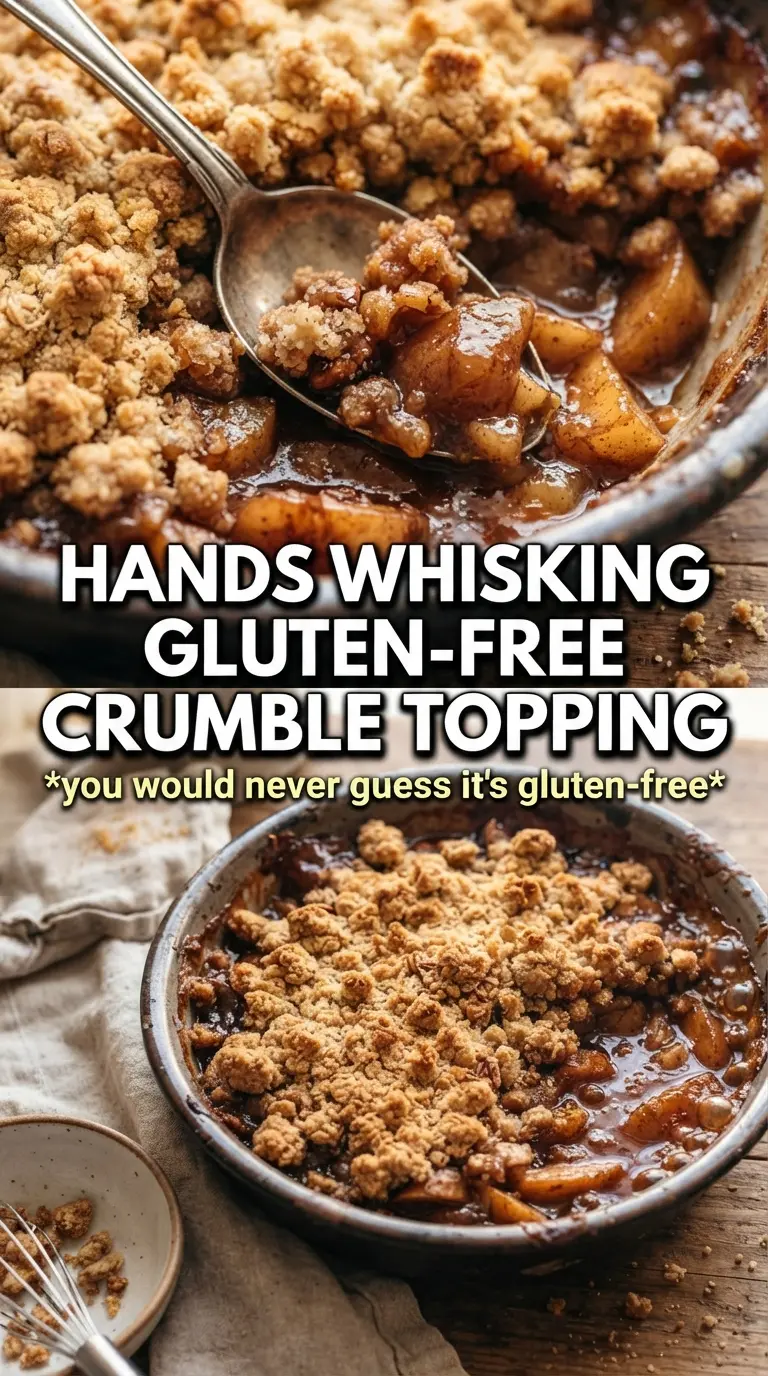
Gluten-free crisps can go wrong in two directions: the topping turns sandy, or the fruit layer turns watery and soft enough to flatten the whole dessert. This version avoids both problems by using cold butter cut into dry ingredients until you get chunky clumps, not a uniform paste. Those clumps brown into crisp bits while the dry mix underneath stays crumbly instead of greasy.
The apples matter just as much. If they’re sliced too thin, they collapse before the topping has time to brown; if they’re too thick, they stay firm in the center. Aim for slices that are about 1/4-inch thick so they soften into a spoonable filling while still keeping shape. The cornstarch is there for one job: it thickens the juices as the apples bake so the crisp slices cleanly instead of pooling at the bottom.
- Certified gluten-free oats — Regular oats are often cross-contaminated, so use certified gluten-free oats if you need the recipe to stay truly gluten-free. They bring the best crisp texture here.
- Almond flour — This adds fat and a little tenderness, which helps the crumble bake into nubbly clusters. A straight all-purpose gluten-free blend alone usually bakes up drier and less rich.
- Gluten-free all-purpose flour blend — This helps the topping hold together. If your blend contains xanthan gum, that’s fine; if not, the recipe still works because the almond flour and butter carry the structure.
- Apples — Use a mix if you can. Tart apples keep the filling from tasting flat, while sweeter apples melt into the sauce around them. A combination like Granny Smith and Honeycrisp gives you both structure and flavor.
What Each Ingredient Is Actually Doing in This Recipe
- Primary ingredient (the star) — Quality matters most. Choose the best you can find.
- Cooking medium (oil, butter, or broth) — This carries flavors and prevents dryness.
- Seasonings (salt, pepper, spices, herbs) — Layer flavors so nothing overpowers. Build depth gradually.
- Aromatics (garlic, onion, herbs) — Cook with fat to bloom flavors. Become the foundation.
- Supporting ingredients — Complement the main ingredient without overpowering it.
- Sauce or liquid (if applicable) — Brings flavors together. Balance richness with acid.
- Acid (lemon, vinegar, wine, or other) — Brightens and prevents flat-tasting results.
- Final finish (garnish, glaze, or sauce) — Prevents one-dimensional taste and adds visual appeal.
The 45 Minutes That Turn Apples Into Crisp Filling
Coating the Apples
Toss the sliced apples with sugar, cinnamon, nutmeg, cornstarch, and lemon juice until every slice looks lightly coated. You want the fruit glossy, not wet and puddled in liquid. The lemon juice keeps the flavor bright and helps the apples stay from tasting dull after baking. If the bowl fills with liquid before you transfer everything to the dish, that’s normal; it all thickens in the oven.
Building the Crumble
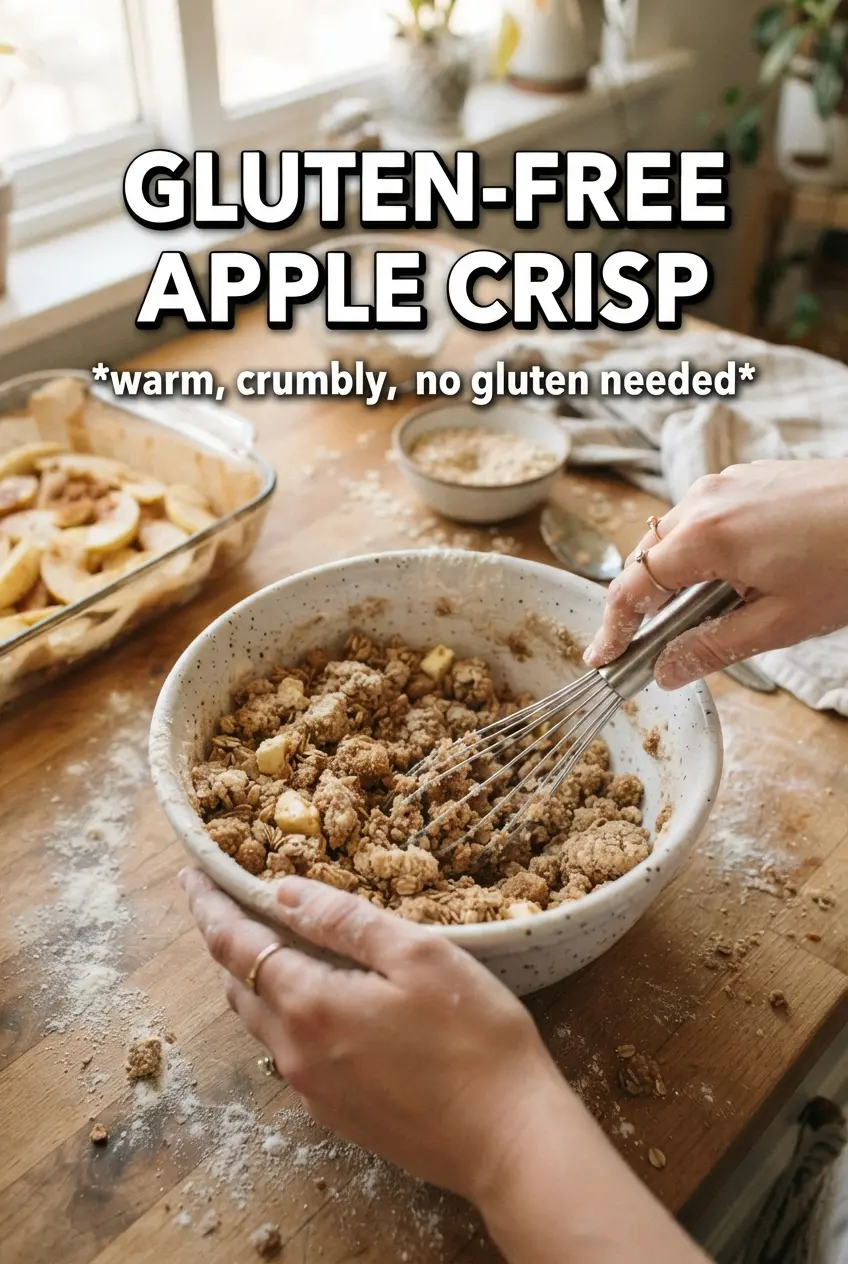
Mix the oats, almond flour, gluten-free flour, brown sugar, cinnamon, and salt, then cut in the cold butter until the mixture forms uneven clumps. Stop before it turns into a paste. Those butter pockets are what melt into crisp, golden crags instead of a flat layer. If your kitchen is warm and the butter starts softening too fast, chill the bowl for a few minutes before topping the fruit.
Baking Until It Bubbles
Scatter the crumble over the apples in an even layer, but don’t pack it down. The topping needs air around it so the heat can move through and brown the oats. Bake until the top is deep golden at the edges and the filling is bubbling through the center, not just around the sides. That bubbling is your signal that the cornstarch has thickened the juices.
Letting It Rest
Give the crisp 10 minutes before serving. Right out of the oven, the fruit is too loose and the topping can fall apart on the spoon. A short rest lets the filling settle into a thick, saucy layer that scoops cleanly. It’s still warm, still crisp, and far easier to serve with a spoonful of vanilla ice cream beside it.
How to Adjust the Sweetness, Dairy, and Fruit Without Breaking the Crisp
Dairy-Free Crisp
Swap the butter for a firm dairy-free butter substitute and keep it cold. The topping won’t taste quite as rich, but it will still brown and clump if the replacement is solid enough to cut into the dry ingredients. Avoid soft tub-style spreads; they melt too quickly and leave the crumble greasy.
Less-Sweet Apple Crisp
Cut the granulated sugar in the filling by a couple tablespoons and use apples that lean tart. The topping will still be sweet from the brown sugar, but the fruit will taste cleaner and more apple-forward. Don’t reduce the sugar too far or the filling can taste sharp once baked.
Changing the Fruit Mix
You can replace part of the apples with pears, but keep at least half apples in the dish so the filling doesn’t turn mushy. Pears soften faster and give off more juice, which can loosen the texture unless they’re paired with a firmer fruit. This works best with slightly under-ripe pears.
Storage and Reheating
- Refrigerator: Store covered for up to 4 days. The topping softens in the fridge, but the flavor stays good.
- Freezer: It freezes well after baking. Cool completely, wrap tightly, and freeze for up to 2 months. Thaw in the fridge before reheating.
- Reheating: Warm in a 325°F oven until heated through and the top crisps again. The microwave will heat the filling, but it softens the crumble, so use the oven if you want the best texture.
Answers to the Questions Worth Asking
Gluten-Free Apple Crisp
Ingredients
Equipment
Method
- Preheat the oven to 375F, and grease a 9x13 baking dish so the crisp releases cleanly.
- Toss the apple slices with granulated sugar, cinnamon, nutmeg, cornstarch, and lemon juice, then spread them evenly in the greased baking dish.
- Combine the gluten-free rolled oats, almond flour, gluten-free all-purpose flour blend, brown sugar, cinnamon, and salt, then cut in the cold butter until chunky clumps form.
- Scatter the crumble over the apples so the whole surface is covered with an even, crisp-looking layer.
- Bake for 40-45 minutes at 375F until the topping is golden and the filling is bubbling at the edges.
- Rest for 10 minutes before serving so the filling thickens slightly, then serve with vanilla ice cream.