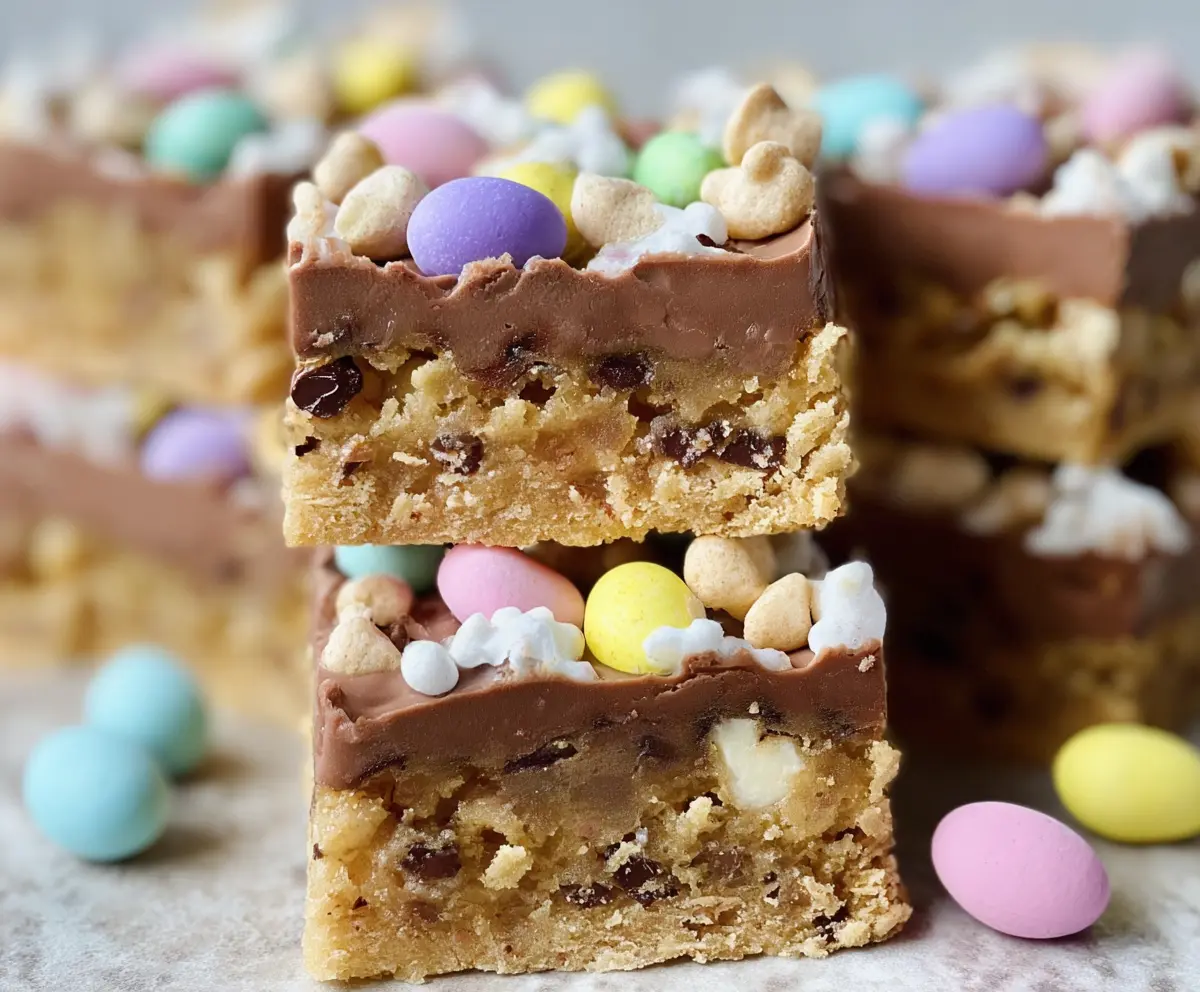
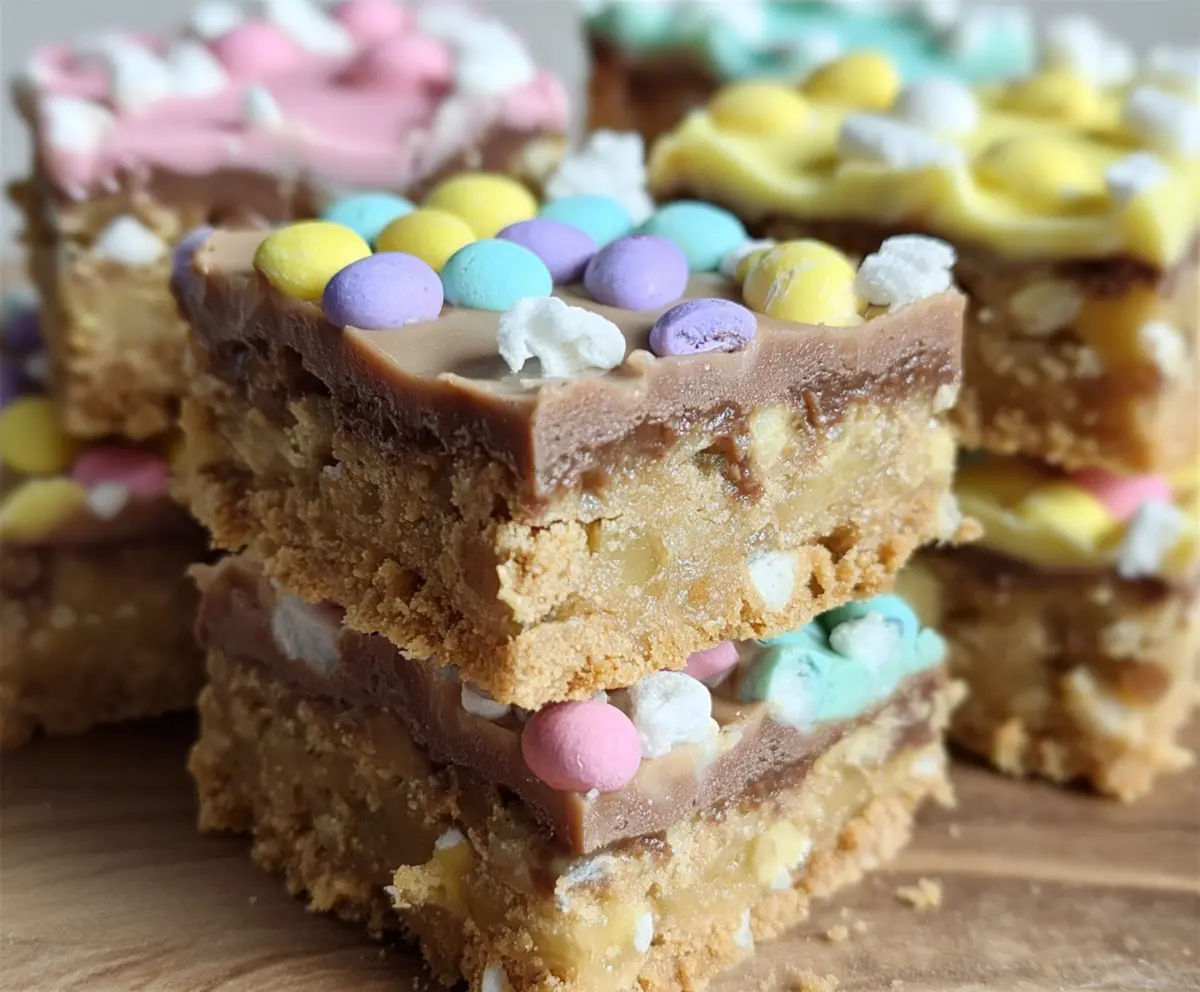
Easter Goody Bars are a fun treat to make for the holiday! They are sweet and crunchy, made with marshmallows, rice cereal, and colorful Easter candy.
These bars are like a party in your mouth! I love cutting them into squares and sharing with friends or keeping some secret for myself. Shhh, don’t tell anyone! 😄
They’re super easy to whip up—just mix, press, and chill. Perfect for getting the family involved in the Easter fun! Enjoy them while hopping around! 🐰
Key Ingredients & Substitutions
Butter: Unsalted butter works best here for precise control of saltiness. If you’re in a pinch, you can use margarine or coconut oil, though it might slightly change the flavor and texture.
Brown Sugar & Granulated Sugar: The combination of these sugars gives the bars a lovely sweetness and chewiness. If you prefer less refined options, try using coconut sugar instead of granulated sugar for a caramel-like taste.
Mini Chocolate Chips: I love using semi-sweet mini chocolate chips, but feel free to swap in dark chocolate chips for a richer flavor. If someone has a dairy allergy, dairy-free chocolate chips work great too!
Nuts: Walnuts and pecans are delicious, but you can skip them if you’re avoiding nuts. Sunflower seeds or coconut flakes can add a fun crunch instead.
Milk Chocolate Chips: For the topping, I enjoy using melting wafers because they are easier to work with. If you want a darker chocolate flavor, switch to dark chocolate chips. If you’re feeling creative, try white chocolate for a colorful contrast!
How Can I Ensure Even Mixing of Ingredients?
Mixing your wet and dry ingredients is crucial for the perfect texture. Make sure to thoroughly combine the melted butter, sugars, eggs, and vanilla until the mixture looks smooth and creamy.
- In a separate bowl, mix the dry ingredients—this prevents clumps of baking soda or salt.
- When combining, add the dry mix to the wet mix gradually. This keeps everything uniform, preventing over-mixing which can make your bars tough.
Folding in the chocolate chips and nuts gently is also key! This helps retain their shape and prevents them from sinking to the bottom. Enjoy your baking!
How to Make Easter Goody Bars
Ingredients You’ll Need:
For the Base:
- 1 cup (2 sticks) unsalted butter, melted
- 1 cup brown sugar, packed
- 1/2 cup granulated sugar
- 2 large eggs
- 1 tablespoon vanilla extract
- 2 1/2 cups all-purpose flour
- 1 teaspoon baking soda
- 1/2 teaspoon salt
- 1 cup mini chocolate chips
- 1 cup chopped nuts (such as walnuts or pecans)
For the Topping:
- 1 1/2 cups milk chocolate chips or chocolate melting wafers
- 1 tablespoon vegetable oil (optional, to make chocolate smoother)
- Mini marshmallows
- Mini candy-coated chocolate eggs (pastel colors)
- Puffed cereal (e.g., puffed wheat or rice)
How Much Time Will You Need?
This recipe takes about 15 minutes to prepare and 20-25 minutes for baking. After baking, allow some time for the bars to cool and for the topping to set. Overall, you can enjoy these delicious treats in about 1.5 hours!
Step-by-Step Instructions:
1. Prepare the Base:
First, let’s get that oven ready! Preheat it to 350°F (175°C). Take a 9×13-inch baking pan and line it with parchment paper or lightly grease it. This will help the bars come out easily after baking.
2. Mix the Wet Ingredients:
In a large bowl, combine the melted butter, packed brown sugar, and granulated sugar. Mix until it’s nice and smooth. You want it to be well-combined and creamy.
3. Add Eggs and Vanilla:
Beat in the eggs one at a time, mixing well after each addition. Then add in the vanilla extract. This will add a lovely flavor to your bars!
4. Combine the Dry Ingredients:
In a separate bowl, whisk together the flour, baking soda, and salt. This step ensures that everything is evenly mixed and helps avoid clumps.
5. Mix It All Together:
Gradually add the dry ingredient mixture to the wet ingredients, stirring gently until everything is combined. Don’t over-mix; just stir until you can’t see any dry flour.
6. Fold in Chocolate Chips and Nuts:
Now, gently fold in the mini chocolate chips and the chopped nuts until they’re evenly distributed throughout the dough.
7. Spread the Dough in the Pan:
Press the dough evenly into the prepared pan so it’s level.
8. Bake the Base:
Pop the pan in the oven and bake for about 20-25 minutes. You’ll know it’s done when the edges are golden brown and a toothpick inserted into the center comes out with a few moist crumbs.
9. Let It Cool:
Remove from the oven and let the base cool slightly in the pan.
10. Prepare the Topping:
In a microwave-safe bowl, melt the milk chocolate chips with the vegetable oil (if using). Do this in 30-second intervals, stirring in between until the chocolate is smooth and melted.
11. Spread the Chocolate:
Once melted, pour the chocolate over the warm base and spread it evenly.
12. Decorate the Bars:
Quickly sprinkle the mini marshmallows, the mini candy-coated chocolate eggs, and puffed cereal on top. Press them down gently to make sure they stick to the chocolate.
13. Cool Completely:
Allow the bars to cool at room temperature or pop them in the refrigerator until the chocolate is fully set.
14. Cut and Serve:
Once the chocolate has set, cut the bars into squares and they’re ready to enjoy!
Enjoy your festive Easter Goody Bars!
Can I Use Different Nuts in This Recipe?
Absolutely! If you’re not a fan of walnuts or pecans, feel free to try almonds, hazelnuts, or even skip nuts altogether if you prefer. Just make sure to keep an eye on the measurements for similar-sized options.
Can I Make This Recipe Gluten-Free?
Yes! To make these bars gluten-free, swap the all-purpose flour for a gluten-free flour blend. Ensure that all other ingredients, especially the baking soda and chocolate chips, are labeled gluten-free as well.
How Do I Store Leftover Easter Goody Bars?
Store any leftovers in an airtight container at room temperature for up to 3 days. If you’d like to keep them longer, you can refrigerate them for up to a week or freeze for up to 3 months. Just be sure to wrap them tightly to prevent freezer burn!
Can I Use Alternative Chocolate for the Topping?
Definitely! While milk chocolate is delicious, you can substitute with dark chocolate for a richer flavor or white chocolate for a sweeter option. If using white chocolate, keep an eye on the melting process as it can seize up more easily.