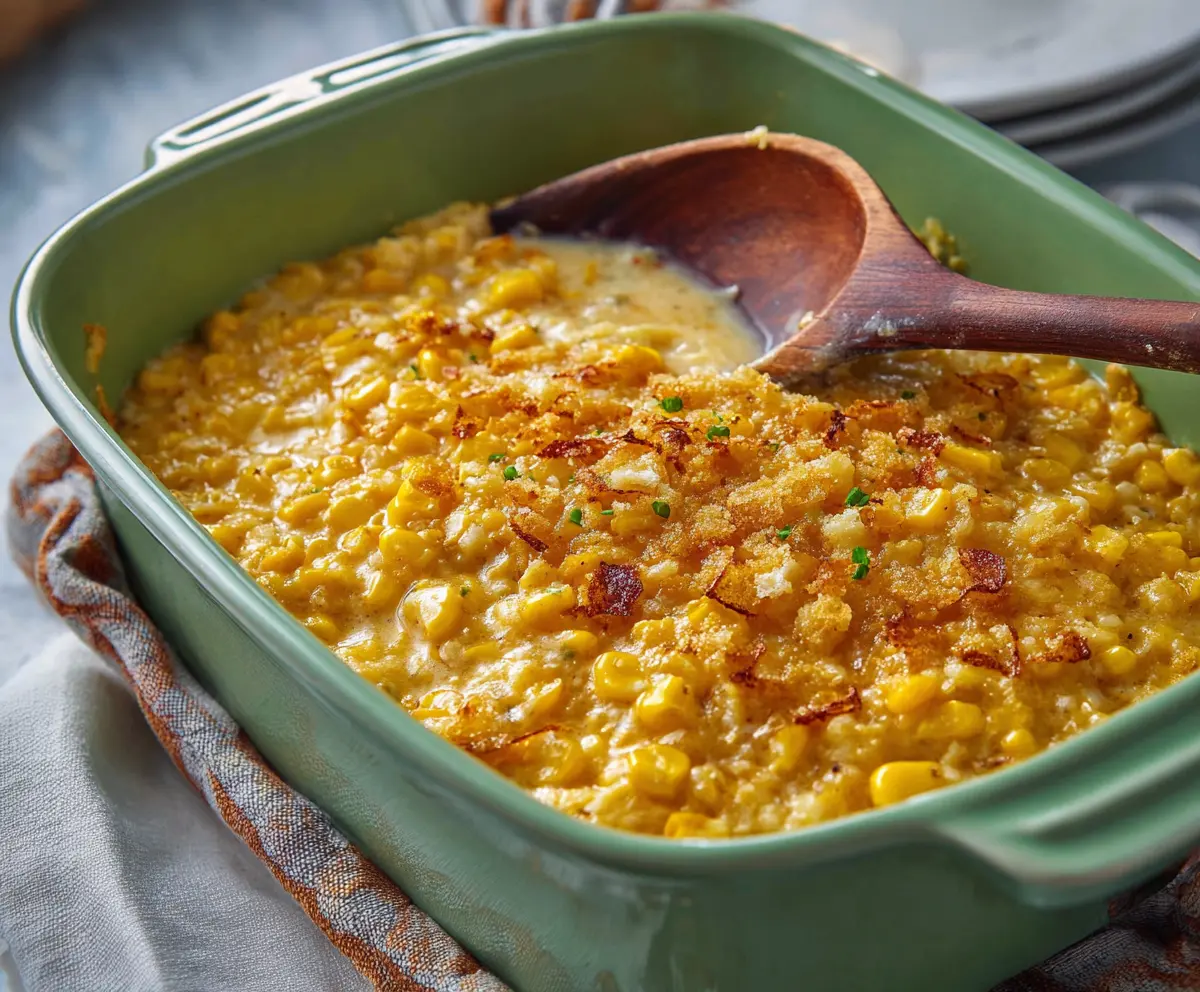
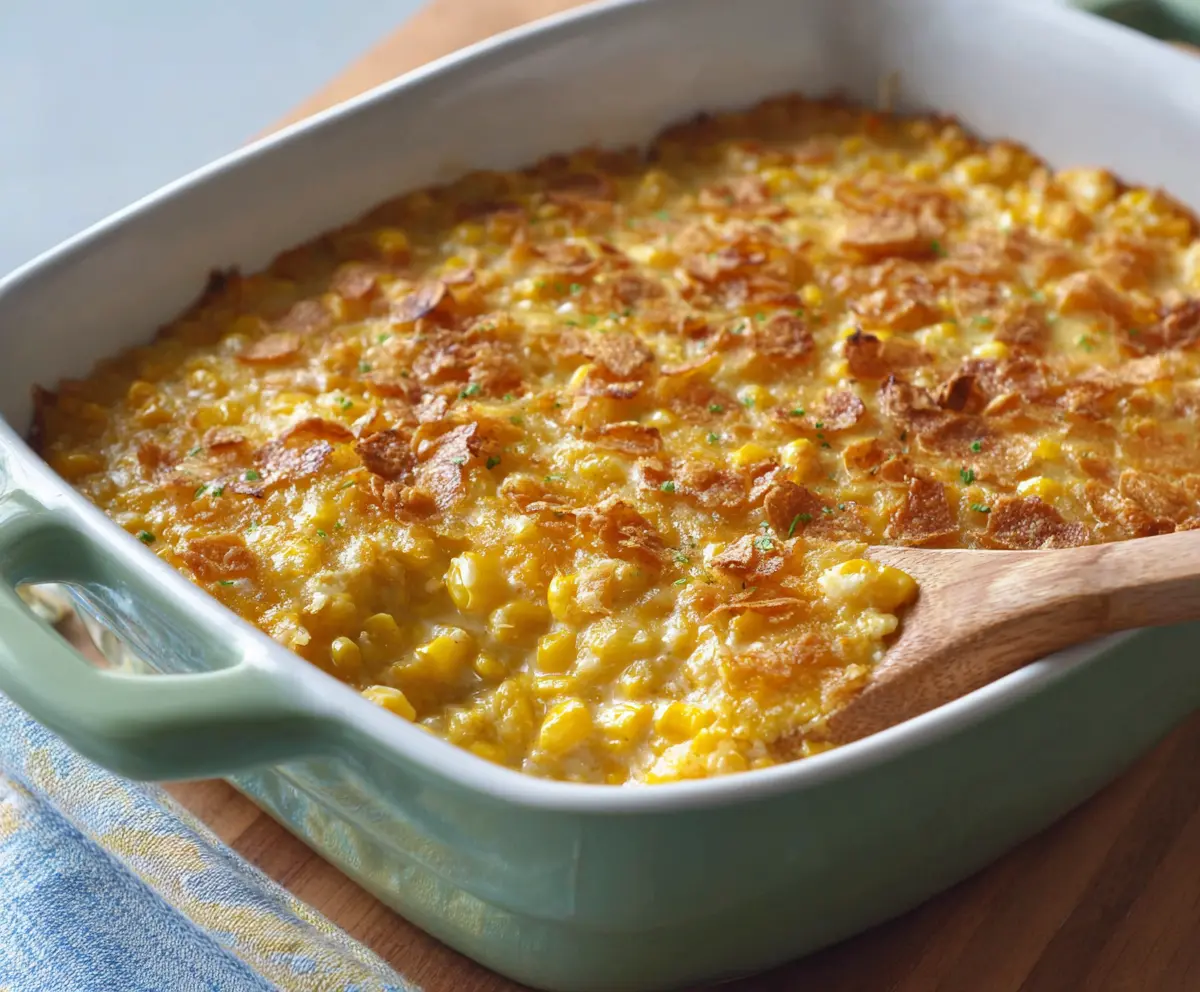
This creamy scalloped corn is like a warm hug for your taste buds! It’s filled with sweet corn, a rich creamy sauce, and topped with golden breadcrumbs for that perfect crunch.
Honestly, who can resist that cheesy goodness? I could eat it as a side or even skip dinner and go straight for this dish! Pair it with anything, and it’s sure to please everyone at the table!
Key Ingredients & Substitutions
Corn: Fresh corn gives a sweet, juicy bite, while frozen corn is a great time-saver. If you want something different, consider using mixed frozen veggies to add color and variety.
Butter: Unsalted butter allows better control of seasoning. If you’re dairy-free, try using olive oil or a non-dairy spread instead.
Onion: A medium onion adds depth. If you’re not a fan of onions, leeks can be a milder option, or even shallots for a sweeter taste.
Cheddar Cheese: Sharp cheddar provides a nice kick. For a creamier experience, mix in Monterey Jack or Gouda. If you need a dairy-free option, there are some good plant-based cheeses available.
Breadcrumbs: They create a crispy topping. If you don’t have breadcrumbs, crushed crackers or panko work well too. For a gluten-free option, use gluten-free breadcrumbs or even crushed nuts.
How Do I Make a Creamy Sauce Without Lumps?
Creating a lump-free creamy sauce is crucial for this recipe! The key is to make a roux and gradually add liquids. Follow these simple steps:
- Start with melting the butter in a skillet, then add finely chopped onions until they soften.
- Sprinkle in the flour and stir for 1-2 minutes—this helps cook off that raw flour taste and makes a smooth base.
- Slowly whisk in the milk and cream. Doing this gradually helps prevent lumps. Keep stirring until the mixture thickens and bubbles a bit.
Trust me, this method makes all the difference for that creamy texture without lumps!
How to Make Creamy Scalloped Corn
Ingredients You’ll Need:
For the Corn Mixture:
- 6 cups fresh or frozen corn kernels
- 3 tablespoons unsalted butter
- 1 medium onion, finely chopped
- 3 tablespoons all-purpose flour
- 1 ½ cups whole milk
- ½ cup heavy cream
- 1 cup shredded sharp cheddar cheese
- ½ teaspoon salt (adjust to taste)
- ¼ teaspoon black pepper
- ½ teaspoon garlic powder
For the Topping:
- ½ cup breadcrumbs
- 2 tablespoons grated Parmesan cheese (optional)
- 1 tablespoon chopped fresh chives (optional, for garnish)
How Much Time Will You Need?
This delicious creamy scalloped corn will take about 15 minutes to prepare and around 30 minutes to bake. In total, you’re looking at about 45 minutes from start to finish, making it a quick and satisfying side dish perfect for any meal!
Step-by-Step Instructions:
1. Preheat and Prepare:
Begin by preheating your oven to 375°F (190°C). Take a medium-sized baking dish and grease it with butter or non-stick spray to prevent sticking later on.
2. Get Your Corn Ready:
If you’re using fresh corn, carefully cut the kernels off the cob. If you chose frozen corn, simply thaw it and drain any extra water so it doesn’t get watery in the dish.
3. Sauté the Onions:
In a large skillet over medium heat, melt the butter. Add the finely chopped onion and cook until it becomes soft and looks translucent, which should take about 4-5 minutes. This gives the dish a lovely flavor base!
4. Make the Roux:
Next, sprinkle the flour over the onions and stir everything together for about 1-2 minutes. This mixture is called a roux, and it helps to thicken your sauce, so keep stirring to avoid lumps!
5. Add the Creamy Base:
Gradually pour in the whole milk and heavy cream while continuously whisking the mixture. Keep stirring until it thickens and just begins to bubble, which should take about 4-5 minutes.
6. Cheese It Up:
Add your shredded sharp cheddar cheese, salt, black pepper, and garlic powder. Stir until the cheese is fully melted and the sauce is smooth and creamy. You’re almost there!
7. Combine with Corn:
Remove the skillet from the heat and gently mix in the corn kernels until they are evenly coated with the cheesy sauce. Yum!
8. Assemble in Baking Dish:
Transfer the creamy corn mixture into your greased baking dish and spread it out evenly to make it ready for baking.
9. Add the Crunchy Topping:
In a small bowl, combine the breadcrumbs with the grated Parmesan cheese (if you’re using it). Sprinkle this breadcrumb mixture evenly over the corn for a deliciously crispy top!
10. Bake It:
Place the dish in your preheated oven and bake it uncovered for 25-30 minutes. You want the top to be golden brown and bubbly. It’ll smell amazing!
11. Cool and Garnish:
Once it’s done baking, carefully take it out of the oven and let it cool for a few minutes. If you’d like, sprinkle some chopped fresh chives for a pop of color and flavor.
12. Serve and Enjoy:
Now it’s time to dig in! Serve this creamy, cheesy scalloped corn warm as a delightful side dish to your favorite meals. Enjoy!
Can I Use Canned Corn Instead of Fresh or Frozen?
Absolutely! If using canned corn, simply drain and rinse it before adding to the mixture. Since it’s already cooked, just fold it in at the end when mixing with the sauce.
How Can I Make This Recipe Gluten-Free?
To make this creamy scalloped corn gluten-free, substitute the all-purpose flour with a gluten-free flour blend or cornstarch. The rest of the ingredients should work perfectly, just ensure the breadcrumbs are gluten-free as well!
Can I Prepare This Dish in Advance?
Yes! You can prepare the corn mixture and assemble it in the baking dish up to a day in advance. Just cover it tightly with plastic wrap and store it in the fridge. When ready to bake, remove from the refrigerator and add the breadcrumb topping before baking.
How to Store Leftovers?
Store any leftovers in an airtight container in the fridge for up to 3 days. To reheat, warm in the oven at 350°F (175°C) or in the microwave until heated through. If it seems dry, add a splash of milk before reheating!