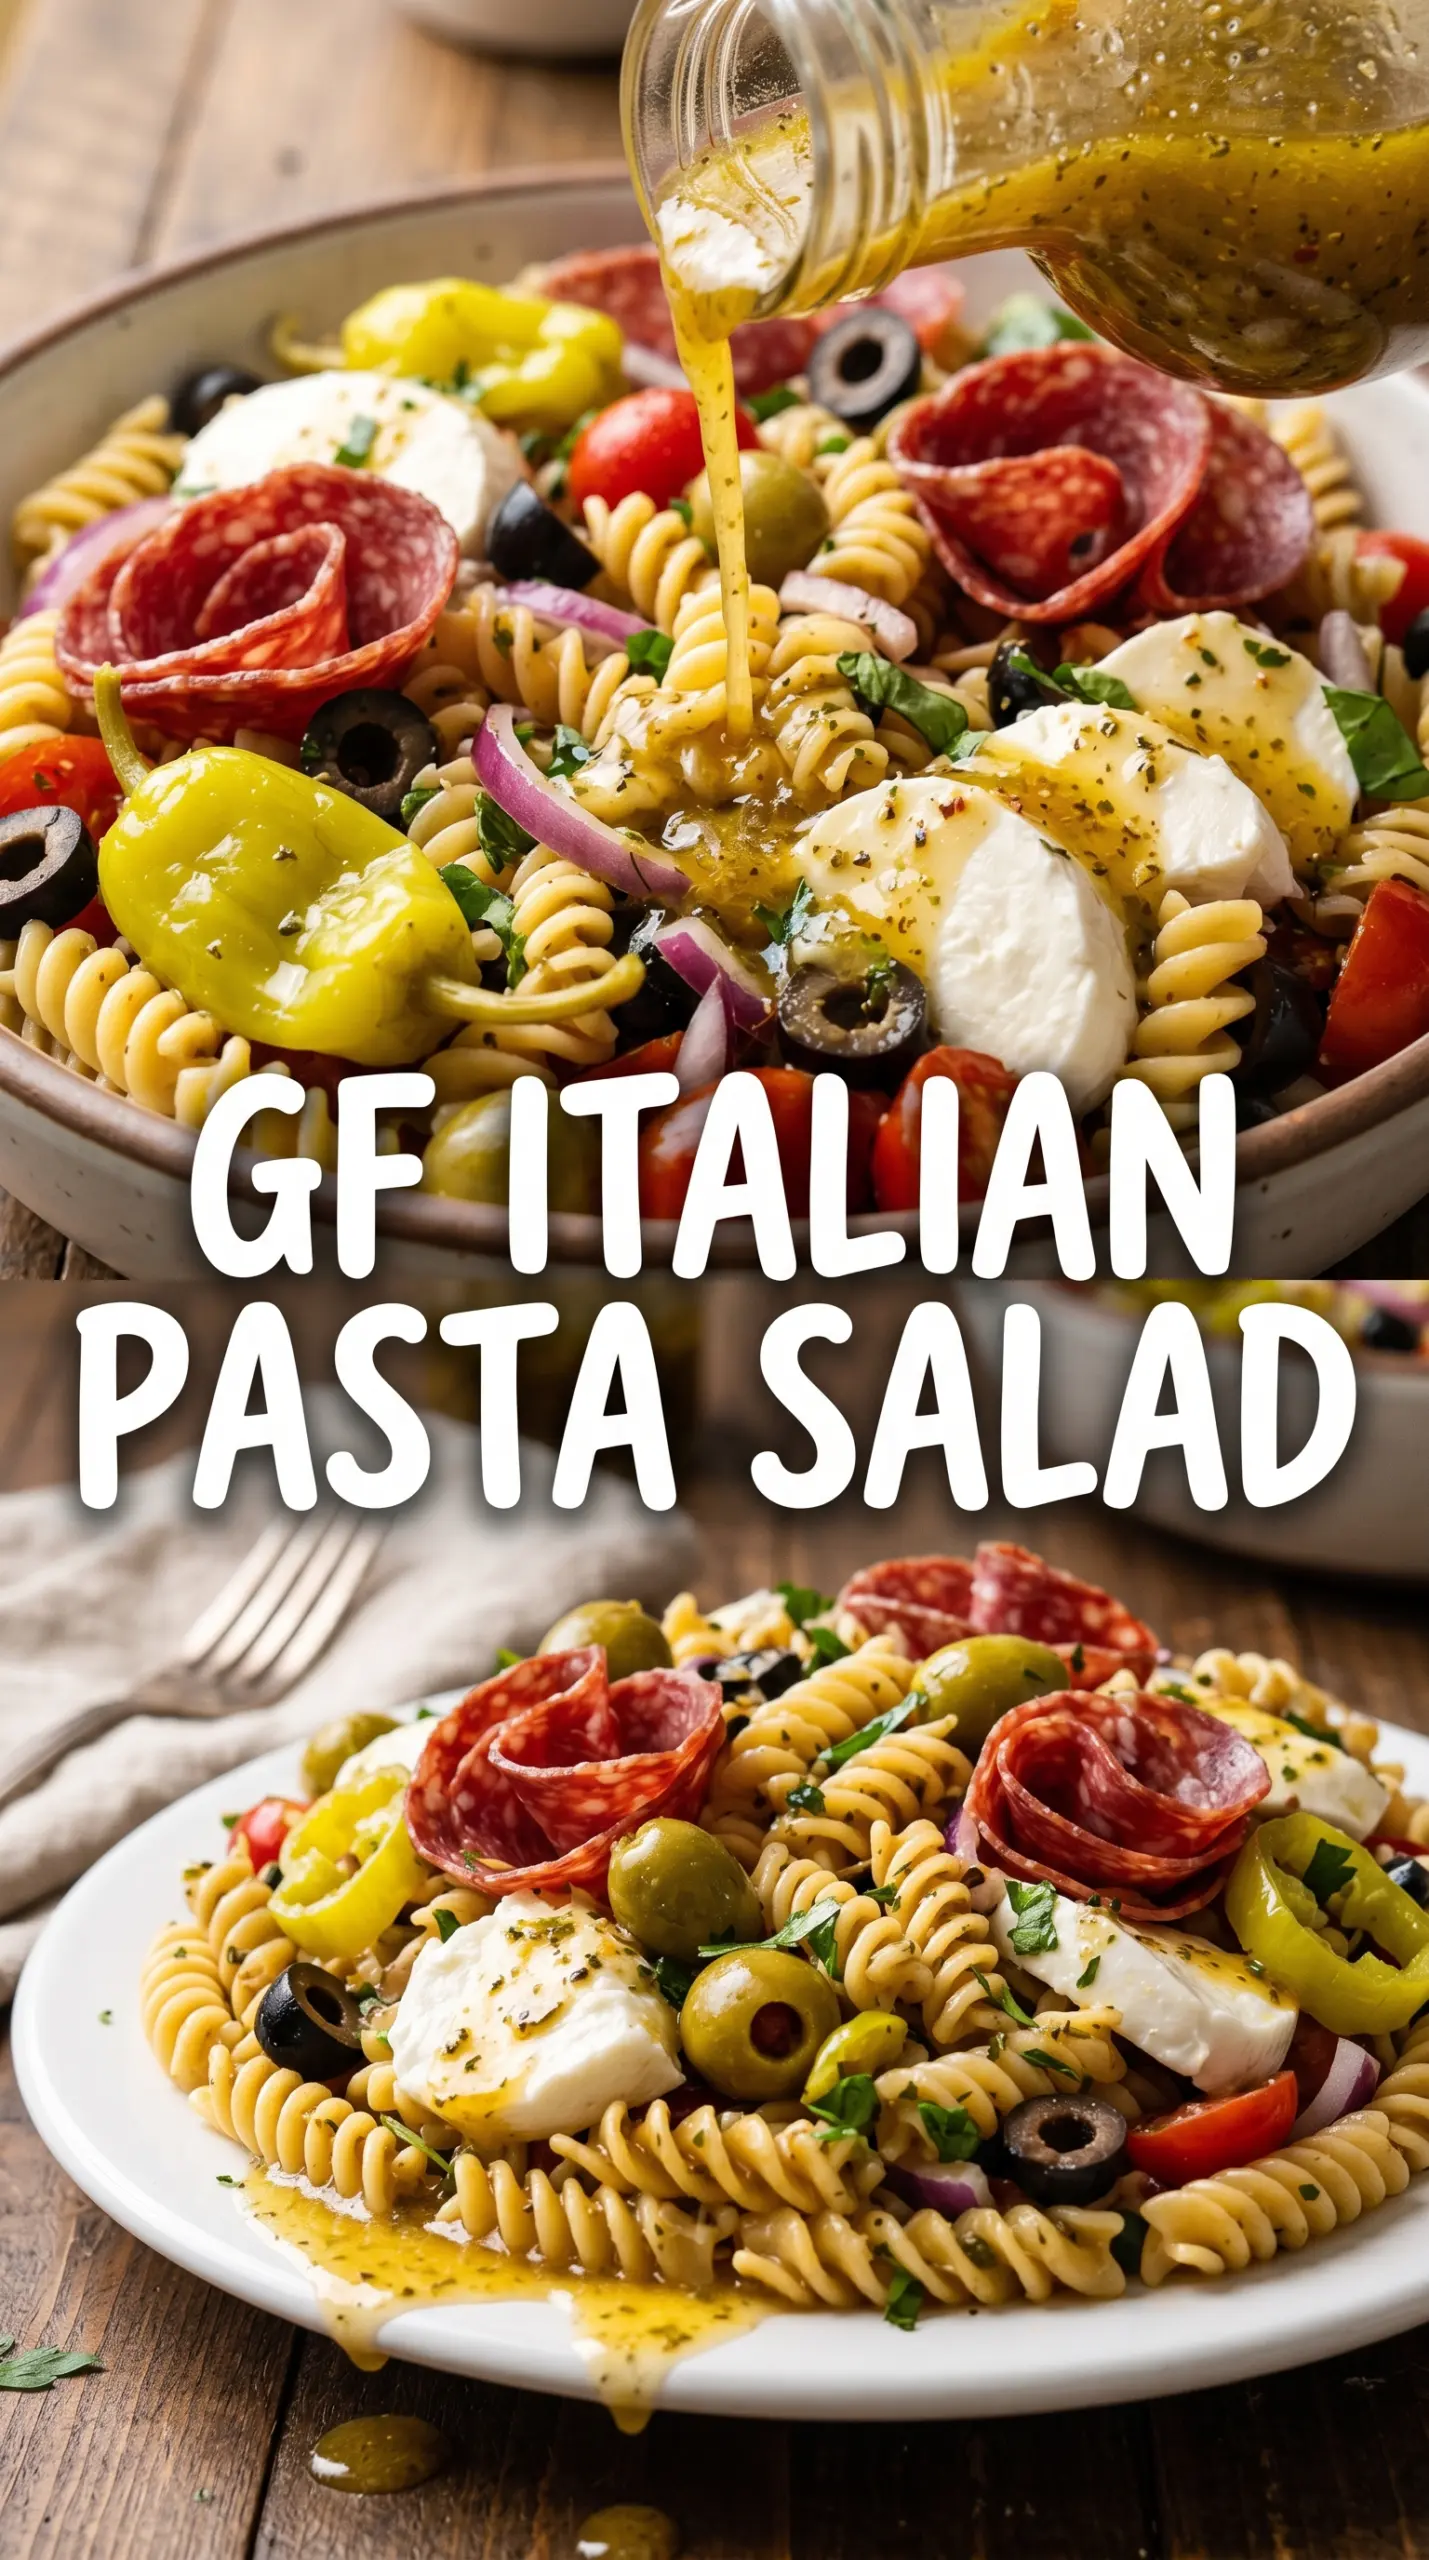
Gluten-free Italian pasta salad hits that sweet spot between sturdy and fresh: chewy pasta, salty salami, creamy mozzarella, and crisp vegetables all coated in a tangy dressing that clings instead of puddling at the bottom of the bowl. It’s the kind of side dish that disappears fast because it eats like a full meal, especially once the pasta has had time to absorb the dressing and the flavors settle in.
The part that makes this version work is giving the pasta enough time to cool completely before dressing it, then letting the salad rest for a couple of hours so the gluten-free noodles can firm up and soak in flavor without turning mushy. I also keep the dressing amount moderate at first. Gluten-free pasta tends to drink up more liquid than regular pasta, so a quick toss before serving keeps the salad glossy instead of dry.
Below, I’ve included the details that matter most: which pasta shapes hold up best, how to keep the cheese from disappearing into the bowl, and the small adjustment that saves the texture if your salad looks a little tight after chilling.
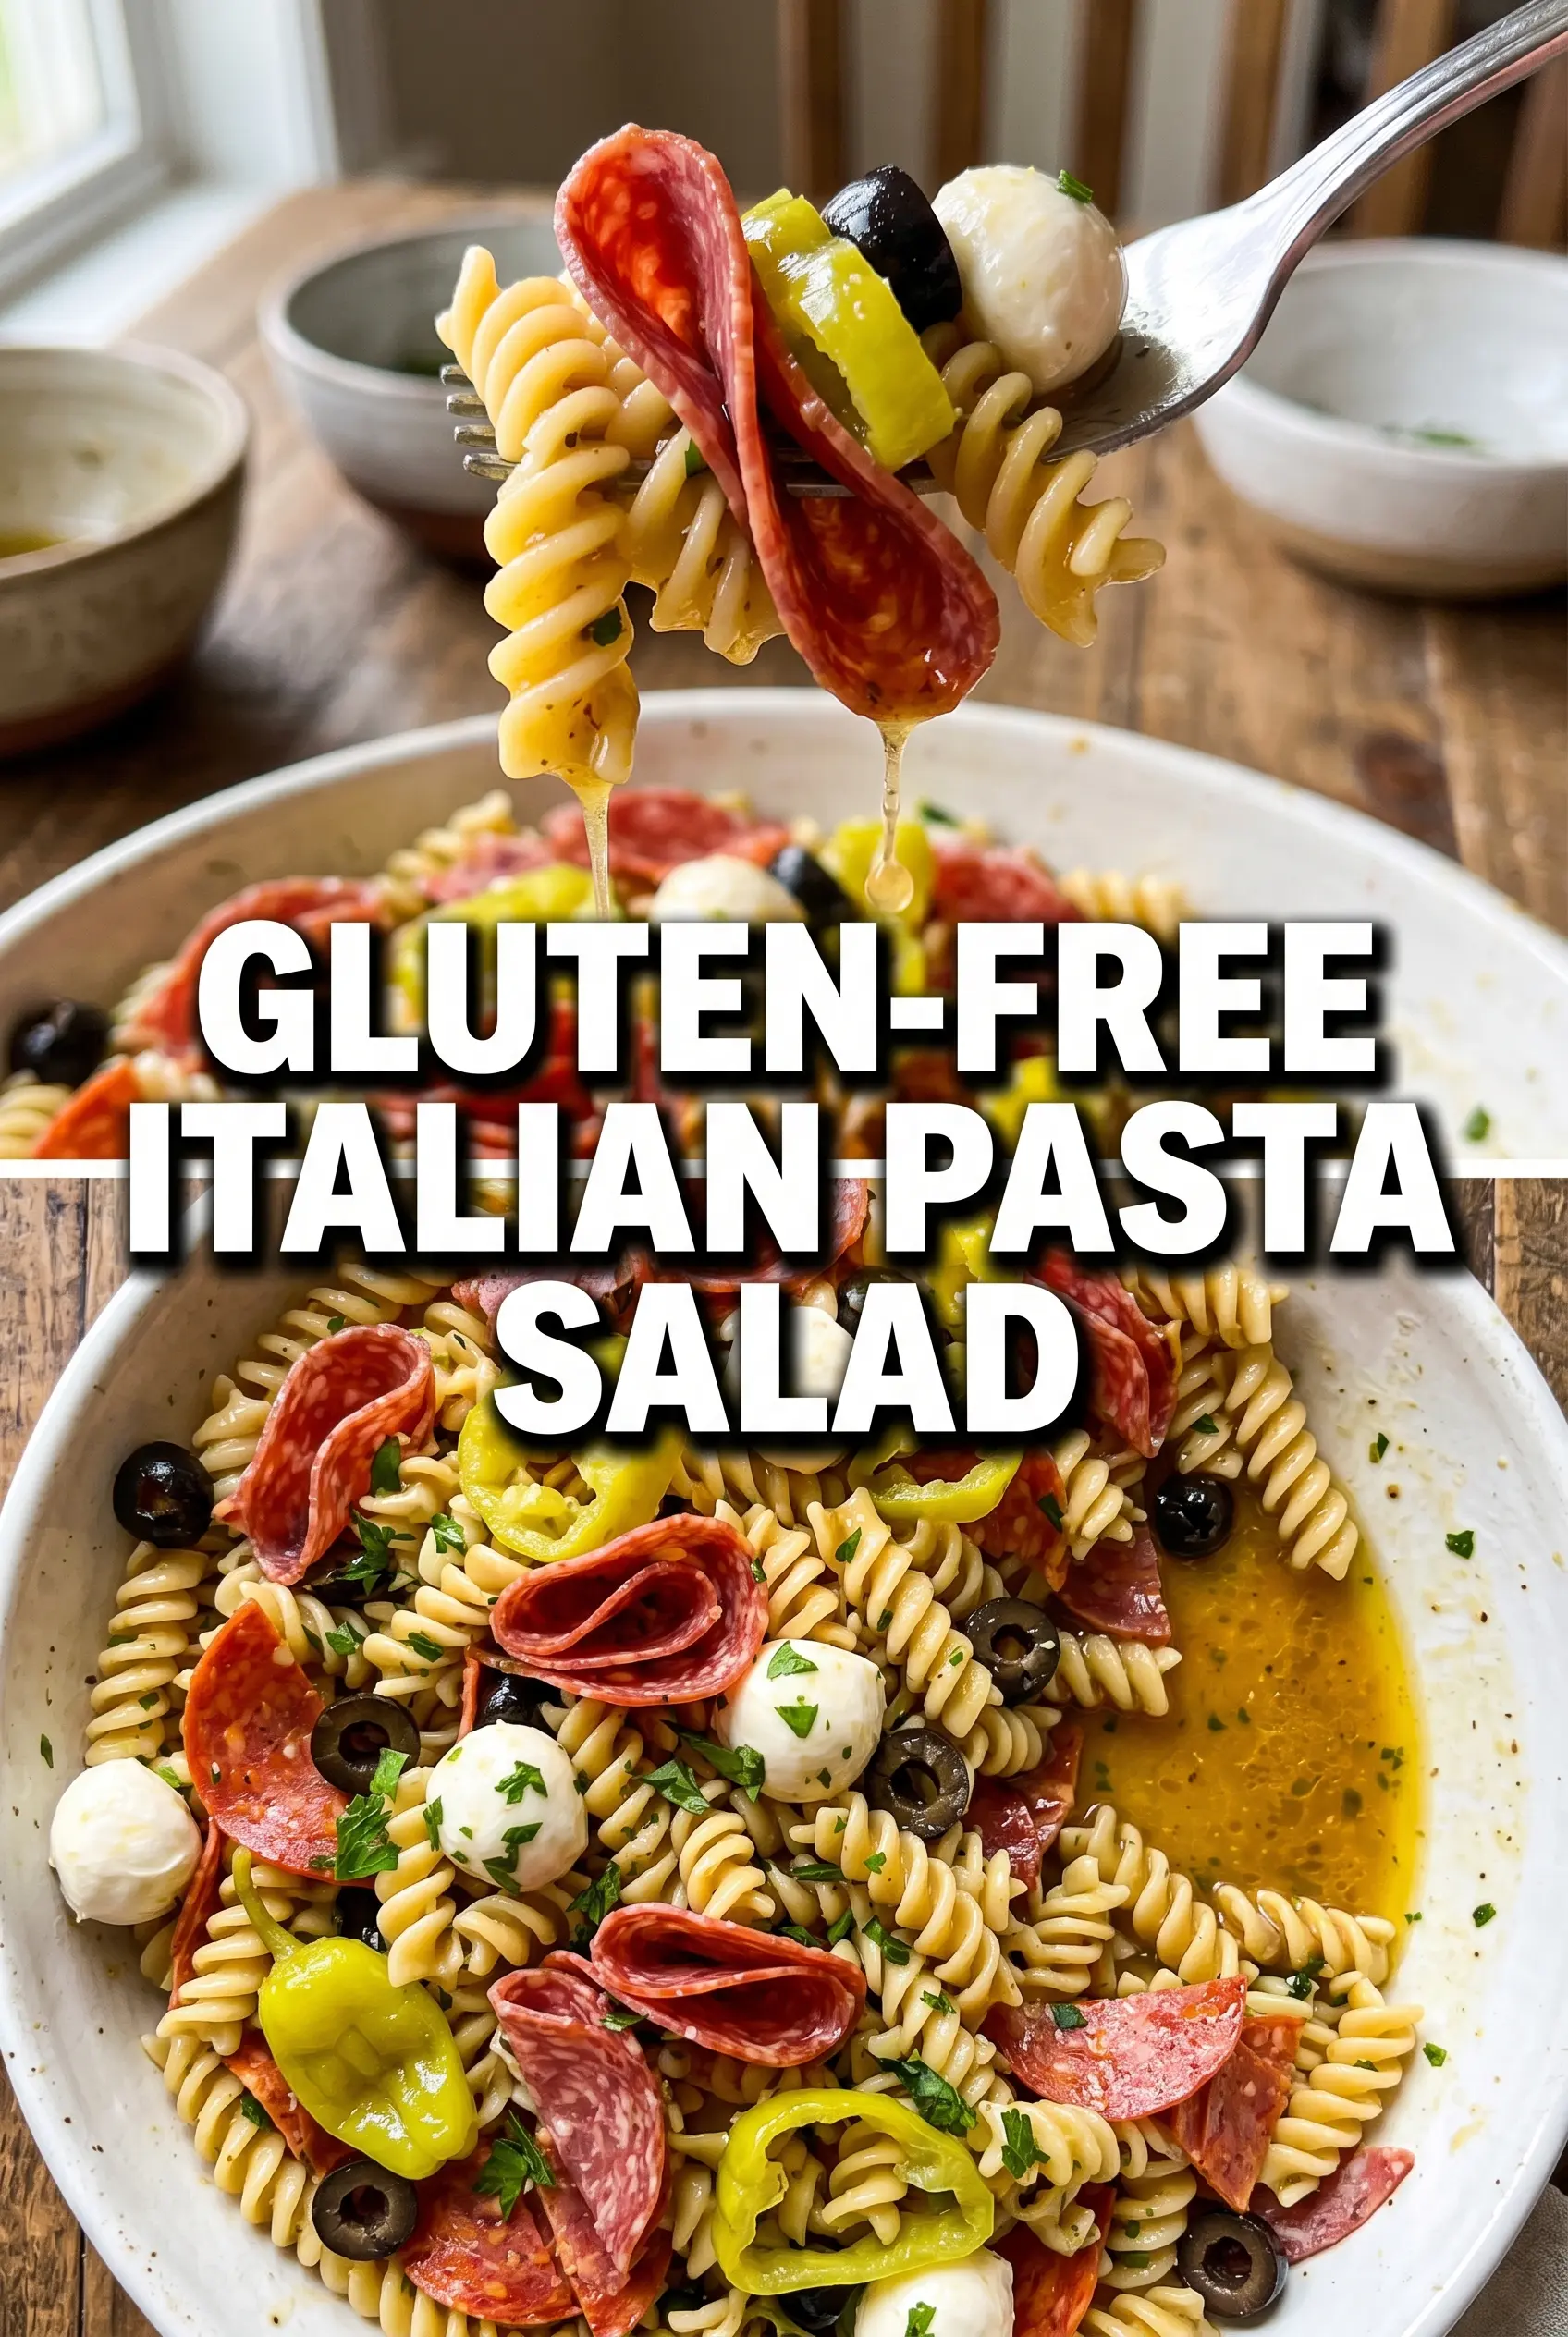
The pasta stayed pleasantly chewy after chilling, and the dressing soaked in without making it soggy. I added a splash more before serving and it tasted like something from a good deli counter.
Save this gluten-free Italian pasta salad for potlucks, cookouts, and any night you want a cold side that holds up after chilling.
Why Gluten-Free Pasta Needs a Different Chill Strategy
Gluten-free pasta doesn’t behave like wheat pasta. It often starts out perfect, then tightens up as it cools and sits in dressing, which is why this salad needs that rest time but also a final toss before serving. If the pasta is still warm when the dressing goes in, it can go soft on the outside and dry on the inside. If it’s cooled properly first, it holds its shape and takes on flavor without turning pasty.
The other trap is overcooking by even a minute. For pasta salad, you want it cooked through but still firm enough to stay distinct after chilling. Rinse it under cold water right after draining to stop the cooking, then let it drain well so the dressing coats the pasta instead of slipping off into a watery pool.
What Each Ingredient Is Doing in the Bowl
- Gluten-free rotini or penne — Rotini is my first choice because the grooves catch the dressing and little bits of onion and seasoning. Penne works too, but choose a sturdy brand; delicate GF pasta can break apart once it’s tossed with the heavier mix-ins.
- Gluten-free Italian dressing — This does the heavy lifting for both flavor and moisture. Use one you actually like eating straight from the spoon, because the salad will taste exactly like the dressing after chilling. If yours is thick, thin it with a splash of water or extra vinegar before tossing so it spreads more evenly.
- Salami and mozzarella — The salami brings salt and chew, while the mozzarella softens the sharper edges of the dressing. Cubing both instead of slicing keeps the bite balanced in every forkful and helps them stay mixed through the salad.
- Cherry tomatoes, cucumber, olives, and red onion — These are here for contrast: juicy, crisp, briny, and sharp. Dice the cucumber small enough that it doesn’t dump extra water into the bowl, and slice the onion finely so it seasons the salad without dominating it.
- Parmesan and Italian seasoning — Parmesan gives a little savory depth that plain dressing can’t match, and the seasoning rounds everything out. If your dressing is already heavily herbed, use a lighter hand with the seasoning so the salad stays bright instead of muddled.
How to Keep the Pasta Salad Chewy, Not Soft
Cooking the Pasta Past the Point of Hot
Cook the gluten-free pasta according to the package, but start checking it a minute or two before the box says it’s done. You want it tender in the center with a firm bite, not bloated or fragile. Drain it well, then rinse under cold water until it’s fully cool to stop carryover cooking. If you skip the rinse, the residual heat keeps softening the pasta and the salad loses its structure by the time it chills.
Building the Bowl in the Right Order
Add the pasta, salami, mozzarella, vegetables, dressing, Parmesan, and seasoning in a large bowl and toss gently until everything is coated. The goal is a thorough mix without crushing the pasta or tearing the mozzarella. If the bowl looks dry right away, don’t panic — the pasta will absorb some dressing as it chills. That’s why the first toss should coat everything lightly, not drown it.
The Chill That Makes It Taste Finished
Refrigerate the salad for at least 2 hours before serving. That rest gives the pasta time to absorb the dressing and lets the onion and seasoning settle into the whole dish. Right before serving, toss again and add a little more dressing only if the pasta has soaked up most of it. If it seems underseasoned after chilling, a pinch of salt and a splash of dressing usually wakes it right back up.
How to Adapt This for Different Diets and Crowd Sizes
Dairy-Free Version
Leave out the mozzarella and Parmesan, then add a little more salami or extra vegetables so the bowl still feels complete. The salad will taste sharper and a bit leaner, but the Italian dressing keeps it bright and satisfying.
Vegetarian Swap
Skip the salami and add roasted red peppers, chickpeas, or marinated artichokes for more body. You’ll lose the salty cured-meat bite, so bump up the olives and Parmesan to keep the salad savory.
Making It Ahead for a Party
Cook the pasta and chop the vegetables a day ahead, but keep the dressing separate until a few hours before serving. That gives you the best texture without letting the pasta soak up all the moisture too early. If you’re serving it later in the day, hold back a little extra dressing for the final toss.
Gluten-Free Label Check
Use pasta and dressing that are both labeled gluten-free, since bottled dressings can sometimes hide gluten in flavorings or thickeners. This matters most if you’re cooking for someone with celiac disease, where even small cross-contact issues can be a problem.
Storage and Reheating
- Refrigerator: Store covered for up to 3 days. The pasta will keep absorbing dressing, so expect the texture to tighten a little.
- Freezer: I don’t recommend freezing this salad. The vegetables, cheese, and gluten-free pasta all suffer after thawing and the texture turns uneven.
- Reheating: This is meant to be served cold. If it dries out in the fridge, stir in a spoonful or two of Italian dressing and let it sit 10 minutes before serving instead of heating it.
Questions I Get Asked About This Recipe
Gluten-Free Italian Pasta Salad
Ingredients
Method
- Cook the gluten-free pasta according to package directions (it may take longer than regular pasta), until tender. Drain and rinse with cold water to stop cooking and keep the pasta from clumping.
- Add the cooled pasta, salami, mozzarella, cherry tomatoes, cucumber, black olives, and red onion to a large bowl. Toss gently to distribute the mix evenly, with bright vegetables showing throughout.
- Pour in the gluten-free Italian dressing, then add Parmesan and Italian seasoning. Toss until glossy and evenly coated, with cheese and herbs clinging to the pasta.
- Season with salt and pepper to taste. Taste and adjust so the flavors are balanced without overpowering the vegetables.
- Refrigerate the salad for at least 2 hours before serving. Cover and chill until the pasta absorbs the dressing and the salad looks cohesive.
- Before serving, toss again and adjust dressing if needed. Ensure the pasta is evenly coated and the salad looks fresh and colorful.