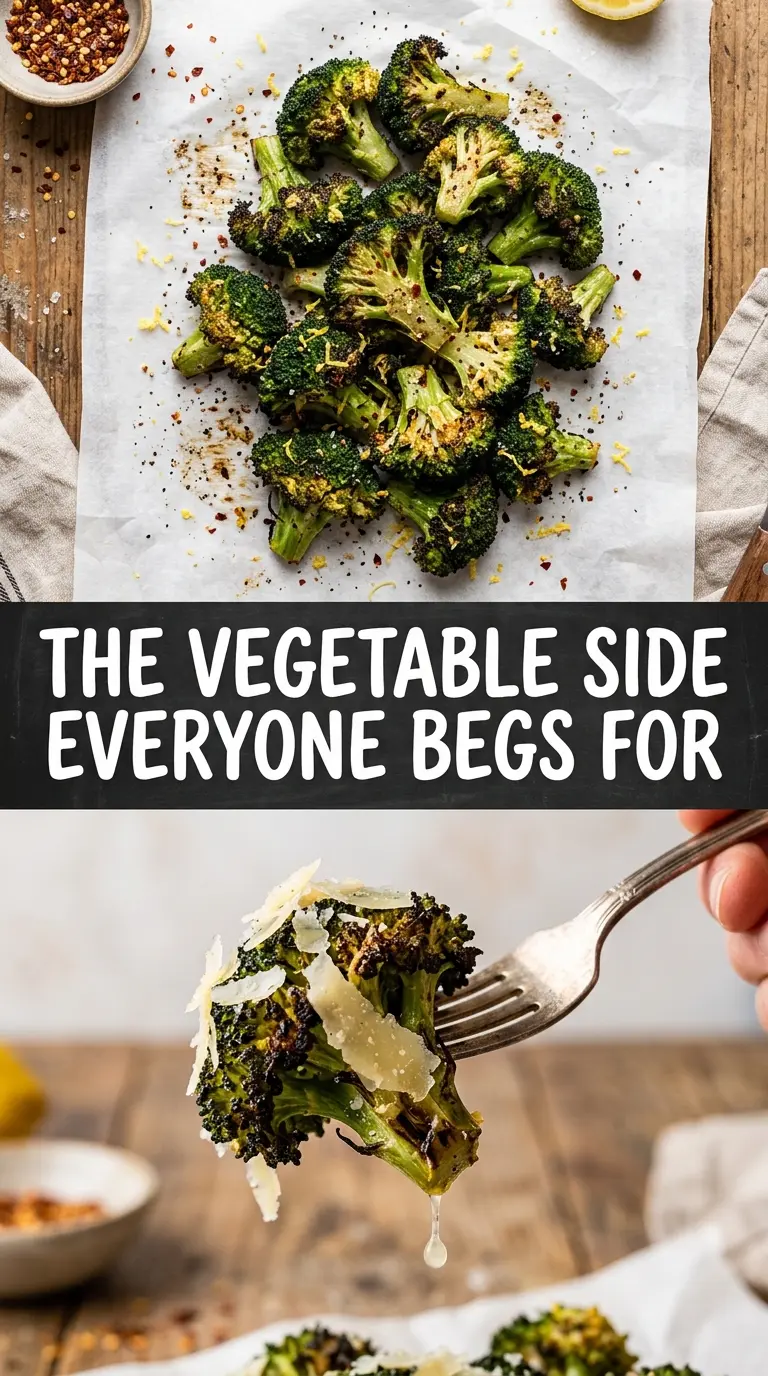
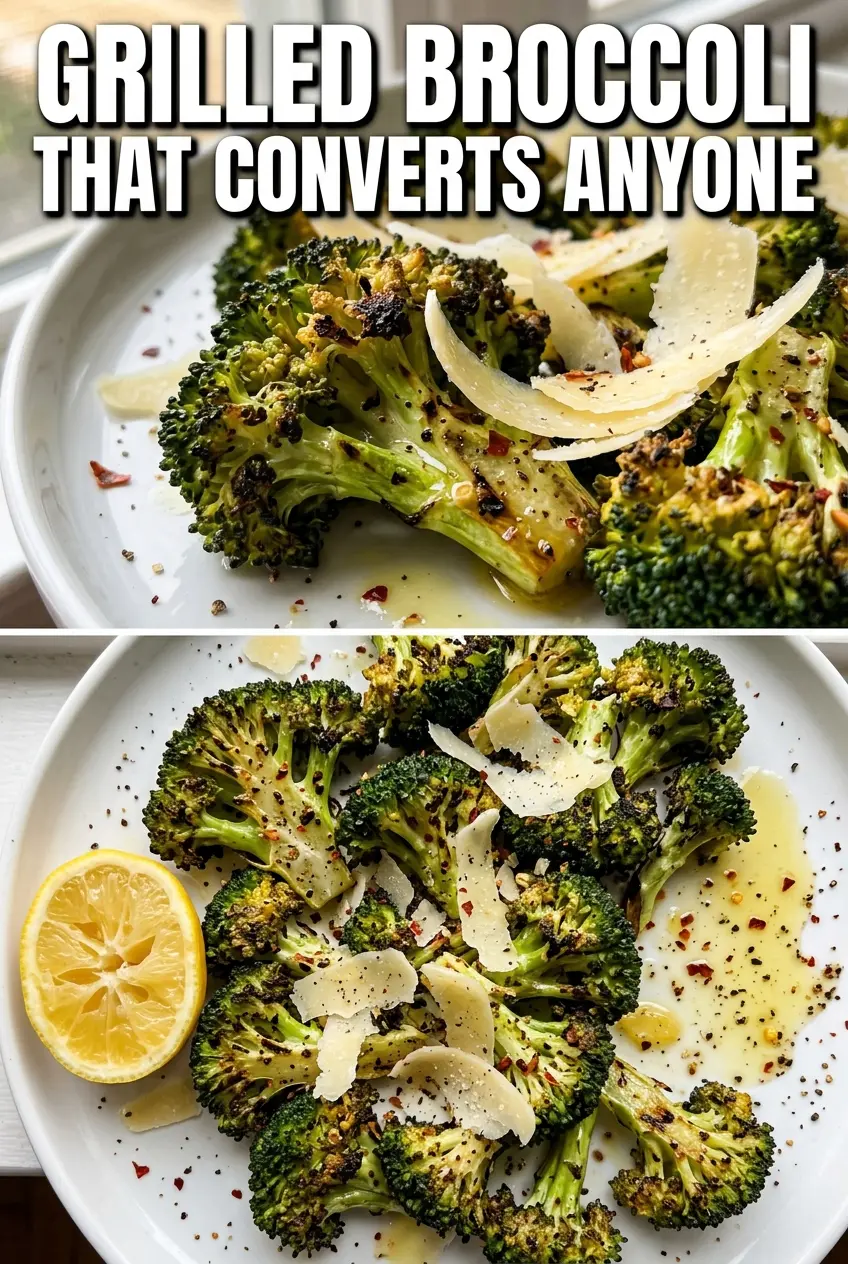
Charred broccoli has a way of turning into the side dish everyone reaches for first. The edges get crisp and deeply browned, the centers stay tender with a little bite, and the lemon-garlic finish keeps it bright instead of heavy. It tastes like the best parts of roasted vegetables, only with a smokier edge from the grill.
The trick is giving the broccoli a short blanch before it ever hits the grates. That quick cook softens the stalks just enough so the florets can char without staying raw in the middle. A good coating of olive oil matters here too; it keeps the garlic from burning too fast and helps the seasoning cling to every nook and cranny.
Below you’ll find the exact timing that gives you charred edges without mushy broccoli, plus a few ways to serve it depending on what else is on the table. If you’ve ever had grilled vegetables that came out dry or limp, this version fixes both problems.
The broccoli came off the grill with crisp edges and stayed tender instead of going mushy. The lemon and garlic were perfect with the char, and even my picky eater went back for seconds.
Save this grilled broccoli for the nights when you want crisp char, lemon-garlic brightness, and a vegetable side that holds its own.
The Reason Grilled Broccoli Turns Mushy on the Grill
Broccoli is sturdy, but it still needs a little help before it goes over live heat. If you throw raw florets straight onto the grates, the outside scorches before the stems have time to soften, which is how you end up with tough stalks and bitter edges. The short blanch fixes that problem. It gives the broccoli a head start so the grill can do what it does best: add char and smoke.
The other mistake is wet broccoli. Water on the surface turns to steam, and steam works against browning. Drain the florets well and let them sit for a minute so the excess moisture can escape. Once they’re oiled, they should look lightly glossy, not slick or dripping.
- Blanching first — this is what keeps the stems tender while the florets char.
- Drying well — a soggy surface blocks browning and can make the broccoli steam on the grill.
- Medium-high heat — hot enough for color, but not so hot that the garlic burns before the broccoli softens.
What the Lemon, Garlic, and Olive Oil Are Really Doing Here
- Broccoli — large florets hold together better on the grill than tiny ones. Keep the stems attached to each floret if you can; they give you something to flip and help the pieces stay intact.
- Olive oil — this coats the broccoli so it browns instead of sticking, and it carries the garlic and lemon zest across the surface. A good everyday olive oil is fine here.
- Garlic — fresh minced garlic gives the broccoli its punch, but it can burn if it’s left in dry spots. Toss it evenly with the oil so it clings to the florets instead of sitting on the grill grates.
- Lemon zest and juice — zest goes in before grilling for aroma, while the juice wakes everything up at the end. The zest holds up to heat; the juice is what keeps the finished dish tasting bright.
- Parmesan — optional, but a small shower of cheese adds salt and a nutty finish. If you skip it, add a pinch more salt at the end so the broccoli still tastes complete.
Getting Char Without Burning the Garlic
Blanching and Drying
Bring a pot of salted water to a boil and drop in the broccoli for 2 minutes. It should turn bright green and still have a firm center. Drain it well in a colander, then let the steam escape for a minute or two. If the florets are still wet when you oil them, the seasoning slides off and the grill gives you steam instead of char.
Coating the Florets
Toss the broccoli with olive oil, garlic, lemon zest, lemon juice, salt, and pepper until everything is evenly coated. The oil should look like a light sheen, not a puddle in the bowl. If the garlic gathers in clumps, break it up with your fingers or a spoon so it doesn’t scorch in one spot. This is also the moment to add red pepper flakes if you want a little heat.
Grilling to Tender and Charred
Lay the florets across a clean, oiled grill over medium-high heat. Give them 4 to 5 minutes per side and leave them alone long enough to pick up deep grill marks before you turn them. If they stick, they aren’t ready to flip yet. When they release cleanly, they’re usually where they need to be. You’re looking for browned edges and stems that can be pierced with a fork without falling apart.
Finishing on the Platter
Move the broccoli to a serving platter while it’s still hot and finish with red pepper flakes and Parmesan if you’re using it. The residual heat helps the cheese soften slightly without melting into a mess. Serve it right away for the best texture, because grilled broccoli loses its crisp edges as it sits. A squeeze of extra lemon at the table is worth doing if you like it extra bright.
How to Change This Up Without Losing the Char
Dairy-Free and Still Full of Bite
Skip the Parmesan and finish with a little extra salt plus an extra squeeze of lemon. You lose the nutty, savory finish from the cheese, but the broccoli stays bright and punchy. A few toasted breadcrumbs over the top also work if you want a little texture without dairy.
Making It Spicier
Add more red pepper flakes to the oil mixture before grilling, or finish with a pinch of chili crisp at the table. The grill softens the heat just enough that it doesn’t take over the dish. This works well if the broccoli is going alongside grilled chicken or salmon.
No Grill, No Problem
A grill pan or a very hot cast-iron skillet gives you similar browning if outdoor grilling isn’t happening. Work in batches so the pan stays hot and the broccoli sears instead of steaming. You won’t get the same smoke, but you’ll still get crisp edges and a good char.
Storage and Reheating
- Refrigerator: Store leftovers in an airtight container for up to 3 days. The broccoli will soften a little, but the flavor holds up well.
- Freezer: I don’t recommend freezing this one. The texture turns soft and watery after thawing.
- Reheating: Reheat in a hot skillet or a 400°F oven until warmed through. The common mistake is microwaving it too long, which wipes out the char and leaves the broccoli limp.
Questions I Get Asked About This Recipe
Grilled Broccoli
Ingredients
Equipment
Method
- Bring a pot of boiling water to a rolling boil, then add the broccoli florets and blanch for 2 minutes. The florets should brighten to a vivid green.
- Drain the broccoli well immediately after blanching and spread it on a sheet pan in a single layer. Let any steam dissipate so excess moisture doesn’t prevent charring.
- Toss the broccoli with olive oil, minced garlic, lemon zest, lemon juice, salt, and black pepper until evenly coated. The florets should look glossy and well seasoned.
- If using, sprinkle in red pepper flakes and toss again for even heat distribution. Keep the seasonings clinging so they caramelize on the grill.
- Preheat the grill to medium-high heat, then place the broccoli on the grates. Grill for 4-5 minutes per side until charred with tender-crisp centers.
- Transfer the grilled broccoli to a serving platter right away. Sprinkle with red pepper flakes and parmesan cheese, if desired, to finish.