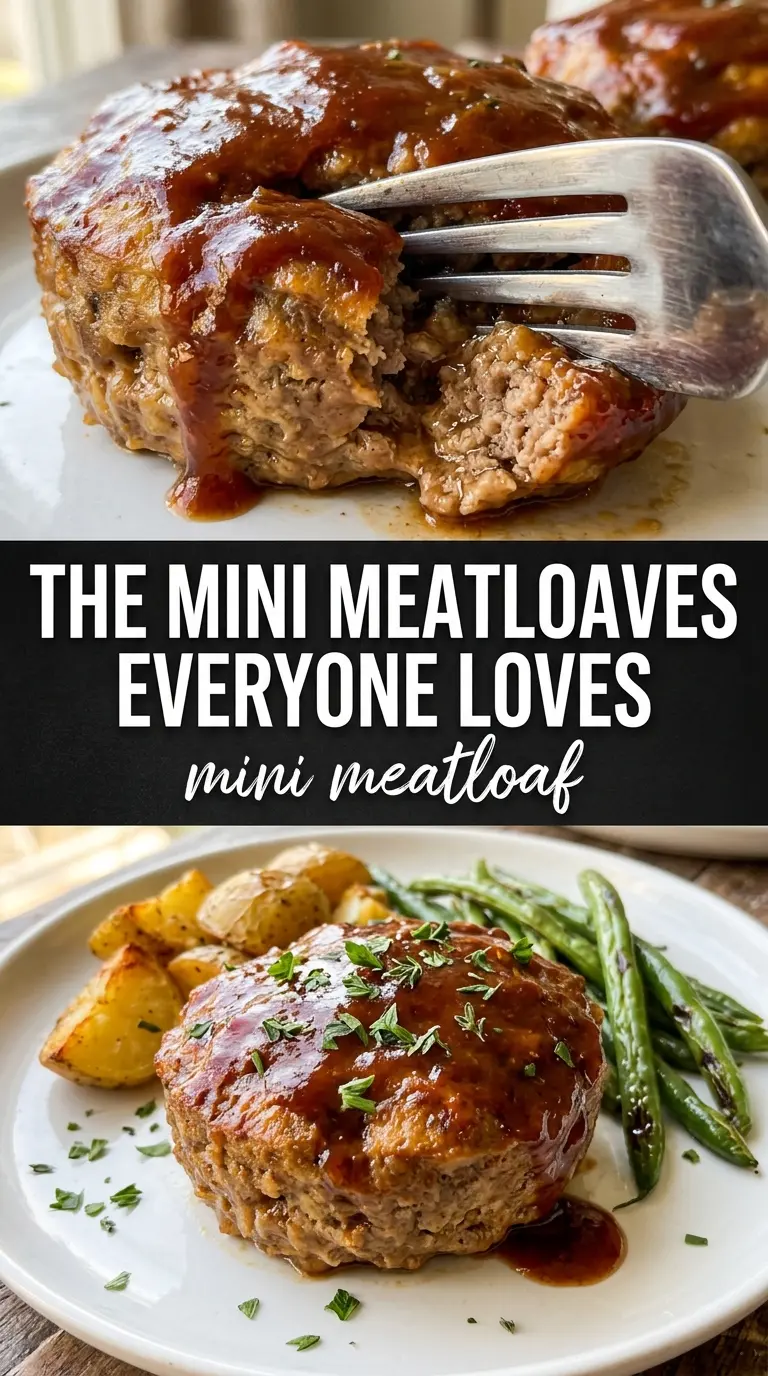
Mini meatloaves come out with more browned edge, more glaze on every bite, and a faster bake than a full loaf can manage. That’s the whole appeal here: you get the same cozy, savory meatloaf flavor, but each portion cooks in a muffin tin so the tops caramelize nicely while the centers stay tender.
The trick is keeping the mixture light enough to hold together without turning dense. Finely grated onion disappears into the meat, breadcrumbs soak up the milk, and a short mix keeps the texture from becoming tough. The ketchup glaze also does real work here — it gives each little loaf a shiny finish and a sweet-tangy layer that balances the beef.
Below, I’ve included the one detail that keeps mini meatloaf from drying out, plus a few smart swaps if you need to work with what’s in your kitchen. The method is straightforward, but a couple of small choices make a big difference.
The mini loaves stayed juicy and the glaze set up beautifully in the muffin tin. I liked that every portion had those browned edges instead of one soft center in a big loaf.
Like these ketchup-glazed mini meatloaves? Save them to Pinterest for a fast weeknight dinner with caramelized tops and no loaf-pan wait time.
The Small Loaf Mistake That Usually Dries Meatloaf Out
Mini meatloaf dries out for the same reason a full loaf can turn crumbly: too much mixing and too long in the oven. In a muffin tin, the portions cook faster, which is a gift, but it also means there’s less room to recover if the meat gets packed too tightly. The goal is a tender crumb that holds together when you lift it out, not a compact little brick.
Grated onion helps a lot here because it melts into the beef and brings moisture without leaving sharp chunks behind. Breadcrumbs and milk work together the same way — the crumbs soften first, then help keep the meat juicy as it bakes. If your mixture looks wet at first, let it sit for a minute before judging it. The breadcrumbs need a little time to absorb the liquid.
- Ground beef — Use 80/20 if you can. Leaner beef works, but you’ll lose some of the juicy texture that makes these worth making.
- Breadcrumbs — These hold the mixture together and keep the mini loaves from tightening up in the oven. Plain breadcrumbs are fine; seasoned ones just add extra salt and herbs, so adjust accordingly.
- Eggs and milk — This is the binder and moisture base. If you swap the milk, use the same amount of unsweetened plain milk alternative, not something flavored or sweetened.
- Worcestershire sauce — This adds depth and a little tang that makes the beef taste fuller. There isn’t a perfect substitute, but soy sauce plus a small splash of vinegar gets close in a pinch.
- Finely grated onion — Don’t chop it coarse. Grating gives you flavor without big pieces that can stay crunchy in a short bake.
What Each Ingredient Is Actually Doing in This Recipe
- Primary ingredient (the star) — Quality matters most. Choose the best you can find.
- Cooking medium (oil, butter, or broth) — This carries flavors and prevents dryness.
- Seasonings (salt, pepper, spices, herbs) — Layer flavors so nothing overpowers. Build depth gradually.
- Aromatics (garlic, onion, herbs) — Cook with fat to bloom flavors. Become the foundation.
- Supporting ingredients — Complement the main ingredient without overpowering it.
- Sauce or liquid (if applicable) — Brings flavors together. Balance richness with acid.
- Acid (lemon, vinegar, wine, or other) — Brightens and prevents flat-tasting results.
- Final finish (garnish, glaze, or sauce) — Prevents one-dimensional taste and adds visual appeal.
Building the Mini Meatloaves So They Stay Tender
Mix the Meat Gently
Combine everything until the ingredients are just evenly distributed. Stop as soon as the breadcrumbs disappear and the mixture looks cohesive. If you keep working it, the beef starts to look pasty and the finished meatloaves come out dense. Cold hands help here because the fat stays a little firmer while you mix.
Fill the Muffin Tin Without Packing It Down
Divide the mixture evenly among the muffin cups and press lightly, just enough to fill the shape. You want the meat to hold together, but not so tightly that the heat can’t move through it. A gentle fill gives you a better texture and more browned surface on top.
Glaze Before Baking
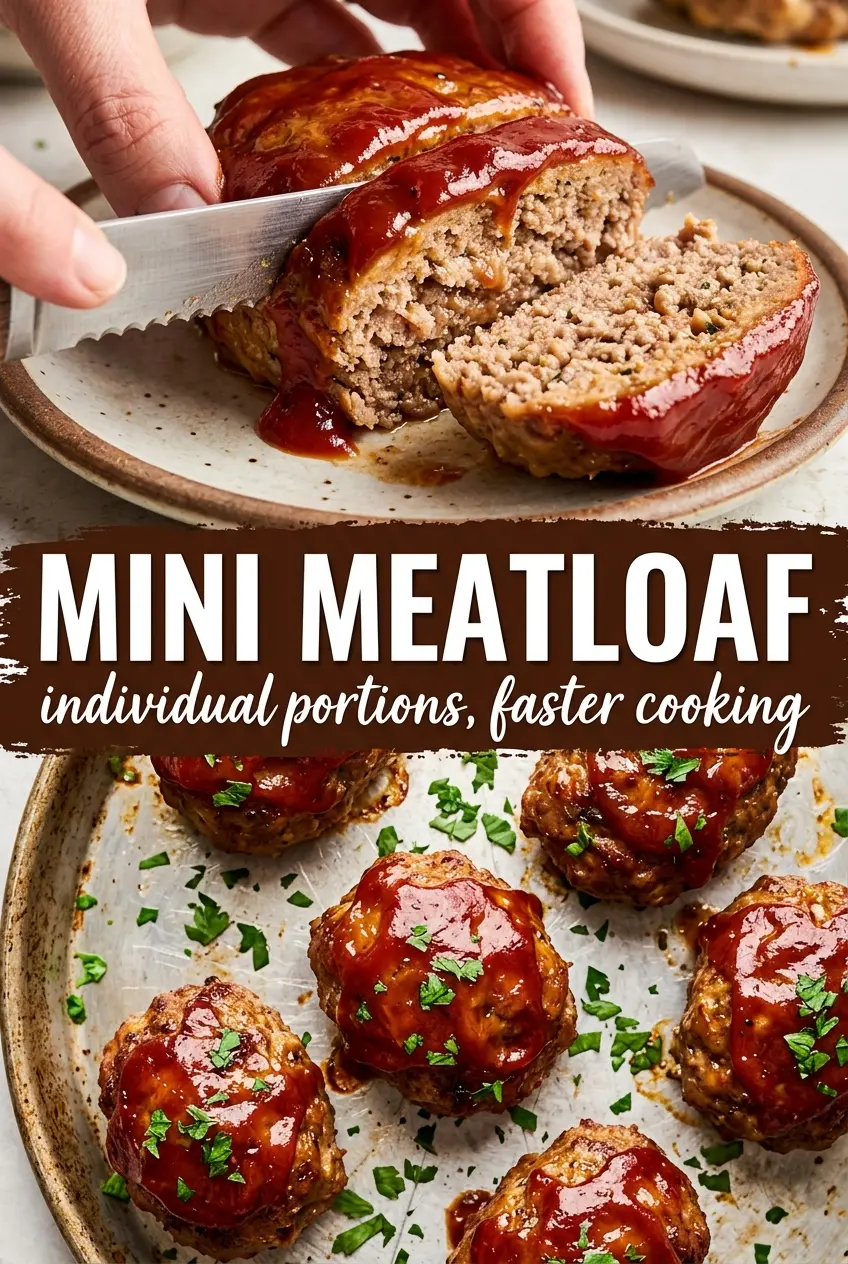
Stir the ketchup, brown sugar, and mustard together, then spoon a small amount over each portion before it goes into the oven. That thin layer caramelizes as the meat cooks and keeps the tops from drying out. If you add too much glaze, it can slide off and puddle in the tin instead of setting on the meat.
Bake Until the Centers Reach 160°F
Bake at 375°F until the tops are browned and the internal temperature hits 160°F. For most muffin tins, 20 to 25 minutes is right on target, but the thermometer is the real answer because oven hot spots are common. Pull them when the centers are just done; carryover heat finishes the job during the rest.
How to Change Mini Meatloaf Without Losing the Texture
Turkey Mini Meatloaf
Swap the ground beef for ground turkey if you want a lighter version. Add a tablespoon of olive oil or a little extra milk because turkey is leaner and can bake up drier. The flavor is milder, so the glaze and Worcestershire matter even more.
Gluten-Free Version
Use gluten-free breadcrumbs in the same amount. The texture stays nearly identical as long as you don’t overmix, and you still get the same tender bite. Check your Worcestershire sauce too, since some brands contain gluten.
Dairy-Free Mini Meatloaf
Replace the milk with an unsweetened plain non-dairy milk. Oat milk or soy milk works best because they taste neutral and behave most like dairy milk in the mix. Skip anything sweetened or strongly flavored, or the glaze will be fighting with the filling.
Make-Ahead and Reheat for Lunches
Bake the mini meatloaves, cool them, then store them in a covered container. They reheat well because the muffin-tin shape keeps the portions even, so they warm through fast without drying out. Add a teaspoon of water to the container before microwaving if you want to keep the texture soft.
Storage and Reheating
- Refrigerator: Store in an airtight container for up to 4 days. The glaze may soften, but the flavor holds up well.
- Freezer: Freeze baked mini meatloaves on a tray first, then move them to a freezer bag or container for up to 3 months. Thaw before reheating for the best texture.
- Reheating: Warm in a 325°F oven covered loosely with foil until hot, or microwave in short bursts. Don’t blast them on high heat or the edges will dry out before the center is warm.
Questions I Get Asked About This Recipe
Mini Meatloaf
Ingredients
Equipment
Method
- Preheat the oven to 375°F and grease a 12-cup muffin tin so the mini meatloaves release cleanly.
- Combine ground beef, breadcrumbs, eggs, whole milk, finely grated small onion, minced garlic, Worcestershire sauce, garlic powder, onion powder, salt, and pepper until just mixed—do not overmix to keep the texture tender.
- Divide the meat mixture evenly among the muffin cups, pressing gently so each one holds together during baking.
- Mix ketchup, brown sugar, and mustard, then spoon about 1 teaspoon over the top of each mini meatloaf.
- Bake for 20–25 minutes at 375°F until the internal temperature reaches 160°F and the tops look caramelized and glossy.
- Rest the mini meatloaves for 5 minutes before removing from the tin so the juices settle and the glaze stays set.