Pale orange, silky cheesecake filling over a buttery Golden Oreo crust is the kind of dessert that disappears fast because it hits that sweet spot between bright citrus and soft vanilla cream. Every slice tastes like a creamsicle bar turned into a proper cheesecake: cool, smooth, and just firm enough to hold a clean edge when you cut into it.
What makes this version work is the balance. Fresh orange juice and zest give it real citrus lift, while orange extract carries that classic creamsicle note without making the filling watery. The whipped cream is folded in at the end, not beaten in, so the texture stays light instead of dense.
Below, I’ll show you how to keep the filling smooth, how to get the cheesecake to set cleanly, and what to change if you want a slightly firmer slice or a dairy-free version.
The filling set up beautifully overnight and the orange zest on top made every bite taste fresh instead of overly sweet. The crust stayed crisp, even after chilling.
Like this orange creamsicle cheesecake? Save it to Pinterest for the days when you want a cool, creamy dessert with a bright citrus finish.
The Part That Keeps No-Bake Cheesecake From Turning Loose and Grainy
The filling only stays smooth if the cream cheese is fully softened before you start. Cold cream cheese leaves tiny lumps that don’t disappear later, and once the whipped cream goes in, you can’t beat them out without deflating the filling. Start with cream cheese that gives easily under a finger press and scrape the bowl a few times as you mix.
The other common mistake is adding too much liquid too soon. Orange juice brings the flavor, but it also loosens the mixture, so the whipped cream is doing real structural work here. Fold it in after the orange mixture is already smooth; if you stir hard at this point, you’ll knock out the air that gives the cheesecake its mousse-like texture.
What Each Ingredient Is Actually Doing in the Orange Creamsicle Filling
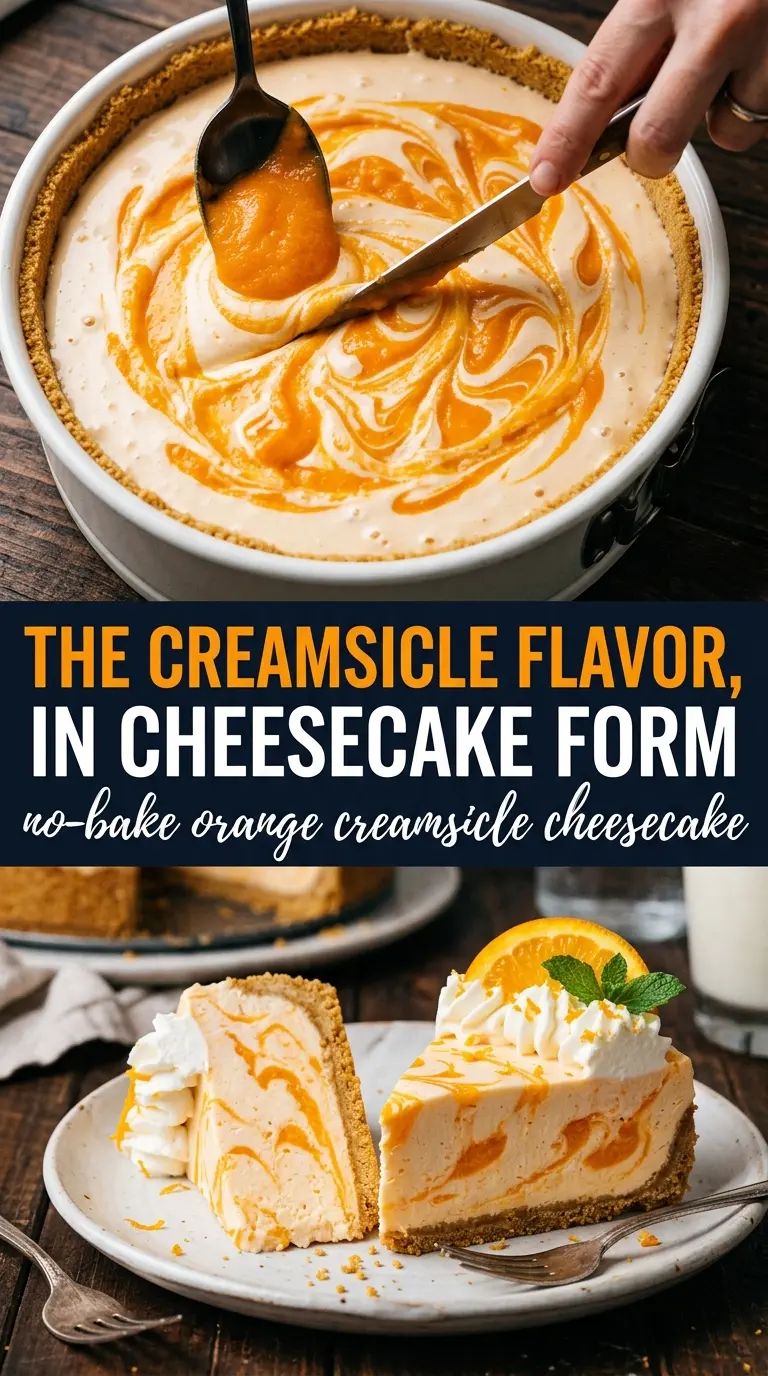
- Golden Oreos — They give you a sweet, vanilla-cookie crust that fits the creamsicle flavor better than a chocolate crust would. If you need a swap, vanilla wafer cookies work, but the crust will be a little less buttery and a little more crumbly.
- Cream cheese — This is the base that makes the cheesecake taste like cheesecake instead of whipped orange filling. Use full-fat blocks for the best set; tub-style cream cheese is softer and can make the slice slouch.
- Sweetened condensed milk — It adds sweetness and body at the same time, which is why this recipe sets so well without gelatin. Don’t replace it with evaporated milk; that swap removes both the sugar and the thick texture that hold the filling together.
- Fresh orange juice and zest — The juice gives flavor, but the zest is where the real orange punch lives. If your oranges are small or pale, add a little extra zest instead of more juice so the filling doesn’t get runny.
- Orange extract and vanilla extract — Orange extract gives the classic creamsicle note, while vanilla softens the citrus so it tastes round instead of sharp. If you skip the orange extract, the cheesecake will still taste good, but it won’t taste like a creamsicle.
- Heavy whipping cream — This is what gives the filling its light, fluffy body. Beat it to stiff peaks first, then fold it in gently; if you underwhip it, the filling can stay soft even after chilling.
Building the Layers So the Cheesecake Sets Cleanly
Pressing the Crust Firmly
Mix the crushed Golden Oreos with melted butter until every crumb looks evenly coated and slightly damp, then press the mixture firmly into the bottom of the springform pan. A flat-bottomed measuring cup makes this easy and keeps the layer compact, which matters because a loose crust falls apart when you slice it. Chill it for 20 minutes so the butter can firm up before the filling goes in.
Whipping the Orange Filling Base
Beat the cream cheese and powdered sugar until the mixture looks completely smooth and a little glossy, then mix in the sweetened condensed milk, orange juice, orange zest, orange extract, vanilla, and coloring if you’re using it. Stop and scrape the bowl a couple of times so no streaks of plain cream cheese hide at the bottom. If the mixture looks thin here, that’s normal; the whipped cream is what changes the texture.
Folding in the Whipped Cream
Add the whipped cream in three additions and fold with a spatula, turning the bowl as you go. The goal is to keep as much air in the filling as possible, so use broad, gentle strokes and stop as soon as the mixture looks uniform. If you stir until the filling is completely smooth in the bowl, you’ve probably gone too far and knocked the structure out of it.
Chilling Until the Center Holds
Spread the filling into the crust and smooth the top, then chill for at least 6 hours or overnight. The cheesecake is ready when the center feels set and doesn’t slosh if you nudge the pan. If you try to slice it early, the filling will smear instead of cutting into neat wedges.
Make it extra citrusy
Add another teaspoon of orange zest and keep the orange juice at the written amount. Zest boosts the orange aroma without thinning the filling, so this is the safest way to make the flavor louder.
Dairy-free version
Use dairy-free cream cheese, coconut whipped topping, and a plant-based butter for the crust. The texture will be a little softer and the flavor slightly less tangy, but it still slices well if you chill it overnight.
Gluten-free crust swap
Use gluten-free vanilla sandwich cookies in place of the Golden Oreos and crush them the same way. The crust still holds together, but it may need an extra tablespoon of melted butter if the crumbs look dry.
Make-ahead storage
- Refrigerator: Keep covered for up to 4 days. The crust stays best on days 1 and 2, but the filling holds its texture well through day 4.
- Freezer: This cheesecake freezes well. Freeze the whole cheesecake or individual slices until firm, then wrap tightly and store for up to 1 month; thaw in the refrigerator so the filling doesn’t weep.
- Reheating: No reheating needed. Serve it cold straight from the refrigerator, and let slices sit out for 10 to 15 minutes if you want a softer, creamier texture.
Answers to the Questions Worth Asking
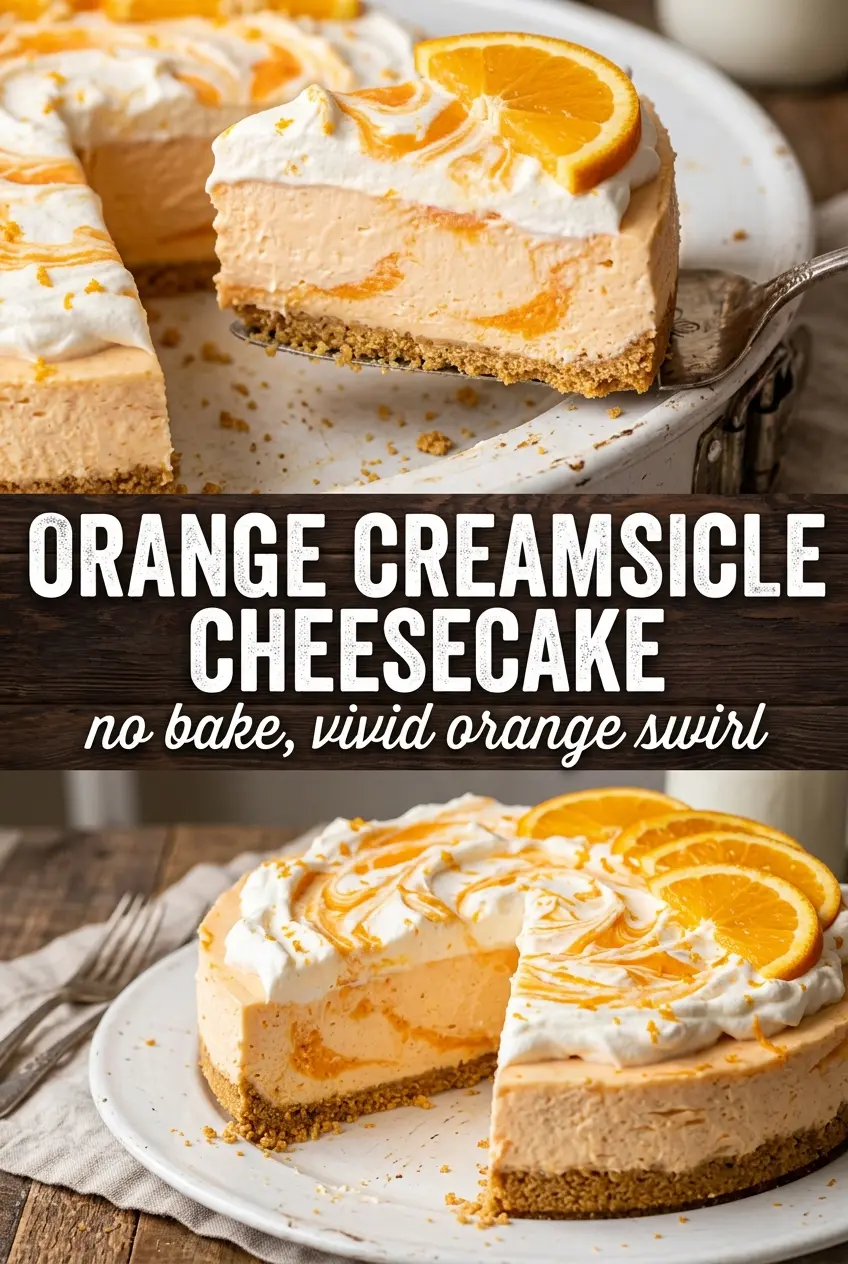
No-Bake Orange Creamsicle Cheesecake
Ingredients
Equipment
Method
- Mix the finely crushed Golden Oreos with melted butter until evenly combined, then press firmly into the bottom of a 9-inch springform pan.
- Refrigerate the crust for 20 minutes to firm up before filling.
- Beat softened cream cheese and powdered sugar until smooth.
- Add sweetened condensed milk, fresh orange juice, orange zest, orange extract, vanilla extract, and a drop of orange food coloring if desired, then beat until smooth.
- Fold the stiff whipped cream into the filling in 3 additions until airy and fully combined.
- Spread the filling over the chilled crust and smooth the top.
- Refrigerate for at least 6 hours or overnight until the cheesecake is fully set.
- Pipe whipped cream around the border, scatter orange zest curls over the top, and serve.