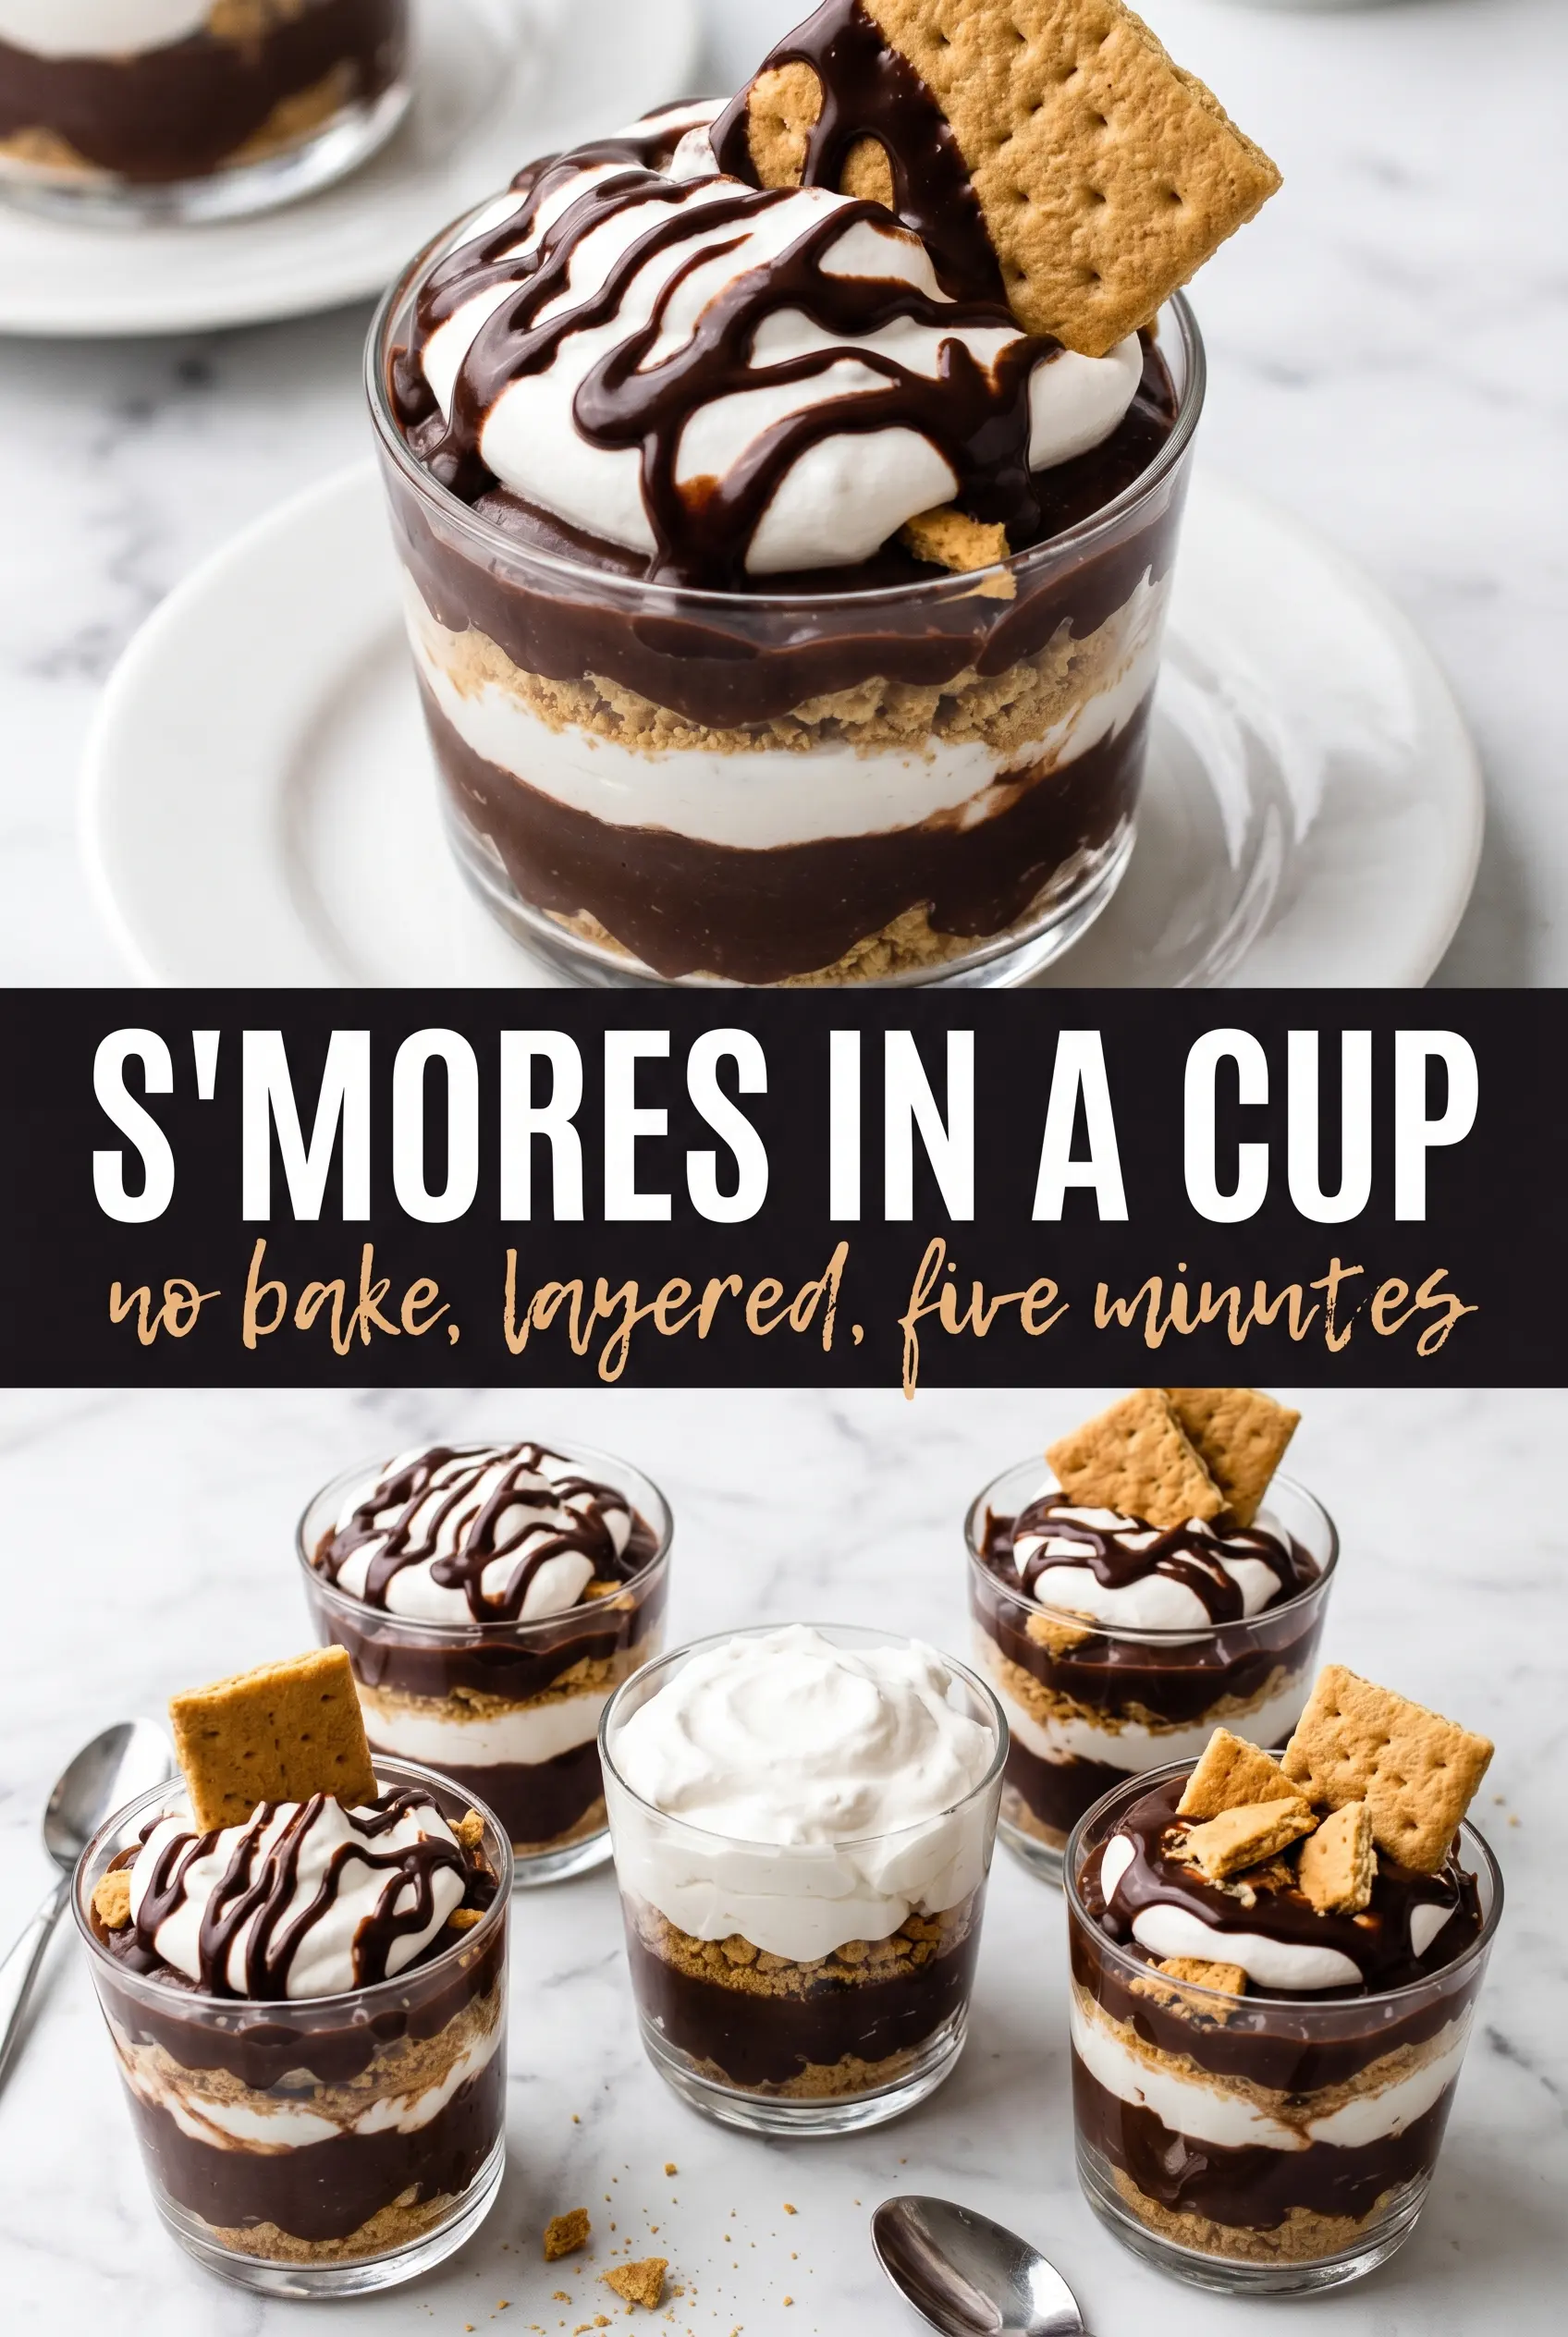
Layered pudding cups like these are the kind of dessert that disappears fast because every spoonful gives you a little crunch, a thick chocolate middle, and that fluffy marshmallow top. The graham cracker layer stays crisp enough to stand up to the pudding, and the whole thing tastes like a campfire treat that was cleaned up and served in a glass.
What makes this version work is the balance. The pudding is kept cold and mixed just until it thickens, which gives you a smooth base instead of a loose, soupy one. The marshmallow layer gets a little structure from cream cheese, so it tastes light and fluffy but doesn’t slide off the pudding after an hour in the fridge.
Below, I’ve included the layering order that keeps the cups neat, plus a few swaps that help if you need to make these ahead or adjust them for a crowd. A small detail like chilling the pudding before assembling makes the final texture much better.
The layers held up beautifully after chilling, and the graham cracker base stayed crunchy instead of turning soggy. I also loved that the marshmallow topping tasted like s’mores filling without being overly sweet.
Love these no-bake s’mores pudding cups? Save them to Pinterest for a layered chocolate dessert with crisp graham crumbs and fluffy marshmallow topping.
The Trick That Keeps the Layers Distinct
The biggest mistake with pudding cups is rushing the assembly while the pudding is still soft. If you layer it too soon, the crumb base gets wet too quickly and the marshmallow cream starts sinking into the chocolate instead of sitting on top. A short chill after mixing the pudding gives it enough body to hold a clean layer in the cup.
The other thing that matters is texture contrast. The graham cracker crumbs need enough butter to hold together, but not so much that they turn pasty. You want them sandy and lightly clumped, since that’s what keeps the base tasting like crust instead of cookie paste.
What Each Layer Is Actually Doing Here
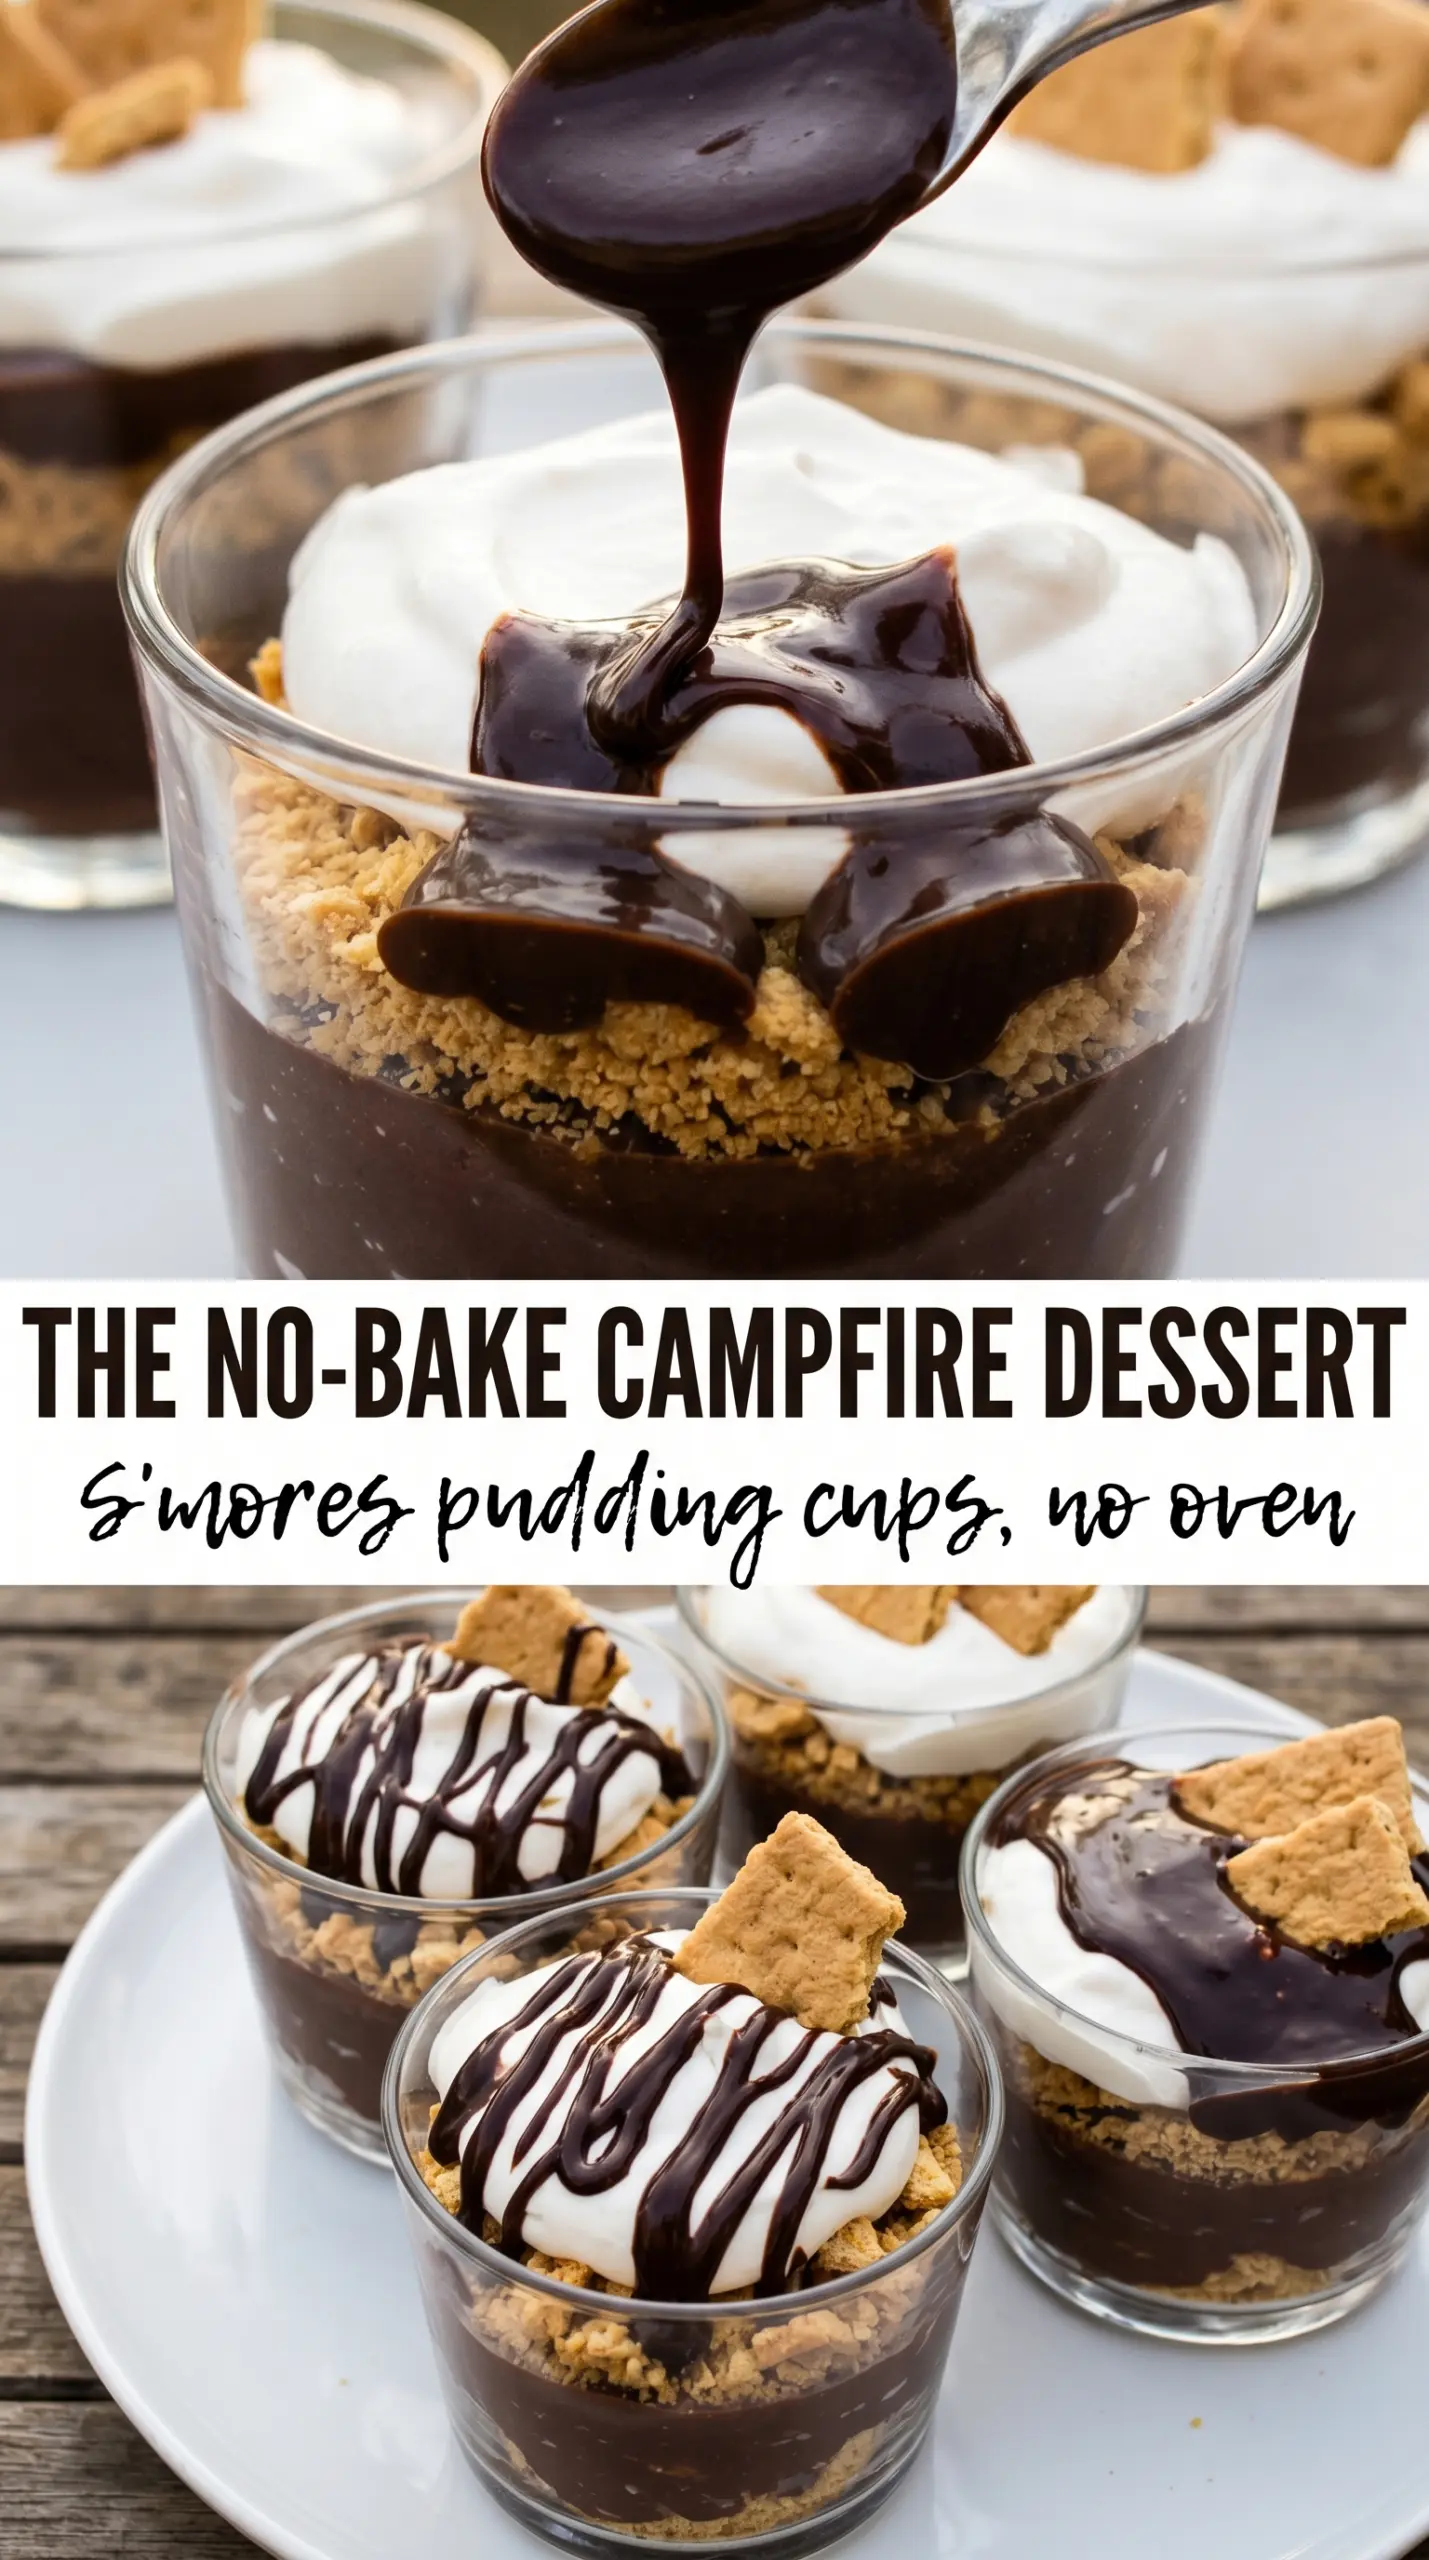
- Graham cracker crumbs — These give you the s’mores backbone. Fresh crumbs from whole crackers taste best and stay crisper than pre-made crust crumbs, though either works if that’s what you have on hand.
- Butter — Melted butter binds the crumbs so they hold their shape under the pudding. Don’t cut it much lower or the base will scatter when you dig in.
- Instant chocolate pudding — Instant pudding is the piece that gives these cups their fast, reliable set. Cook-and-serve pudding won’t thicken the same way here and can make the layers too loose for clean stacking.
- Whole milk — The extra fat helps the pudding feel fuller and smoother. Lower-fat milk works, but the filling sets a little thinner and the chocolate flavor tastes less round.
- Marshmallow fluff — This gives the top layer that sticky-sweet s’mores feel without needing to melt real marshmallows. If you substitute only whipped cream, the layer will be lighter but won’t hold the same shape.
- Cream cheese — This is the quiet stabilizer. It cuts the sweetness and keeps the marshmallow layer from turning loose after chilling.
- Whipped topping — Folded in gently, it keeps the marshmallow layer airy. Homemade whipped cream can work, but it softens faster, so serve those cups the day you make them.
How to Build the Cups So the Crust Stays Crunchy
Mixing the Graham Base
Stir the graham cracker crumbs, melted butter, and sugar until every crumb looks lightly coated. The mixture should hold together when you pinch it, but it shouldn’t look wet or greasy. If it does, the base will pack into a heavy layer instead of a crisp crumble. Spoon it into the cups and press just enough to level it; hard-packing turns the bottom dense.
Whisking the Pudding
Whisk the pudding and cold milk for the full two minutes so the starches can thicken properly. It should go from loose to glossy and mound softly on the whisk. If it still looks thin after resting, it needed a colder milk or a longer whisk, not more ingredients. Let it sit in the fridge for five minutes before layering so it firms up enough to stay put.
Folding the Marshmallow Layer
Beat the marshmallow fluff and softened cream cheese until smooth before adding the whipped topping. If the cream cheese is still cold, you’ll get little lumps that never disappear. Fold the whipped topping in with a light hand so the layer stays fluffy. Overmixing knocks out the air and makes the topping dense and sticky.
Layering and Chilling
Build each cup in the same order: crumbs, pudding, marshmallow cream, then repeat. Keep the layers even so the cups look clean from the side, especially if you’re serving them in clear glasses. Finish with a little crumble, mini marshmallows, and chocolate shavings, then chill for at least two hours. That resting time lets the layers settle together without blending into one another.
How to Adapt These Cups for Different Needs
Make Them Dairy-Free
Use a dairy-free chocolate instant pudding mix, plant-based butter, and a coconut-based whipped topping. The texture stays close to the original, but the marshmallow layer will taste a little lighter and less tangy without the cream cheese.
Gluten-Free Version
Swap in gluten-free graham-style crumbs. The rest of the recipe already fits naturally, and the flavor stays close as long as the crumbs are fine enough to layer neatly in the cups.
Use Vanilla Pudding Instead of Chocolate
Vanilla pudding makes these taste more like a classic fireside s’more with a softer, sweeter profile. You lose some of the deep chocolate contrast, so add a little extra chocolate shavings on top if you still want that s’mores look.
Storage and Reheating
- Refrigerator: Store covered for up to 3 days. The graham layer softens a little by day two, but the cups still taste great.
- Freezer: I don’t recommend freezing these. The pudding can weep and the marshmallow layer turns grainy after thawing.
- Reheating: No reheating needed. Serve straight from the fridge, and if you want toasted marshmallows on top, torch them right before serving so they don’t melt into the cream.
Answers to the Questions Worth Asking
No-Bake S'mores Pudding Cups
Ingredients
Equipment
Method
- Stir graham cracker crumbs, melted butter, and sugar until the mixture looks evenly moistened and crumbly.
- Whisk instant chocolate pudding mix and cold whole milk for 2 minutes until thickened, then refrigerate for 5 minutes.
- Beat marshmallow fluff and softened cream cheese until smooth, then fold in whipped topping until no streaks remain.
- Spoon graham cracker crumble into 6 individual cups or glasses as the first layer, then tap lightly to level.
- Add a layer of chocolate pudding over the crumbs, spreading gently so it reaches the edges.
- Pipe or spoon marshmallow cream on top of the pudding for the final layer, then repeat the layers if needed to fill the cups.
- Finish each cup with a little extra graham cracker crumble, mini marshmallows, and chocolate shavings.
- Refrigerate the cups for at least 2 hours to set the layers.
- Torch the mini marshmallows just before serving if desired, until lightly toasted on top.