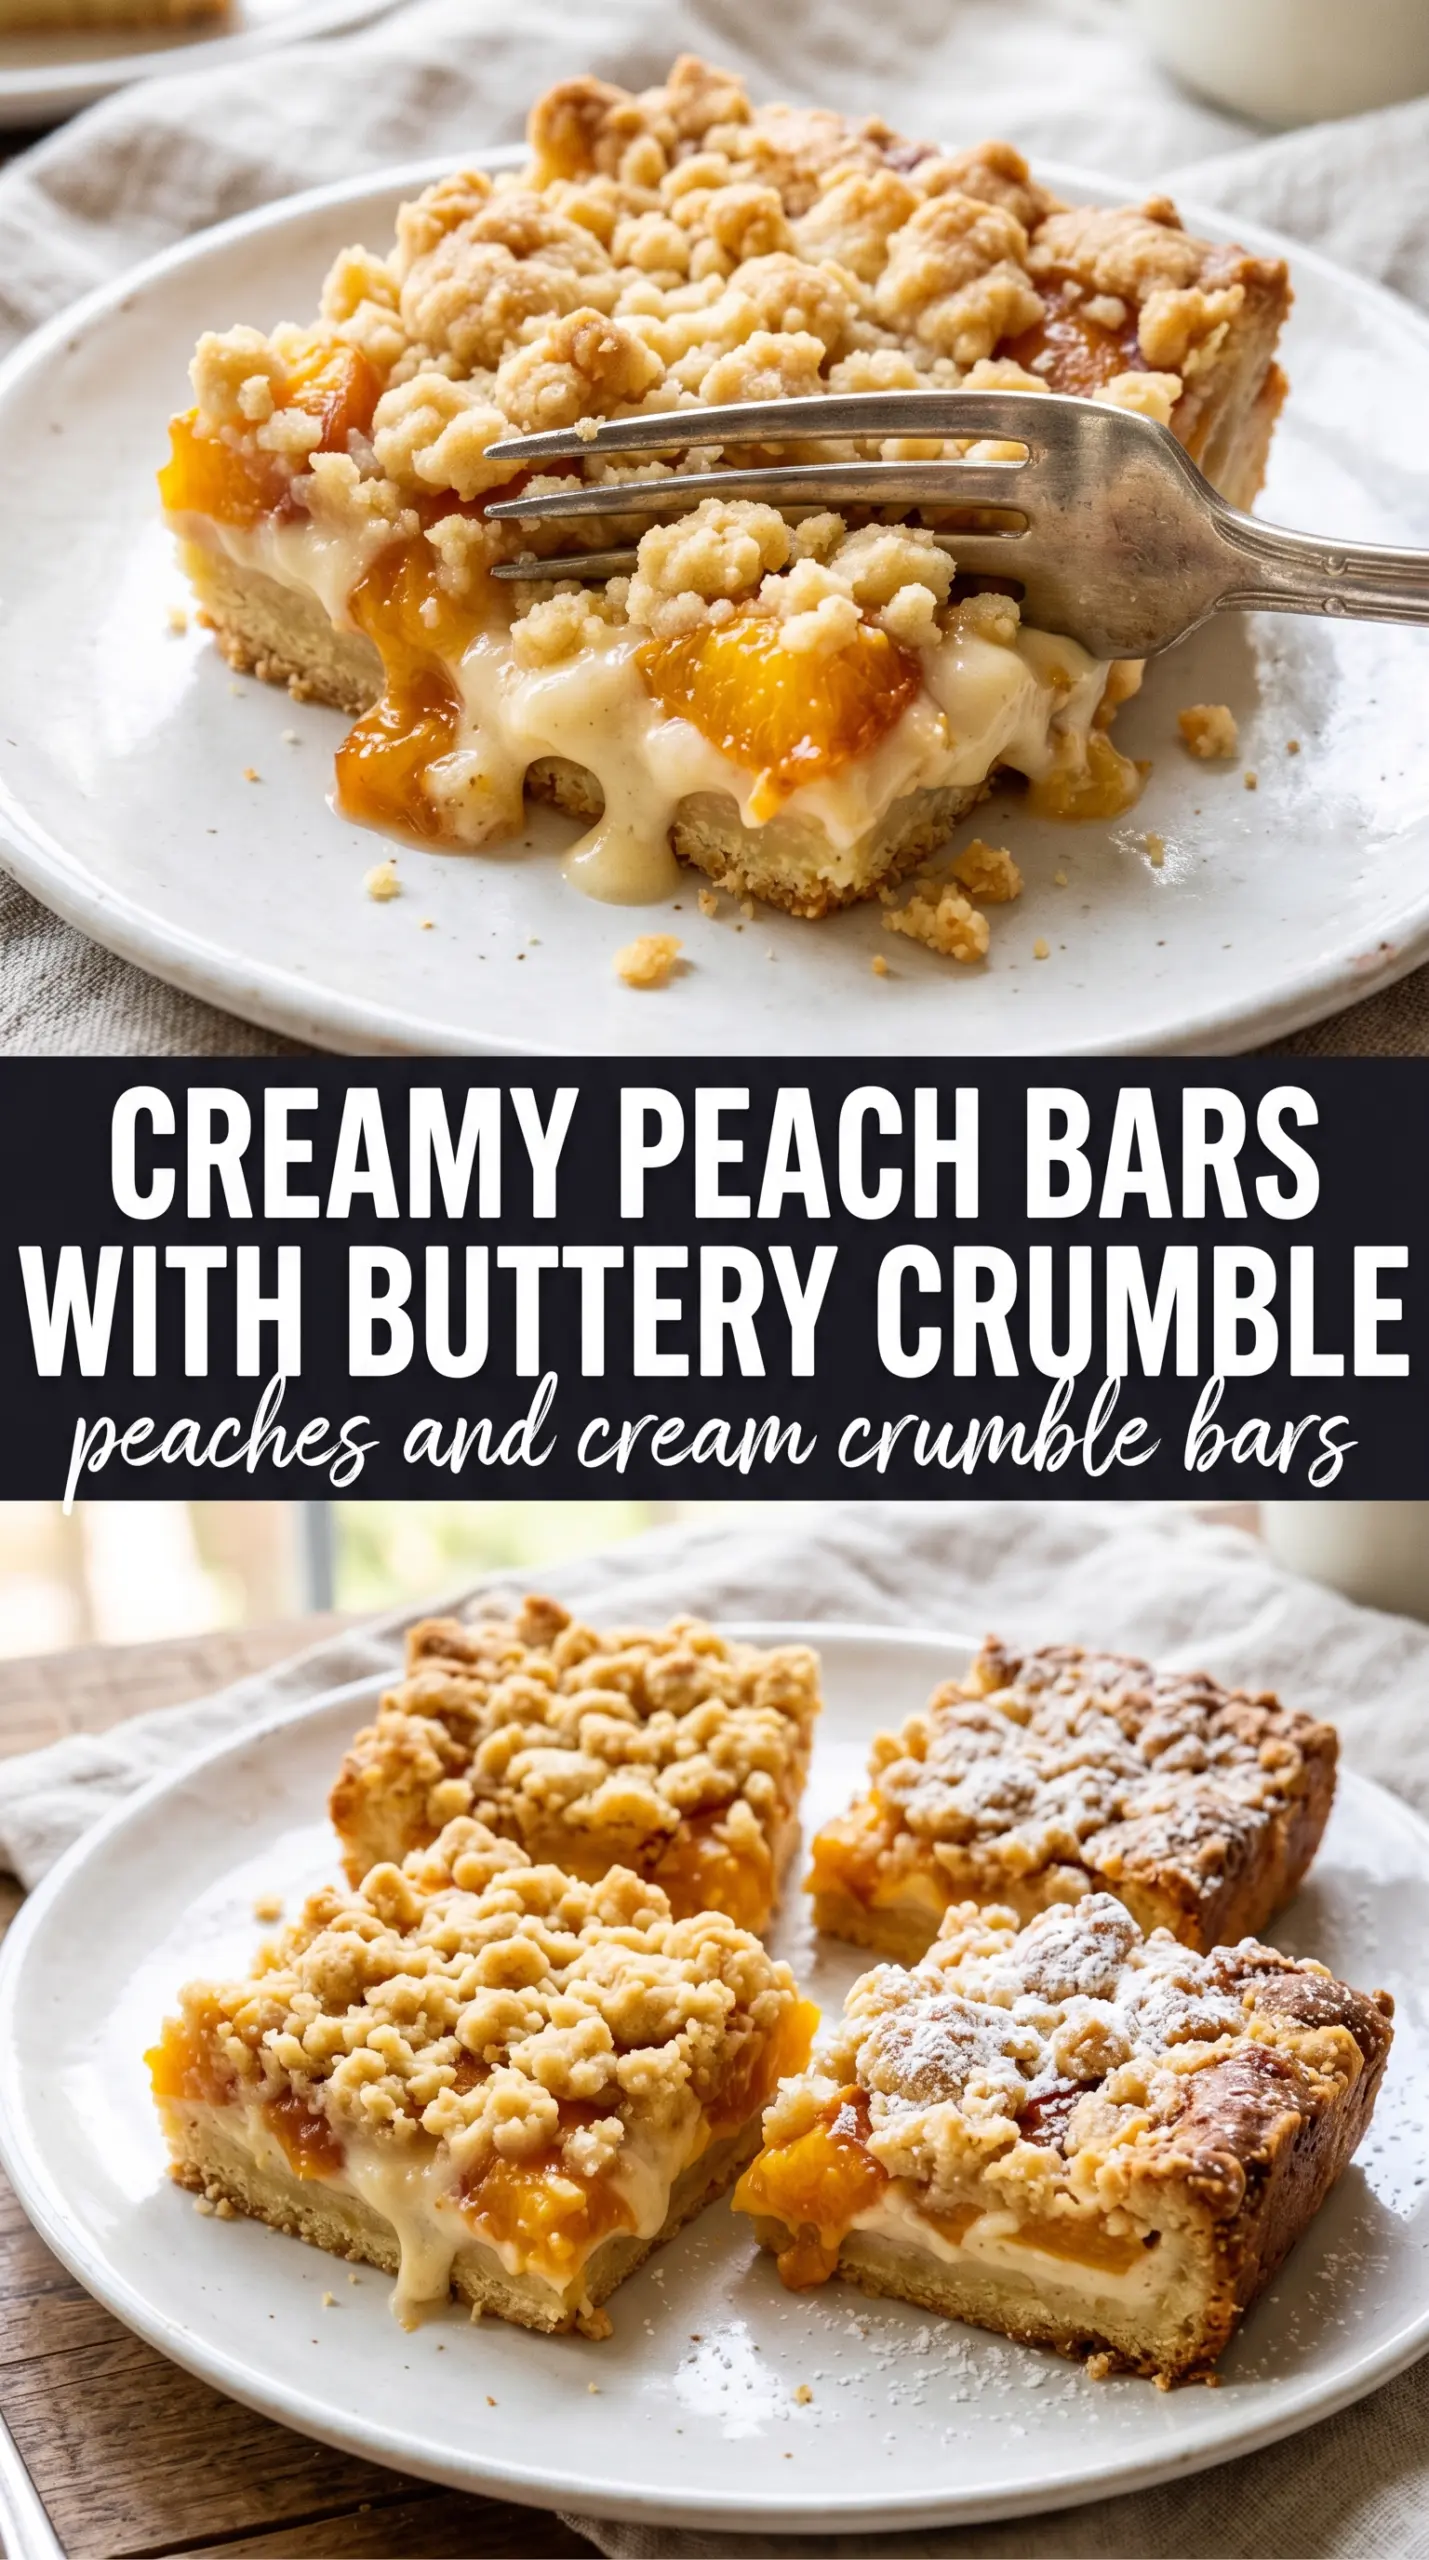
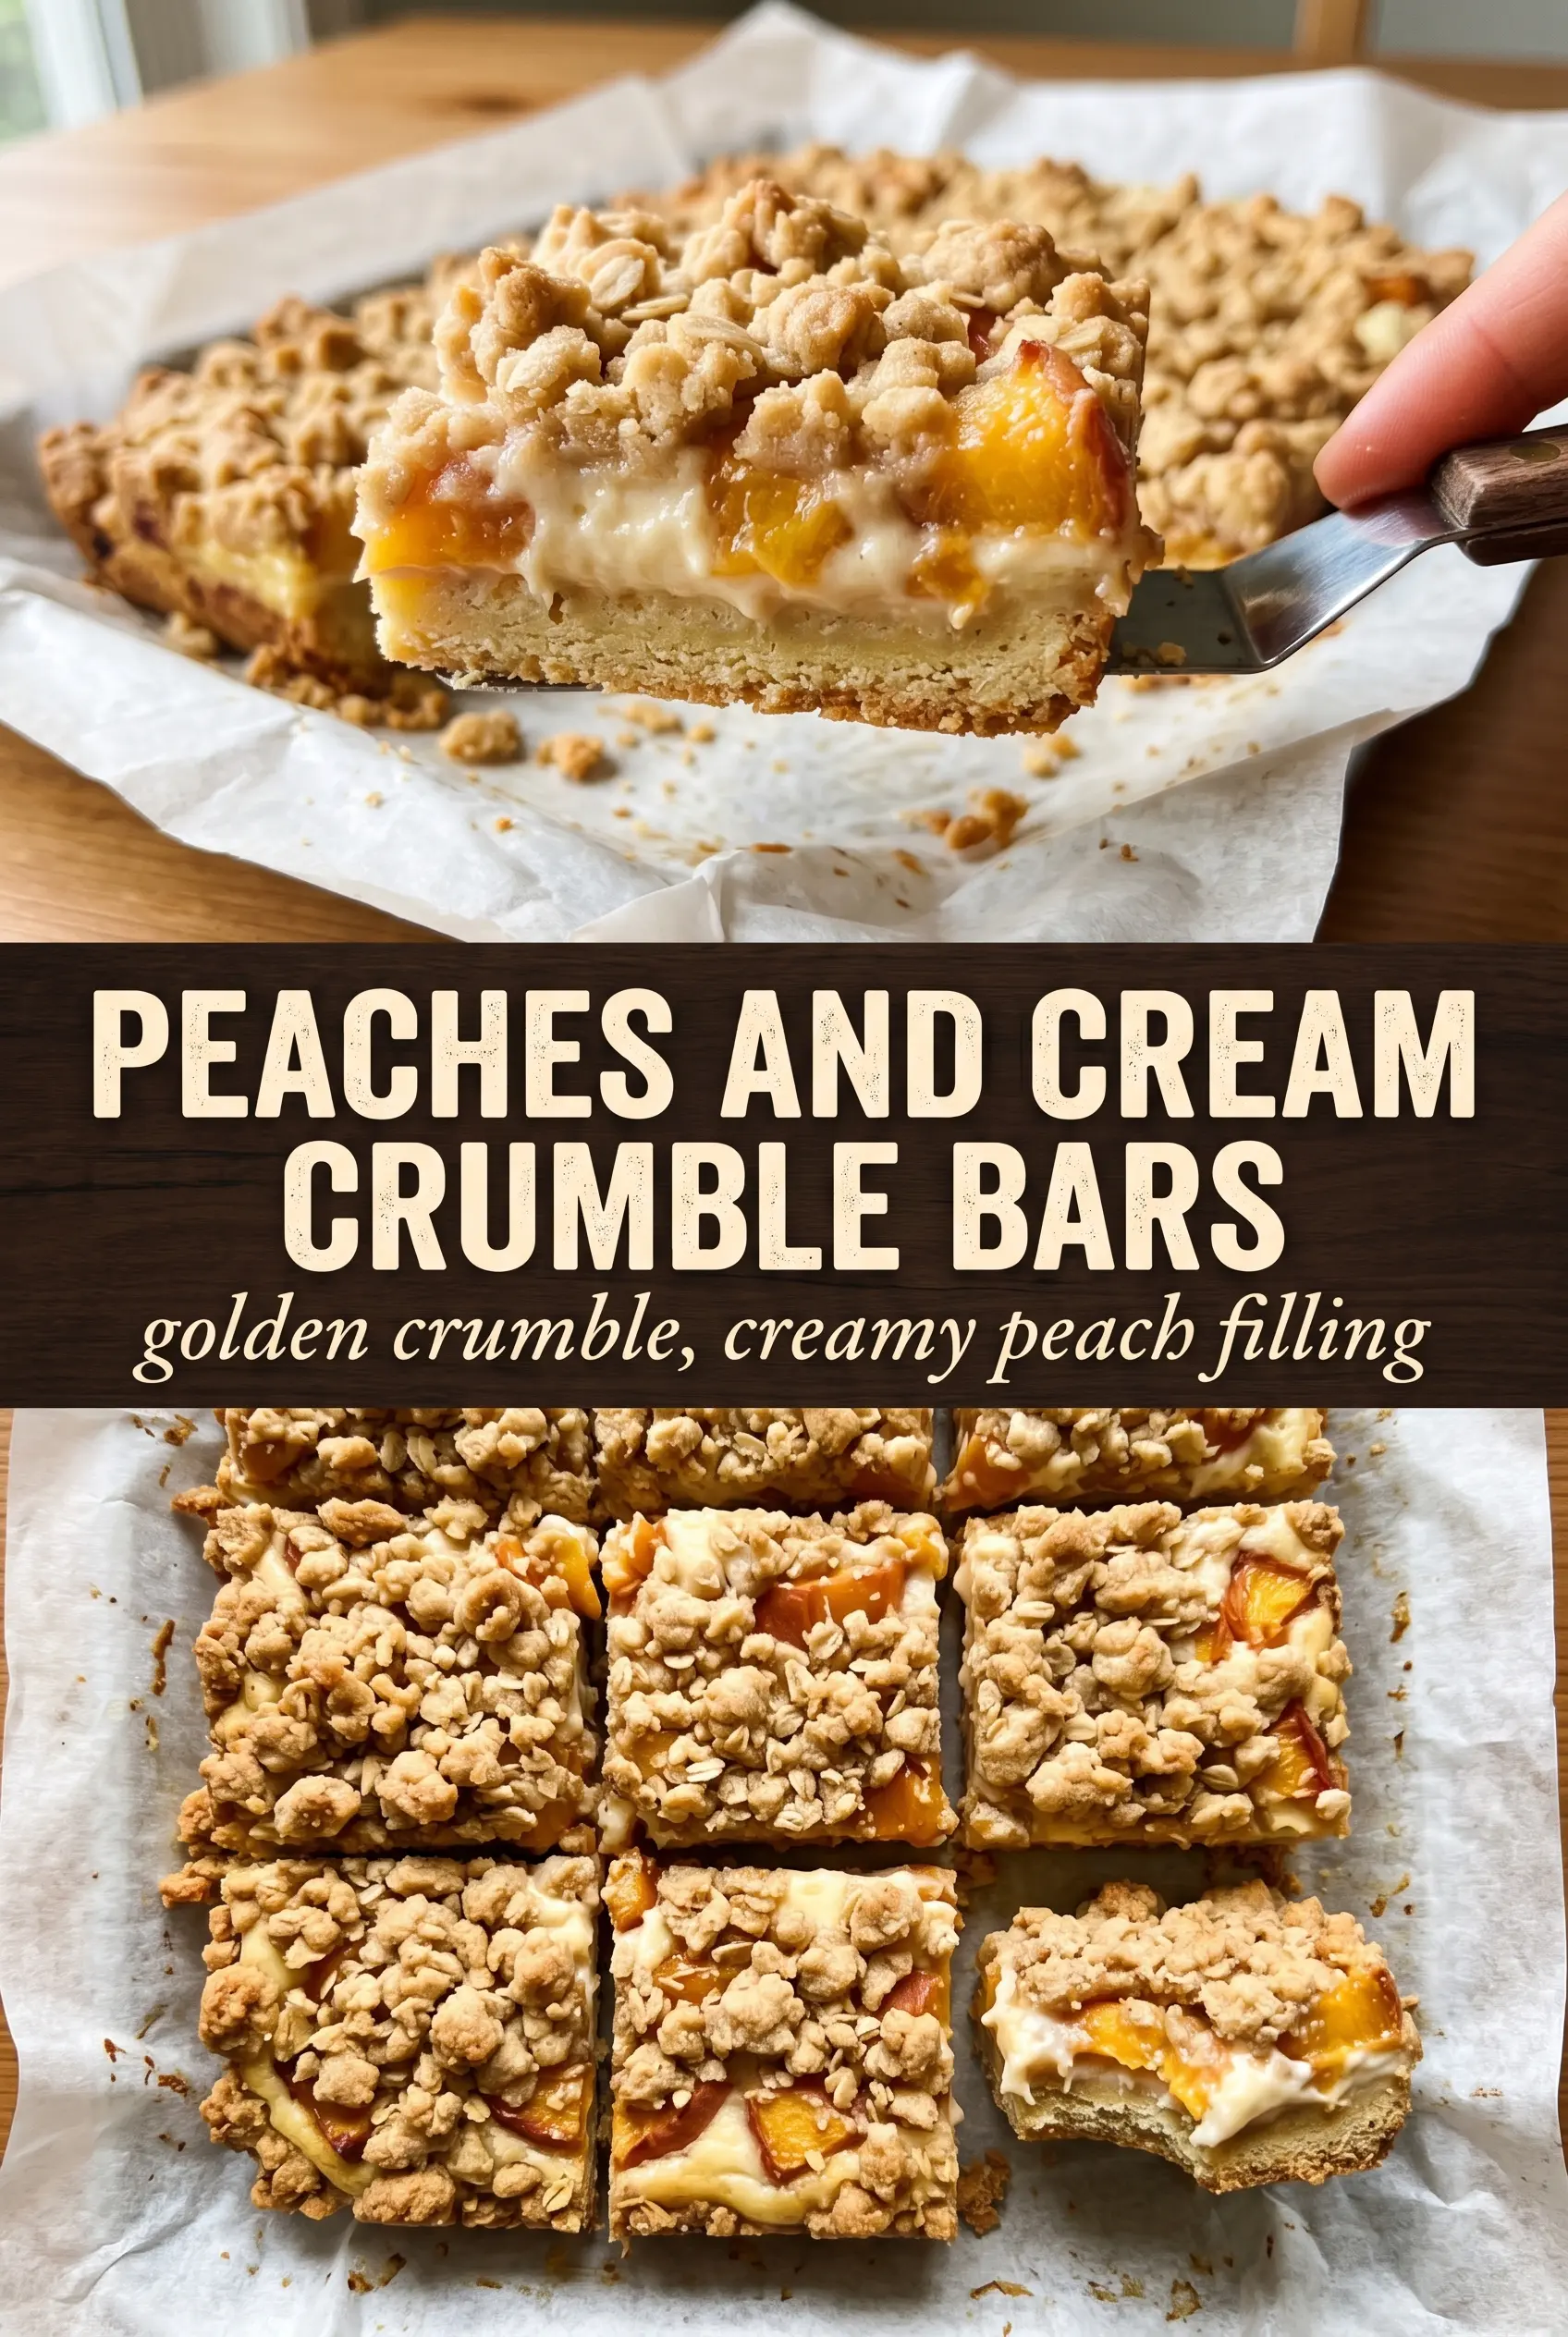
Buttery oat crumble, a tangy cream cheese layer, and jammy peaches make these bars taste like a cross between peach crisp and cheesecake. The edges bake up crisp, the center stays soft and creamy, and every square cuts cleanly once it cools. That balance is what keeps you coming back for a second piece.
What makes this version work is the contrast in texture. The base gets pressed firmly enough to hold its shape, but it still stays tender because the same mixture becomes the topping. The peach layer is thickened with cornstarch, which keeps the fruit from running into the cream cheese and turning the whole pan soupy.
Below, I’ve included the one cooling step that matters most, plus a few swaps that actually work if your peaches are a little less sweet or you need to adapt the bars for a different pantry situation.
The peach layer set up beautifully and the bars held their shape once cooled. I loved that the cream cheese stayed tangy instead of getting lost under the crumble.
Like these peaches and cream crumble bars? Save them to Pinterest for a golden, jammy dessert bar with a creamy center and crisp oat topping.
The Secret to Clean Layers Instead of a Soggy Pan
The biggest mistake with fruit bars like these is rushing the layers together while the base is still loose and the peach mixture is still thin. The par-baked crust gives the bars structure, and the cornstarch in the fruit needs heat to start tightening before the final bake ends. If you skip either one, the filling slides around and the cream cheese layer disappears into the fruit.
Pressing two-thirds of the crumble mixture firmly into the pan matters more than people think. You’re not packing it like a brick, but you do want an even, compact base so the bars lift out cleanly. The remaining crumble should stay loose and uneven on top so the final bake gives you those golden, crunchy bits against the soft filling.
What Each Ingredient Is Actually Doing in This Recipe
- Primary ingredient (the star) — Quality matters most. Choose the best you can find.
- Cooking medium (oil, butter, or broth) — This carries flavors and prevents dryness.
- Seasonings (salt, pepper, spices, herbs) — Layer flavors so nothing overpowers. Build depth gradually.
- Aromatics (garlic, onion, herbs) — Cook with fat to bloom flavors. Become the foundation.
- Supporting ingredients — Complement the main ingredient without overpowering it.
- Sauce or liquid (if applicable) — Brings flavors together. Balance richness with acid.
- Acid (lemon, vinegar, wine, or other) — Brightens and prevents flat-tasting results.
- Final finish (garnish, glaze, or sauce) — Prevents one-dimensional taste and adds visual appeal.
Why the Peach Filling Sets Up Without Turning Gluey
- Fresh peaches — Fresh fruit gives the filling that soft, juicy bite you can’t get from a canned filling. If your peaches are very ripe, keep the sugar on the lower side. If they’re firm or a little tart, the full amount helps bring out the juice.
- Cream cheese — This layer adds tang and keeps the bars from eating like plain peach crisp. Softening it fully is important; cold cream cheese leaves tiny lumps that never smooth out once the egg goes in.
- Rolled oats — Old-fashioned oats give the crumble its nubby, crisp texture. Quick oats work in a pinch, but they make the topping denser and less shattery.
- Cornstarch — This is what turns peach juices into a thick, spoonable layer instead of a puddle. Arrowroot can work, but it sets a little more softly and can turn gummy if the bars are overbaked.
- Cold butter — Cold butter is what makes the base and topping bake up sandy, then crisp. If the butter softens too much while mixing, the crumble turns paste-like and loses that short, tender texture.
Building the Base, Filling, and Topping in the Right Order
Make the Crumble First
Mix the flour, oats, brown sugar, cinnamon, and salt, then cut in the cold butter until the mixture looks like damp, uneven clumps with some pea-sized pieces left. Those bigger bits are what bake into crunch. If the butter melts into the dry ingredients, the topping will bake up flat and greasy instead of crumbly.
Press and Par-Bake the Bottom Layer
Reserve about one-third of the crumble for the top, then press the rest firmly into a parchment-lined 9×13 pan. Bake it just until the edges look set and the surface loses its raw flour look. This first bake gives the bars backbone, and it’s the reason the finished squares can be lifted out without collapsing.
Spread the Cream Cheese Layer While the Crust Is Warm
Beat the cream cheese, sugar, egg, and vanilla until smooth, then spread it over the warm base in an even layer. Warm crust helps the layer settle without dragging, but the crust shouldn’t be hot enough to melt it. If the mixture looks streaky, keep mixing until it turns completely silky before it hits the pan.
Top With the Peaches and Finish With Crumble
Toss the diced peaches with sugar, cornstarch, and lemon juice until every piece is lightly coated, then spread them over the cream cheese. Scatter the remaining crumble on top in loose clumps, not a solid blanket, so the peaches peek through. Bake until the topping is deeply golden and the peach layer bubbles at the edges; that bubbling is the sign the cornstarch has done its job.
How to Adapt These Bars for Different Kitchens and Different Peaches
Make Them Gluten-Free
Swap the all-purpose flour for a good 1:1 gluten-free baking blend and use certified gluten-free oats. The texture stays close to the original, though the crumble will be a little more delicate when warm, so cooling completely matters even more.
Use Frozen Peaches When Fresh Aren’t Great
Frozen peaches work, but thaw and drain them first or the filling gets watery. Pat them dry, then toss with the sugar and cornstarch as written. You may need a few extra minutes in the oven to evaporate the extra moisture.
Add Blueberries or Raspberries
Replace up to 1 cup of the peaches with berries for a sharper, juicier filling. The bars will taste brighter and a little less sweet, but berries release more liquid, so keep the cornstarch in place and don’t skip the cooling time.
Storage and Reheating
- Refrigerator: Store covered for up to 5 days. The crumble softens a little in the fridge, but the bars stay clean-cut and tasty.
- Freezer: These freeze well. Wrap the cut bars individually, then store them in a freezer bag for up to 2 months.
- Reheating: Thaw in the refrigerator overnight, then bring to room temperature before serving. If you warm them, use a low oven for a few minutes; the mistake is microwaving too long, which makes the crumble tough and the filling loose.
Answers to the Questions Worth Asking
Peaches and Cream Crumble Bars
Ingredients
Equipment
Method
- Preheat oven to 350°F and line a 9x13 pan with parchment paper, letting the paper hang over the sides for easy lifting.
- Combine all-purpose flour, rolled oats, brown sugar, cinnamon, and salt, then cut in cold butter until the mixture looks like fine crumbs.
- Press 2/3 of the oat mixture firmly into the pan base, then bake for 15 minutes at 350°F until set.
- Beat cream cheese, granulated sugar, egg, and vanilla extract until smooth, then spread it evenly over the warm base.
- Toss fresh peaches with granulated sugar, cornstarch, and lemon juice, then spread the filling over the cream cheese layer.
- Crumble the remaining oat mixture over the peach layer, then bake for 25-30 minutes at 350°F until the topping is golden.
- Cool completely in the pan before cutting into 16 bars so the cream cheese layer firms up and the filling slices cleanly.