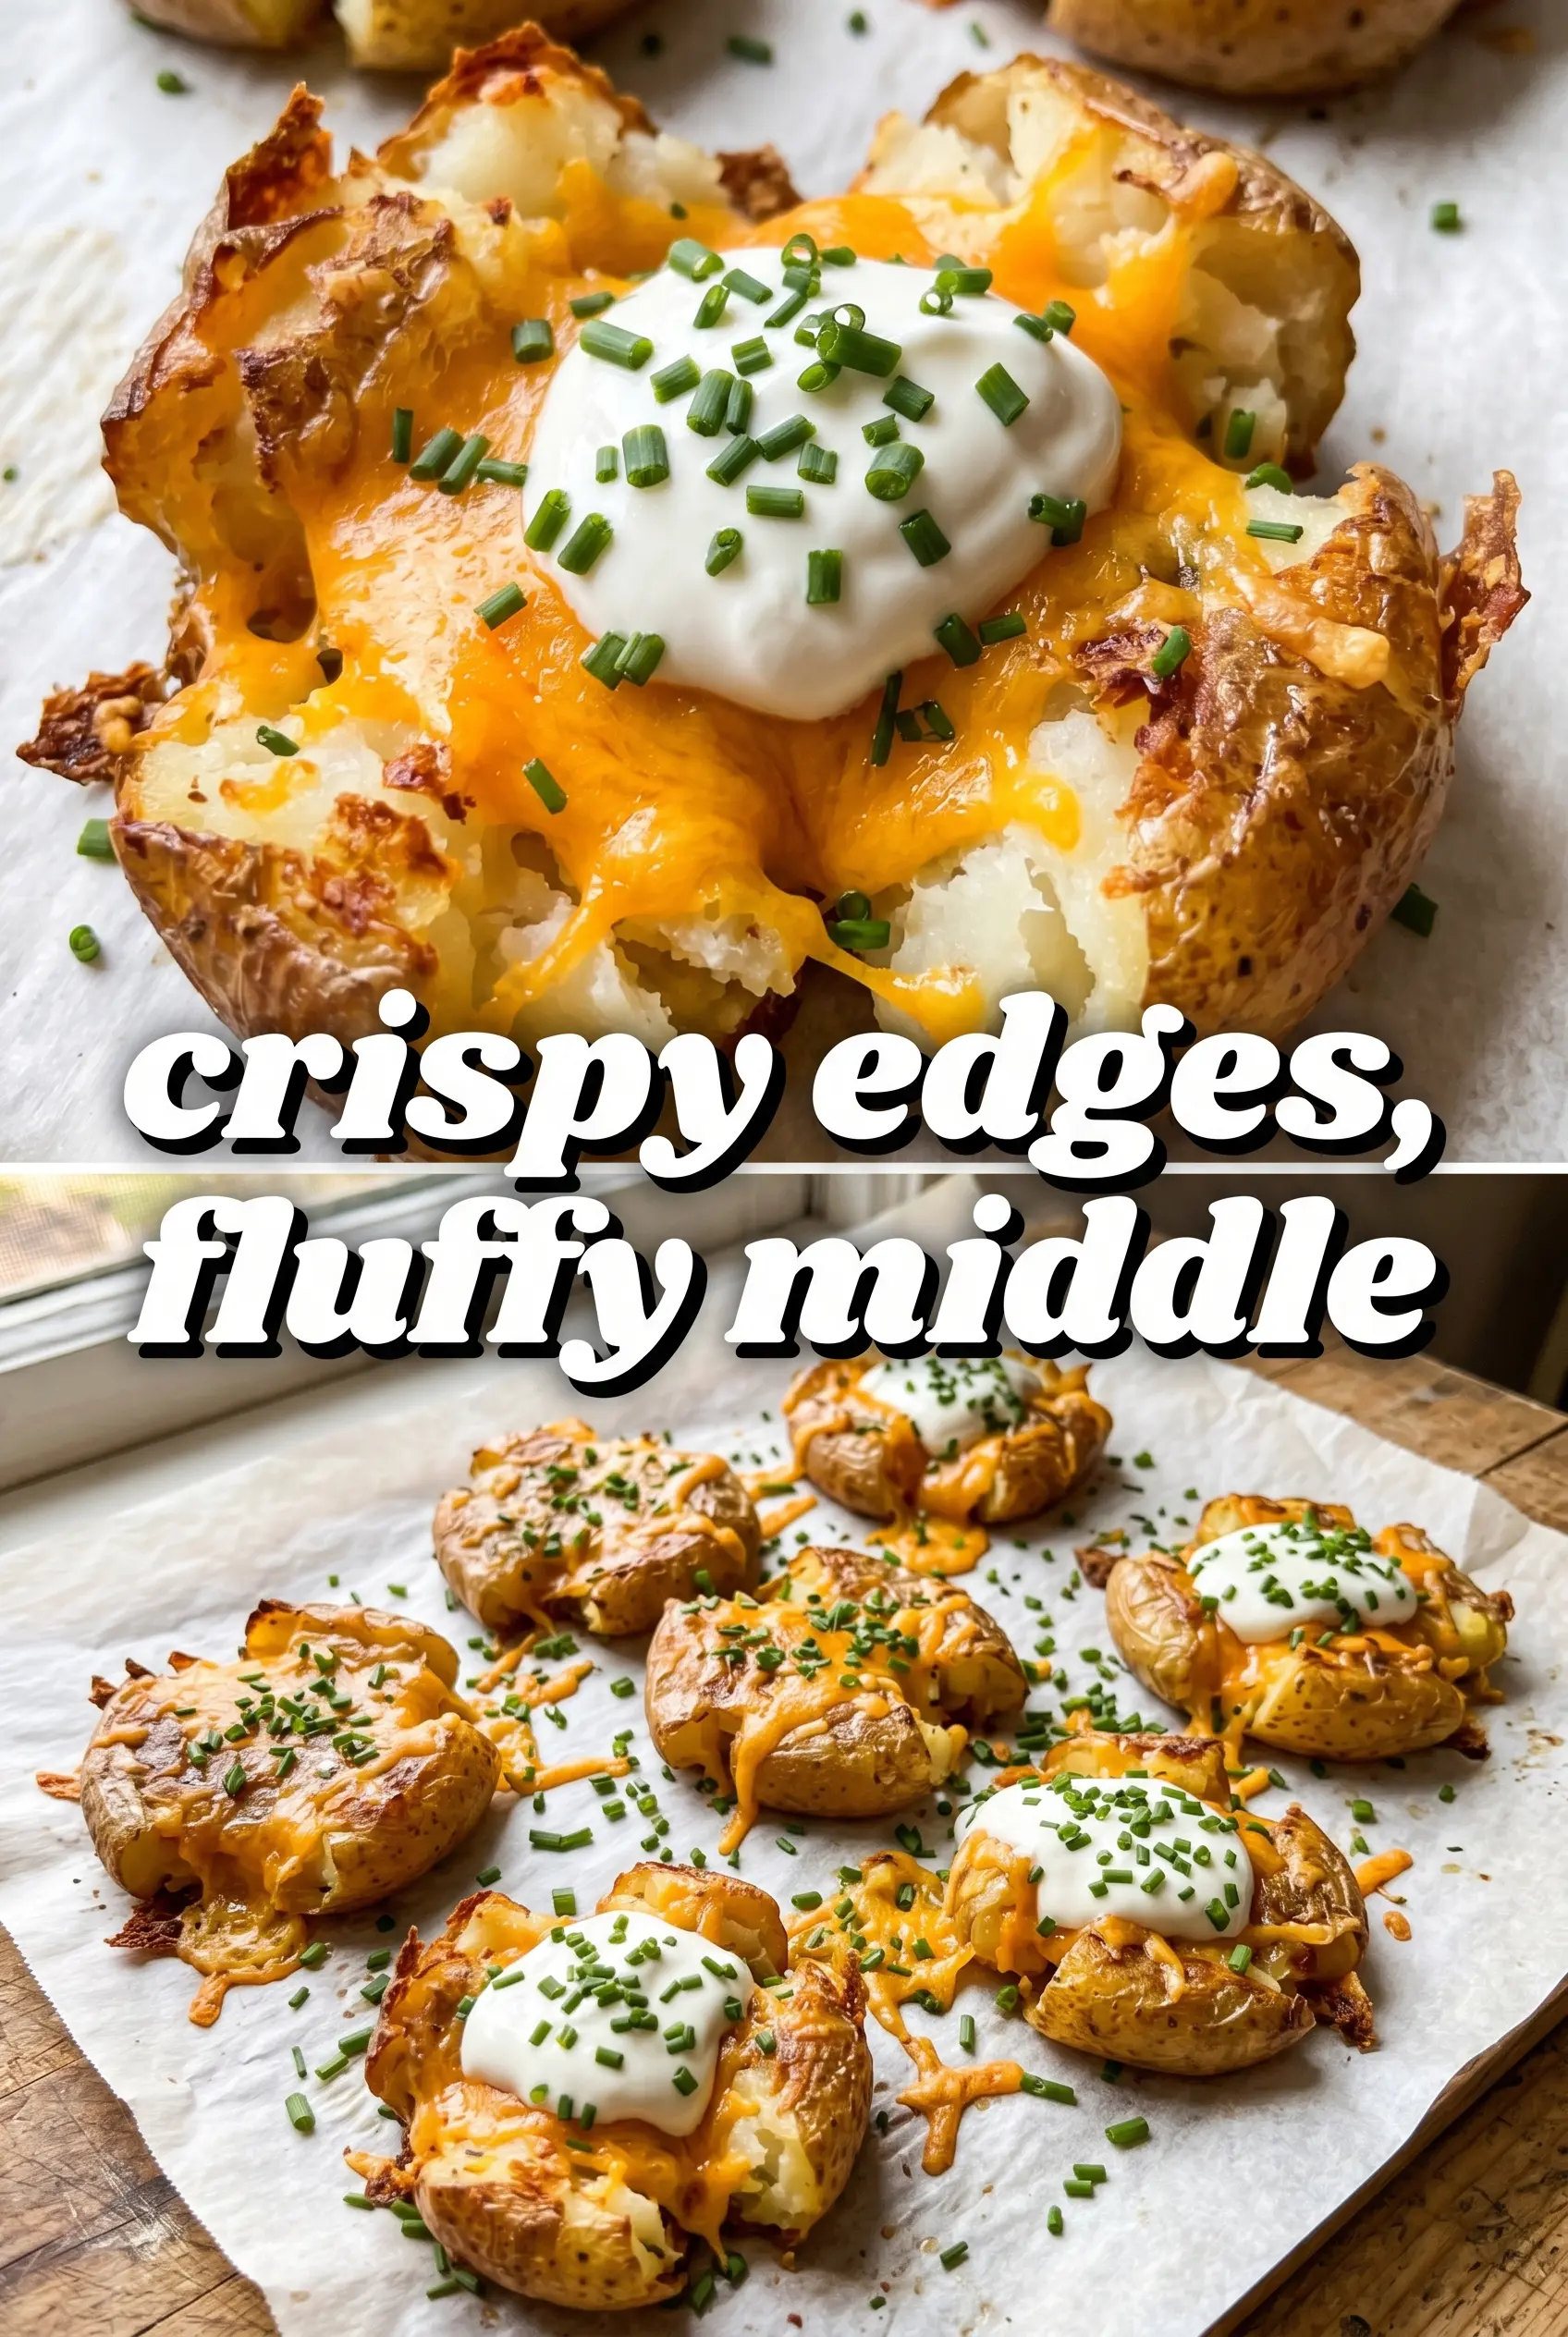
Blackstone smashed potatoes hit the table with the kind of contrast people remember: shatteringly crisp edges, buttery bottoms, and a creamy center that stays fluffy instead of turning dry. The griddle gives you more surface contact than an oven ever could, so every smashed round gets those lacy, browned edges that make this side dish disappear fast.
The trick is starting with potatoes that are just tender enough to flatten without falling apart. Too soft and they turn to mash on the griddle; too firm and they split instead of opening up into those craggy edges. Oil and butter together matter here, too. The oil handles the high heat, while the butter brings flavor and helps the garlic perfume the potatoes without burning the second it touches the metal.
Below, I’m walking through the spots where these potatoes usually go wrong — from the boil to the smash to the final crisp — plus a few ways to top them depending on what you’ve got in the fridge.
I followed the boiling time exactly and the potatoes smashed cleanly without falling apart. The edges got crispy fast on the Blackstone, and the garlic butter around the potatoes made the whole batch smell incredible.
Like these Blackstone smashed potatoes? Save them to Pinterest for the nights when you want crispy edges, creamy centers, and an easy griddle side that feels special.
The Boil Time That Keeps These Potatoes from Turning to Mash
The whole recipe lives or dies on the first boil. You want the potatoes tender enough that a fork slides in without force, but not so soft that the skins burst and the centers collapse when you smash them. That usually takes 15 to 20 minutes for baby potatoes, depending on their size. Drain them, then let the steam die down for a few minutes before they hit the griddle.
If they go onto the hot surface piping wet, the moisture steams the bottoms before they can crisp. That’s the mistake that leaves people with pale, soft potatoes instead of the crusty rounds they were after. A quick cool-down gives the exterior enough structure to hold together when you press down.
- Baby potatoes — Waxy baby potatoes hold their shape better than starchy russets. They smash into thick rounds with defined edges instead of breaking apart.
- Olive oil and butter — The oil keeps the potatoes from scorching under high heat, while the butter adds the browned, savory finish you taste in every bite. Use both; one can’t fully replace the other here.
- Garlic — Fresh minced garlic works best because it perfumes the butter as it cooks. If you use garlic powder, add it at the end with the salt so it doesn’t burn on the griddle.
- Toppings — Sour cream, cheddar, chives, and bacon bits turn these from a side into loaded potatoes. Use a good sharp cheddar so it stands up to the crispy potatoes instead of disappearing.
Building a Crispy Crust Without Burning the Garlic
Heat the Blackstone to medium-high before the potatoes go down. You want the surface hot enough that the first side starts browning quickly, but not so aggressive that the butter and garlic scorch while the centers are still warming through. Add the oil and butter first, then give them a moment to spread across the griddle so the potatoes land in an even layer of fat.
Smash each potato with one confident press. If you press and release repeatedly, they tear unevenly and can stick. Once the potatoes are flattened, leave them alone for the first several minutes so the crust can form. That patience is what gives you those crisp, golden edges that lift cleanly when you flip them.
Getting the Potatoes Ready
Drain the boiled potatoes well and let them cool just enough to handle. They should feel hot, but not steaming hard enough to make your hands rush the job. Arrange them with a little space between each one on the griddle so the edges can crisp instead of steaming into each other.
Smashing and Searing
Use a heavy spatula or masher and press each potato until it spreads into a thick round, about a half-inch to three-quarters of an inch thick. Thin enough to crisp, thick enough to stay creamy inside. If a potato starts sticking, it usually means the surface wasn’t hot enough or there wasn’t enough fat underneath it. Let it release on its own before you try to flip it.
Flipping and Finishing
Cook the first side until the bottom is deeply golden and the edges look lacy and crisp, then flip carefully and cook the second side until it catches color too. Add the garlic around the potatoes, not directly under them, so it perfumes the butter without burning in one spot. Season with salt and pepper as soon as they come off the griddle, then top while they’re hot so the cheese softens and the sour cream starts to melt into the cracks.
How to Change the Toppings Without Losing the Crunch
Make them dairy-free
Skip the butter and use more olive oil, then finish with a dairy-free sour cream and a little extra salt. You’ll lose a touch of that browned dairy flavor, but the potatoes still crisp beautifully if the oil is hot before they hit the griddle.
Keep them vegetarian
Leave off the bacon bits and add extra chives or a dusting of smoked paprika for depth. The potatoes still taste rich from the butter and cheese, so you won’t miss the bacon much if you season well.
Turn them into a gluten-free side for a crowd
This recipe is naturally gluten-free as written, which makes it an easy side for mixed groups. Just check the bacon bits and any shredded cheese blend if you’re buying packaged toppings, since some versions sneak in additives you don’t need.
Swap the toppings for a loaded baked potato vibe
Use the same crispy potato base, then top with shredded cheese, bacon, and a little sour cream while the potatoes are still hot. The heat from the griddle softens everything just enough without making the bottoms soggy.
Storage and Reheating
- Refrigerator: Store leftovers in an airtight container for up to 4 days. They’ll soften in the fridge, but the flavor holds up well.
- Freezer: They freeze, but the texture changes and the centers can turn mealy after thawing. I only freeze them if I plan to crisp them hard again in a skillet or on the griddle.
- Reheating: Reheat on a hot skillet, griddle, or sheet pan at high heat until the edges crisp again. The mistake is microwaving them straight from the fridge, which turns the crust limp before the center is warm.
Questions I Get Asked About This Recipe
Blackstone Smashed Potatoes
Ingredients
Equipment
Method
- Boil baby potatoes in salted water until fork-tender, about 15-20 minutes, then drain and let cool slightly.
- Spread the drained baby potatoes on a sheet pan in a single layer to cool just enough to handle.
- Heat a Blackstone griddle to medium-high, then add olive oil and butter until melted and shimmering.
- Place the baby potatoes on the griddle and smash flat with a heavy spatula or masher to create crispy edges.
- Add minced garlic around the potatoes and cook for 6-7 minutes until the bottoms are crispy and golden.
- Flip the smashed potatoes and cook another 5-6 minutes until both sides are crispy.
- Season the smashed potatoes with salt and pepper to taste.
- Top the hot smashed potatoes with sour cream, shredded cheddar cheese, chopped chives, and bacon bits before serving.